Over The Top Christmas Lights 2017 Behind the Scenes - Roof Stars 
|
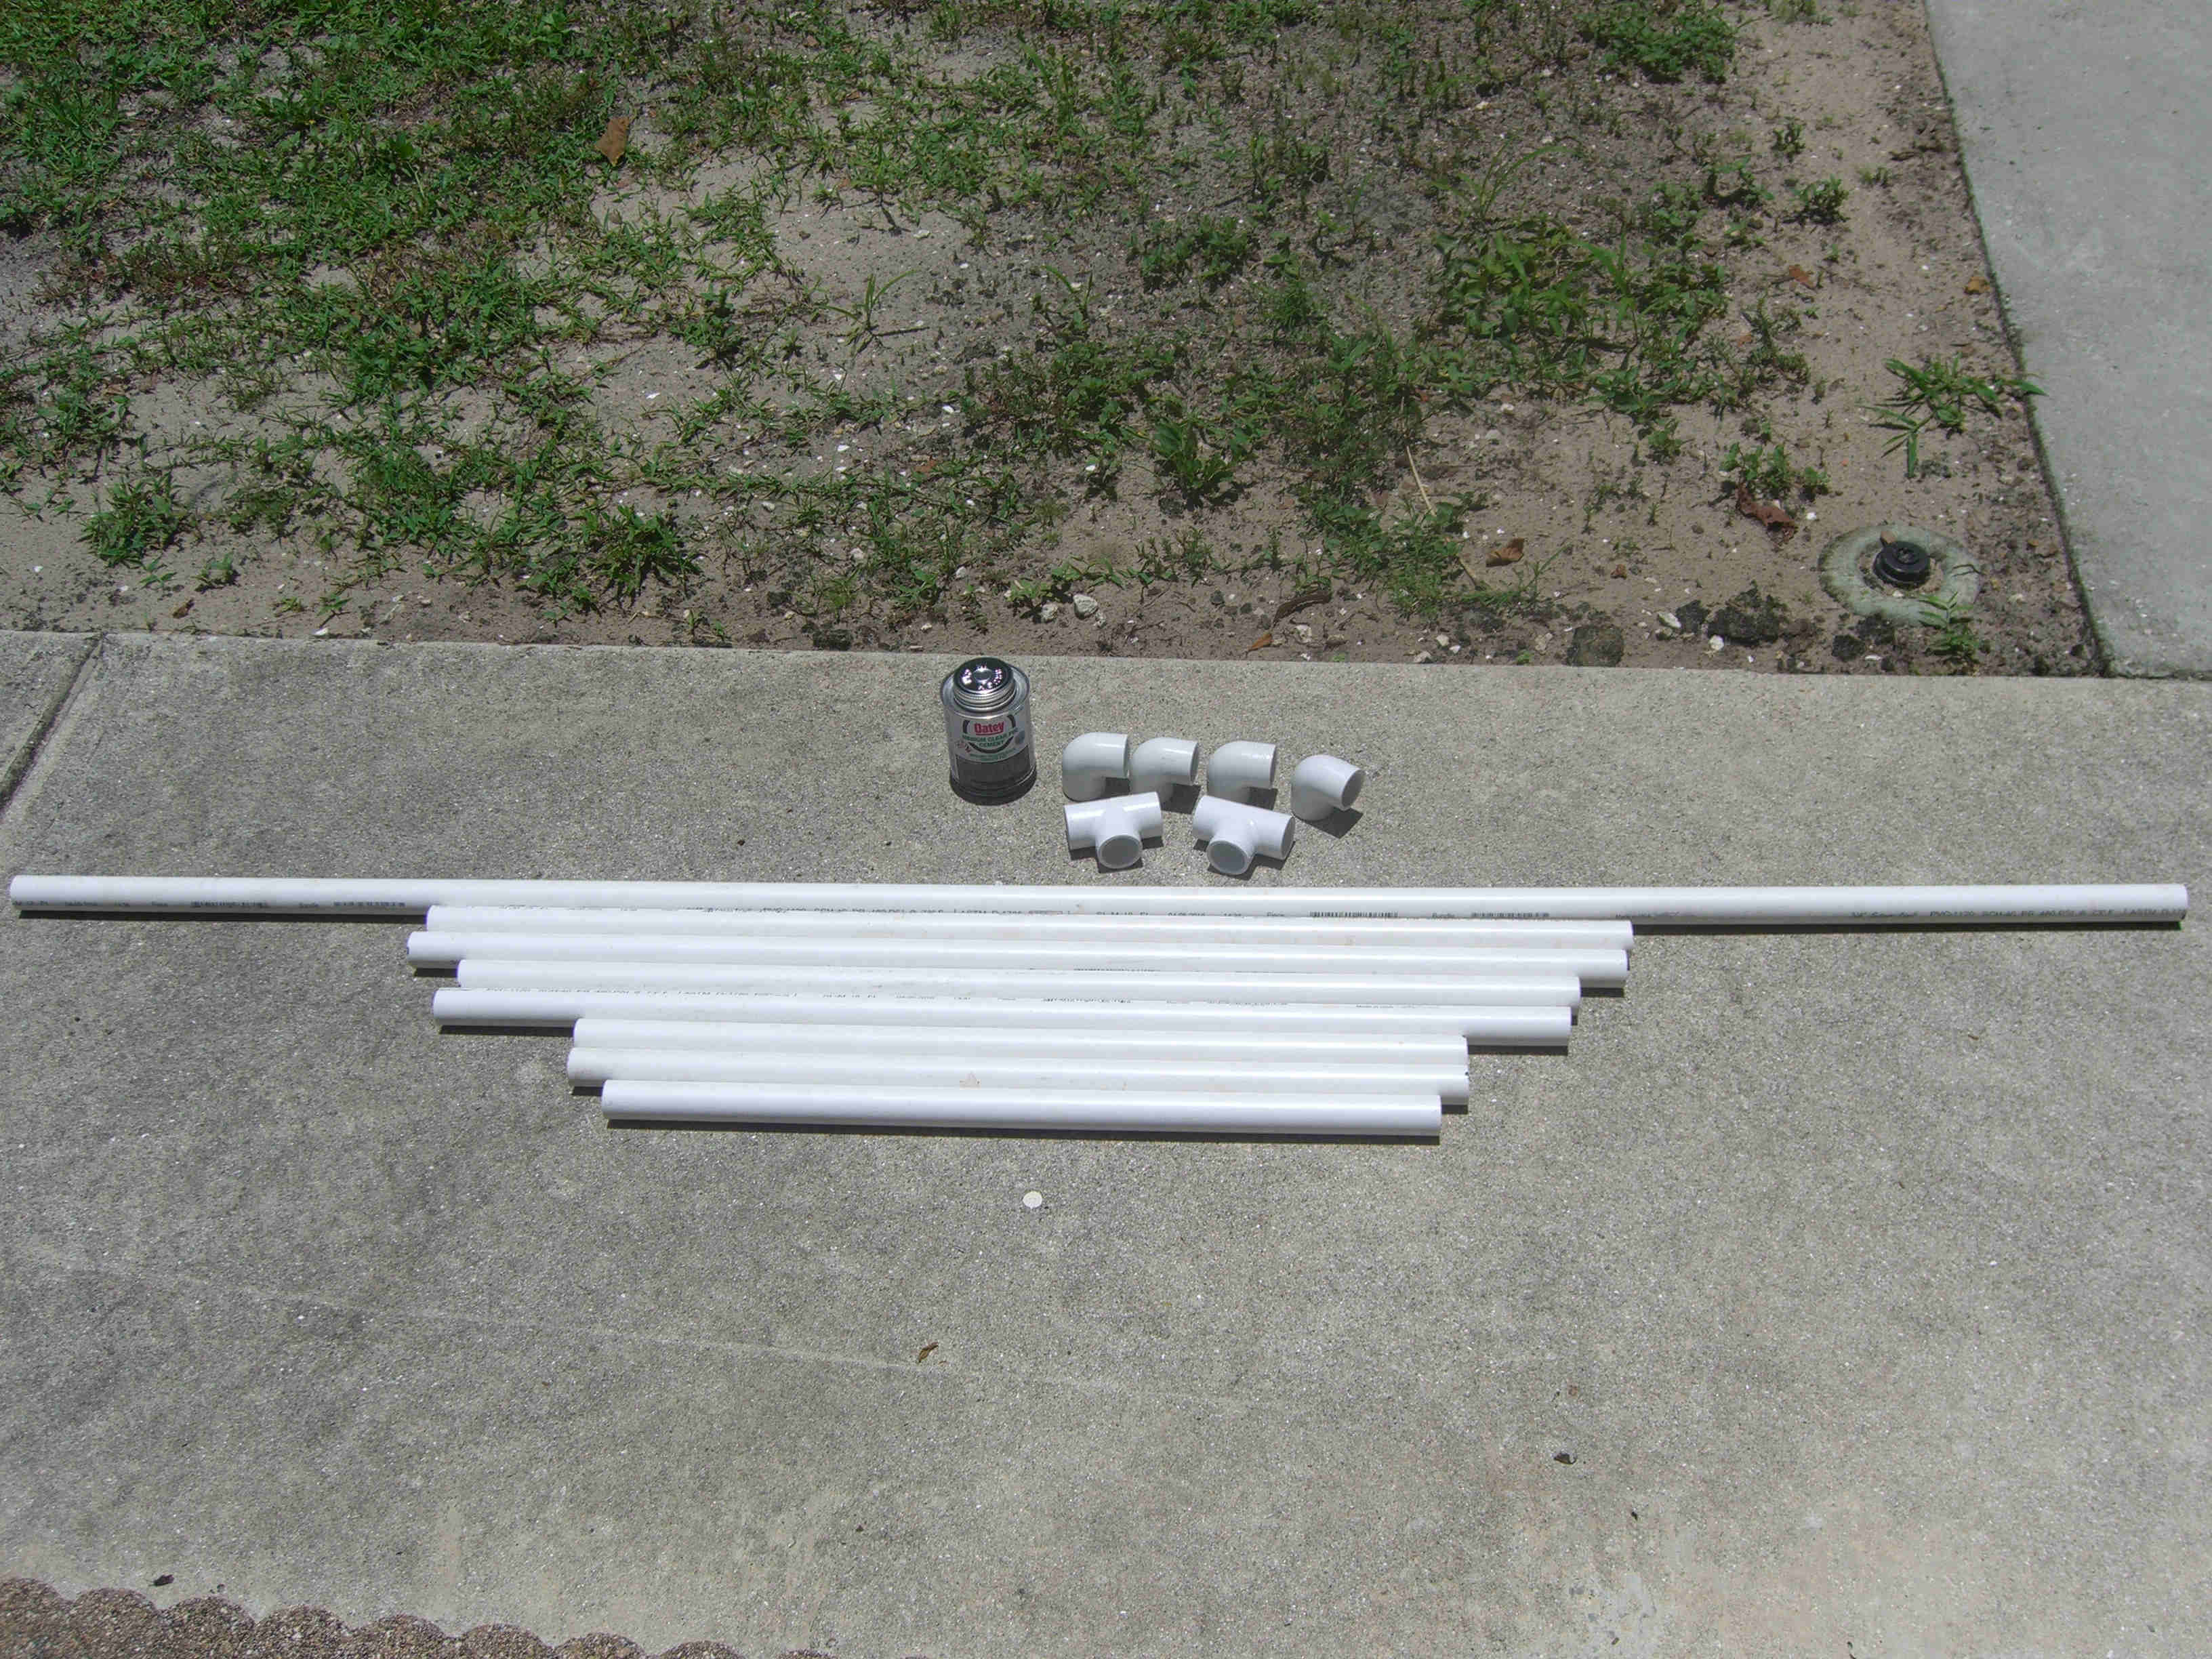
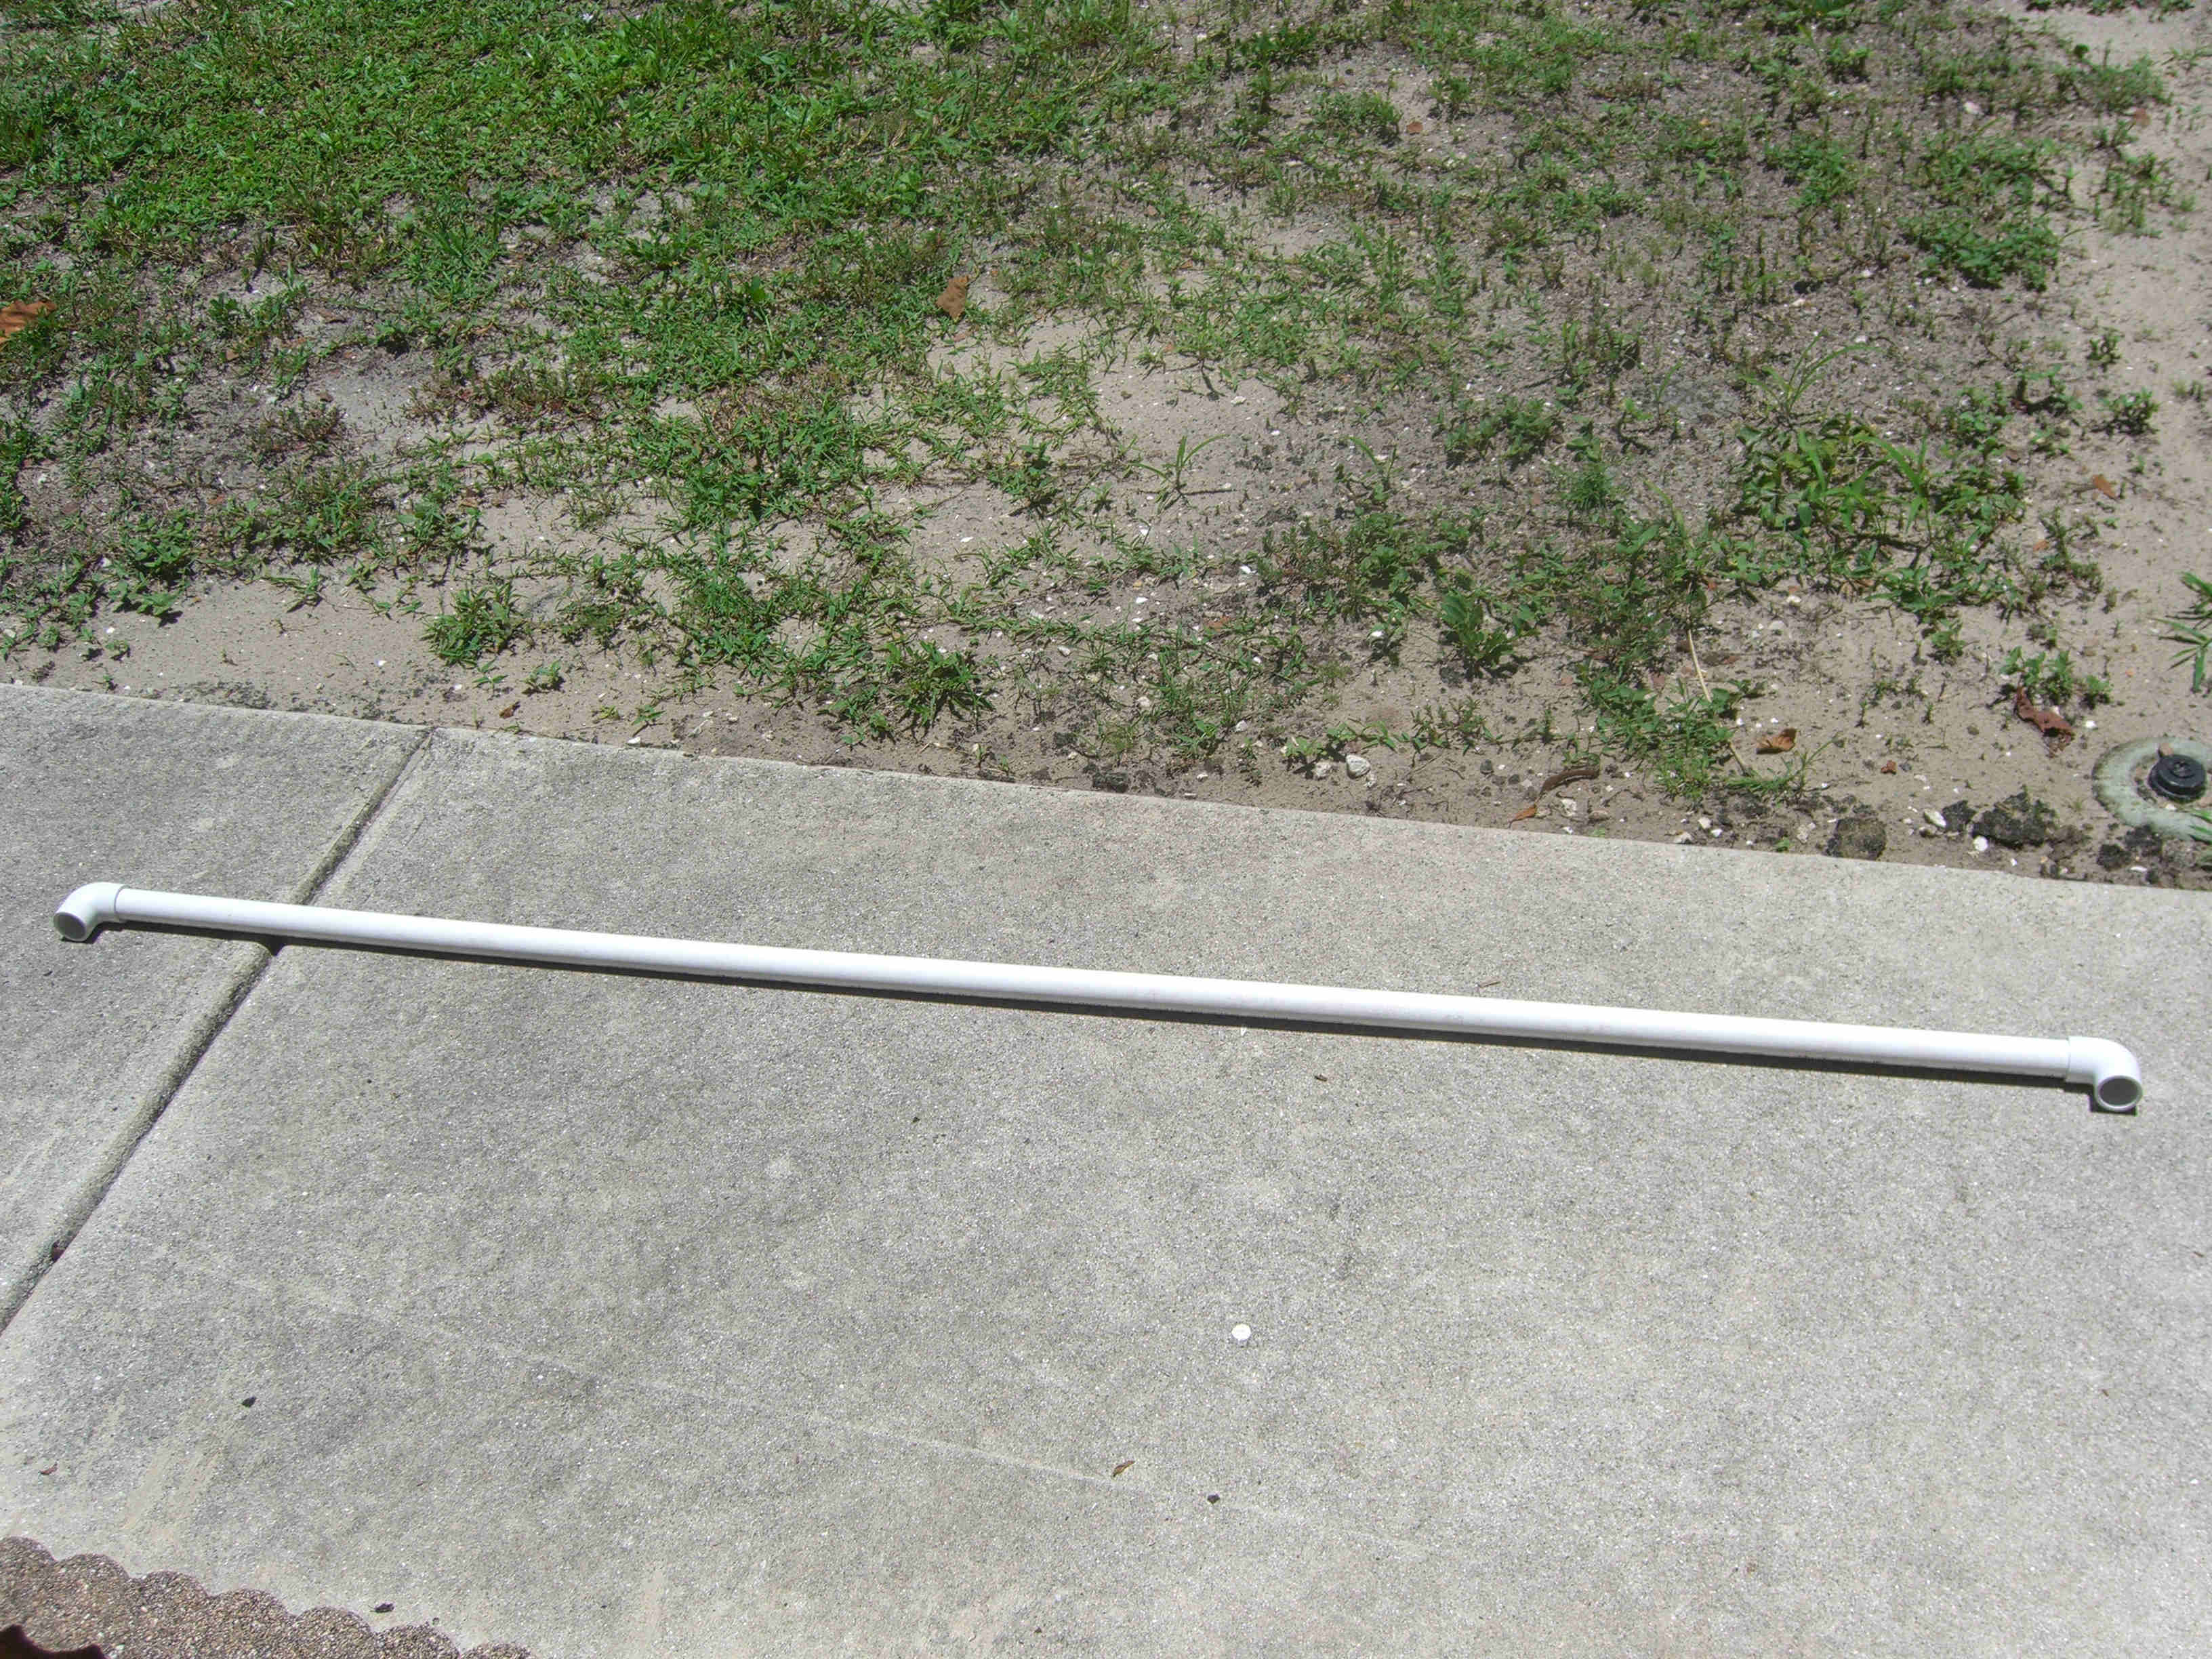
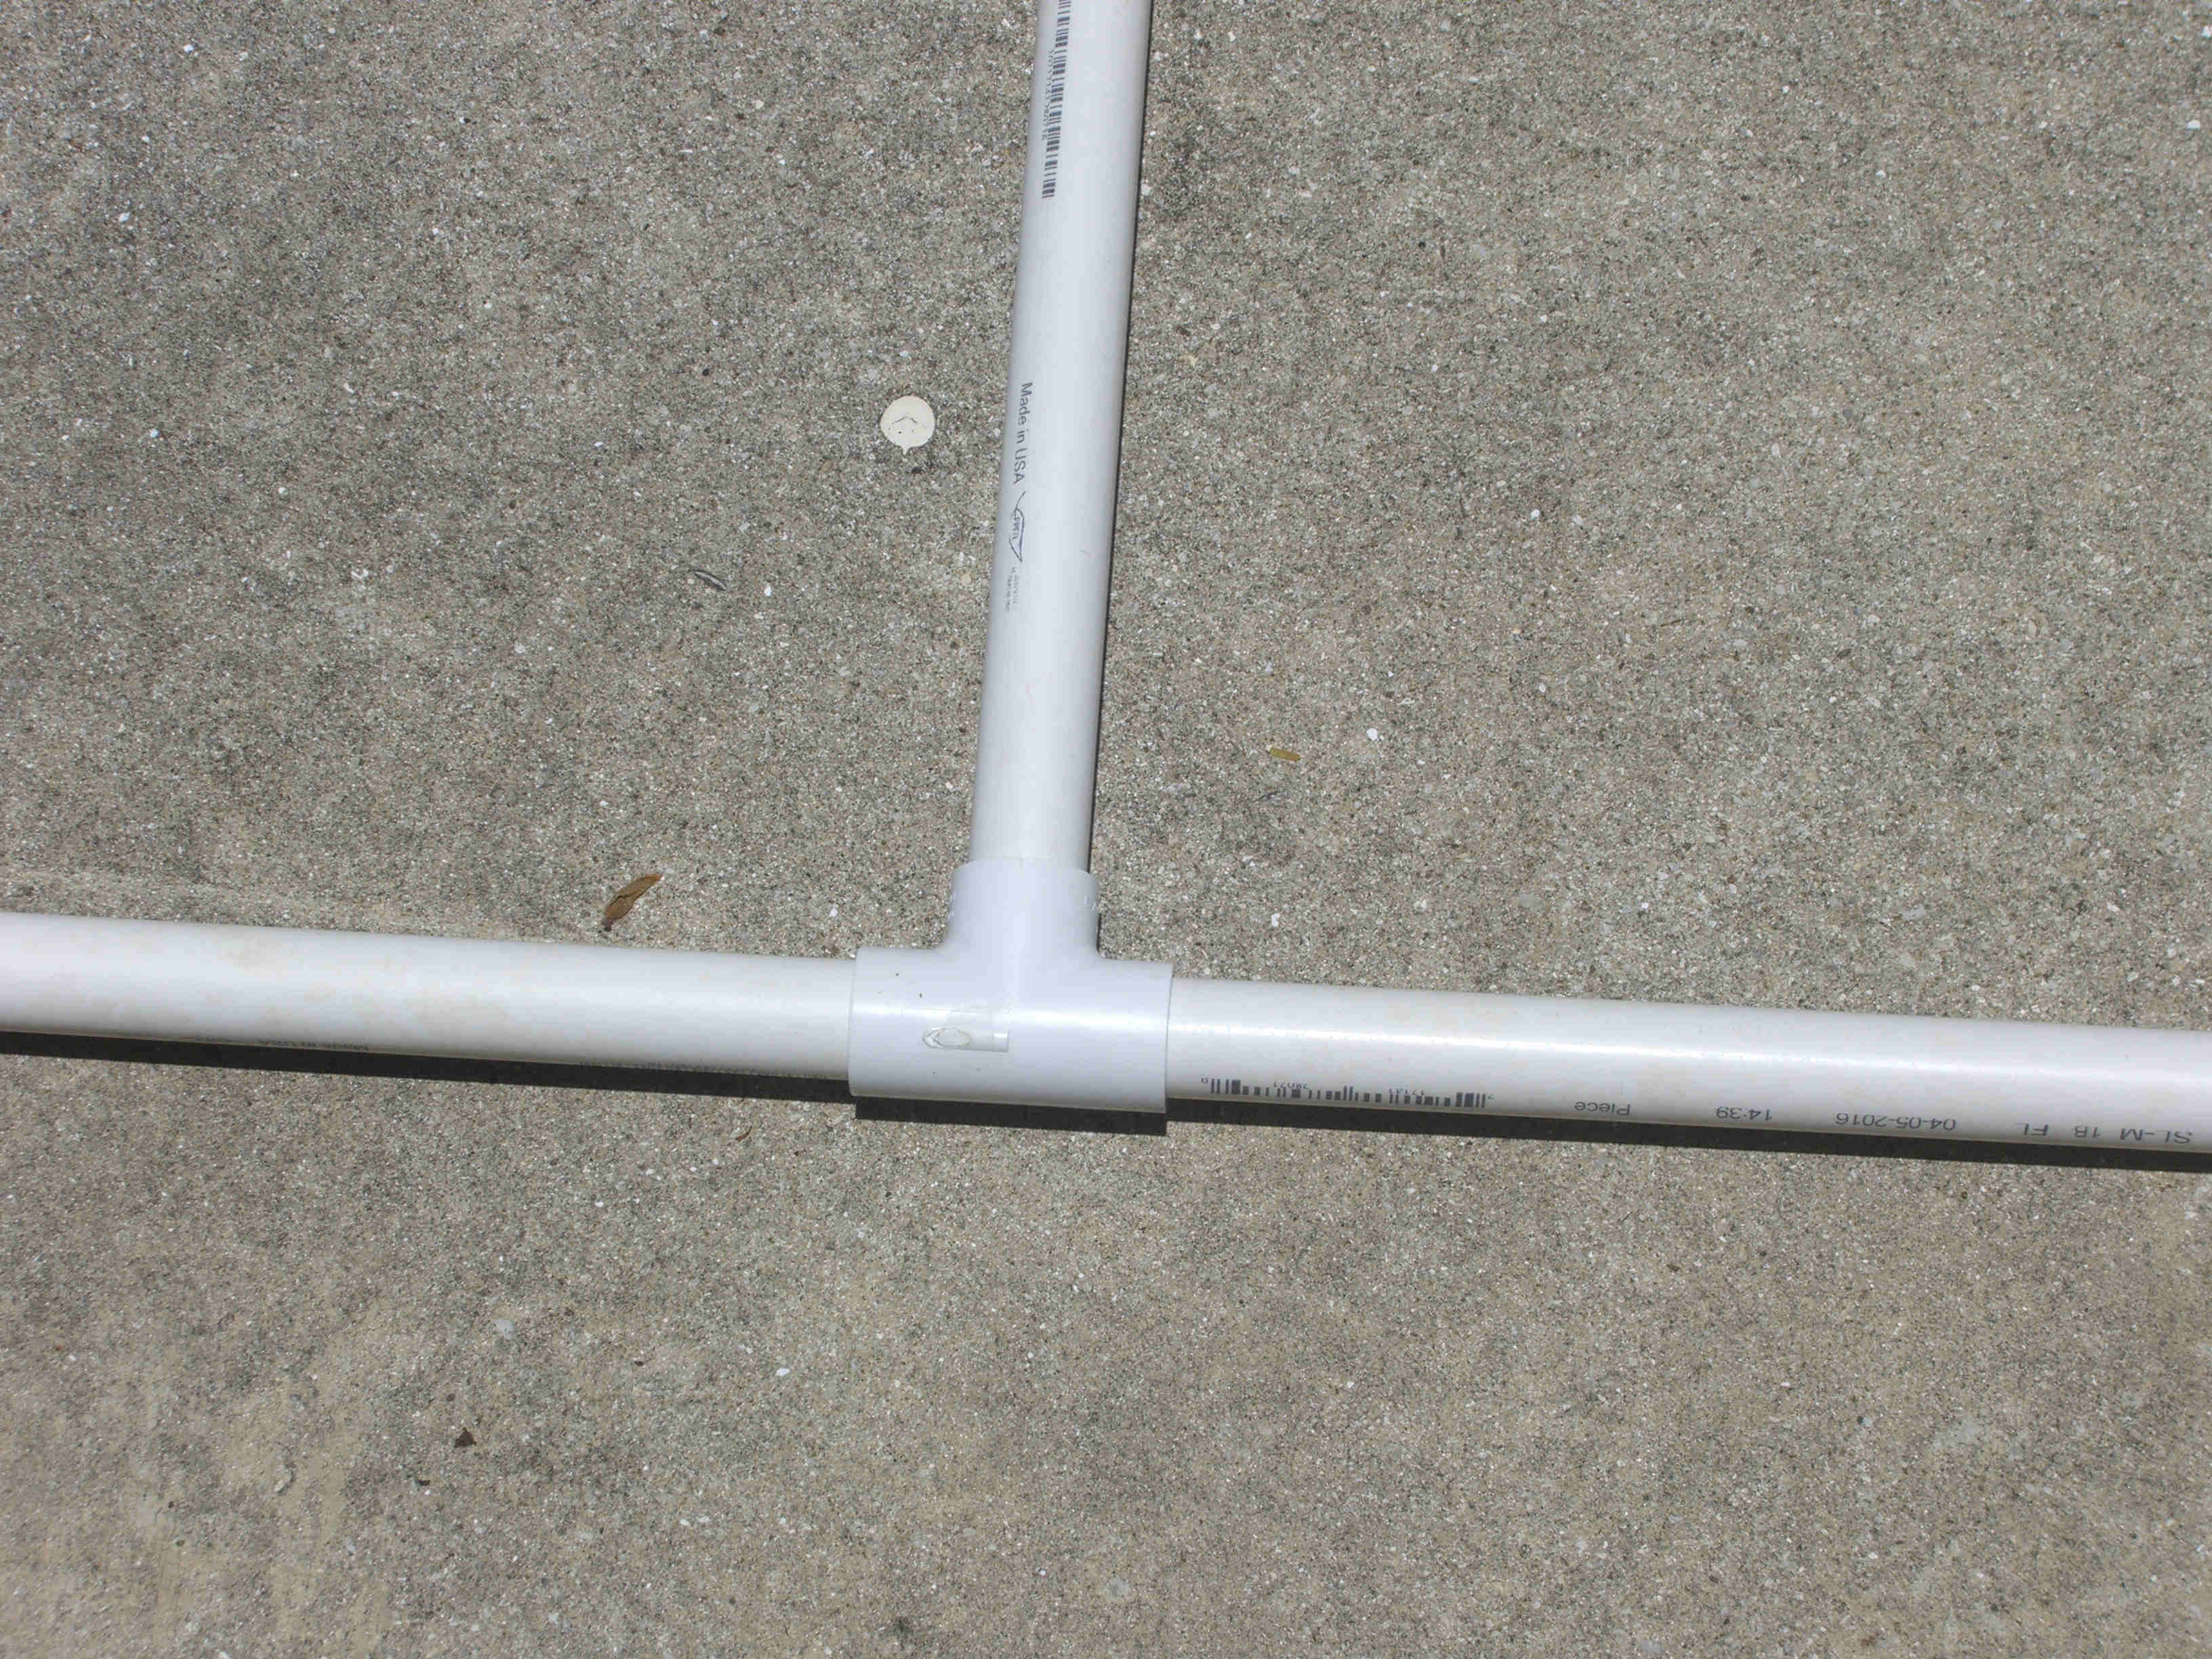
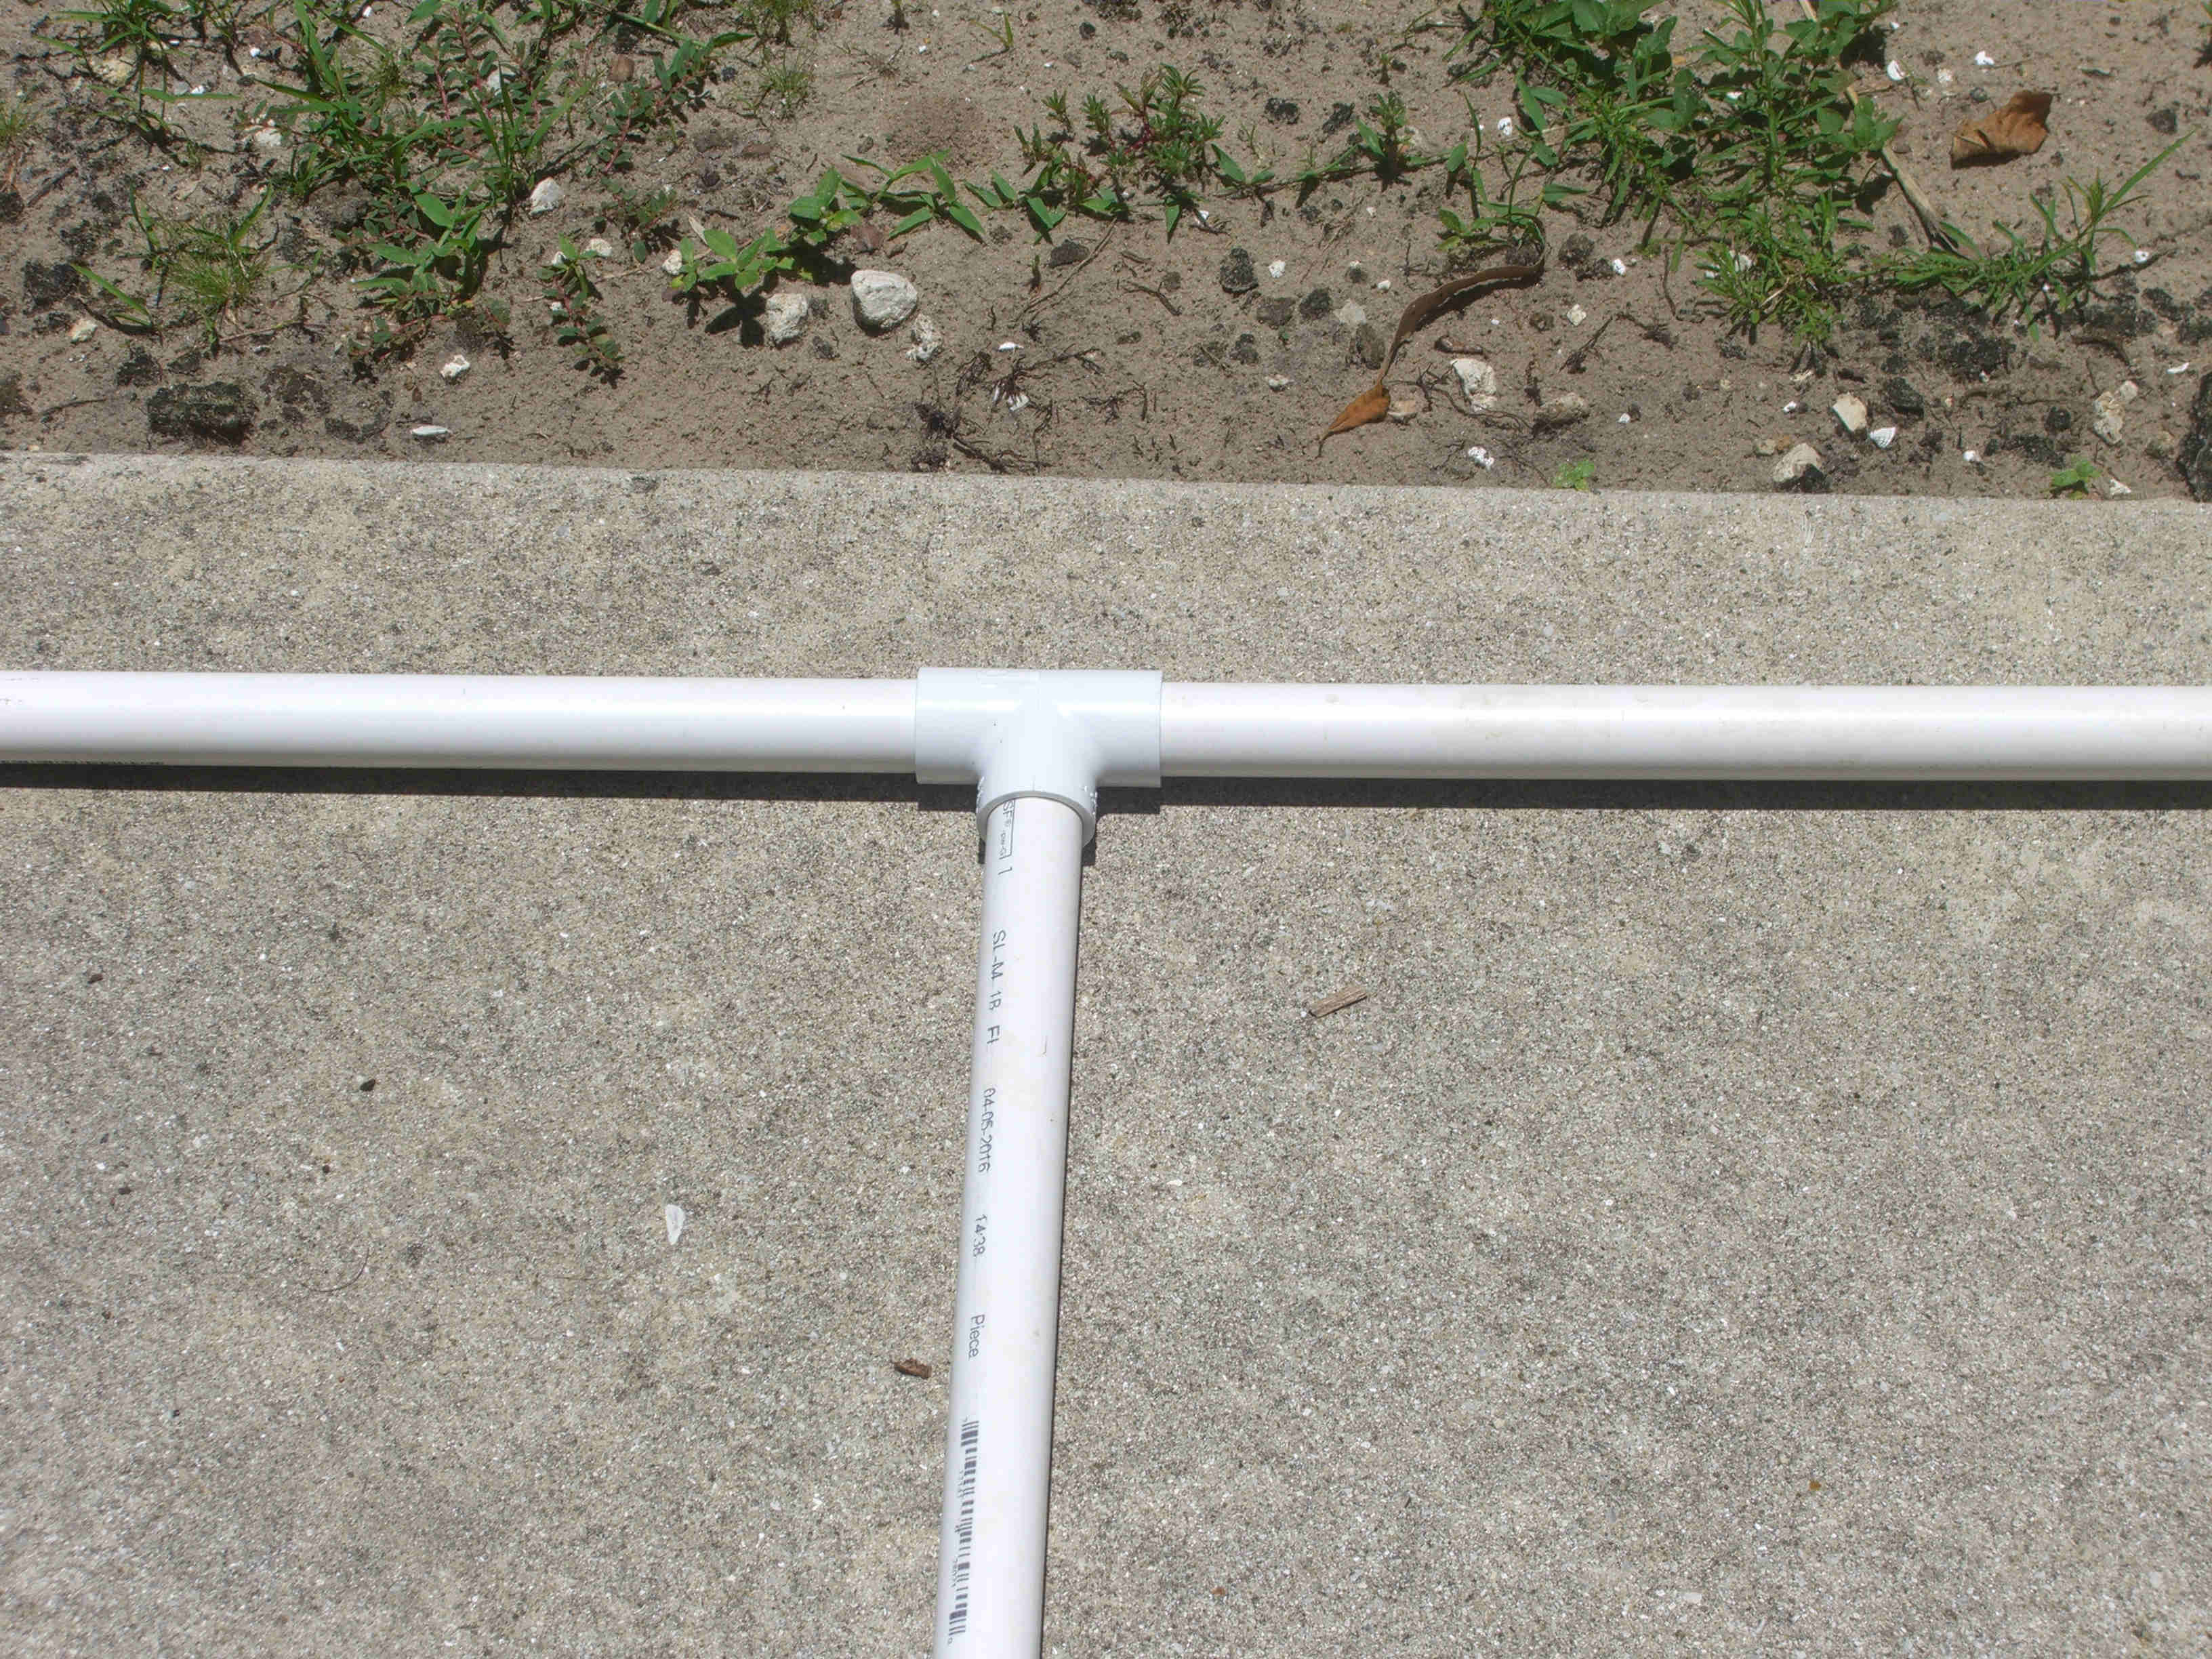
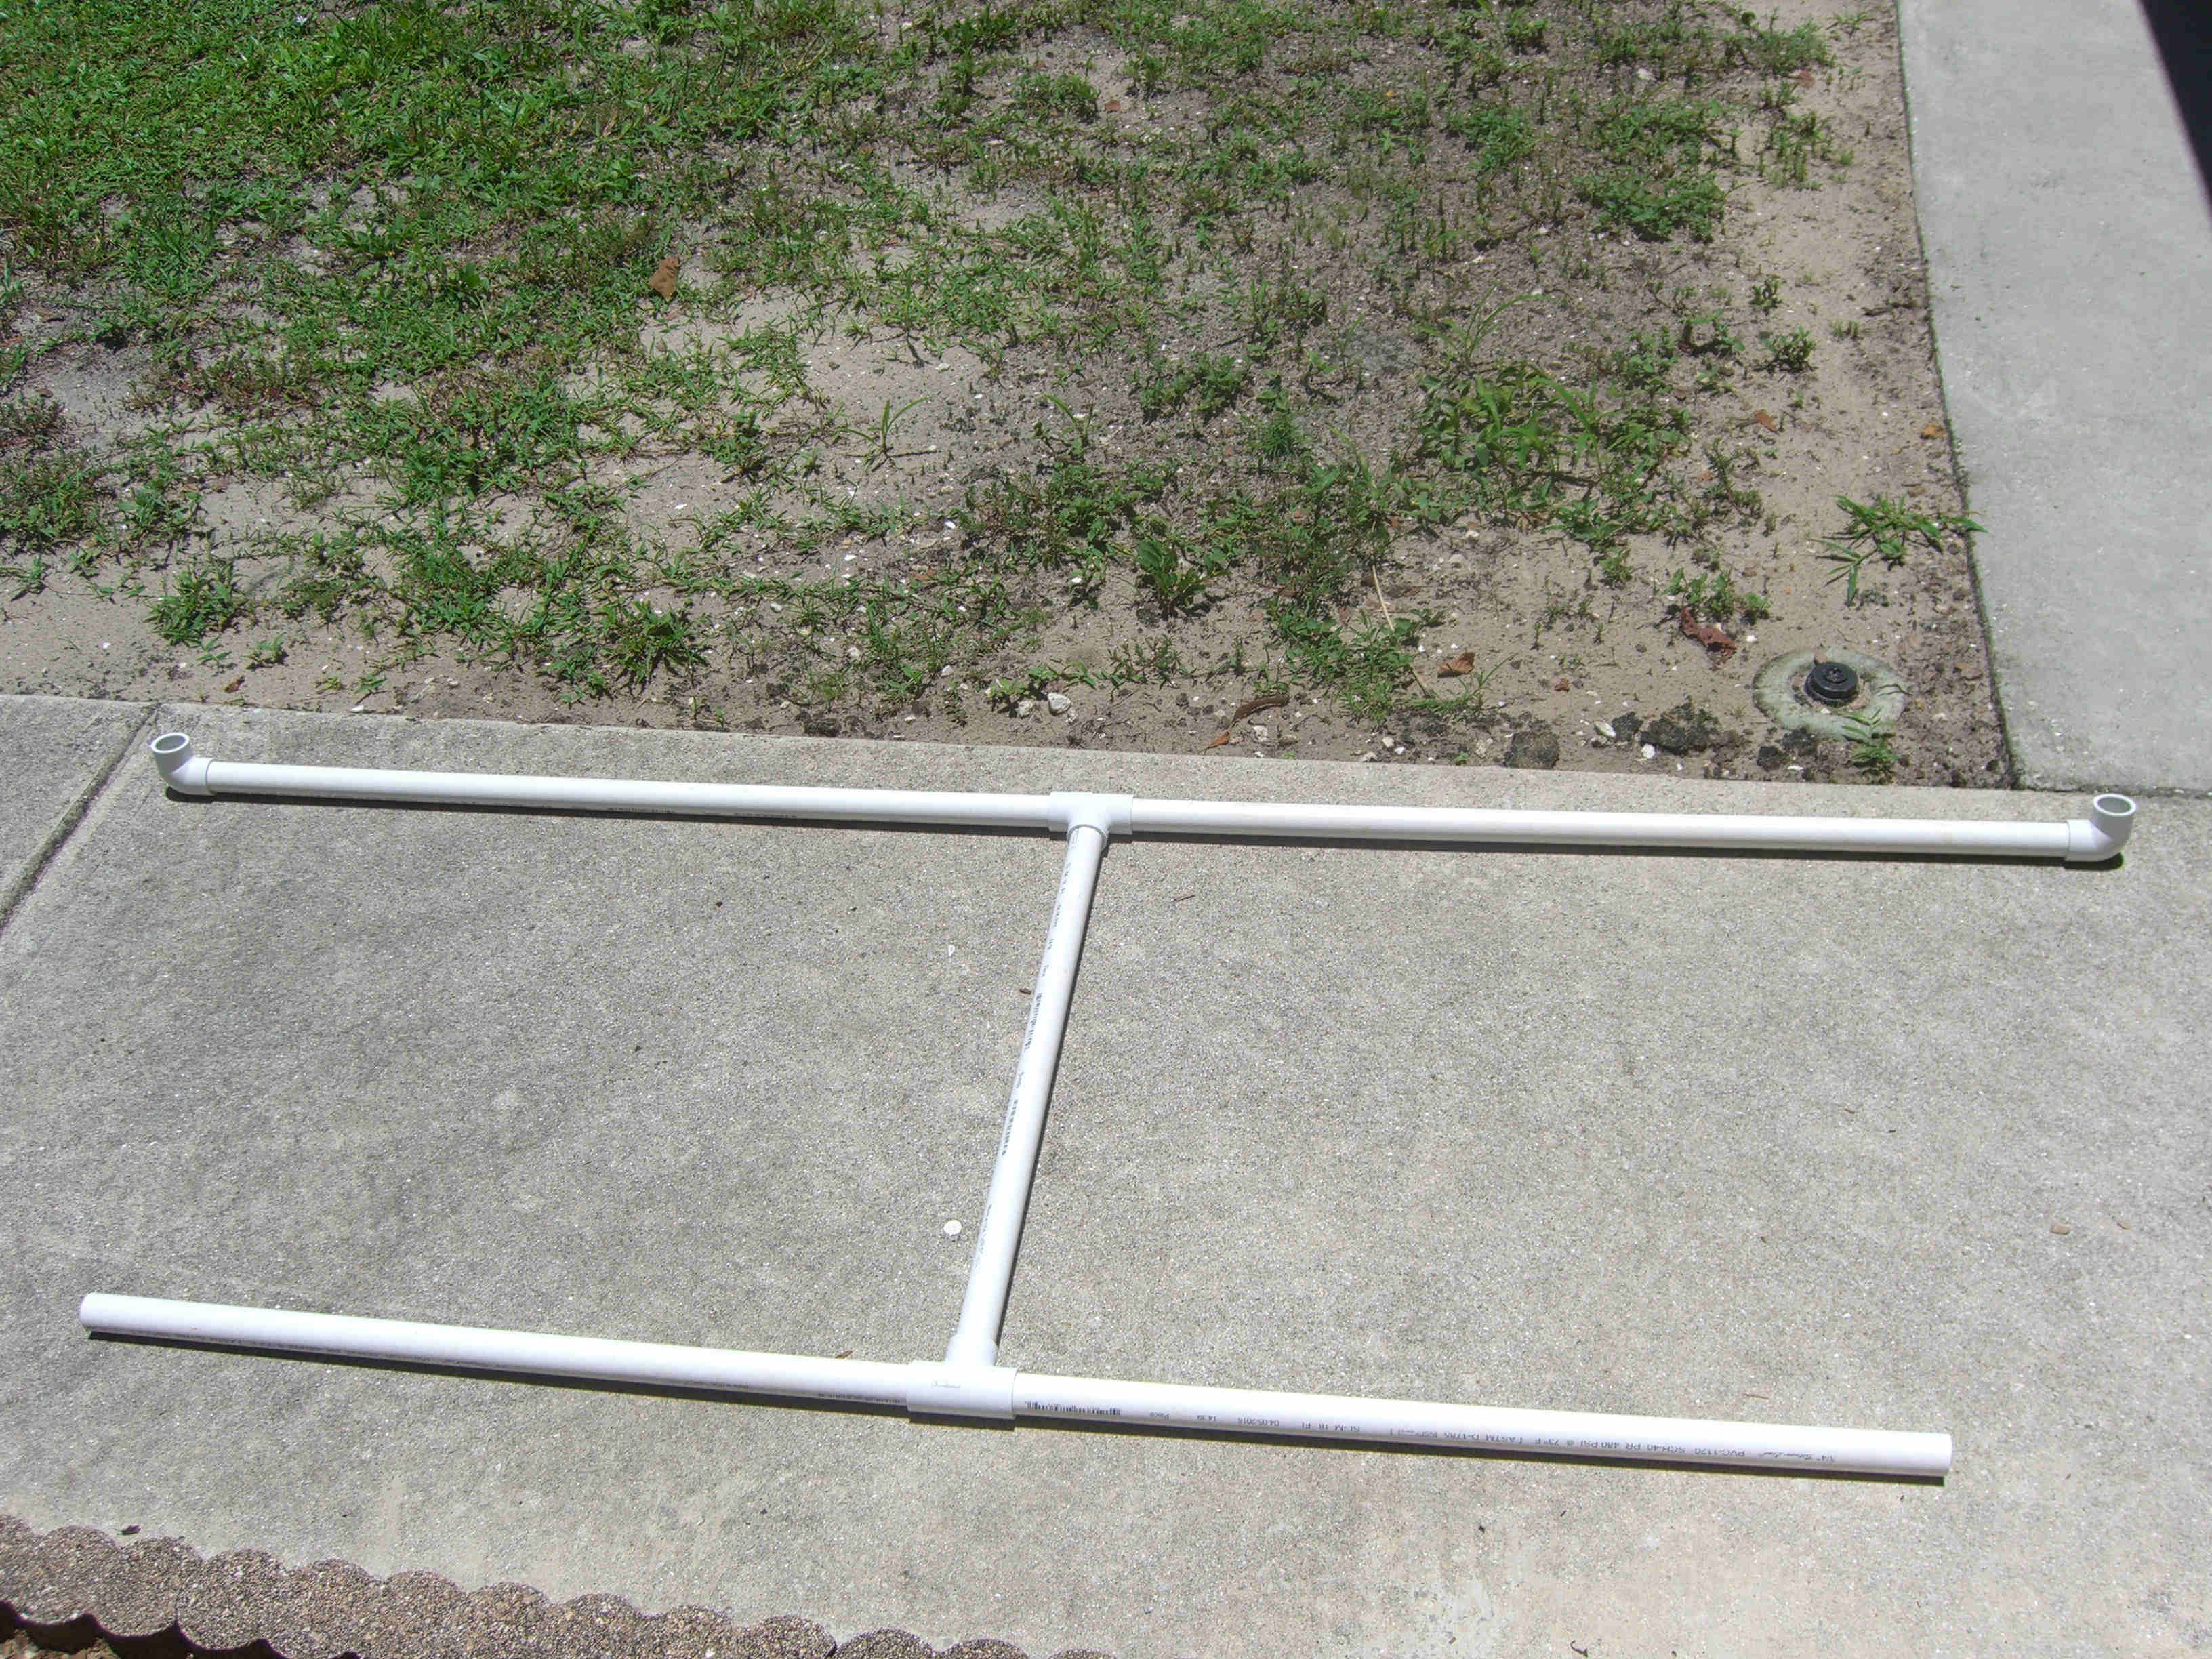
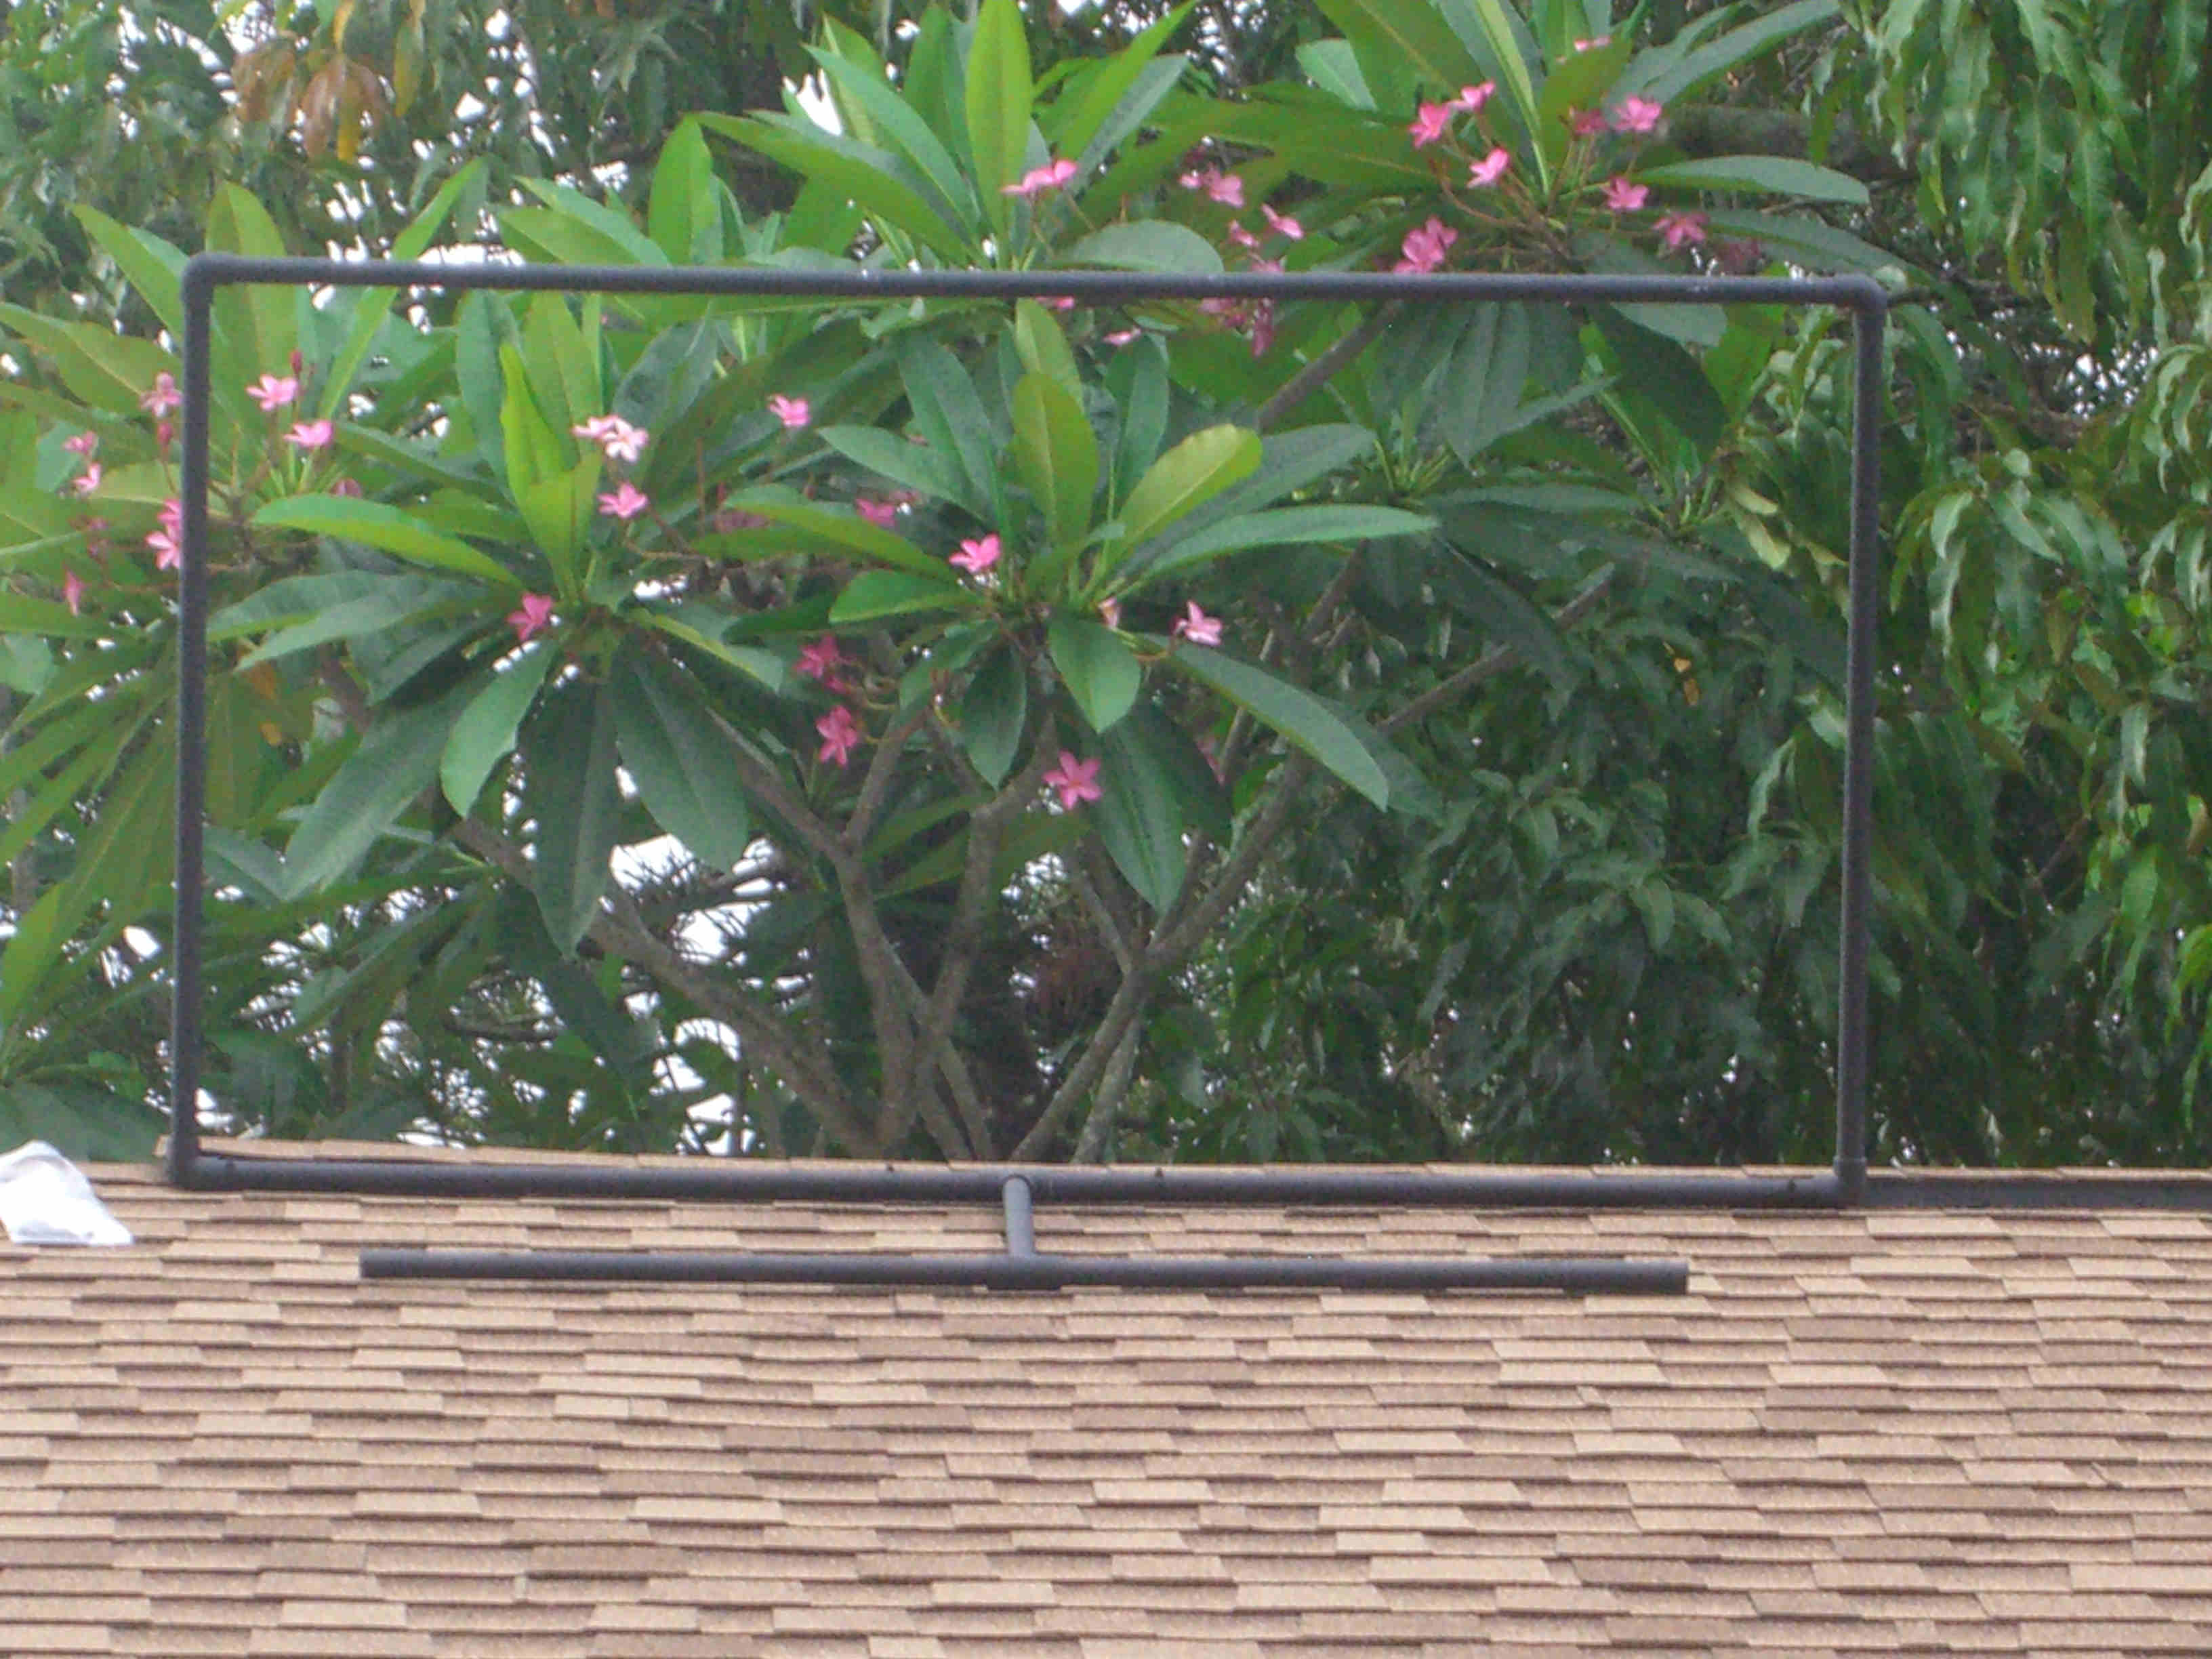
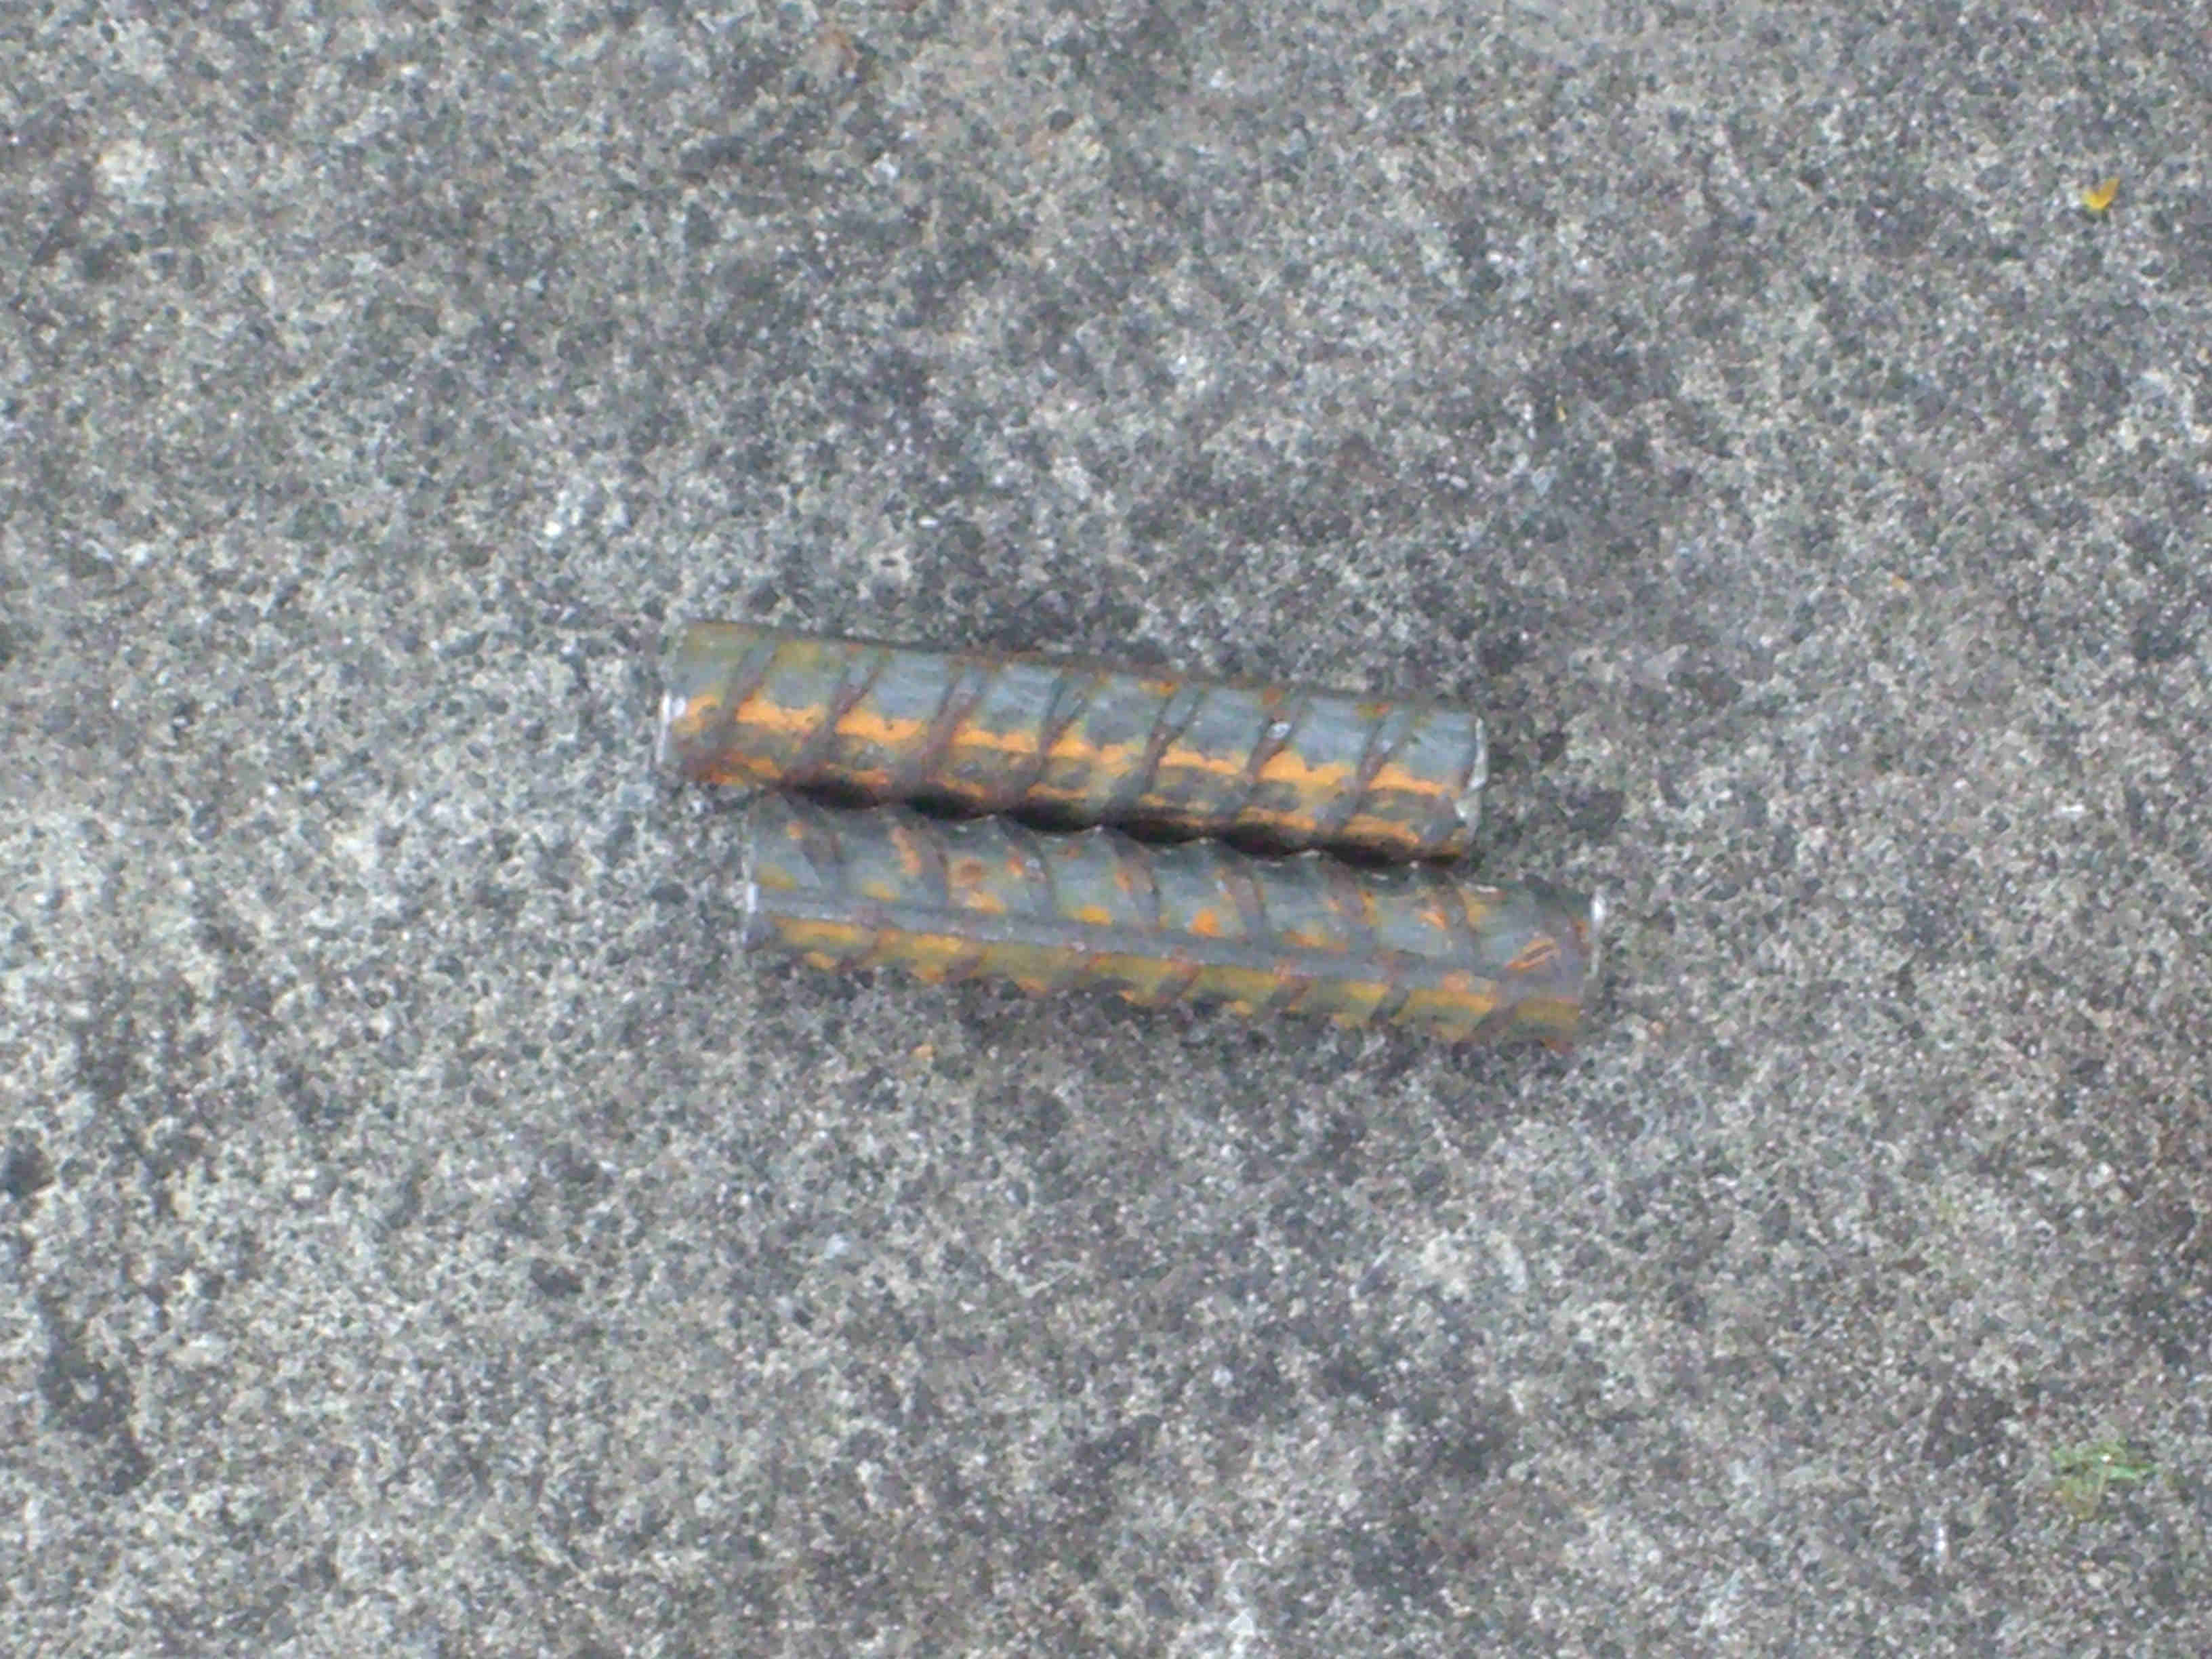
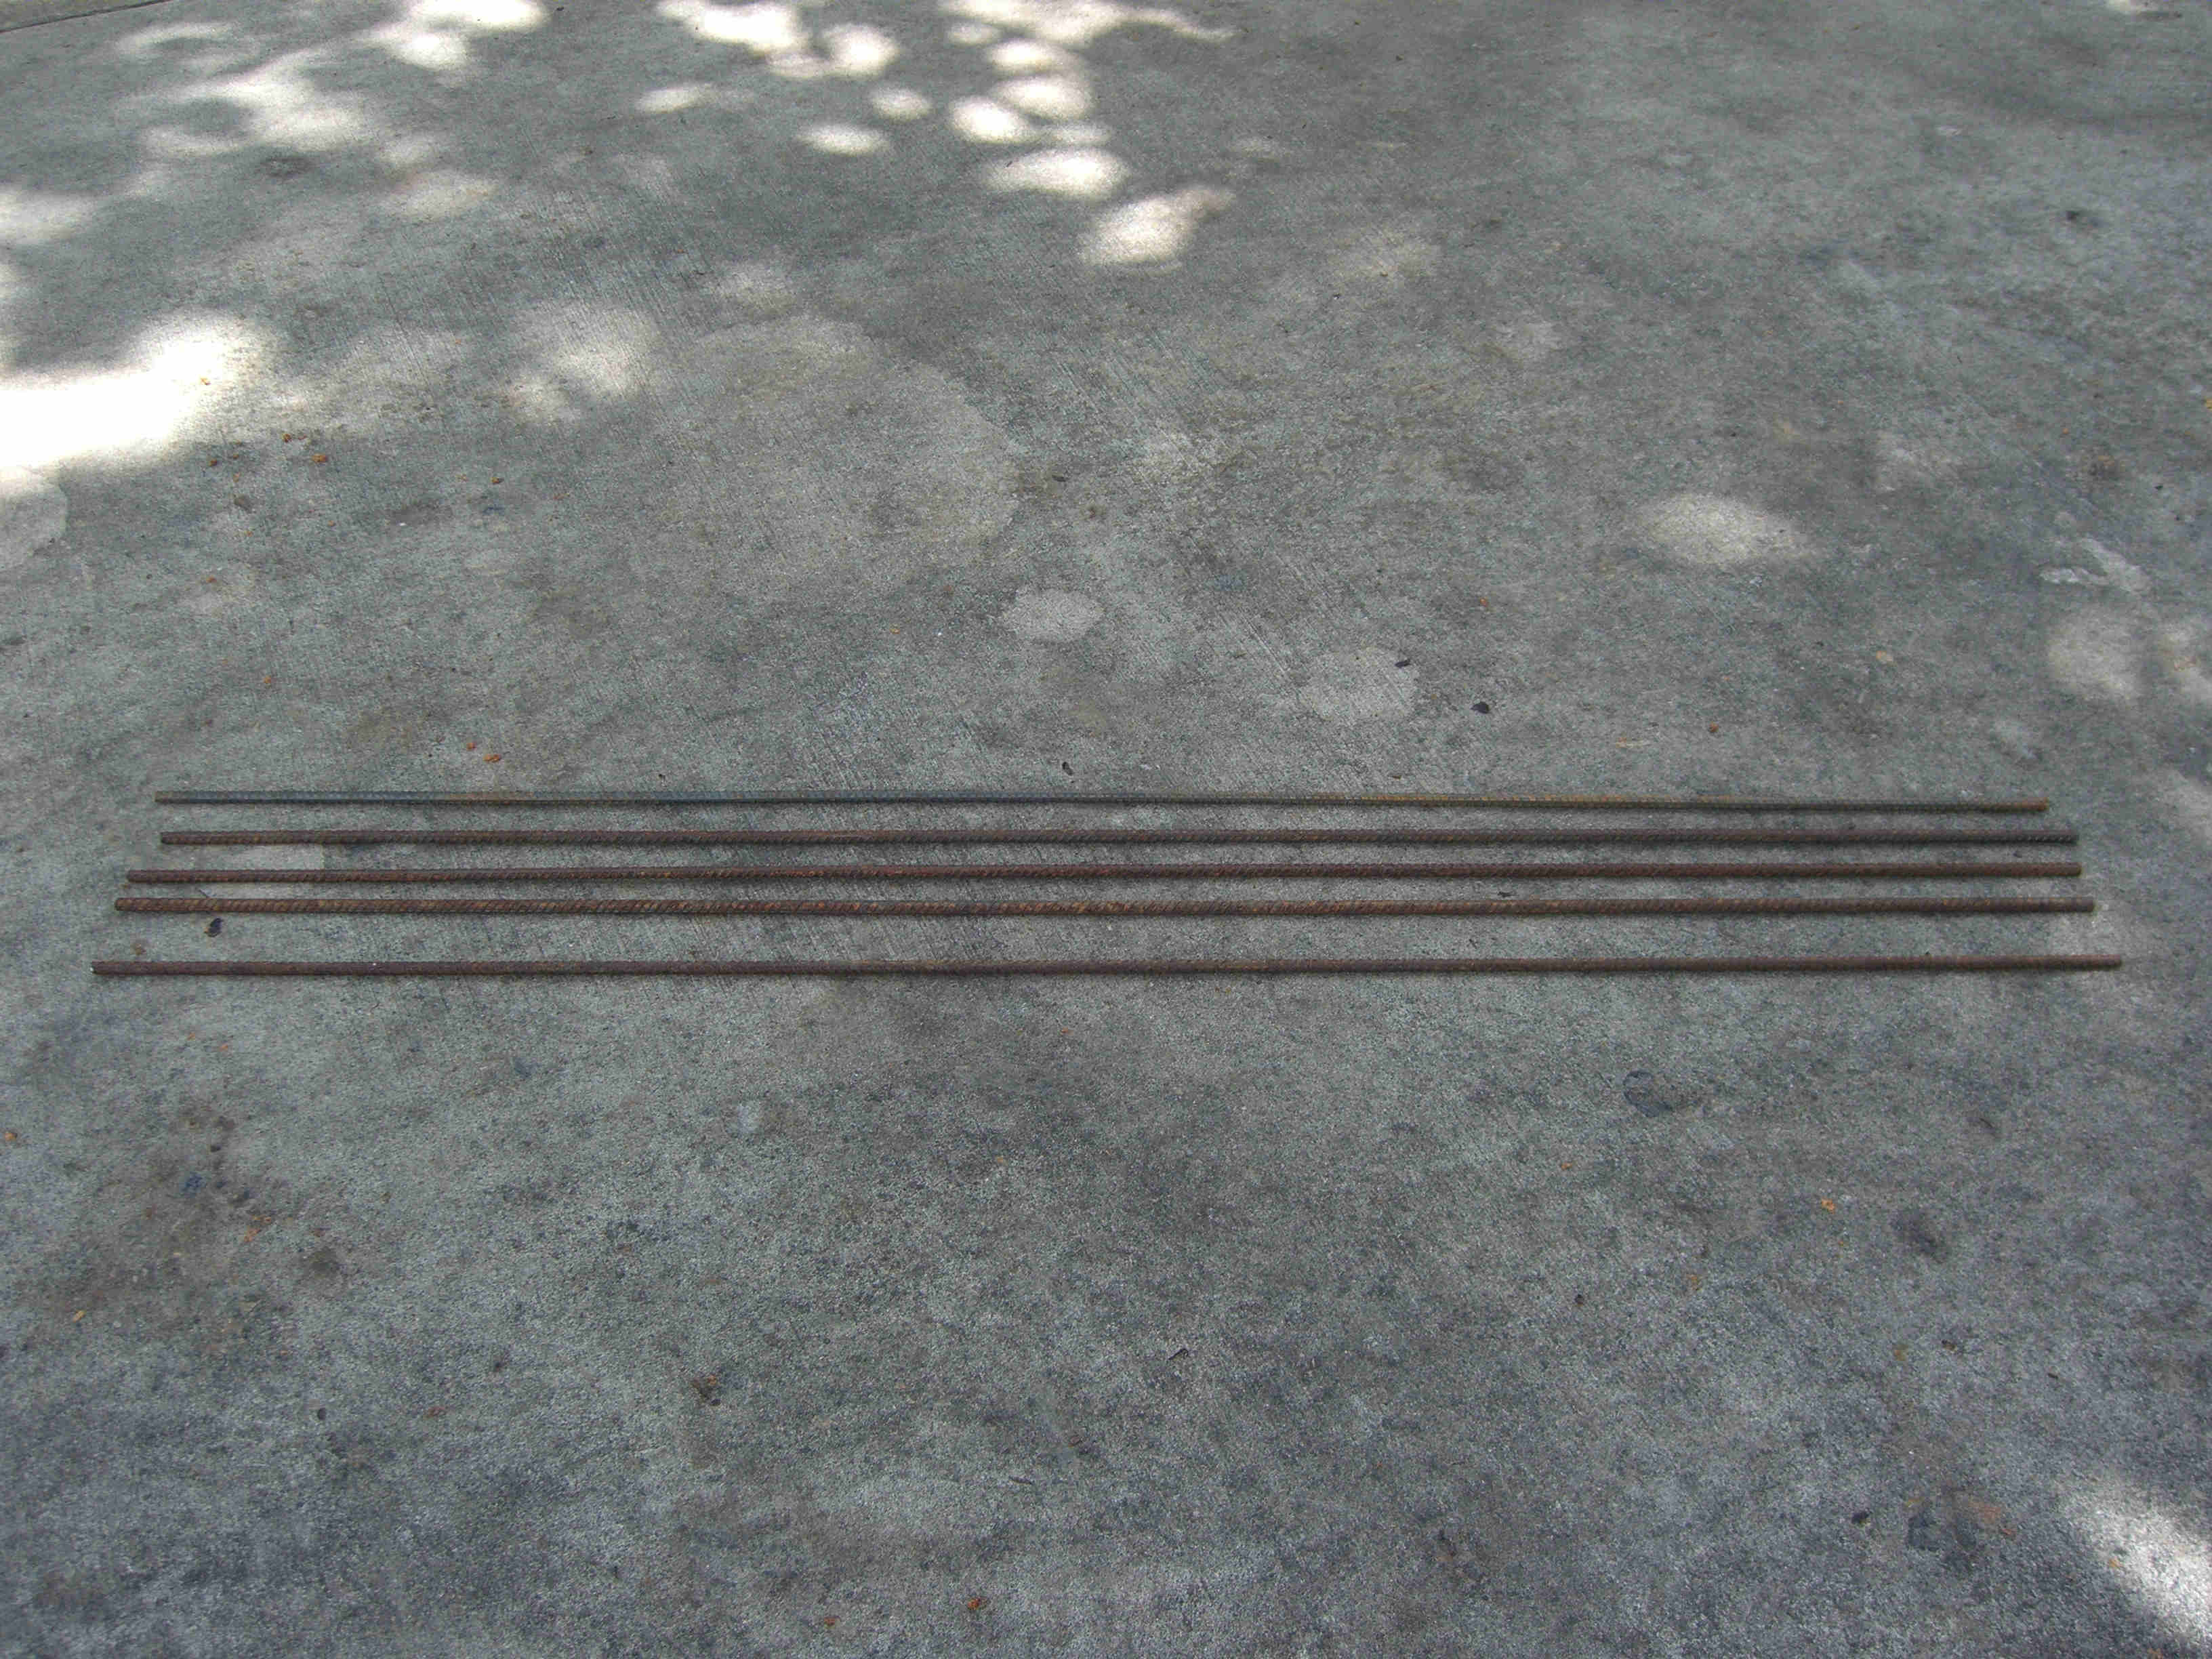
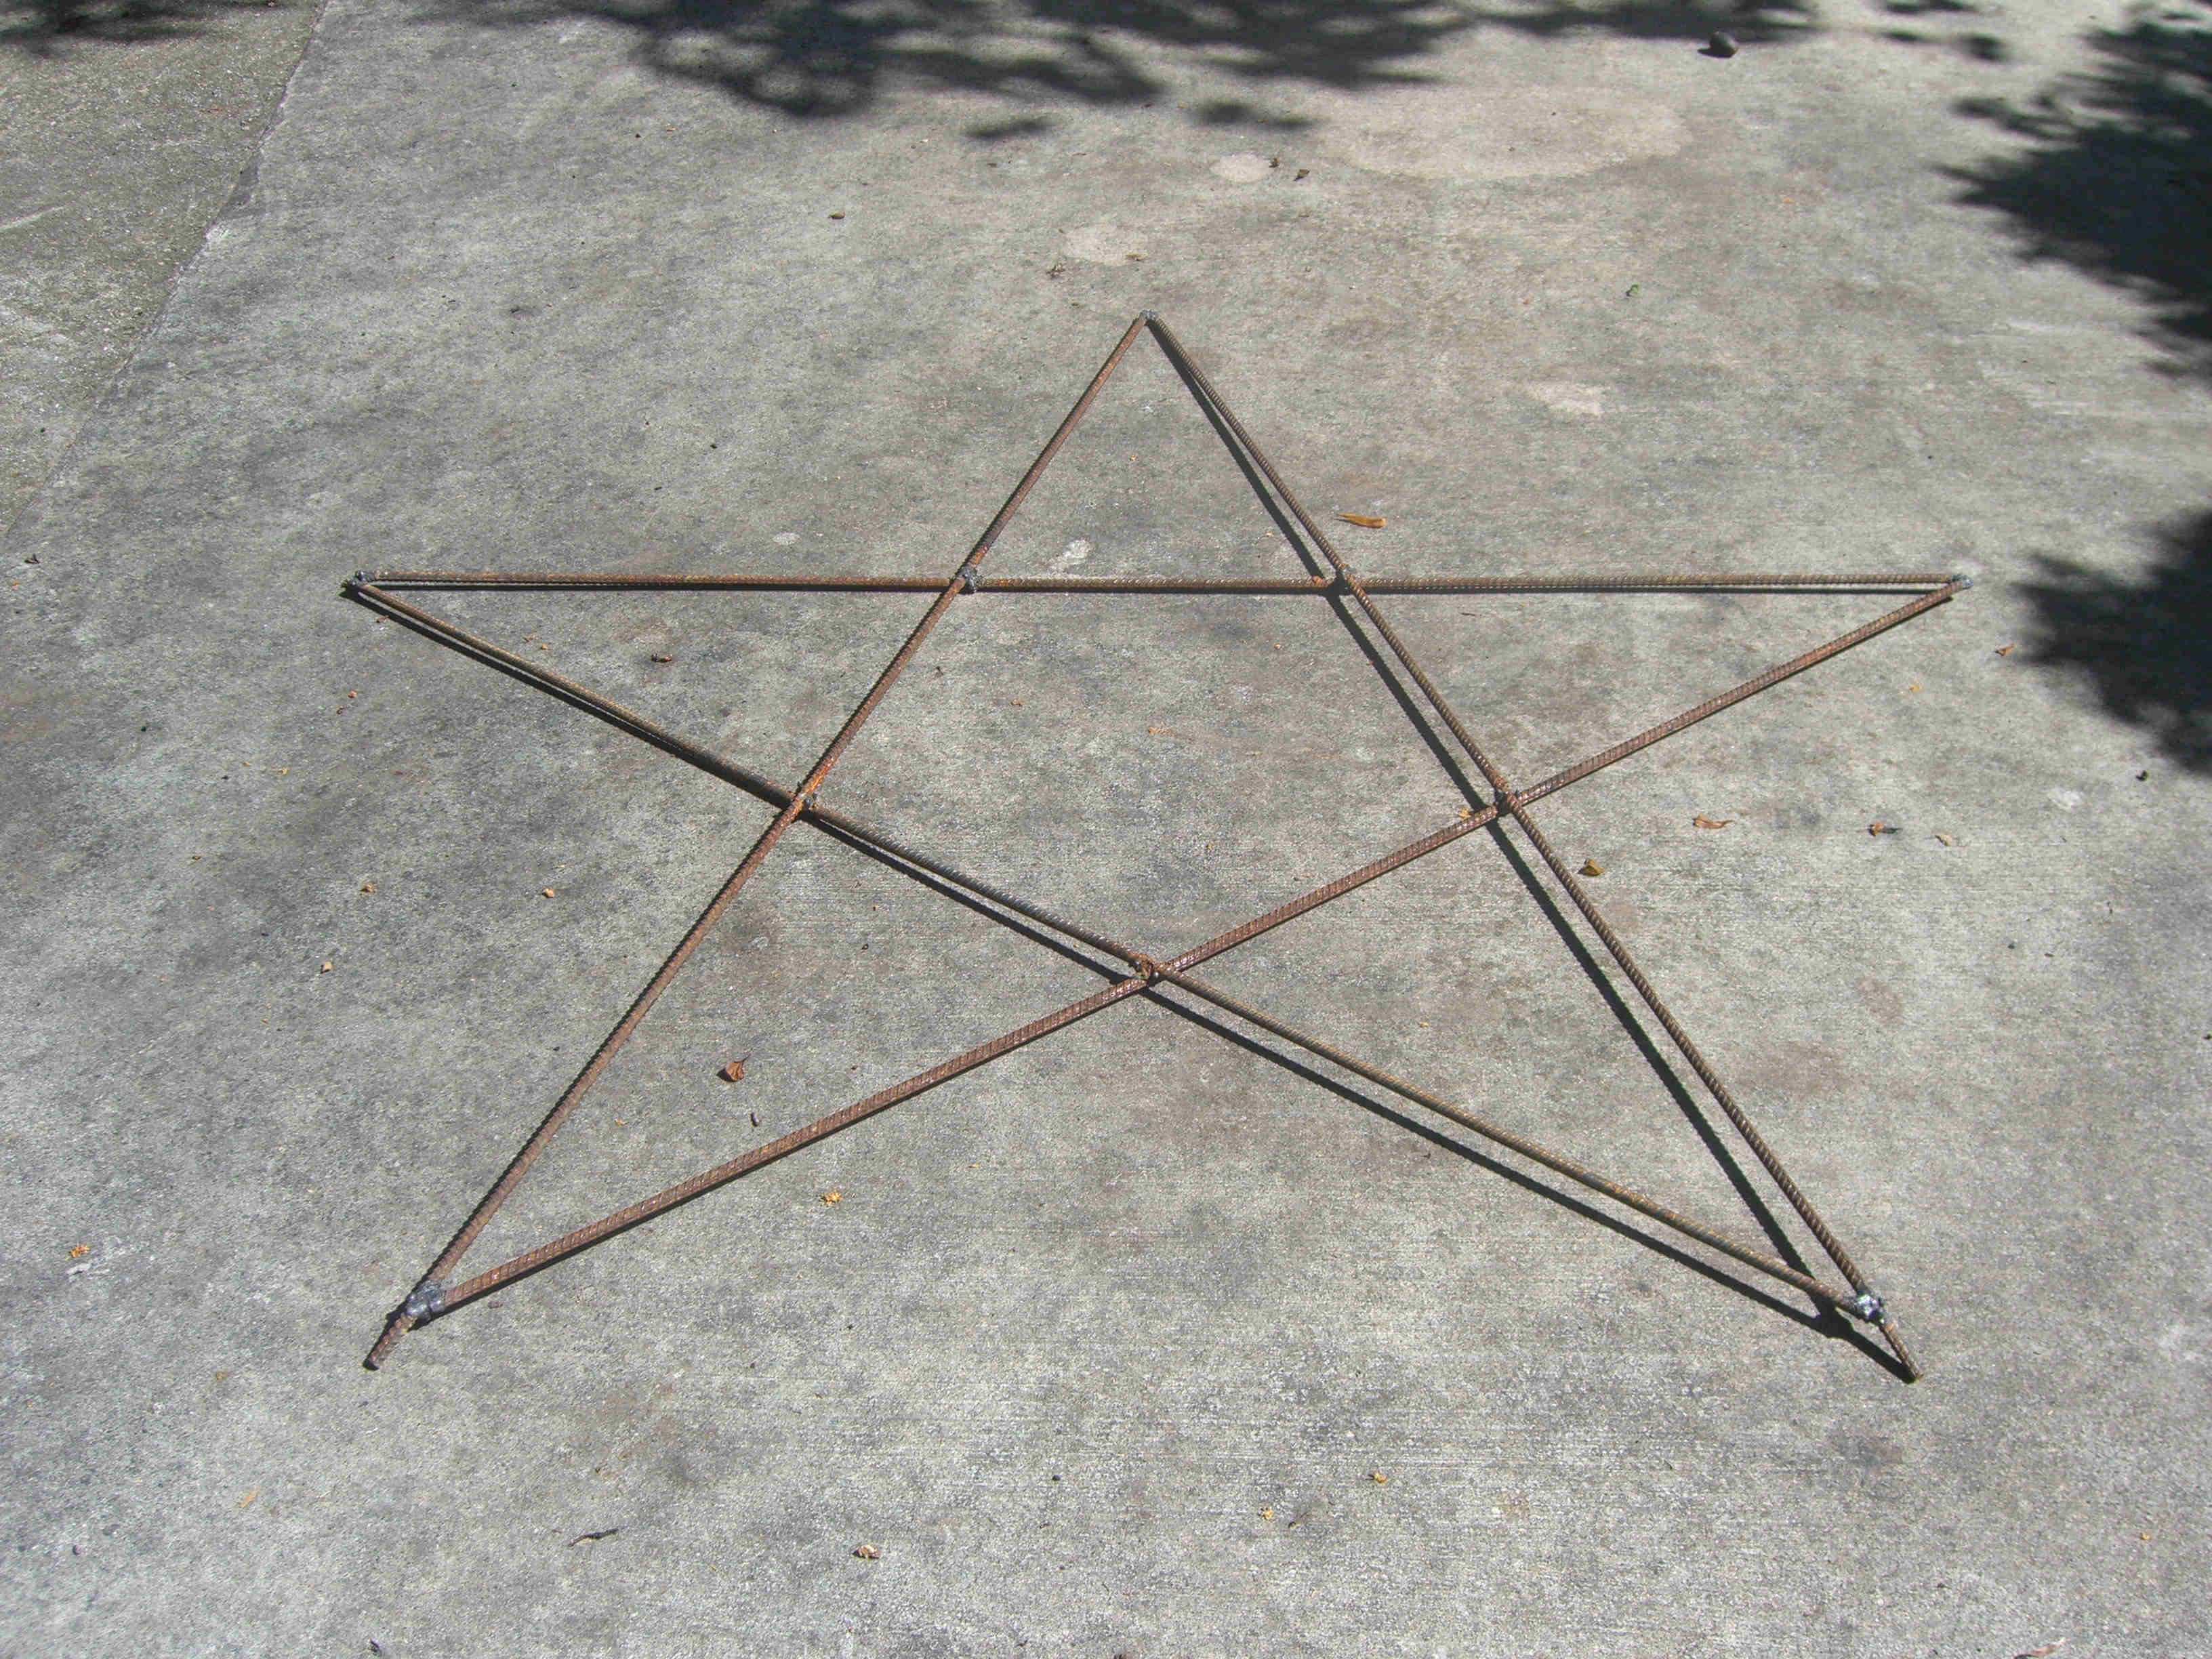
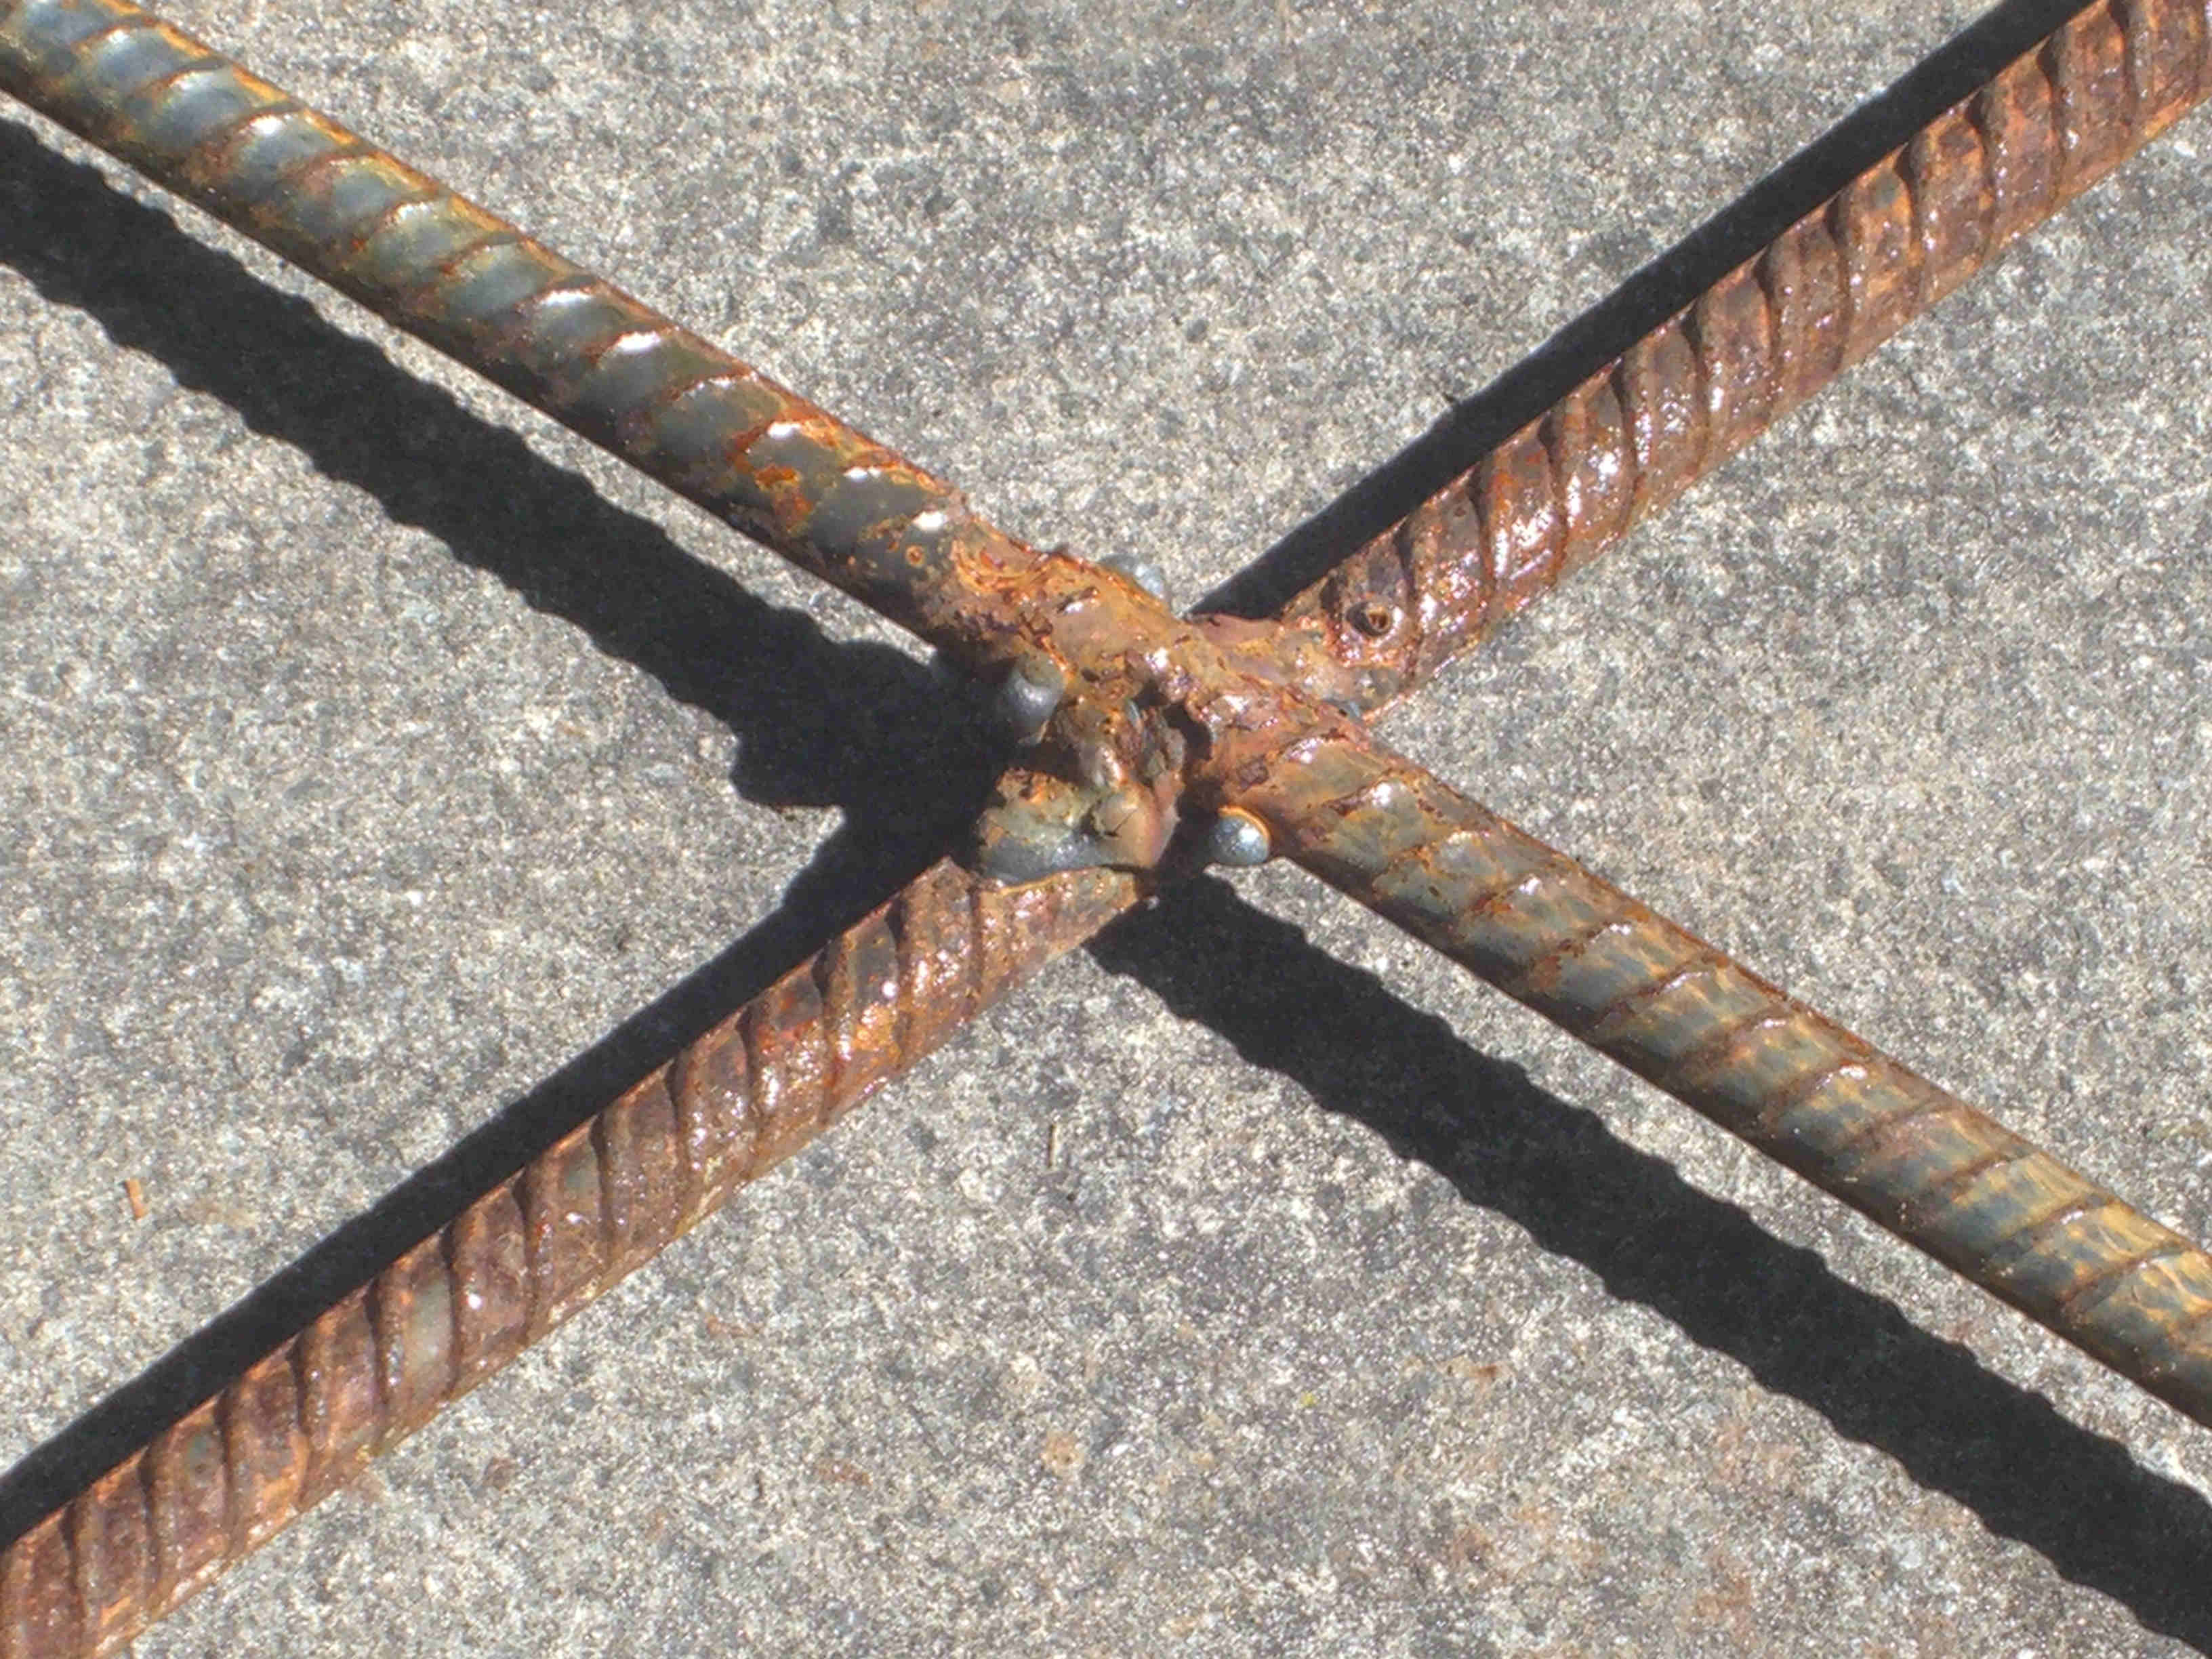
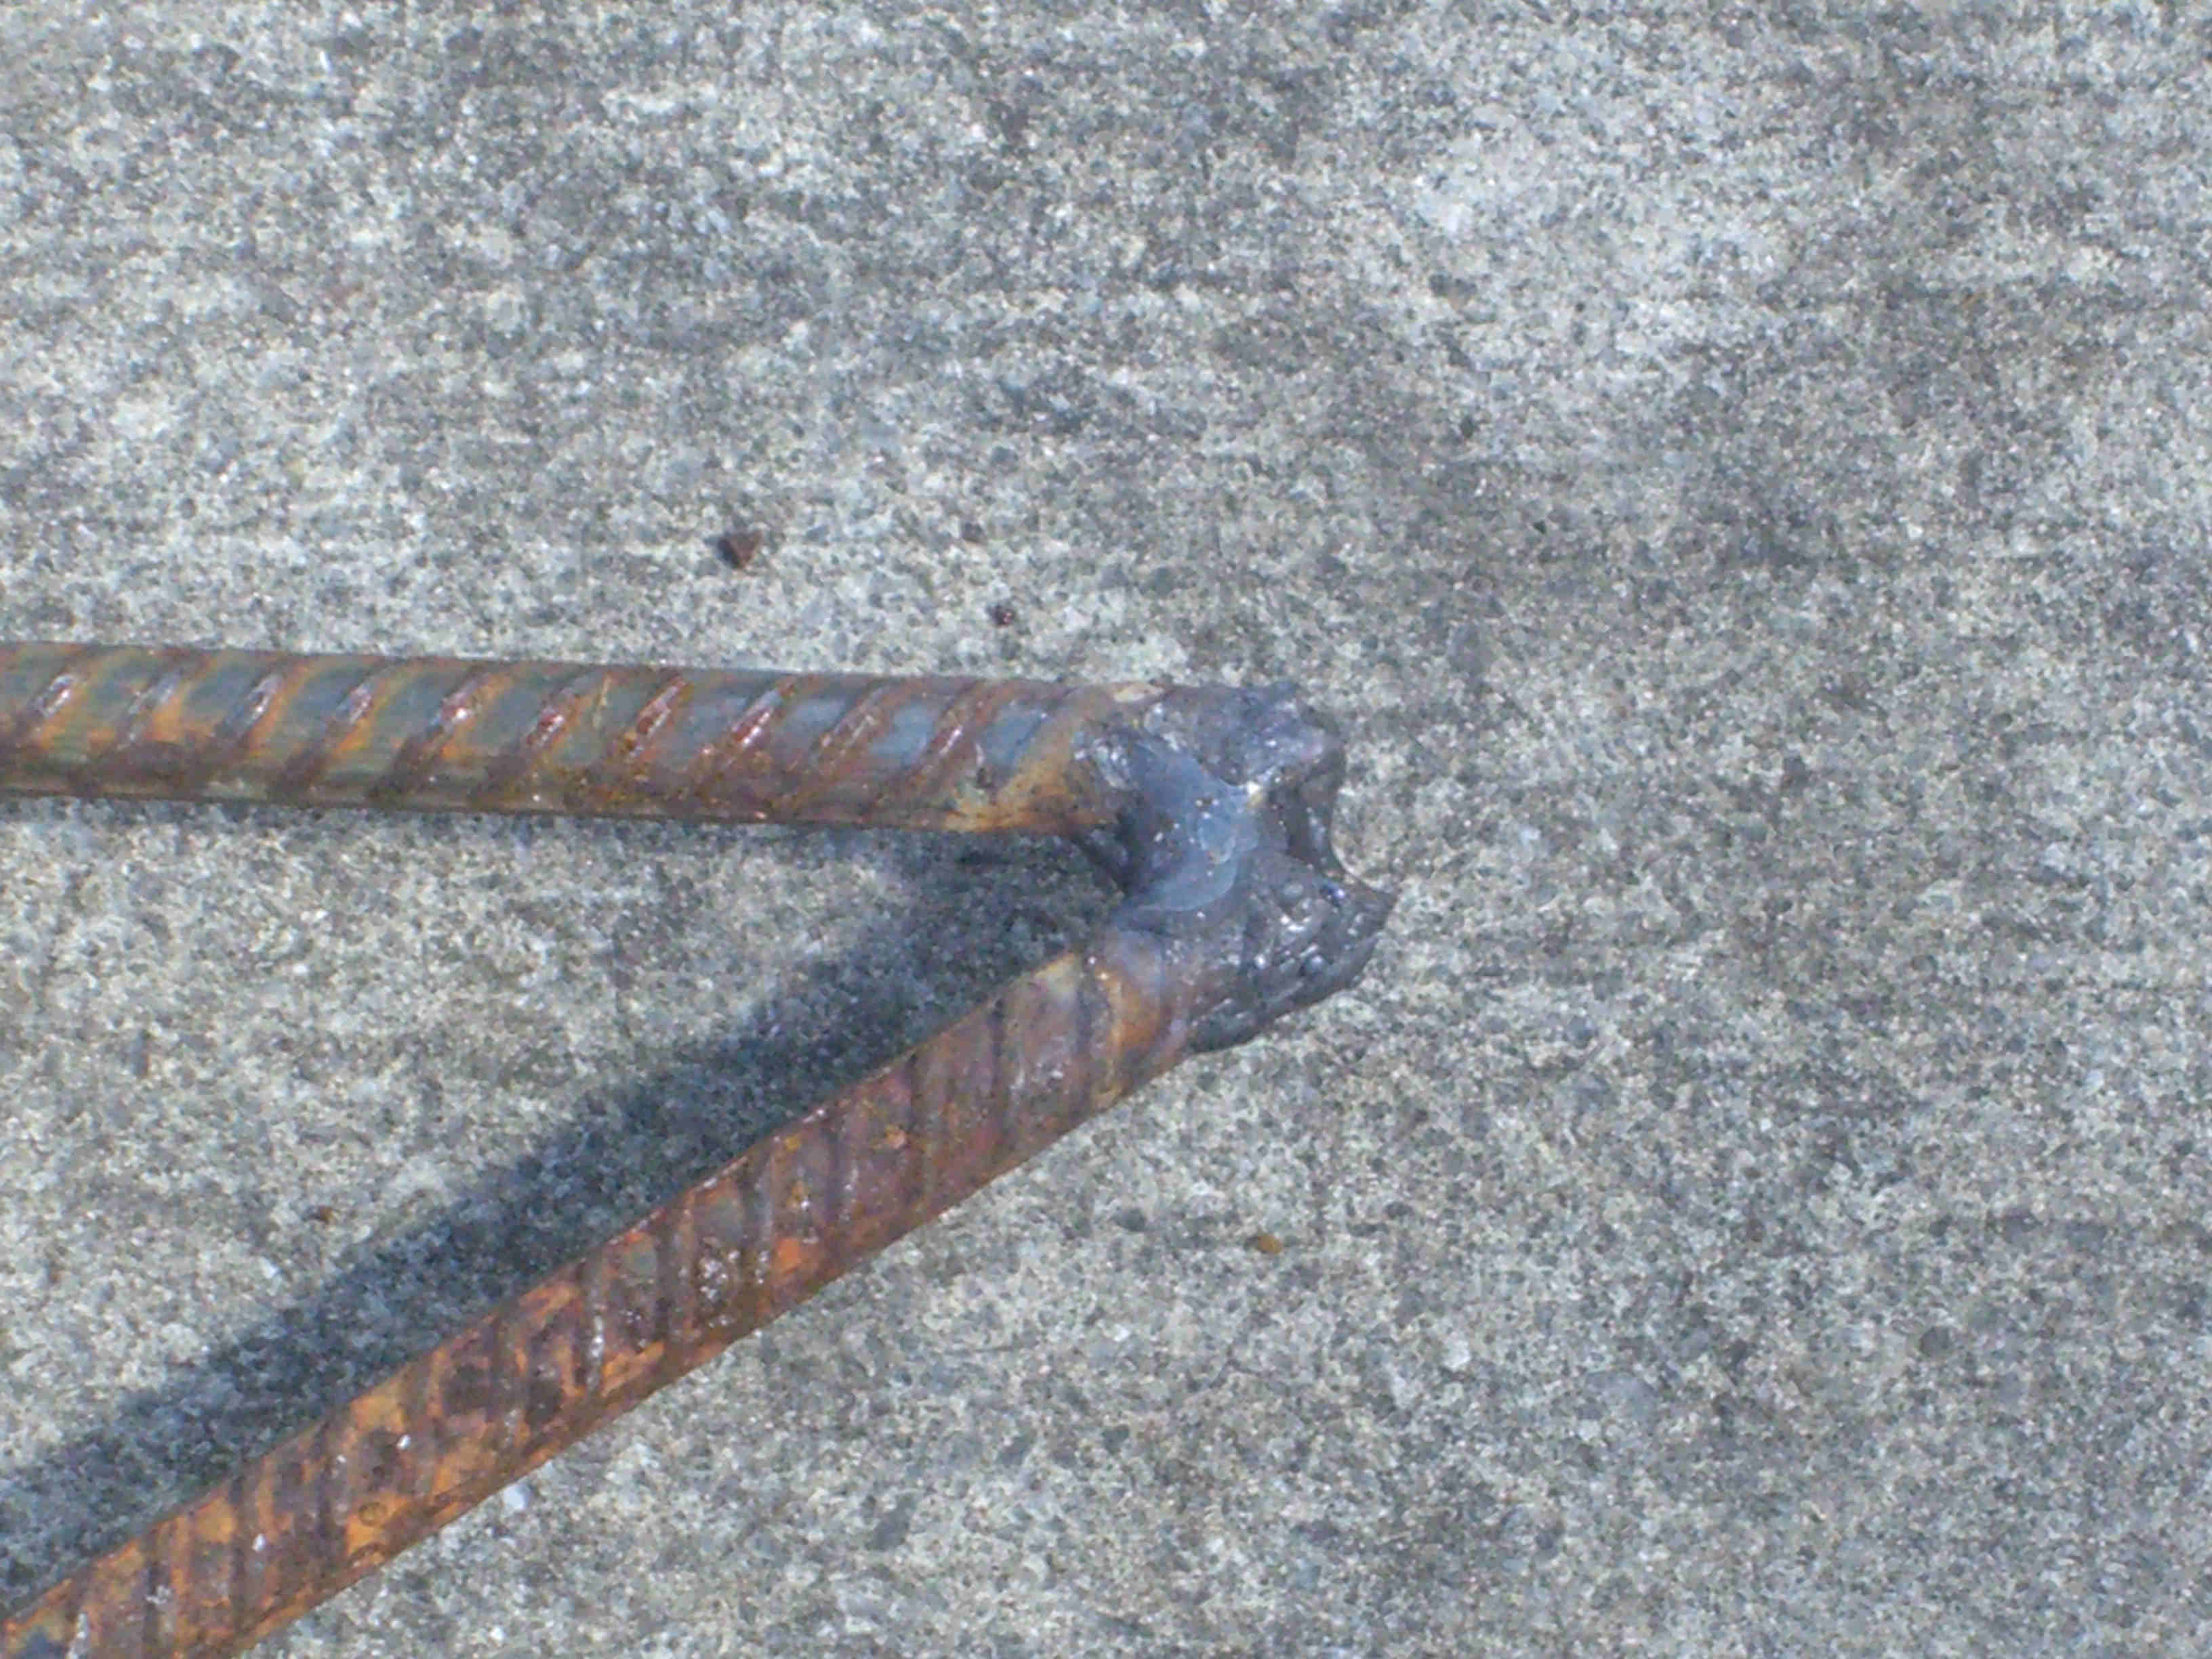
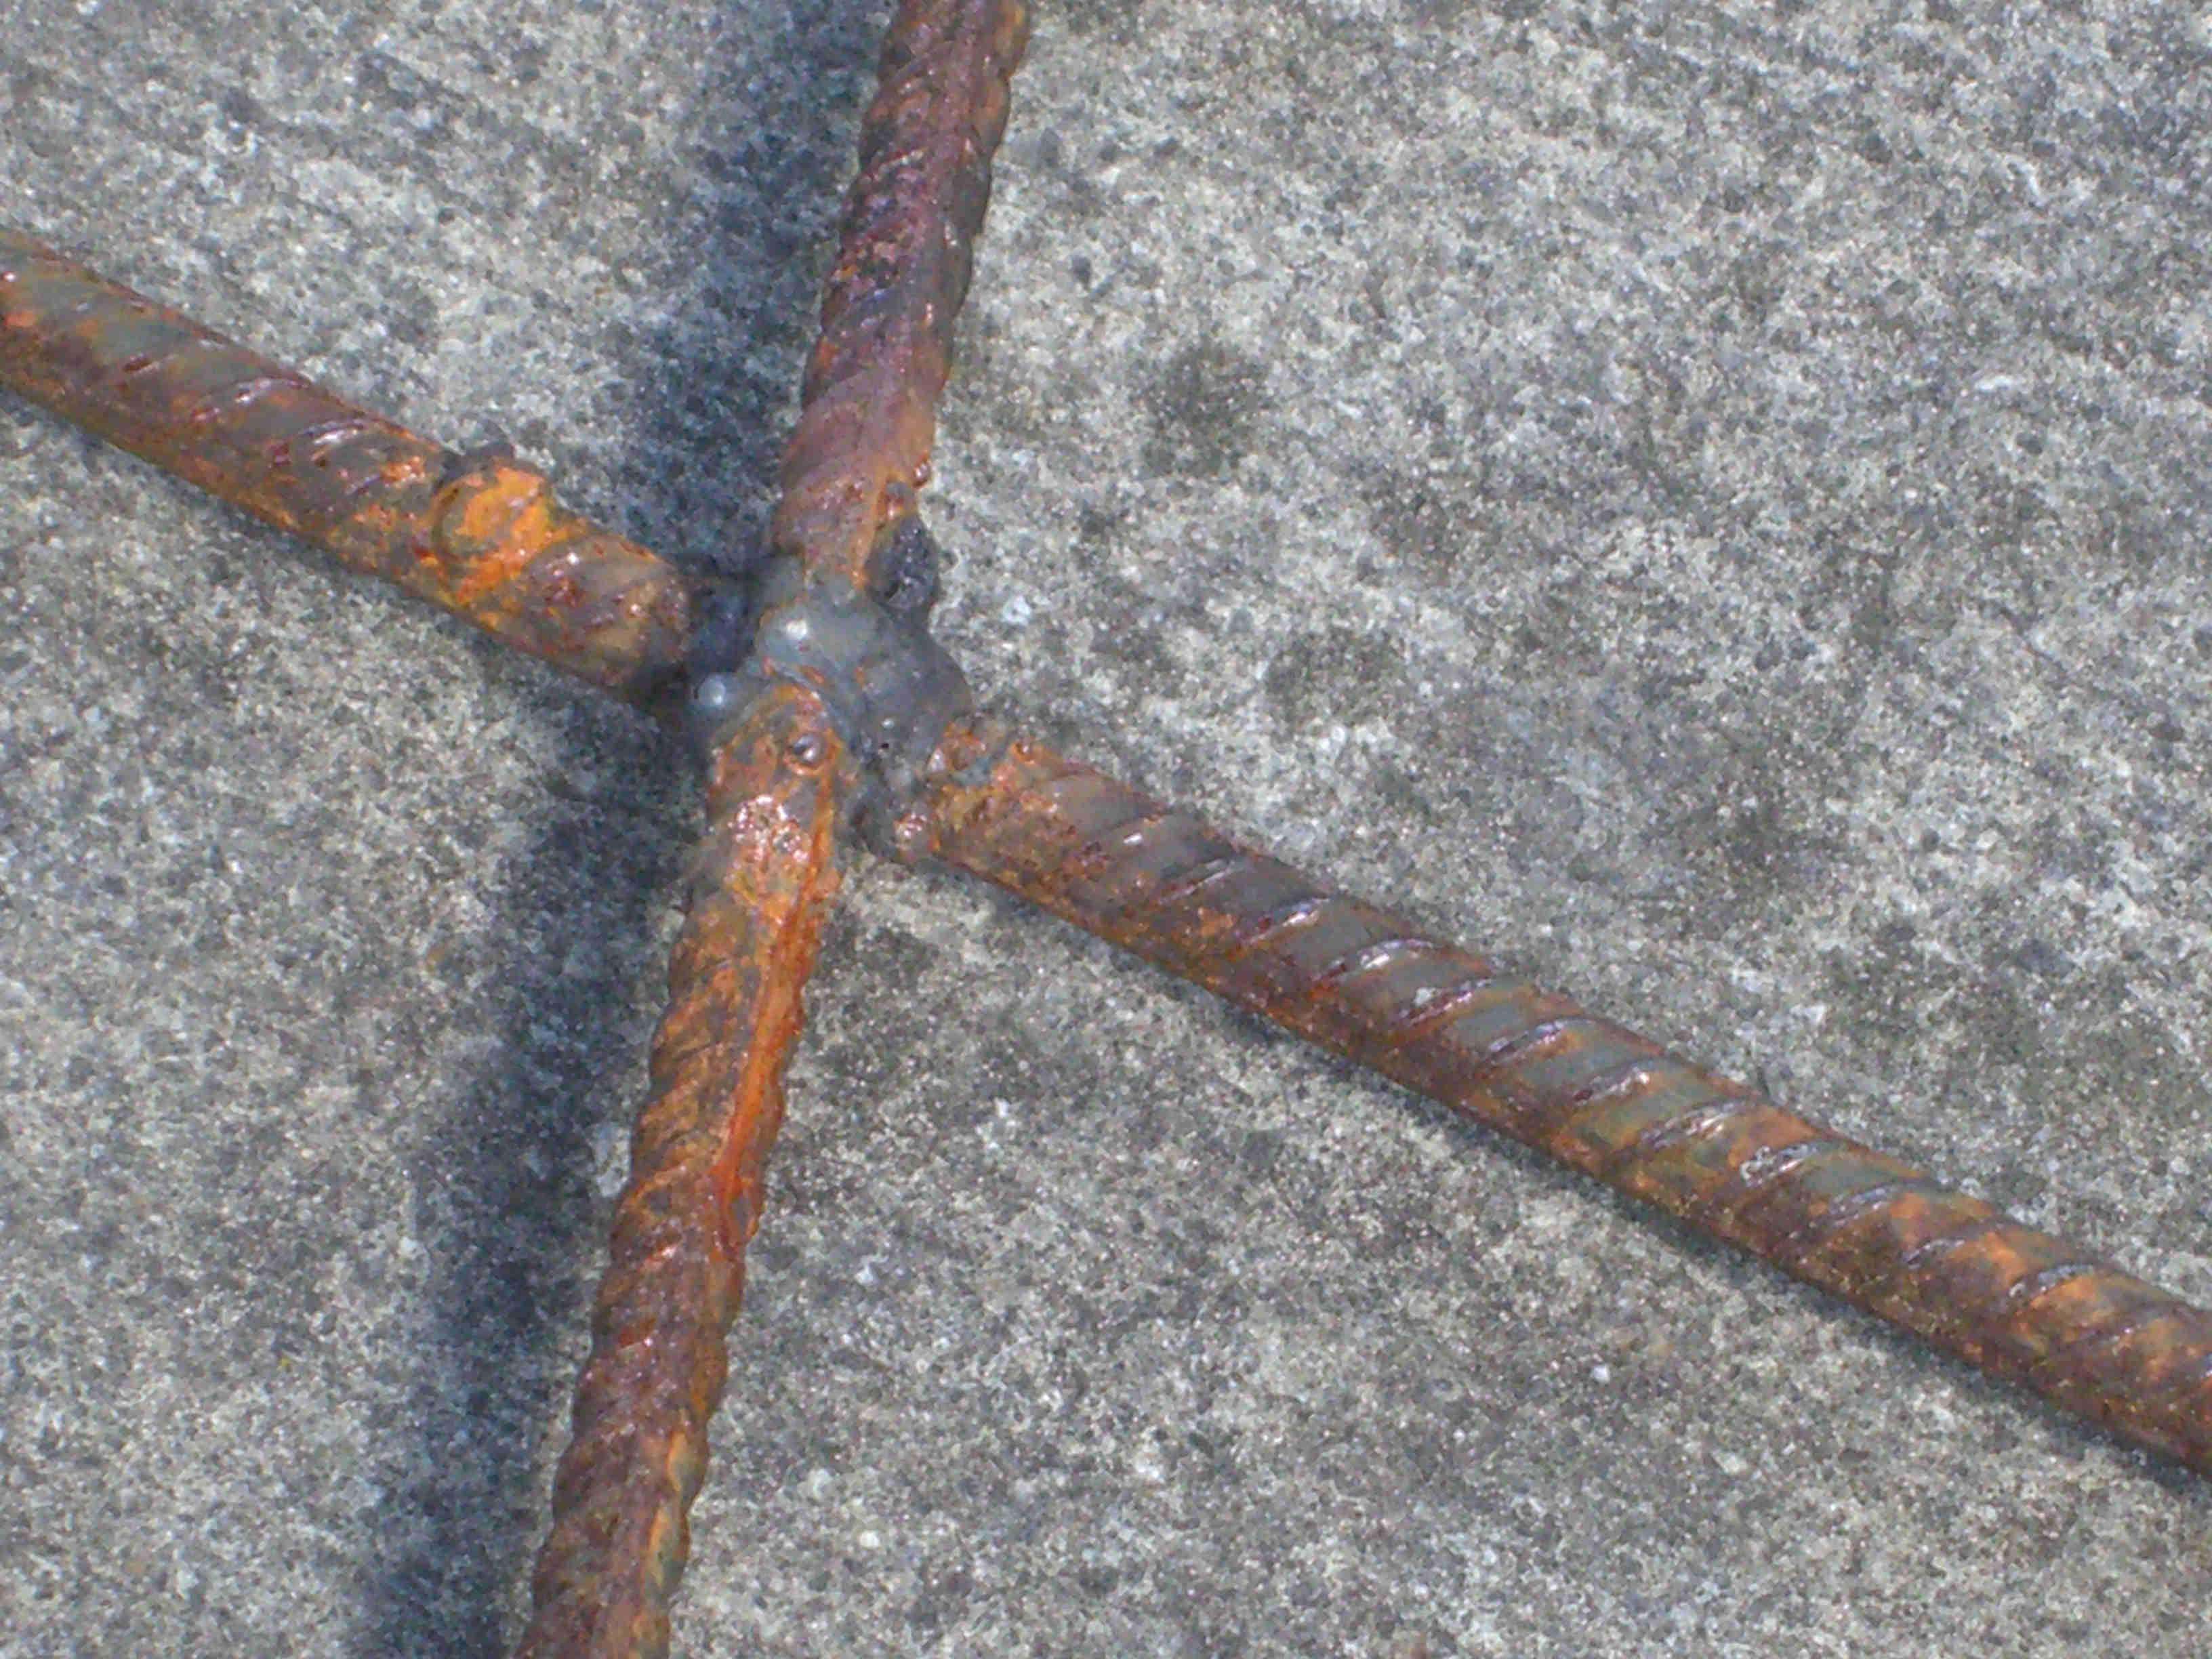
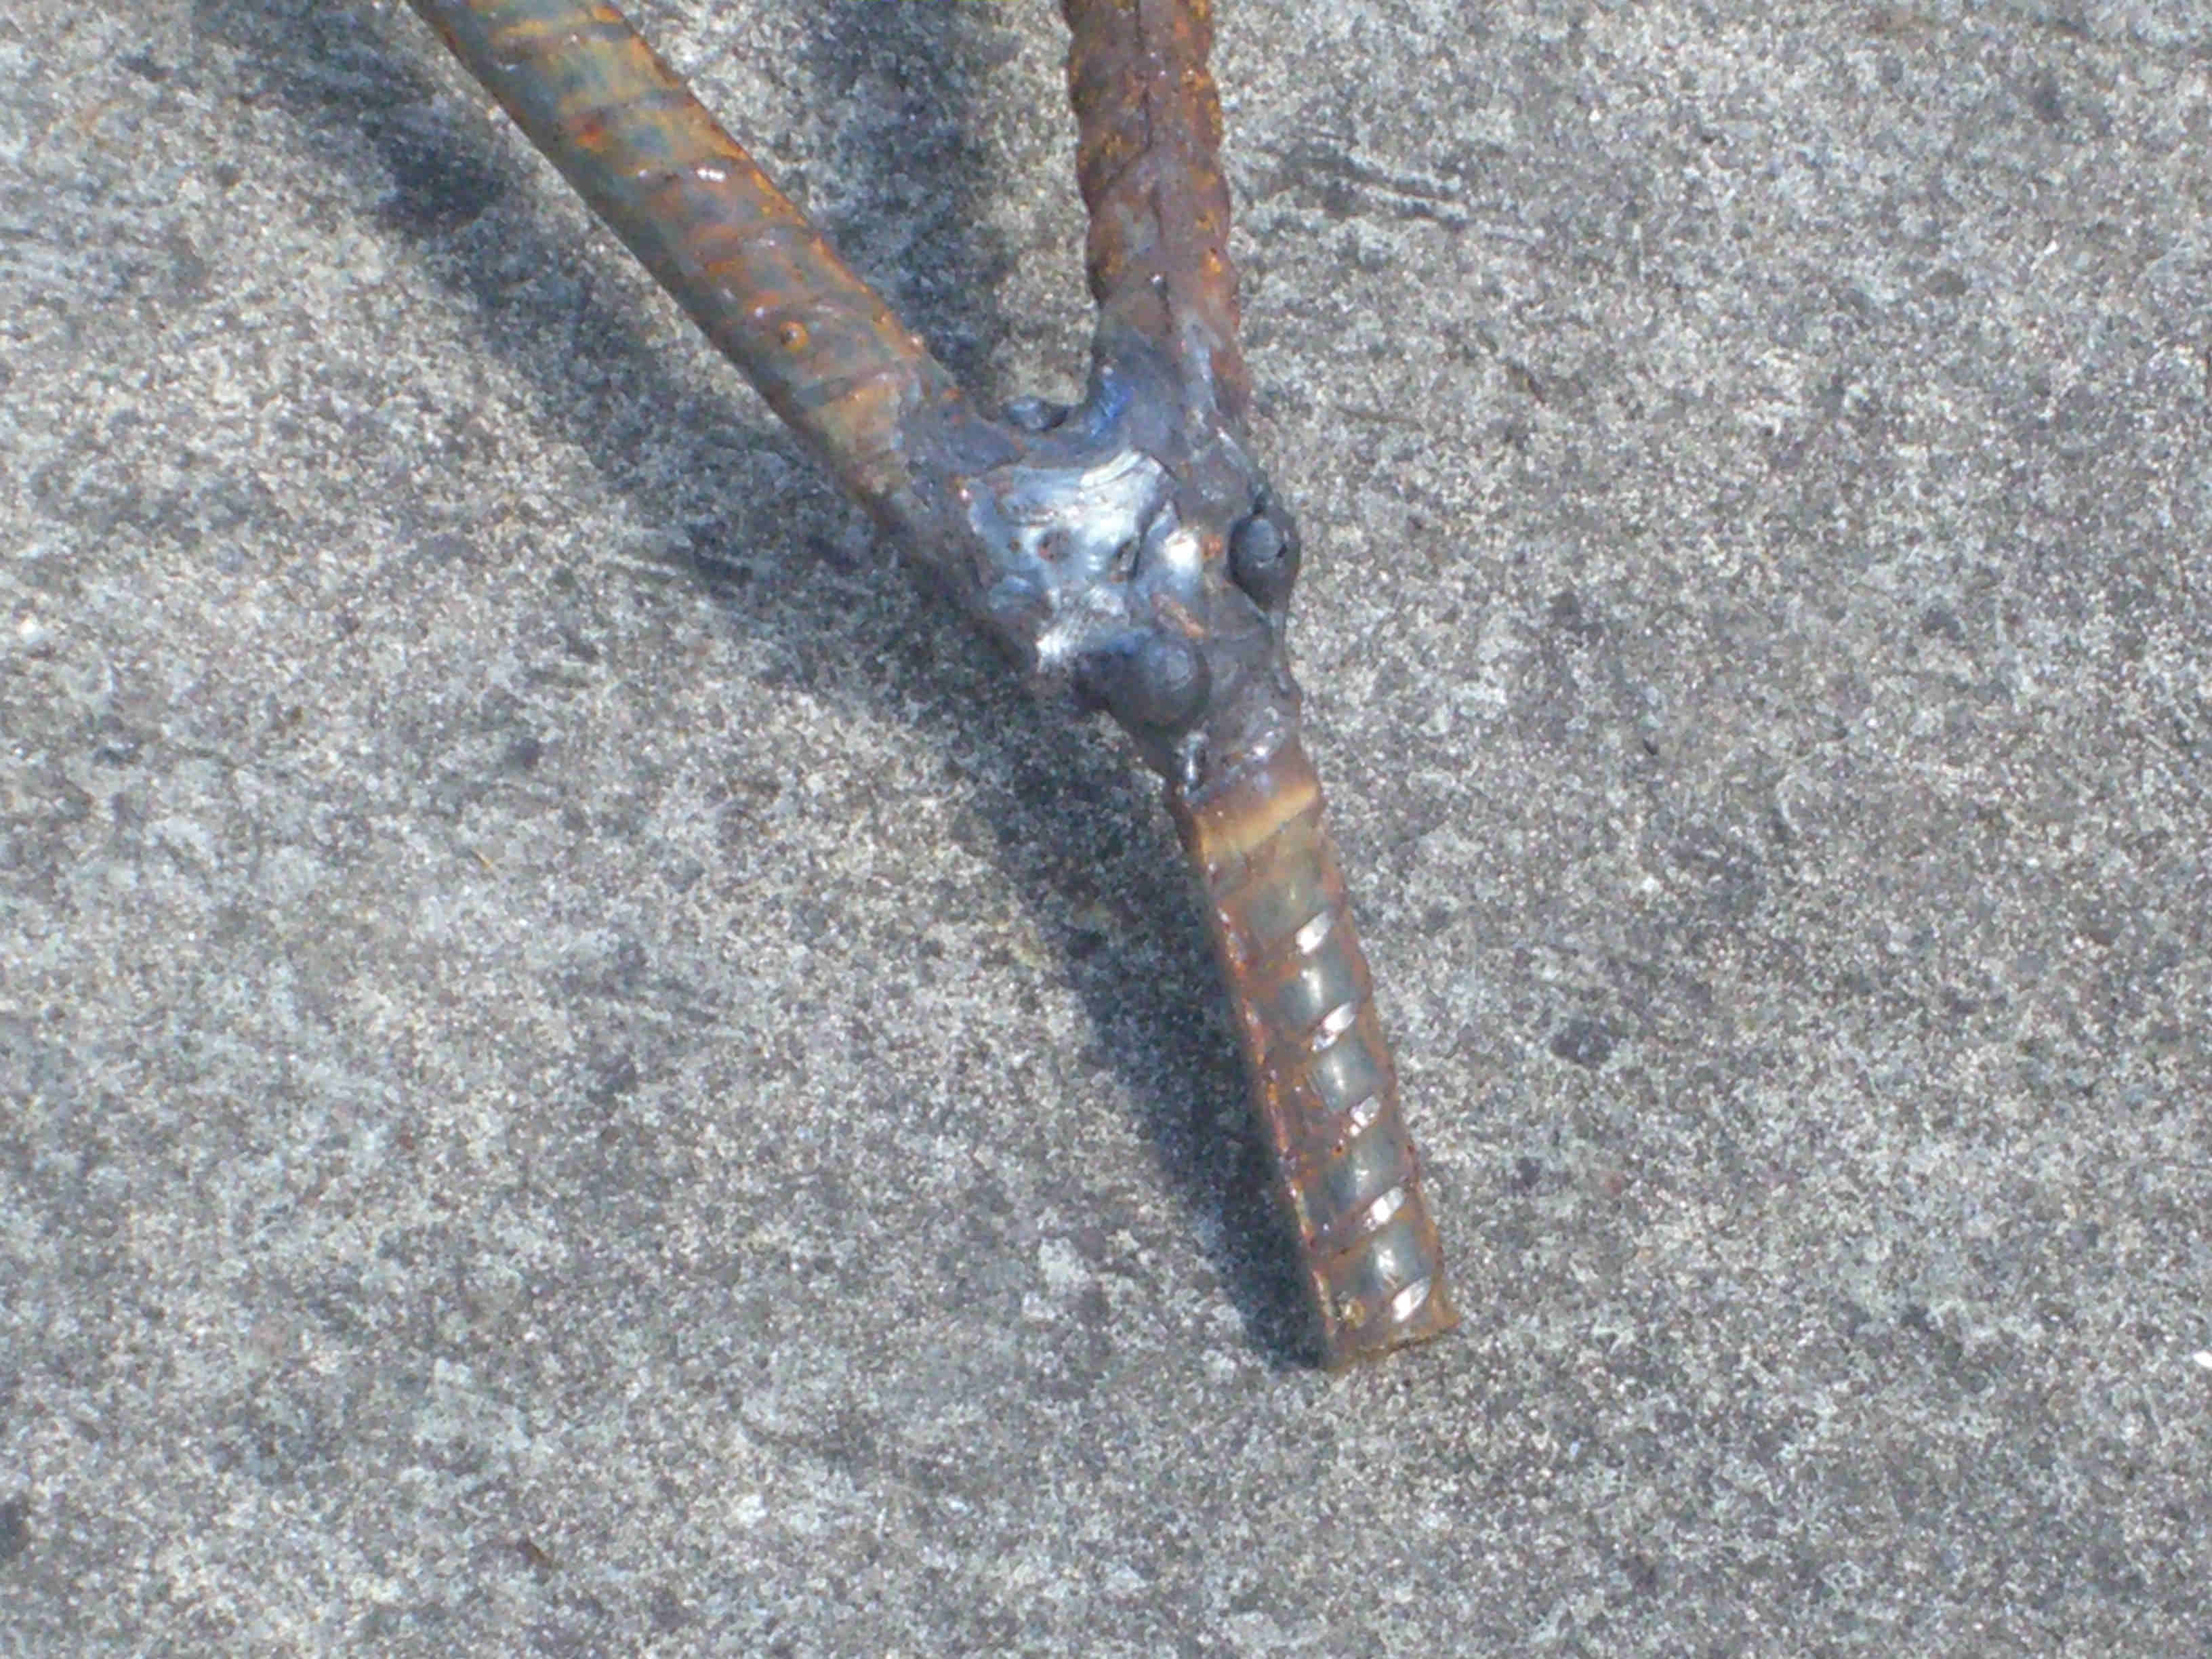
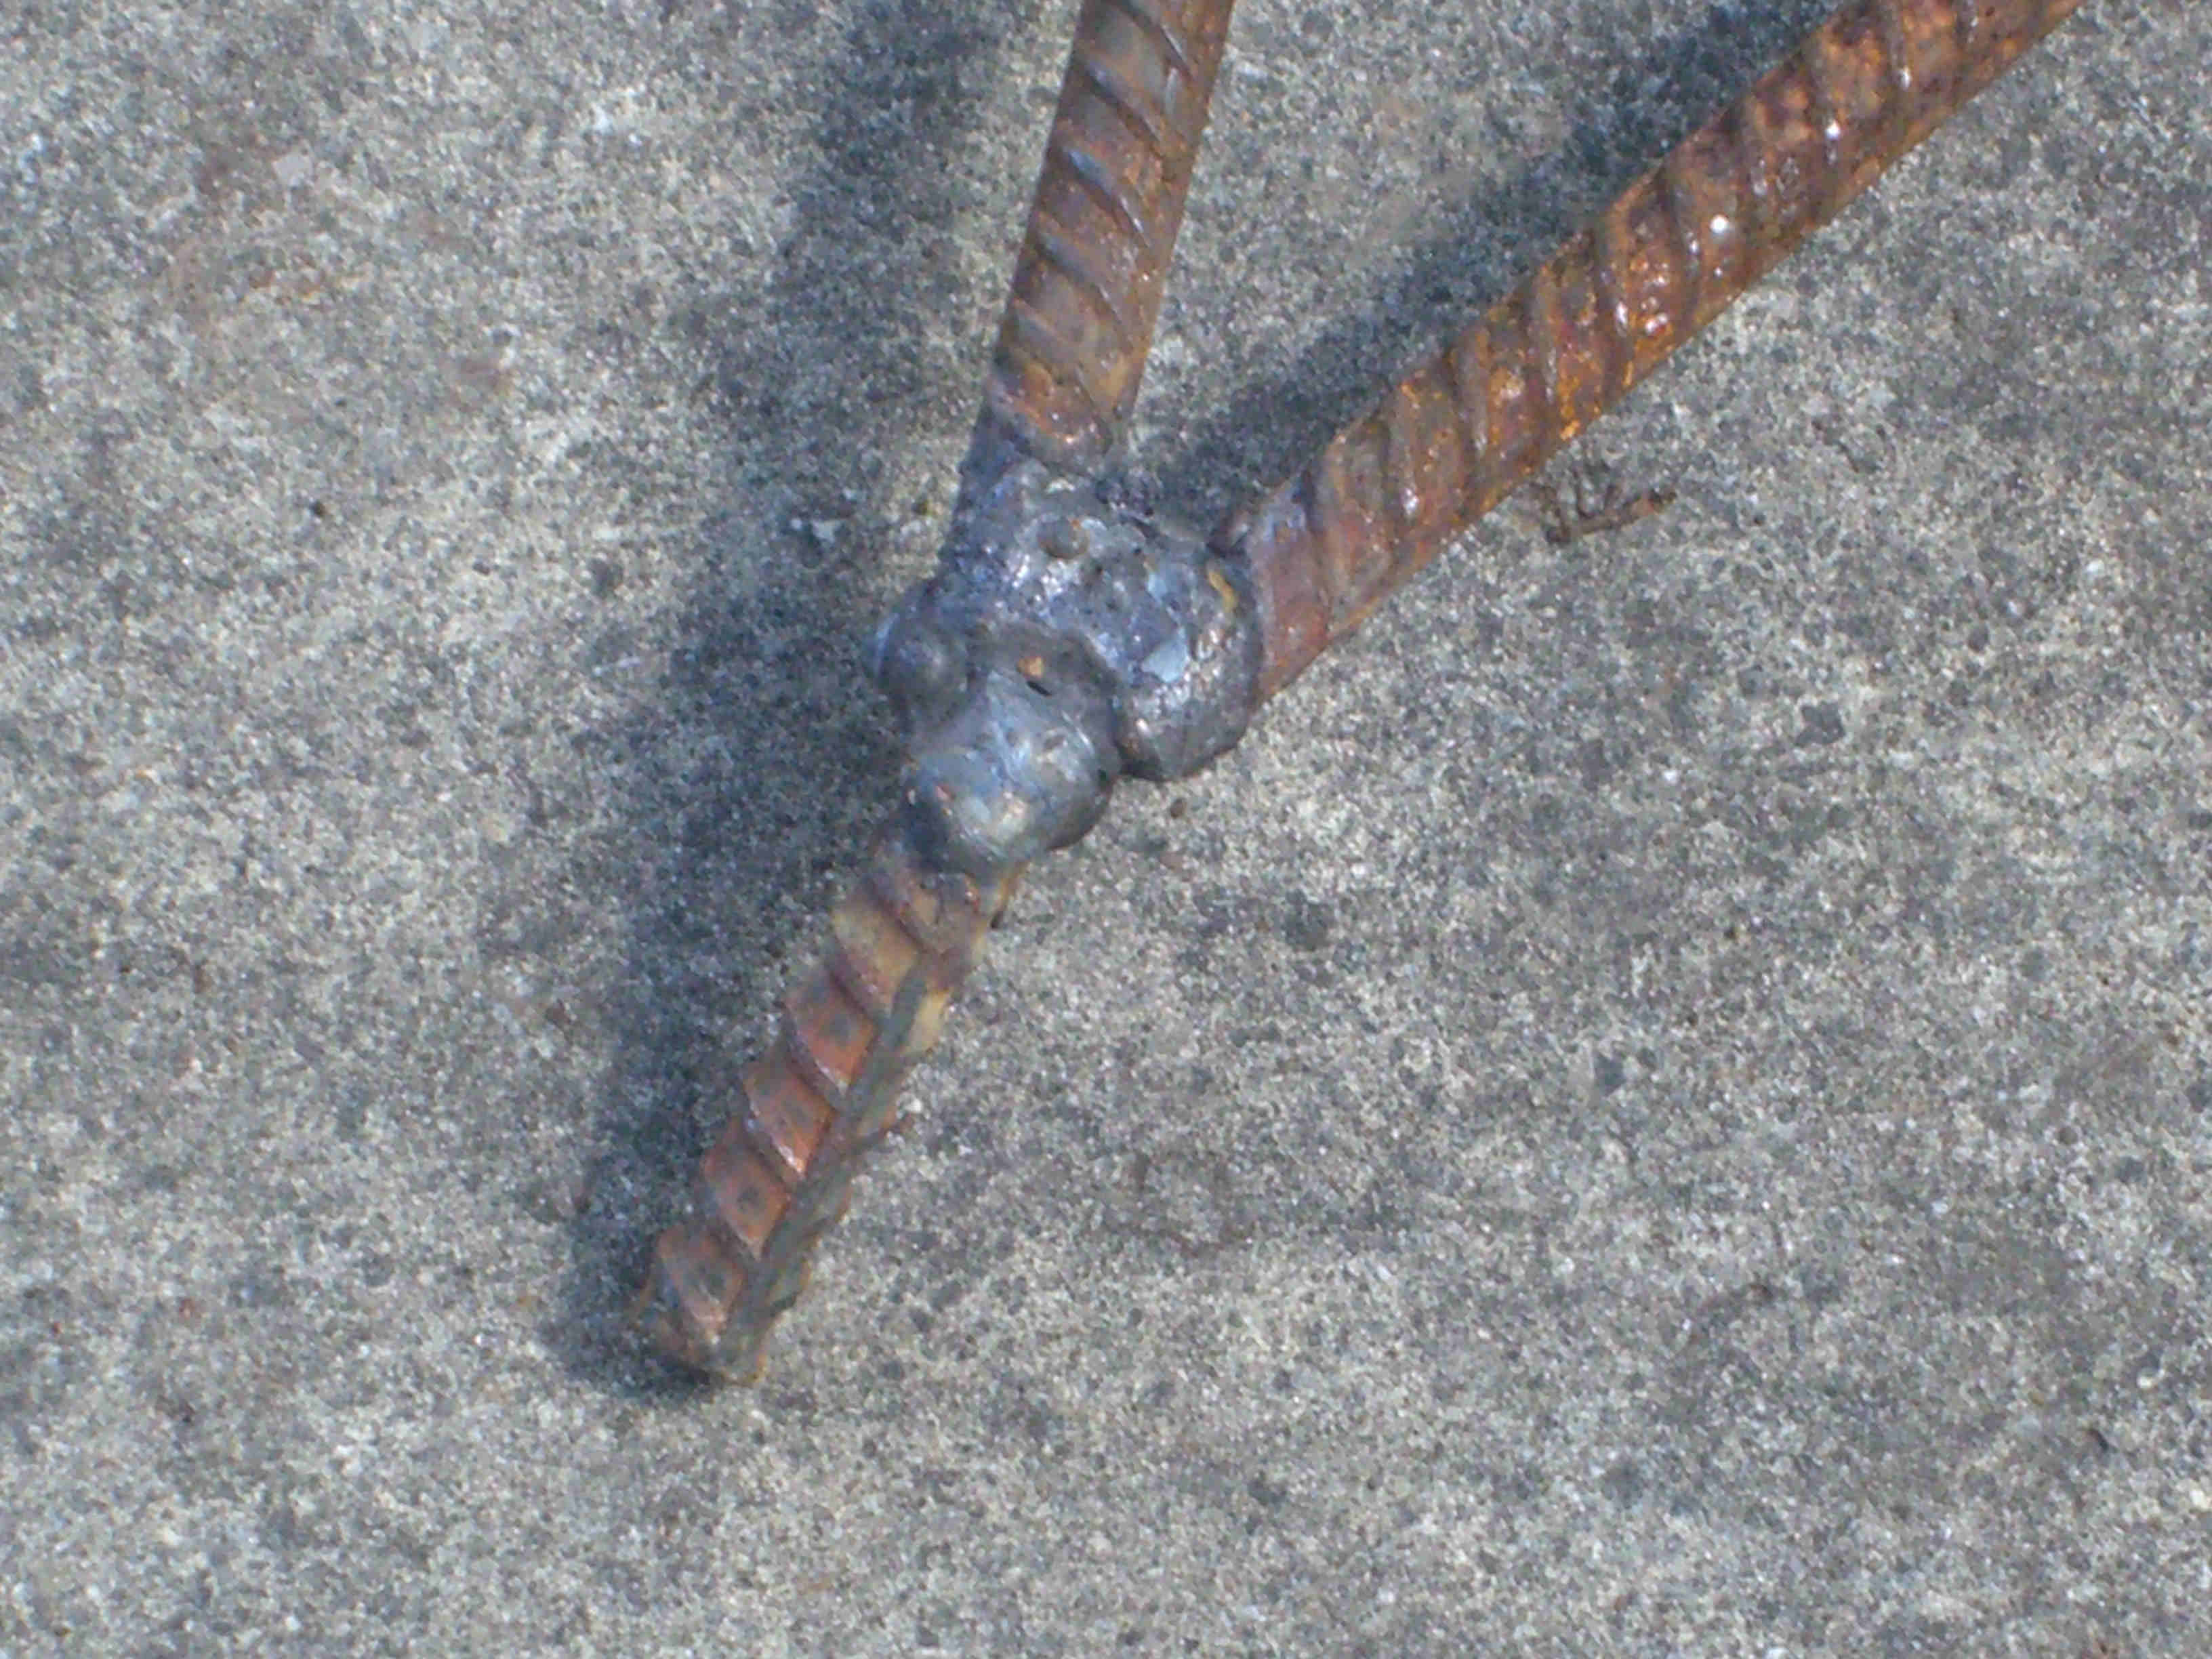
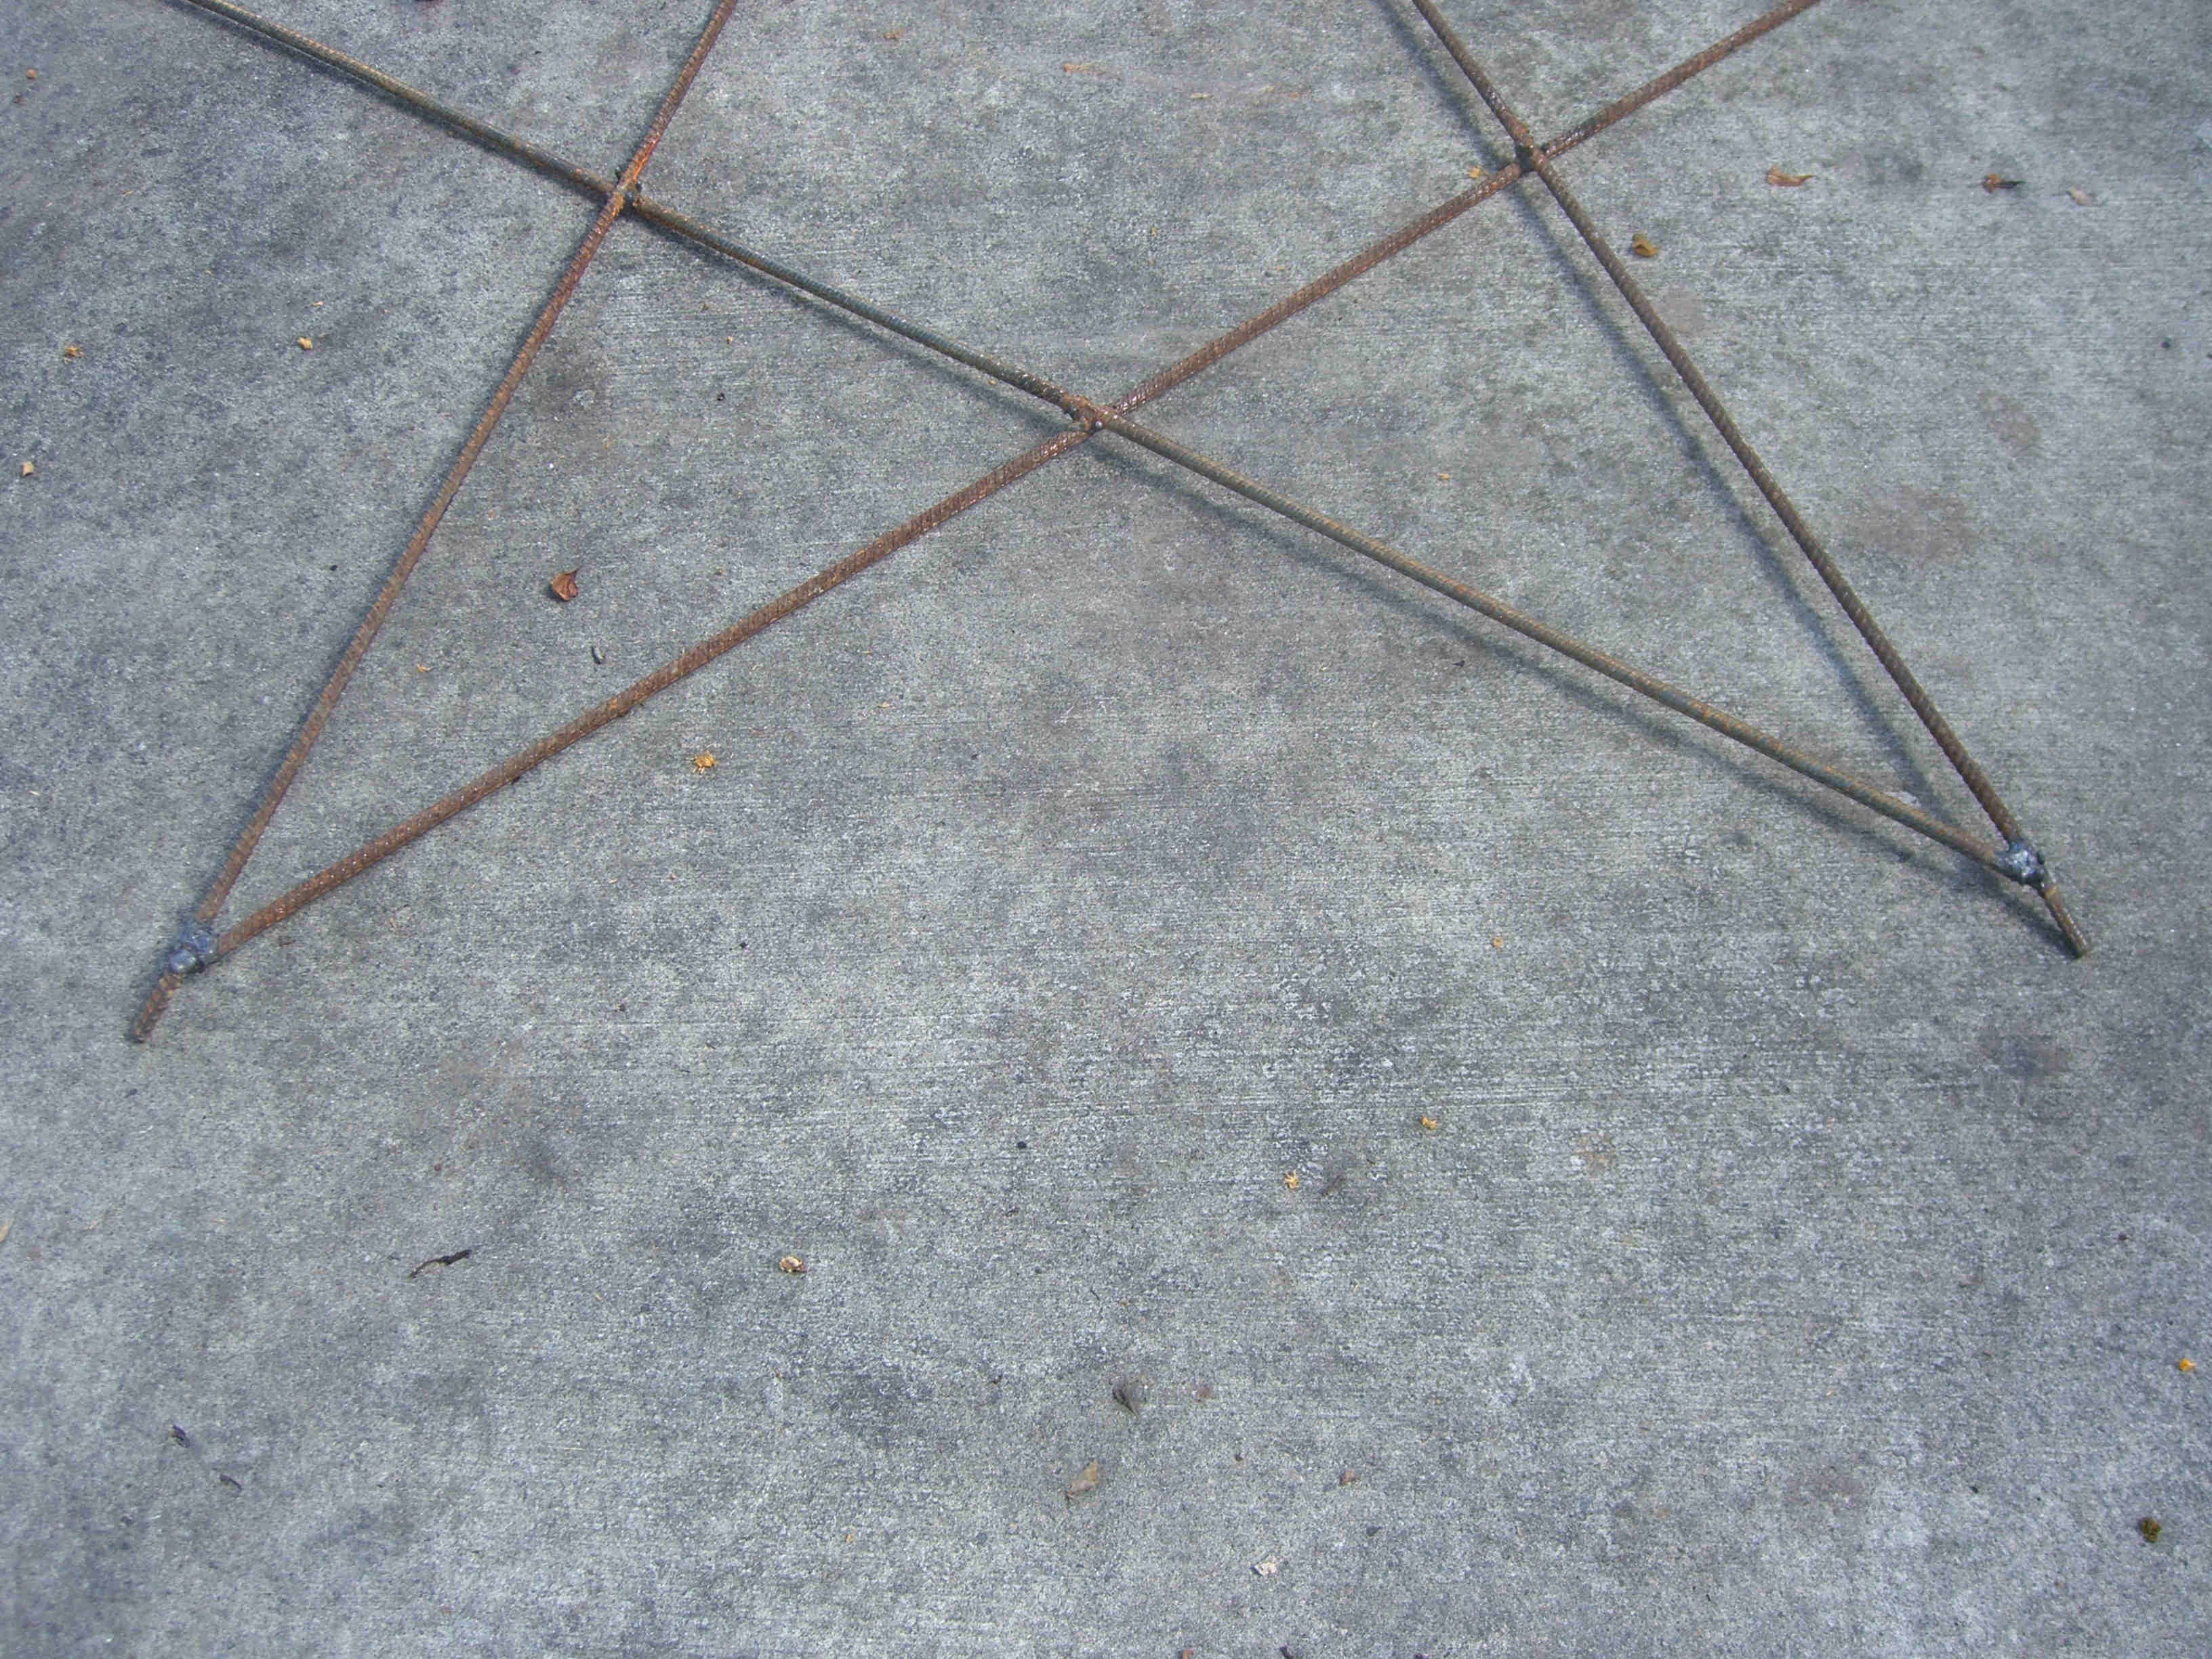
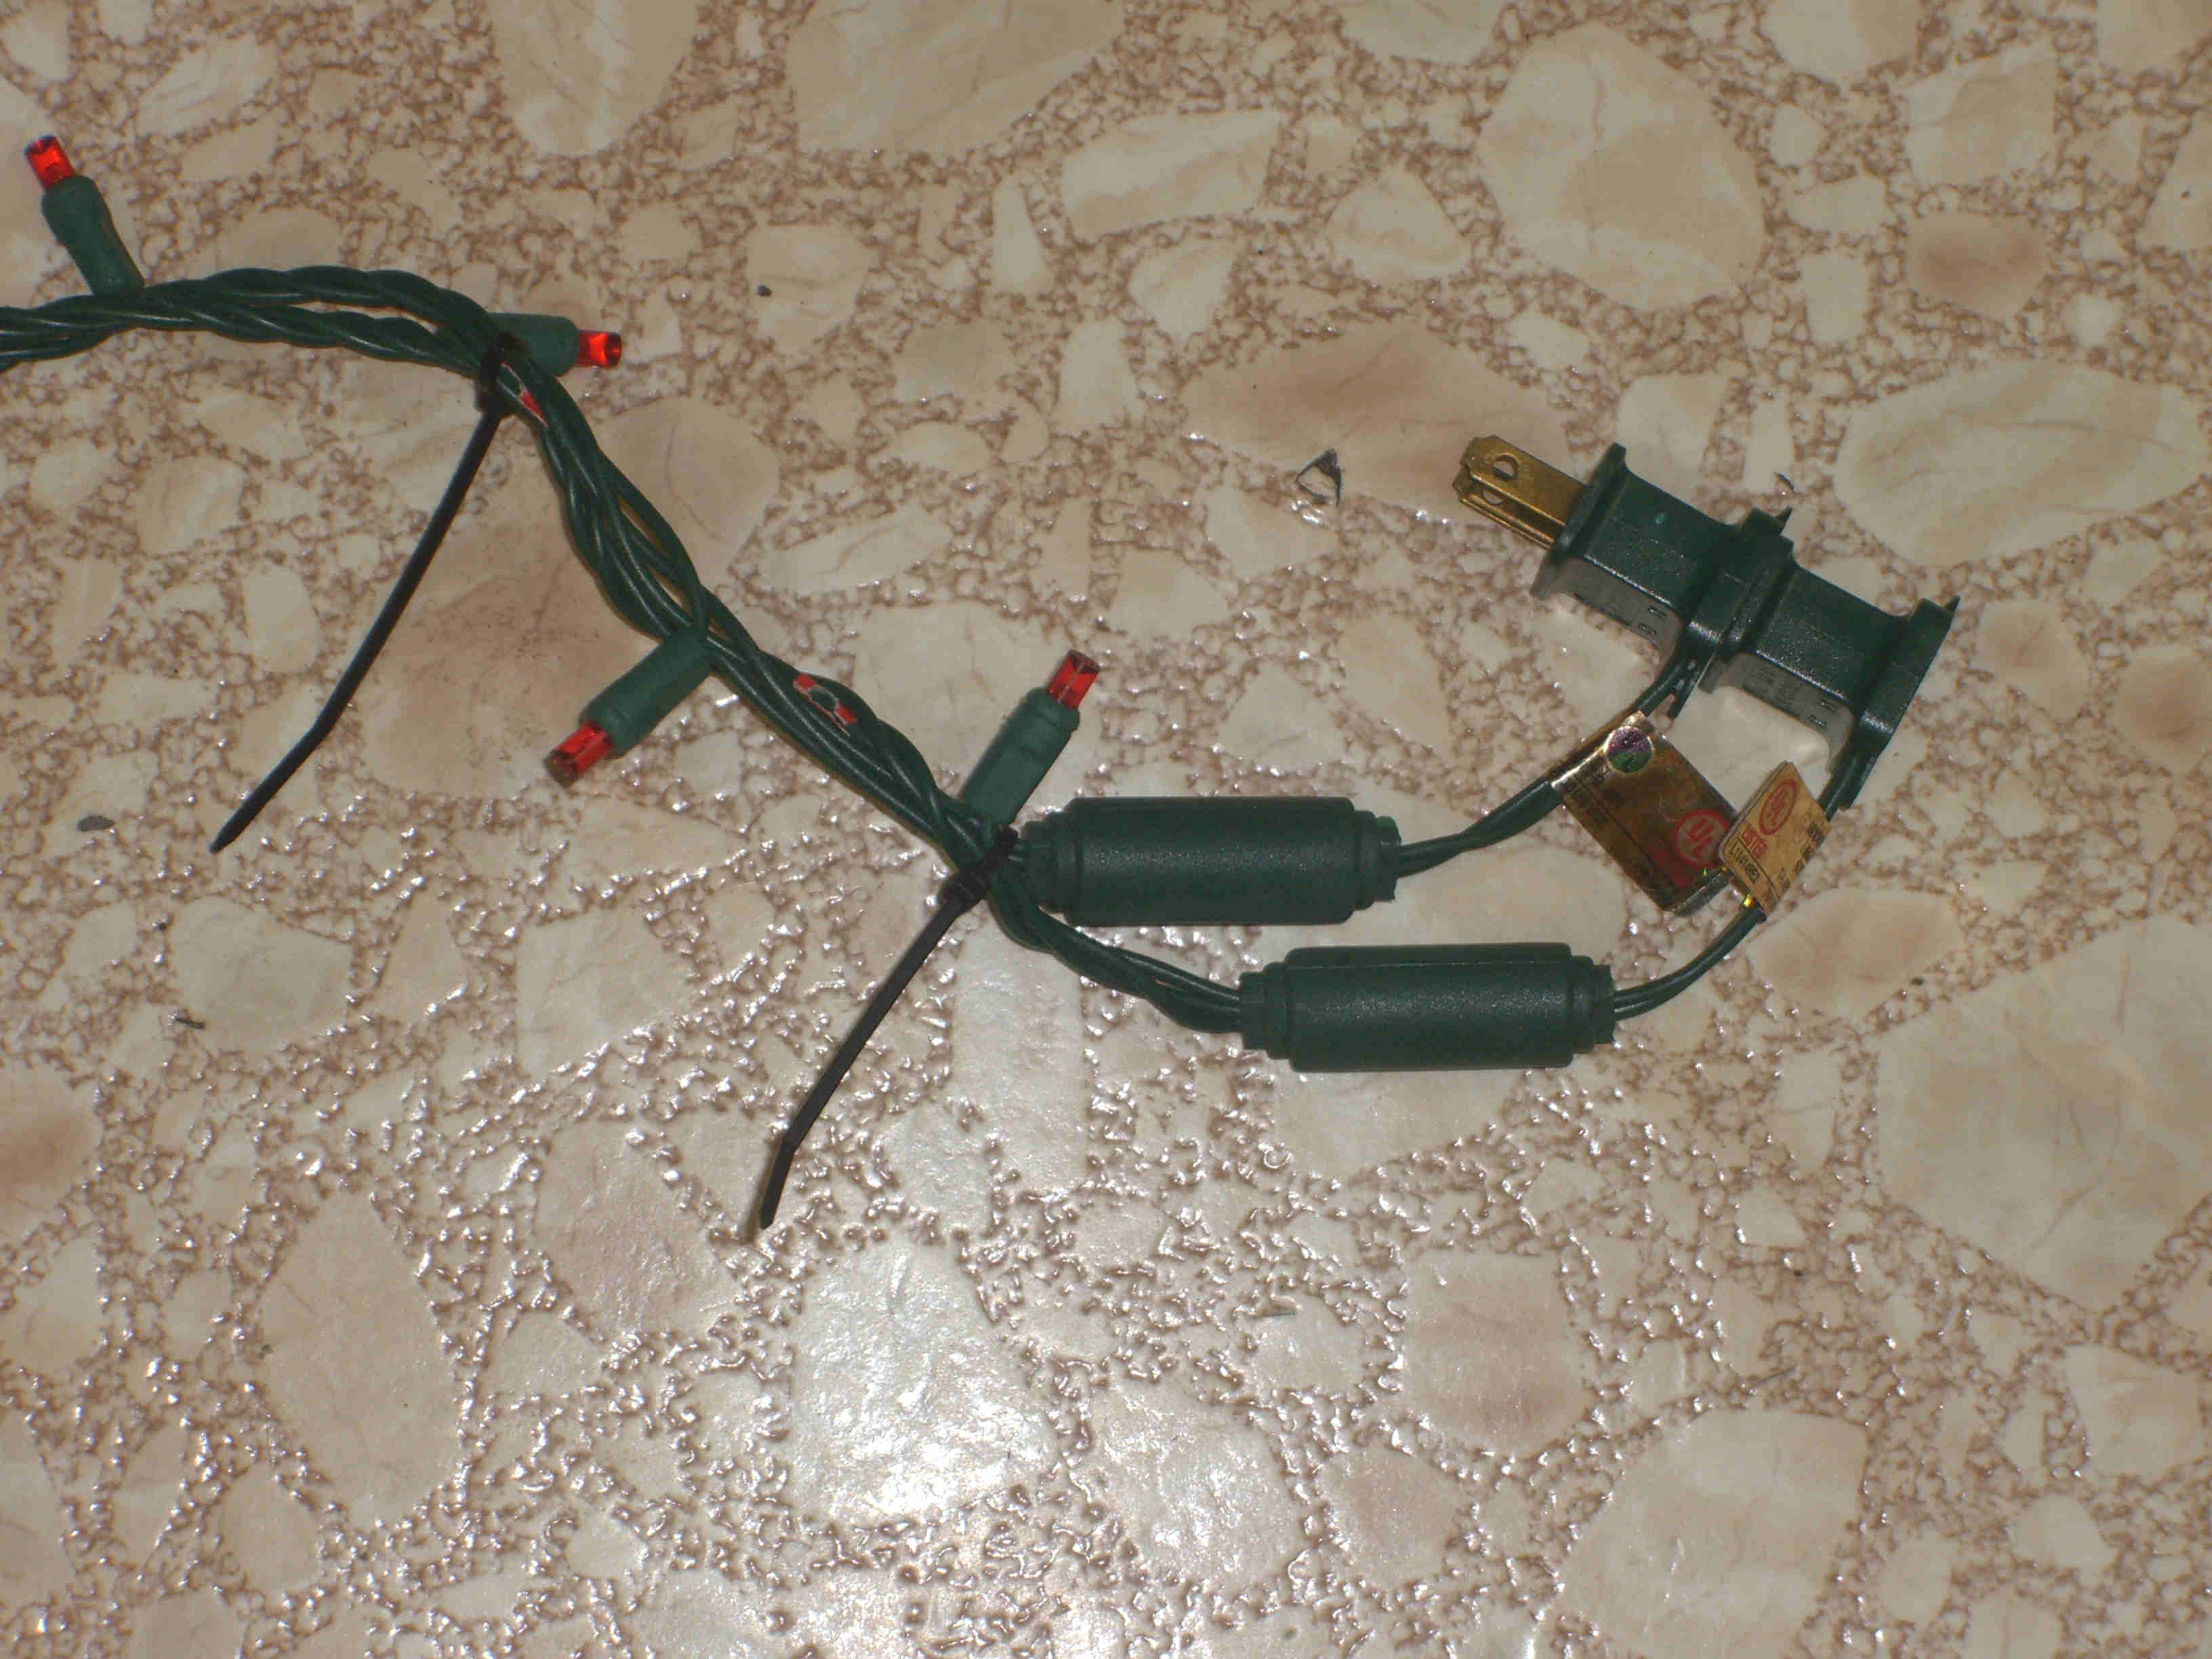
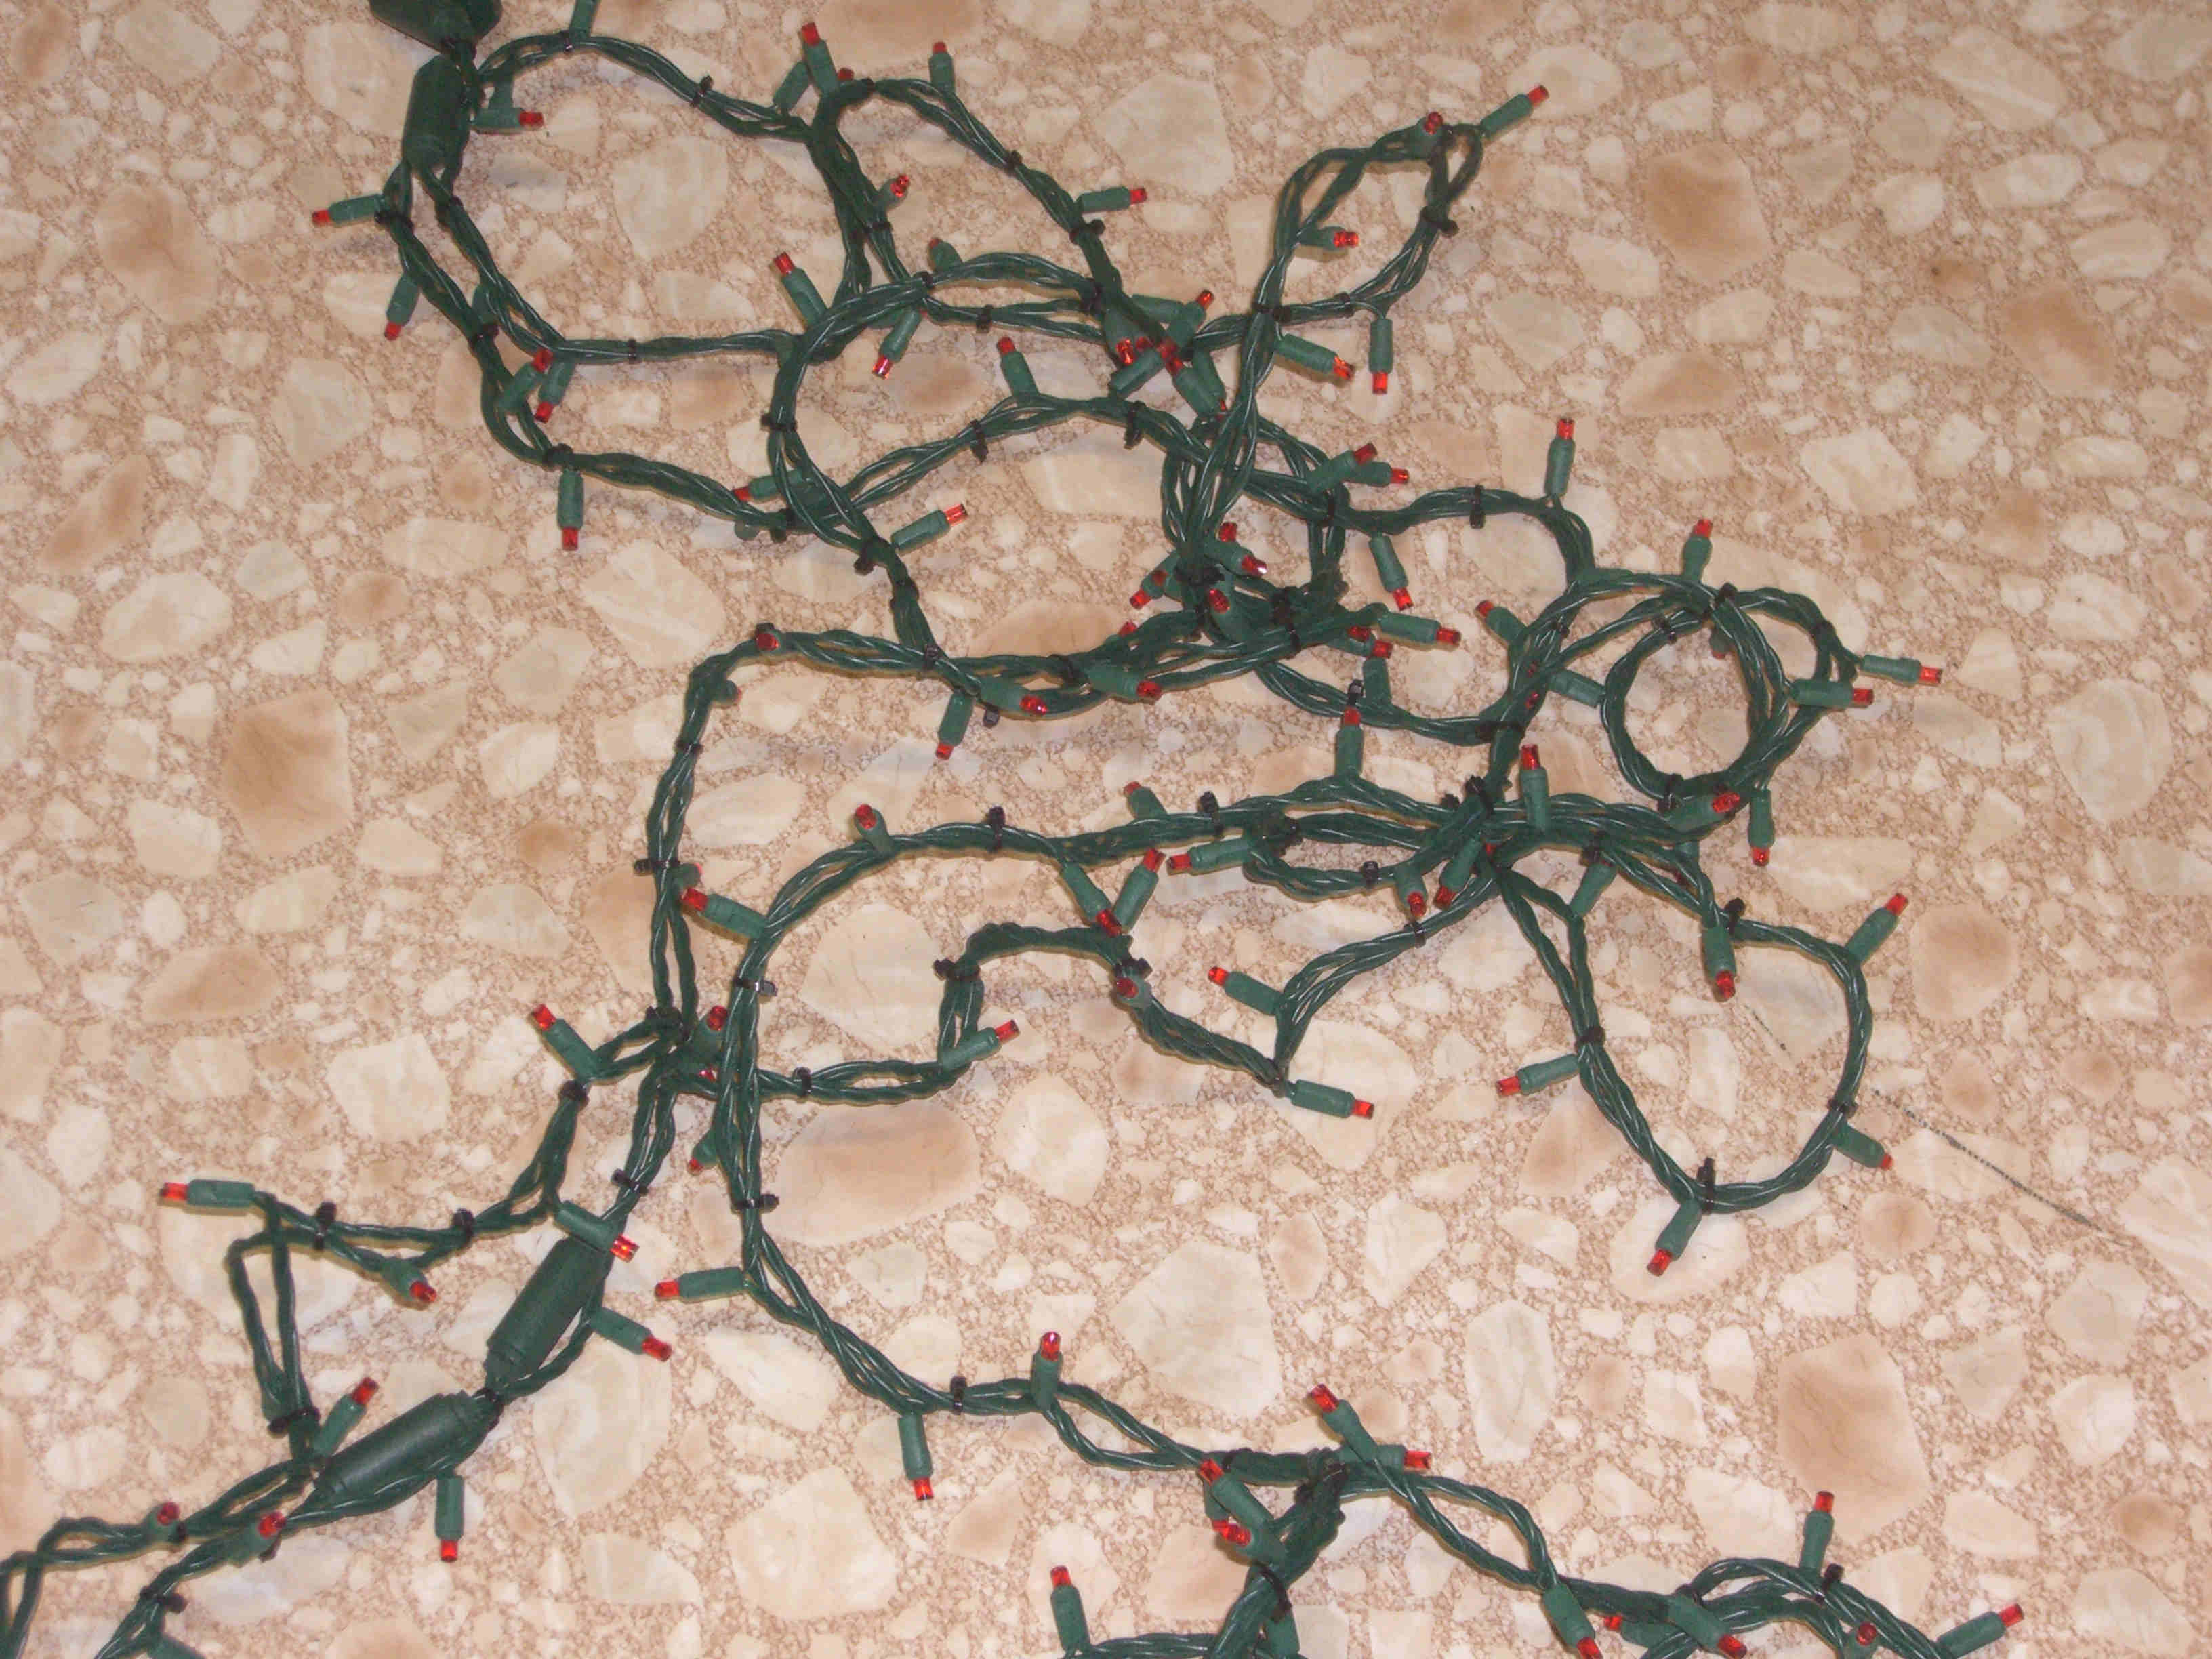
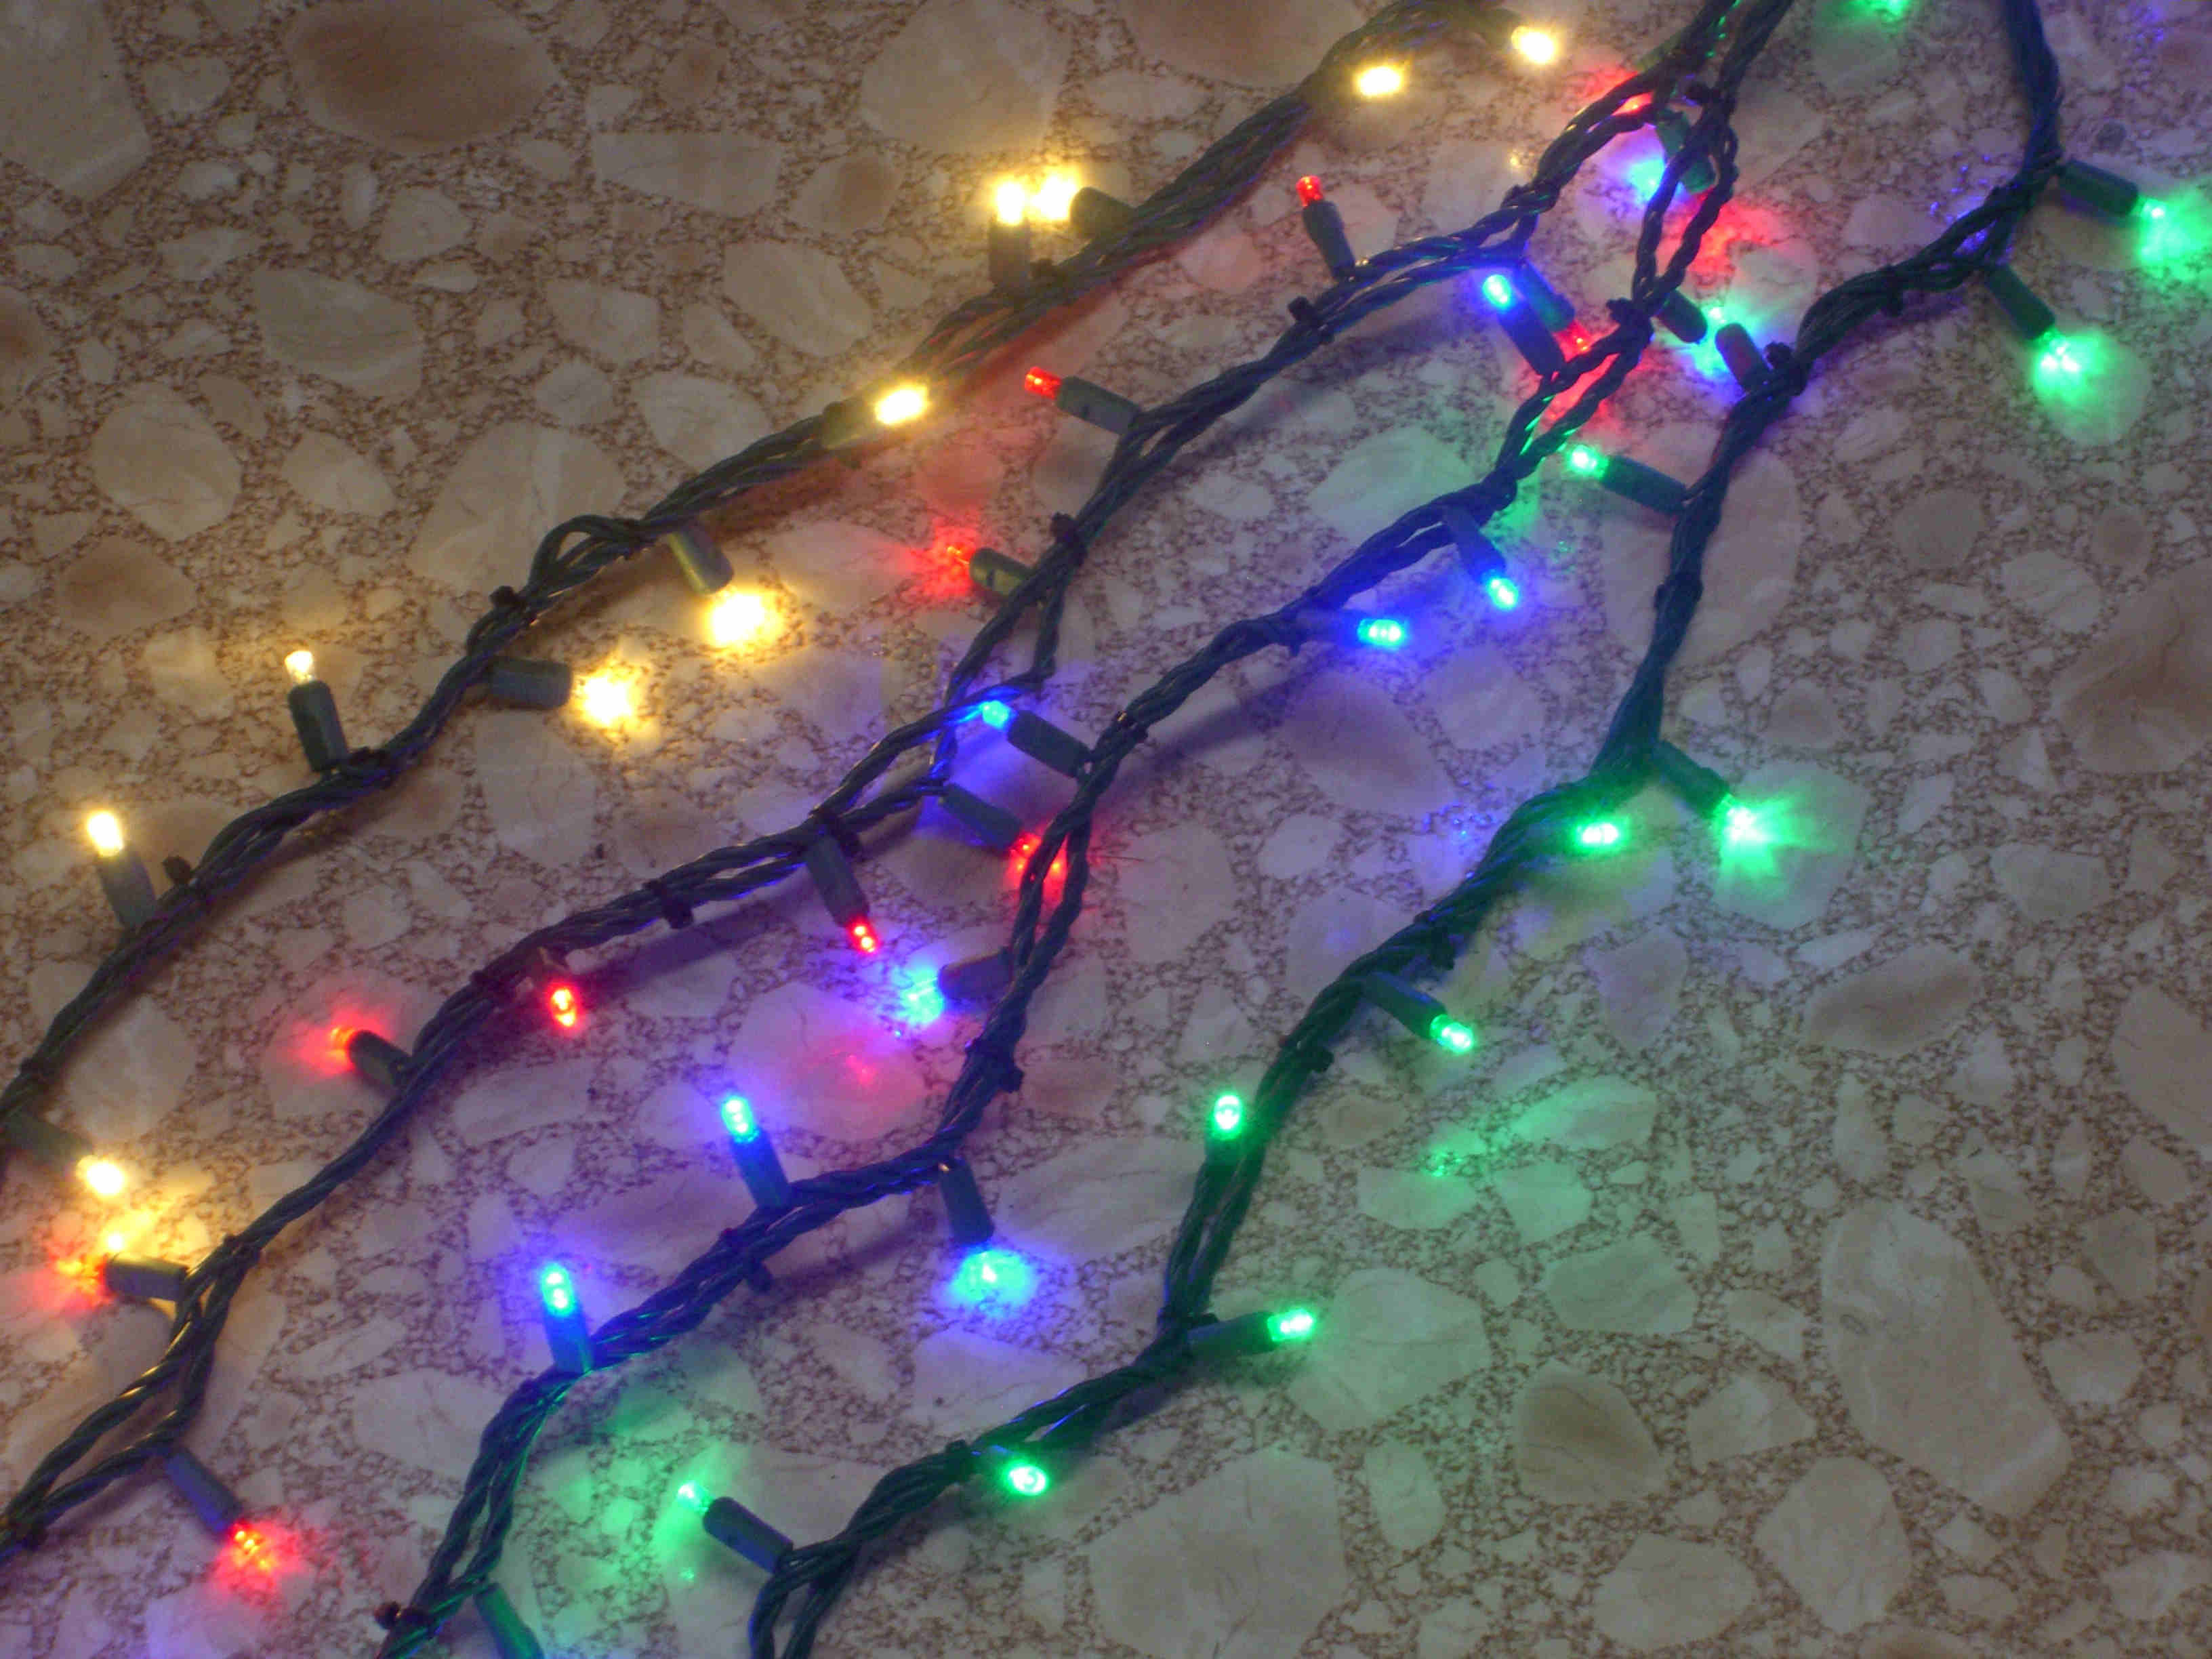
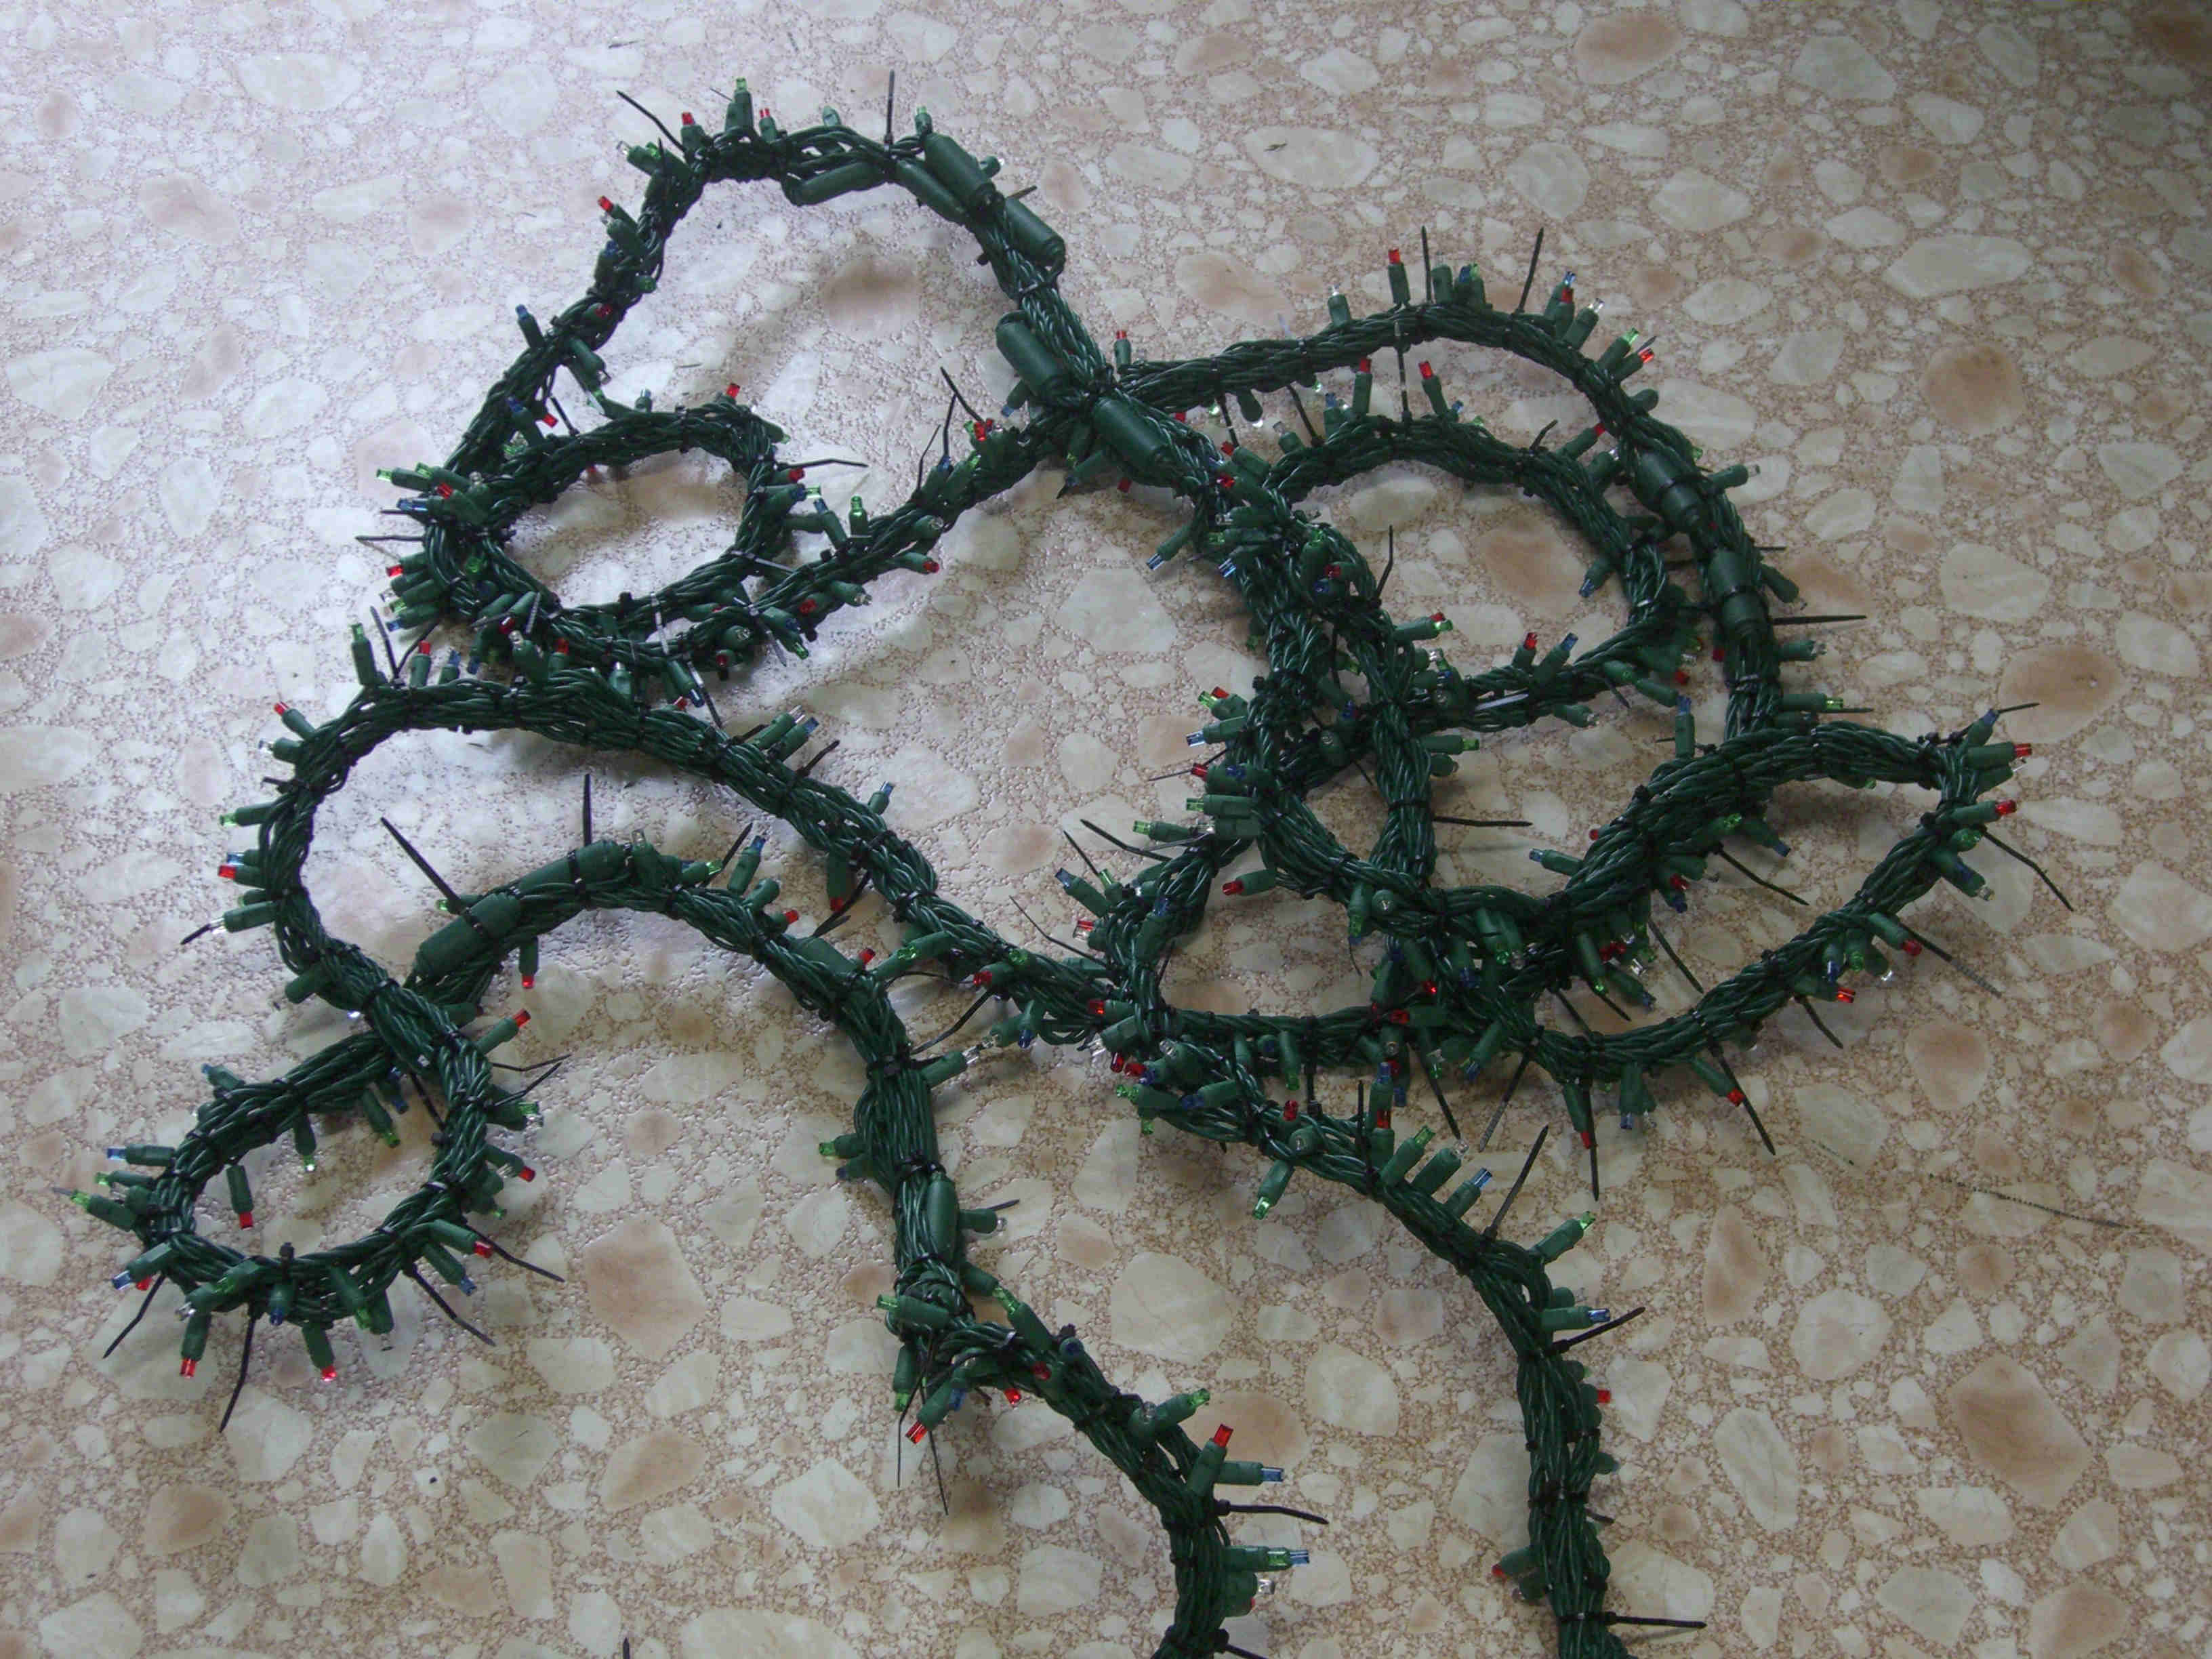
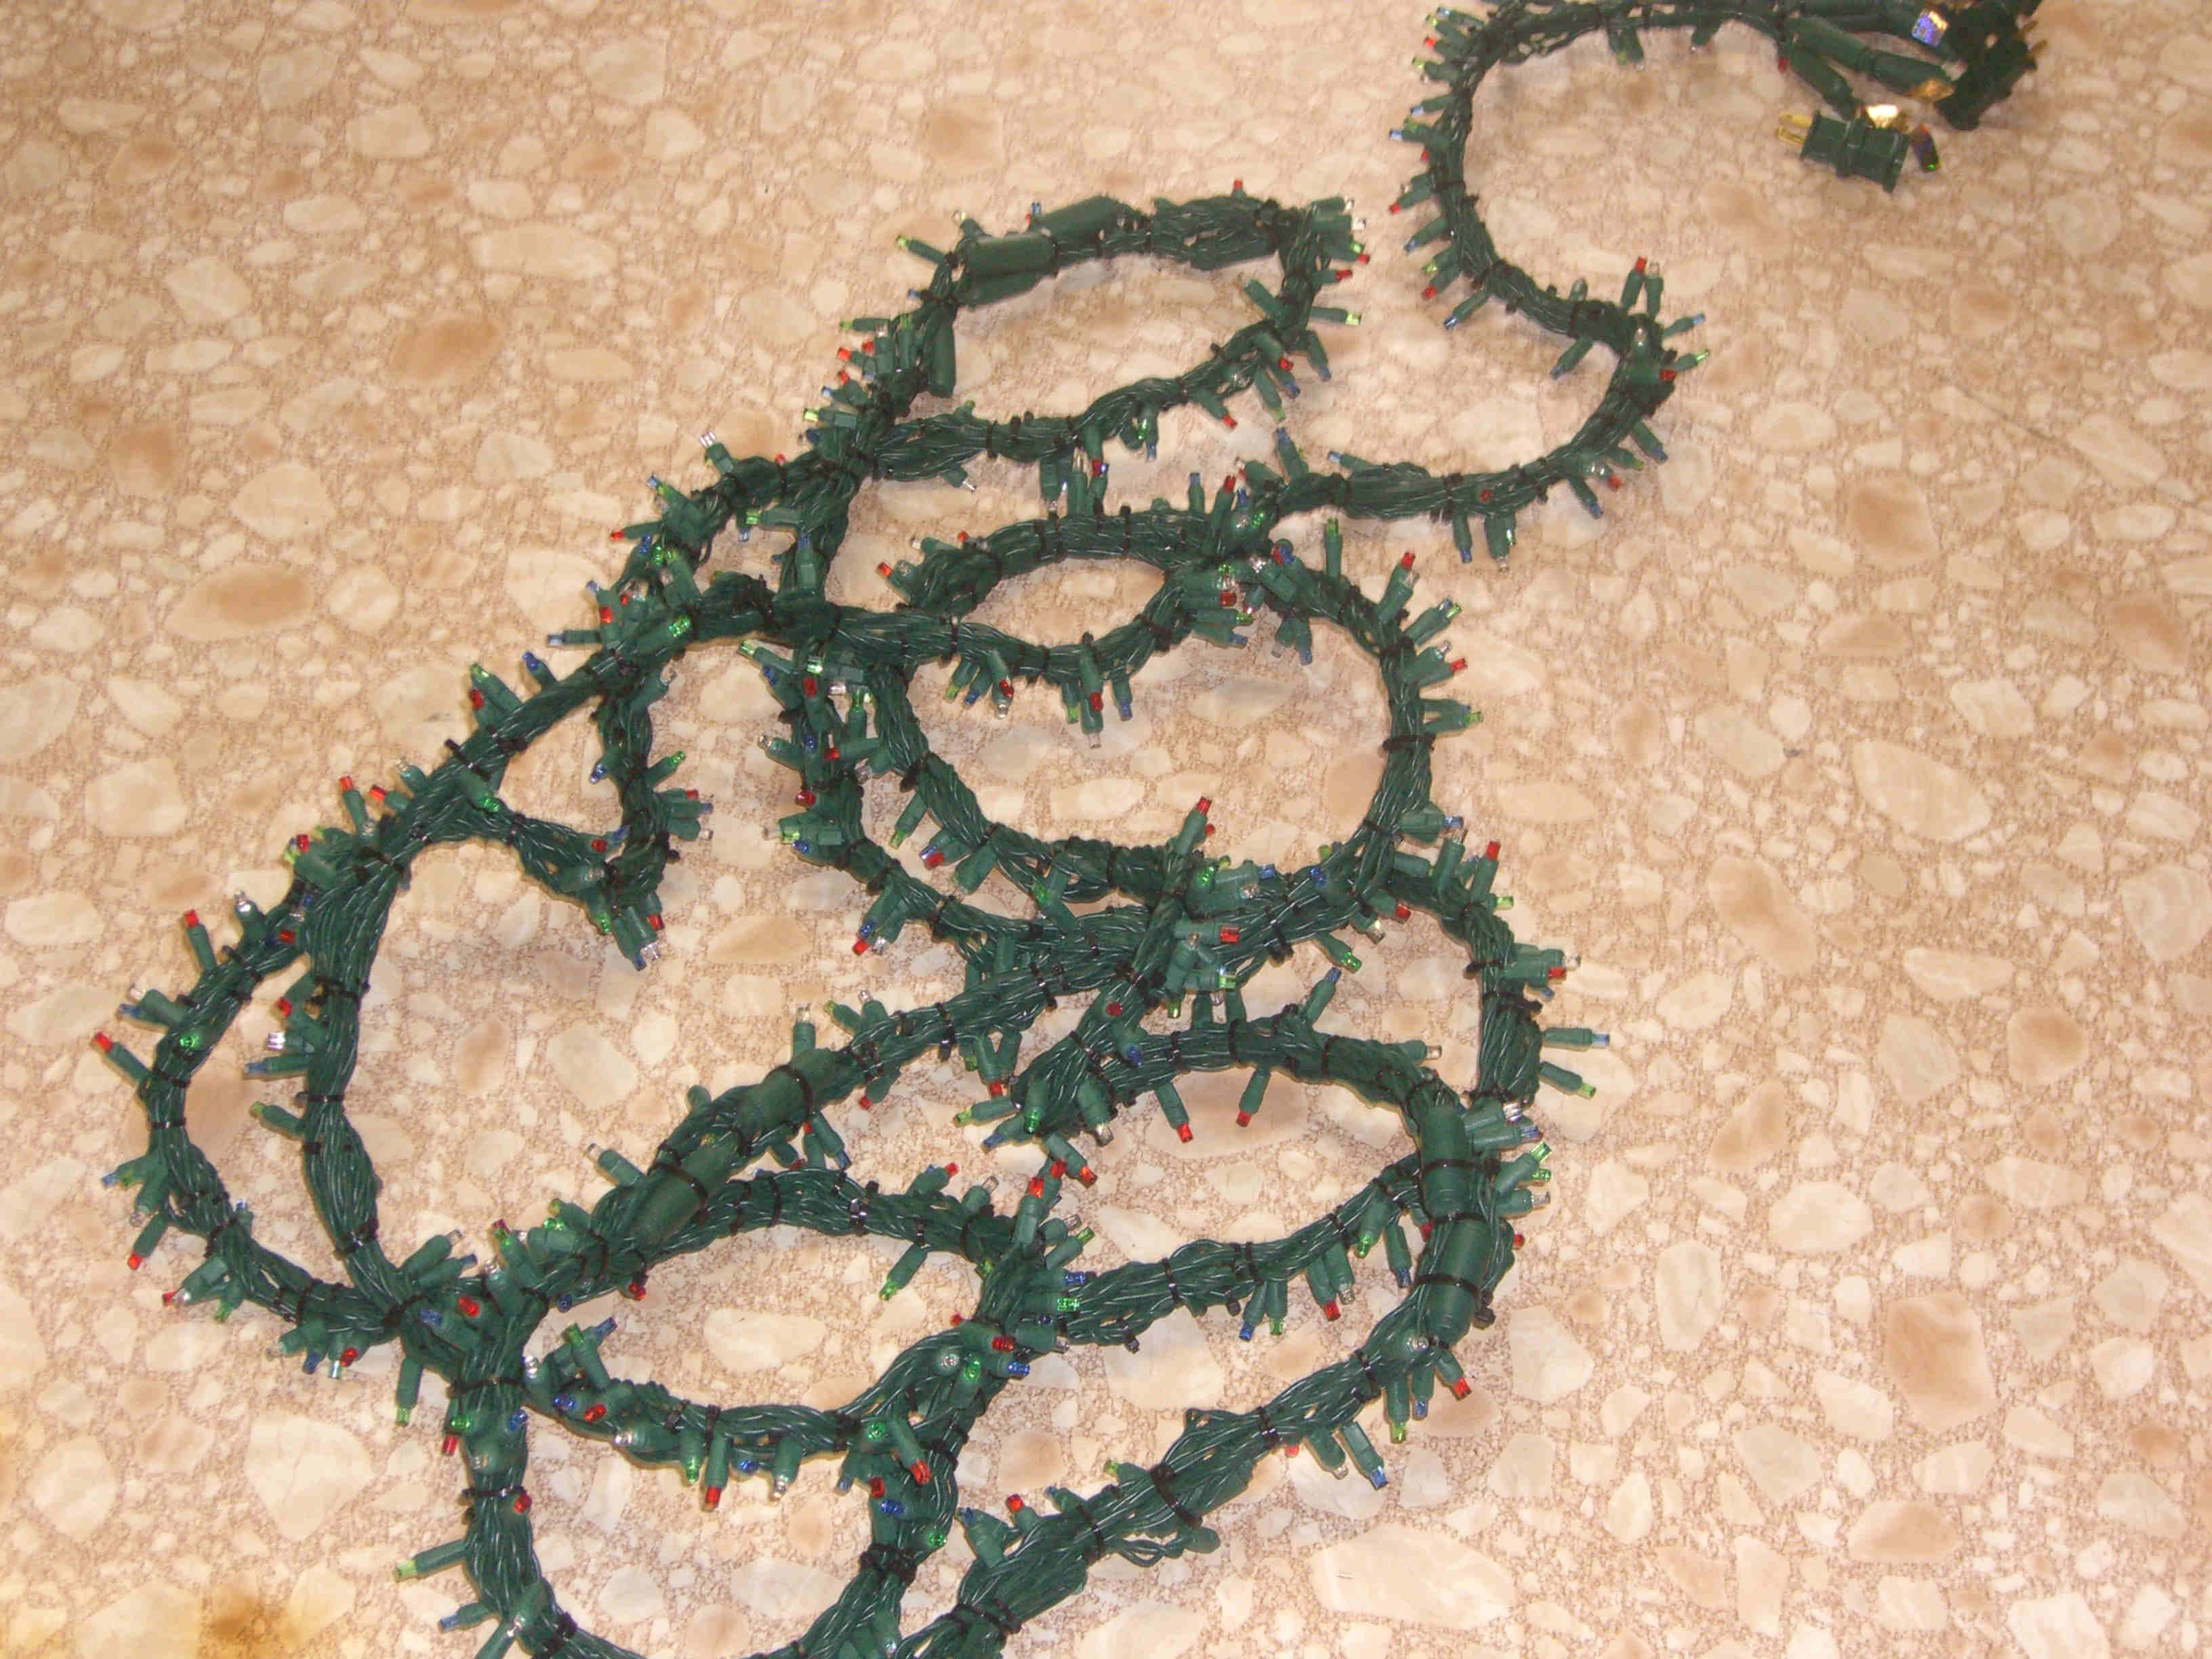
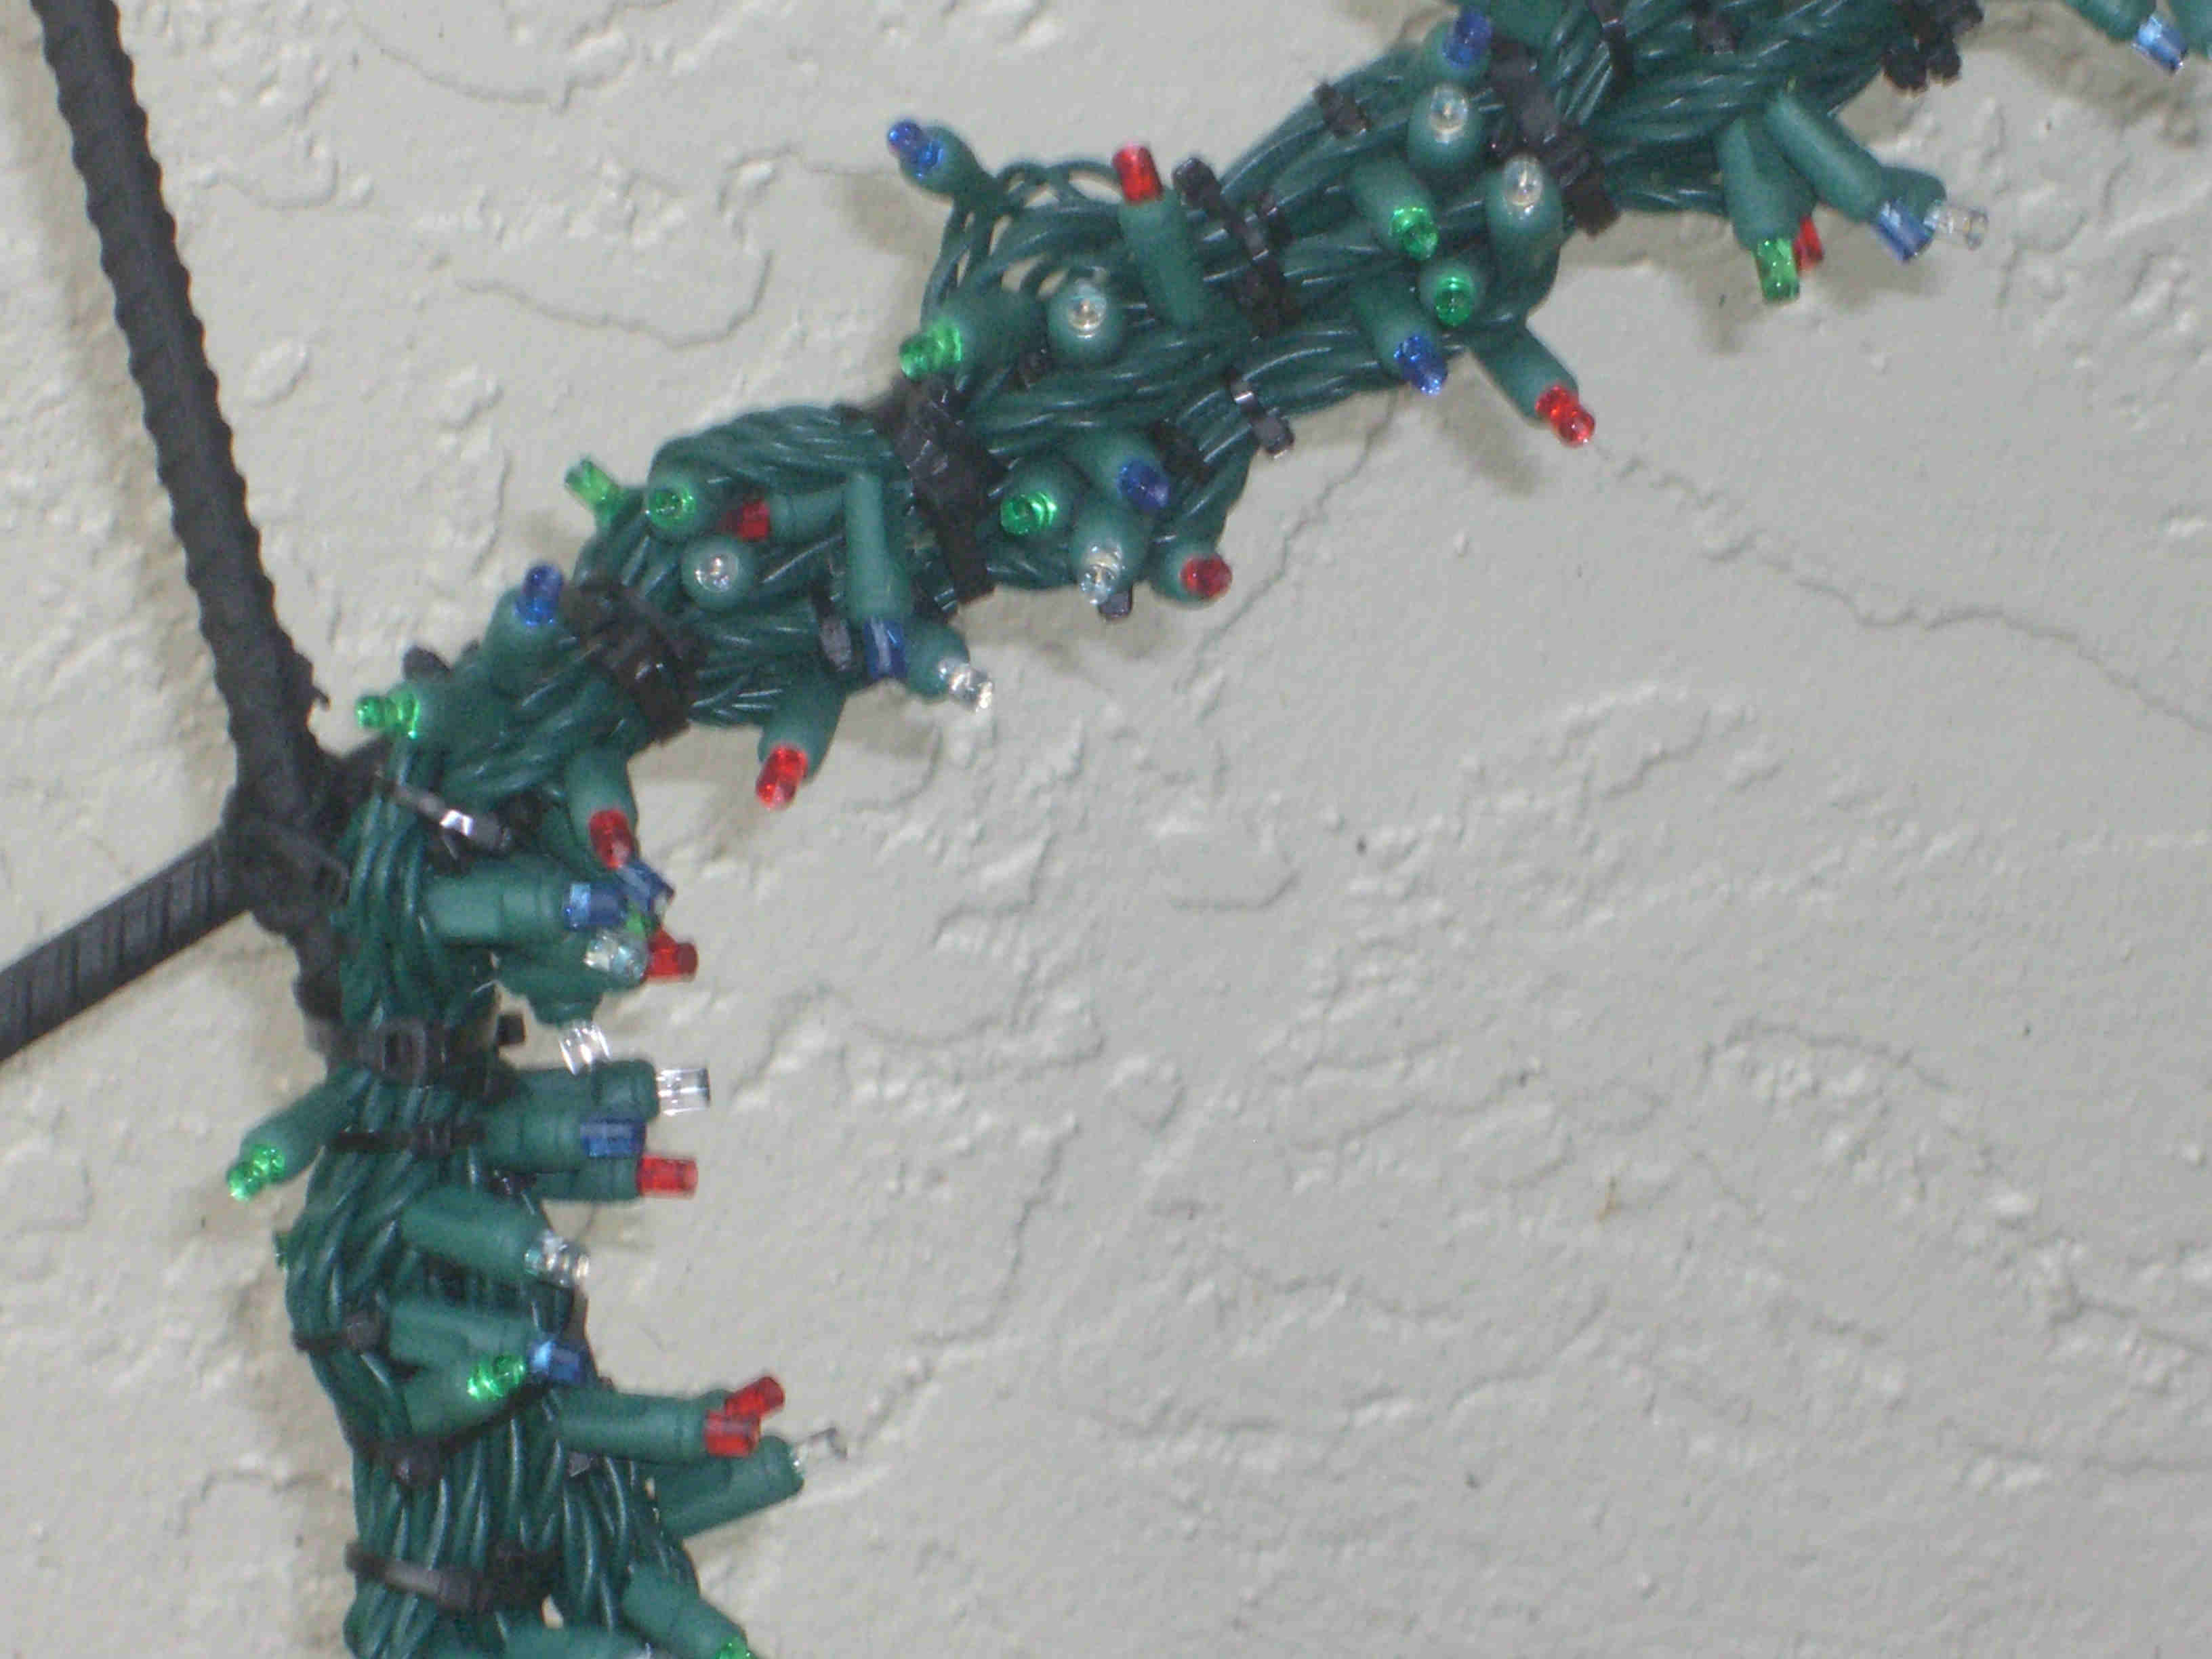
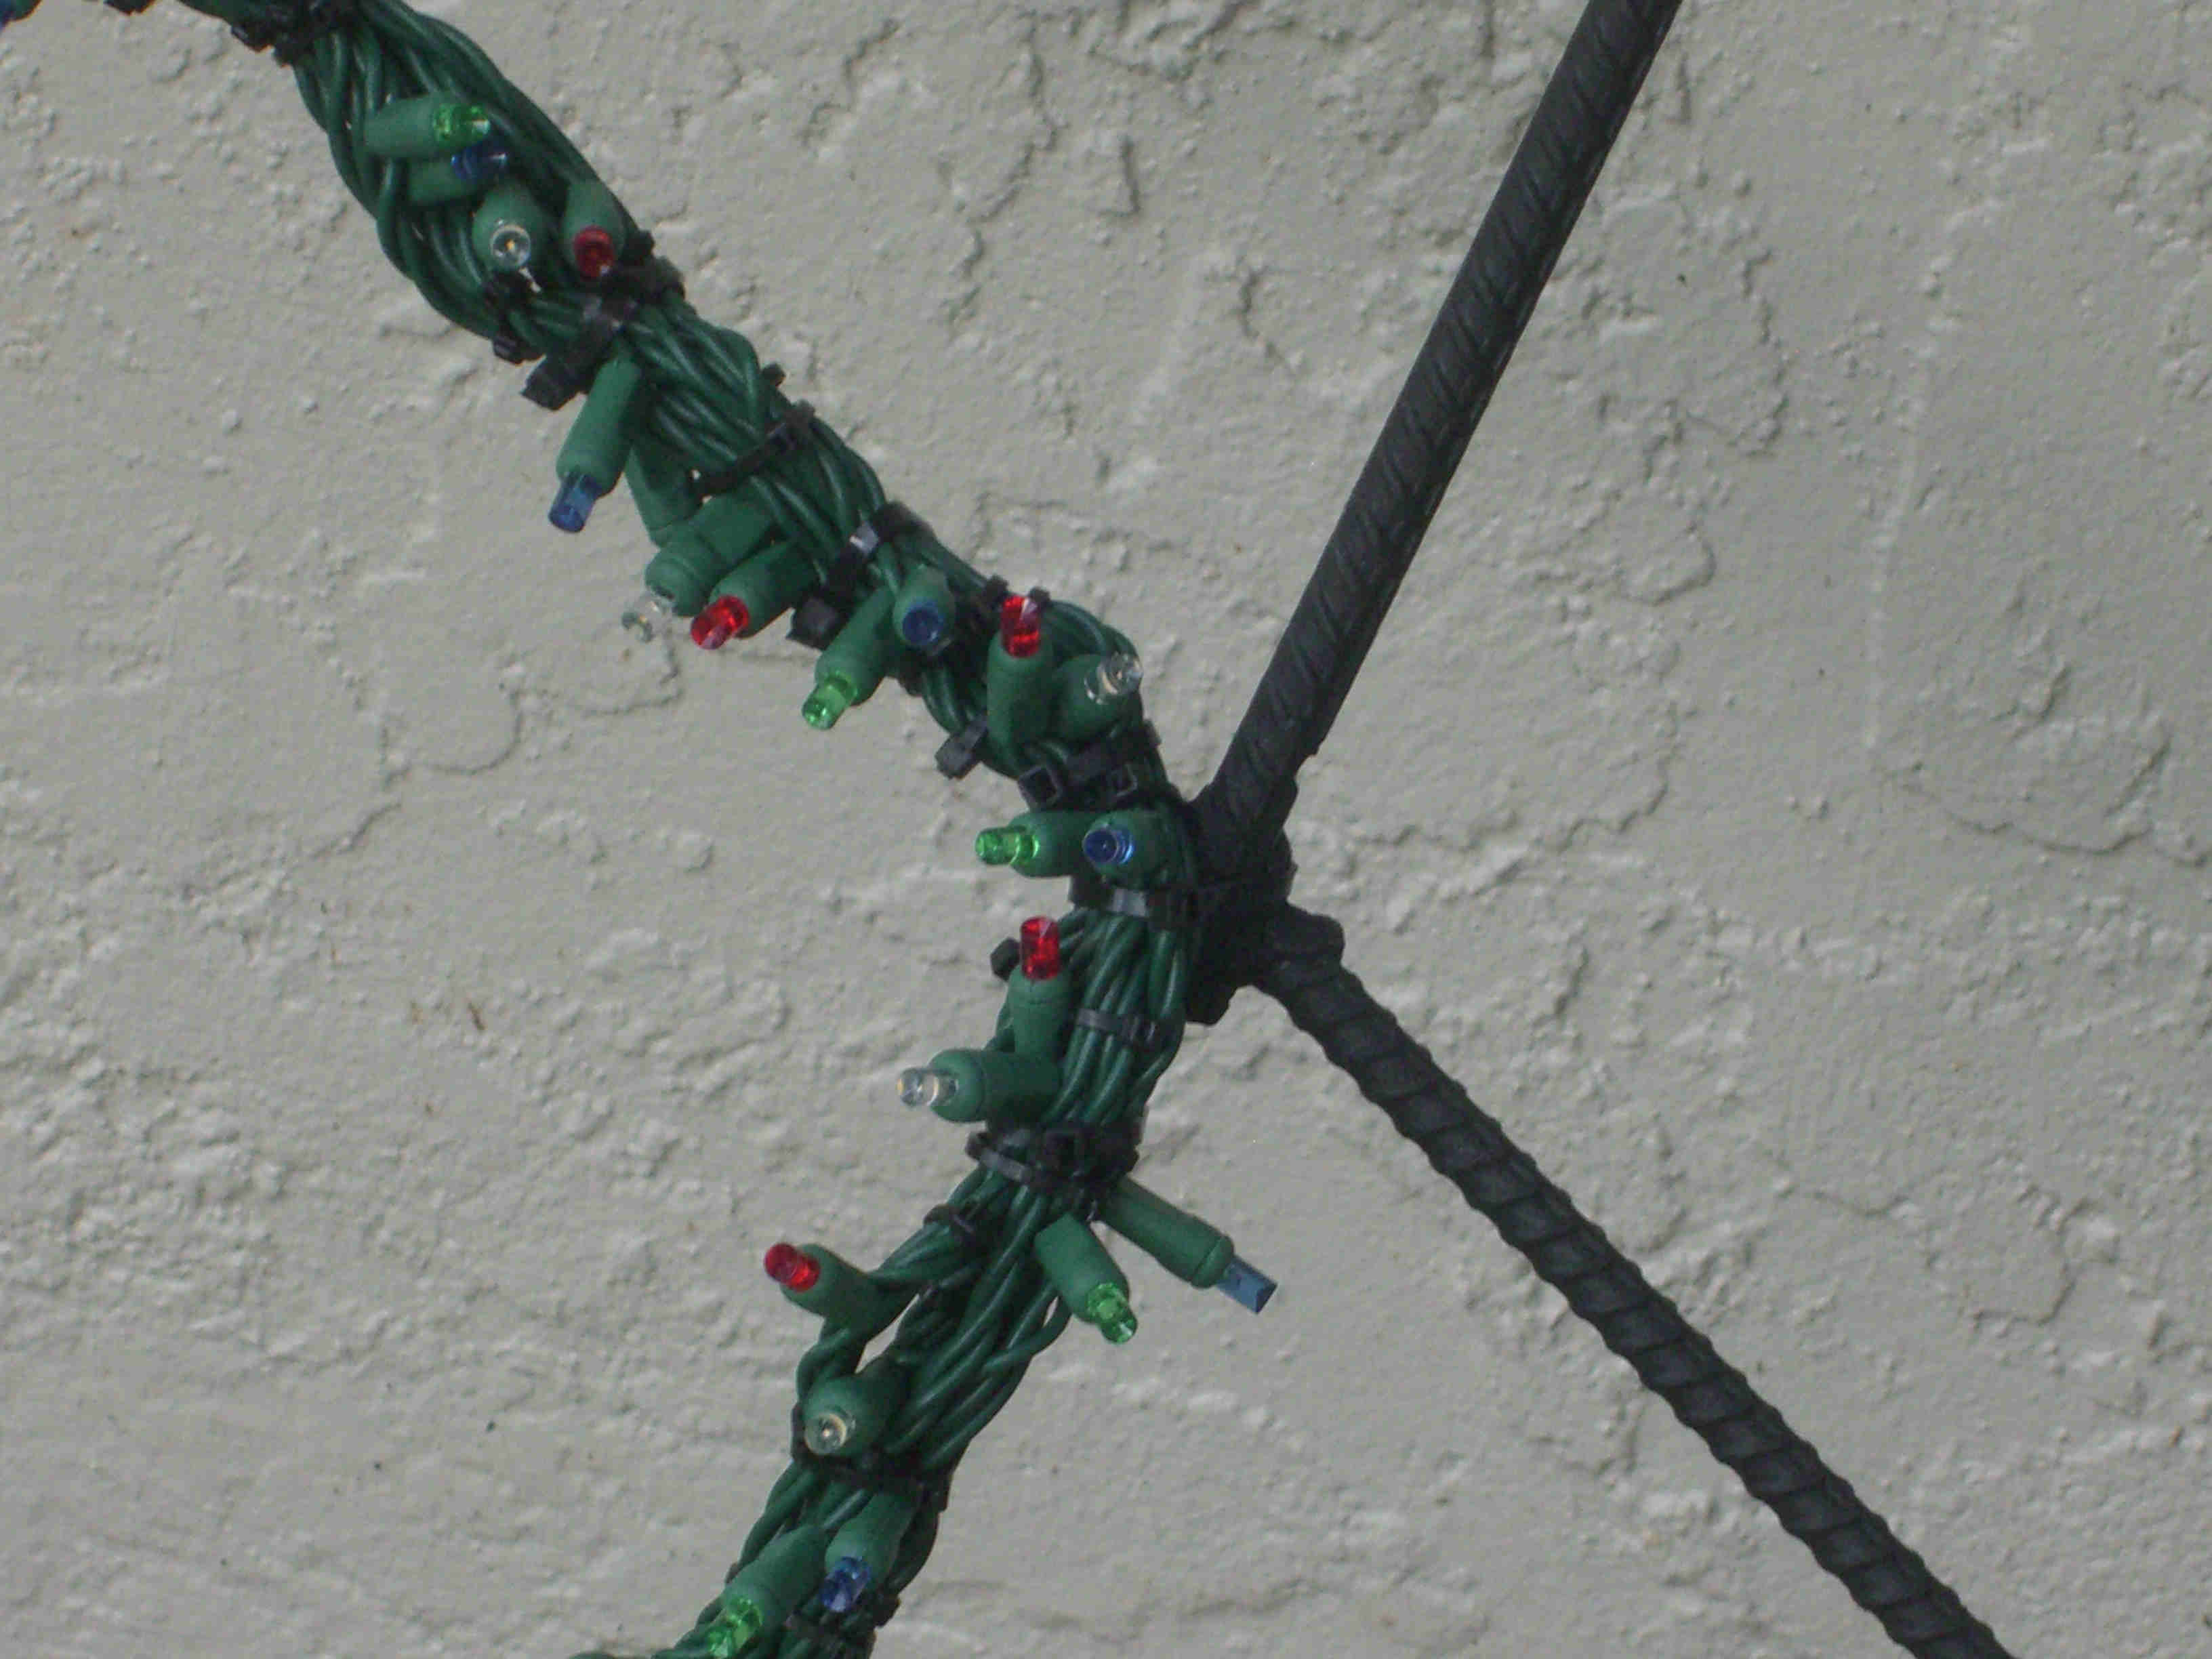
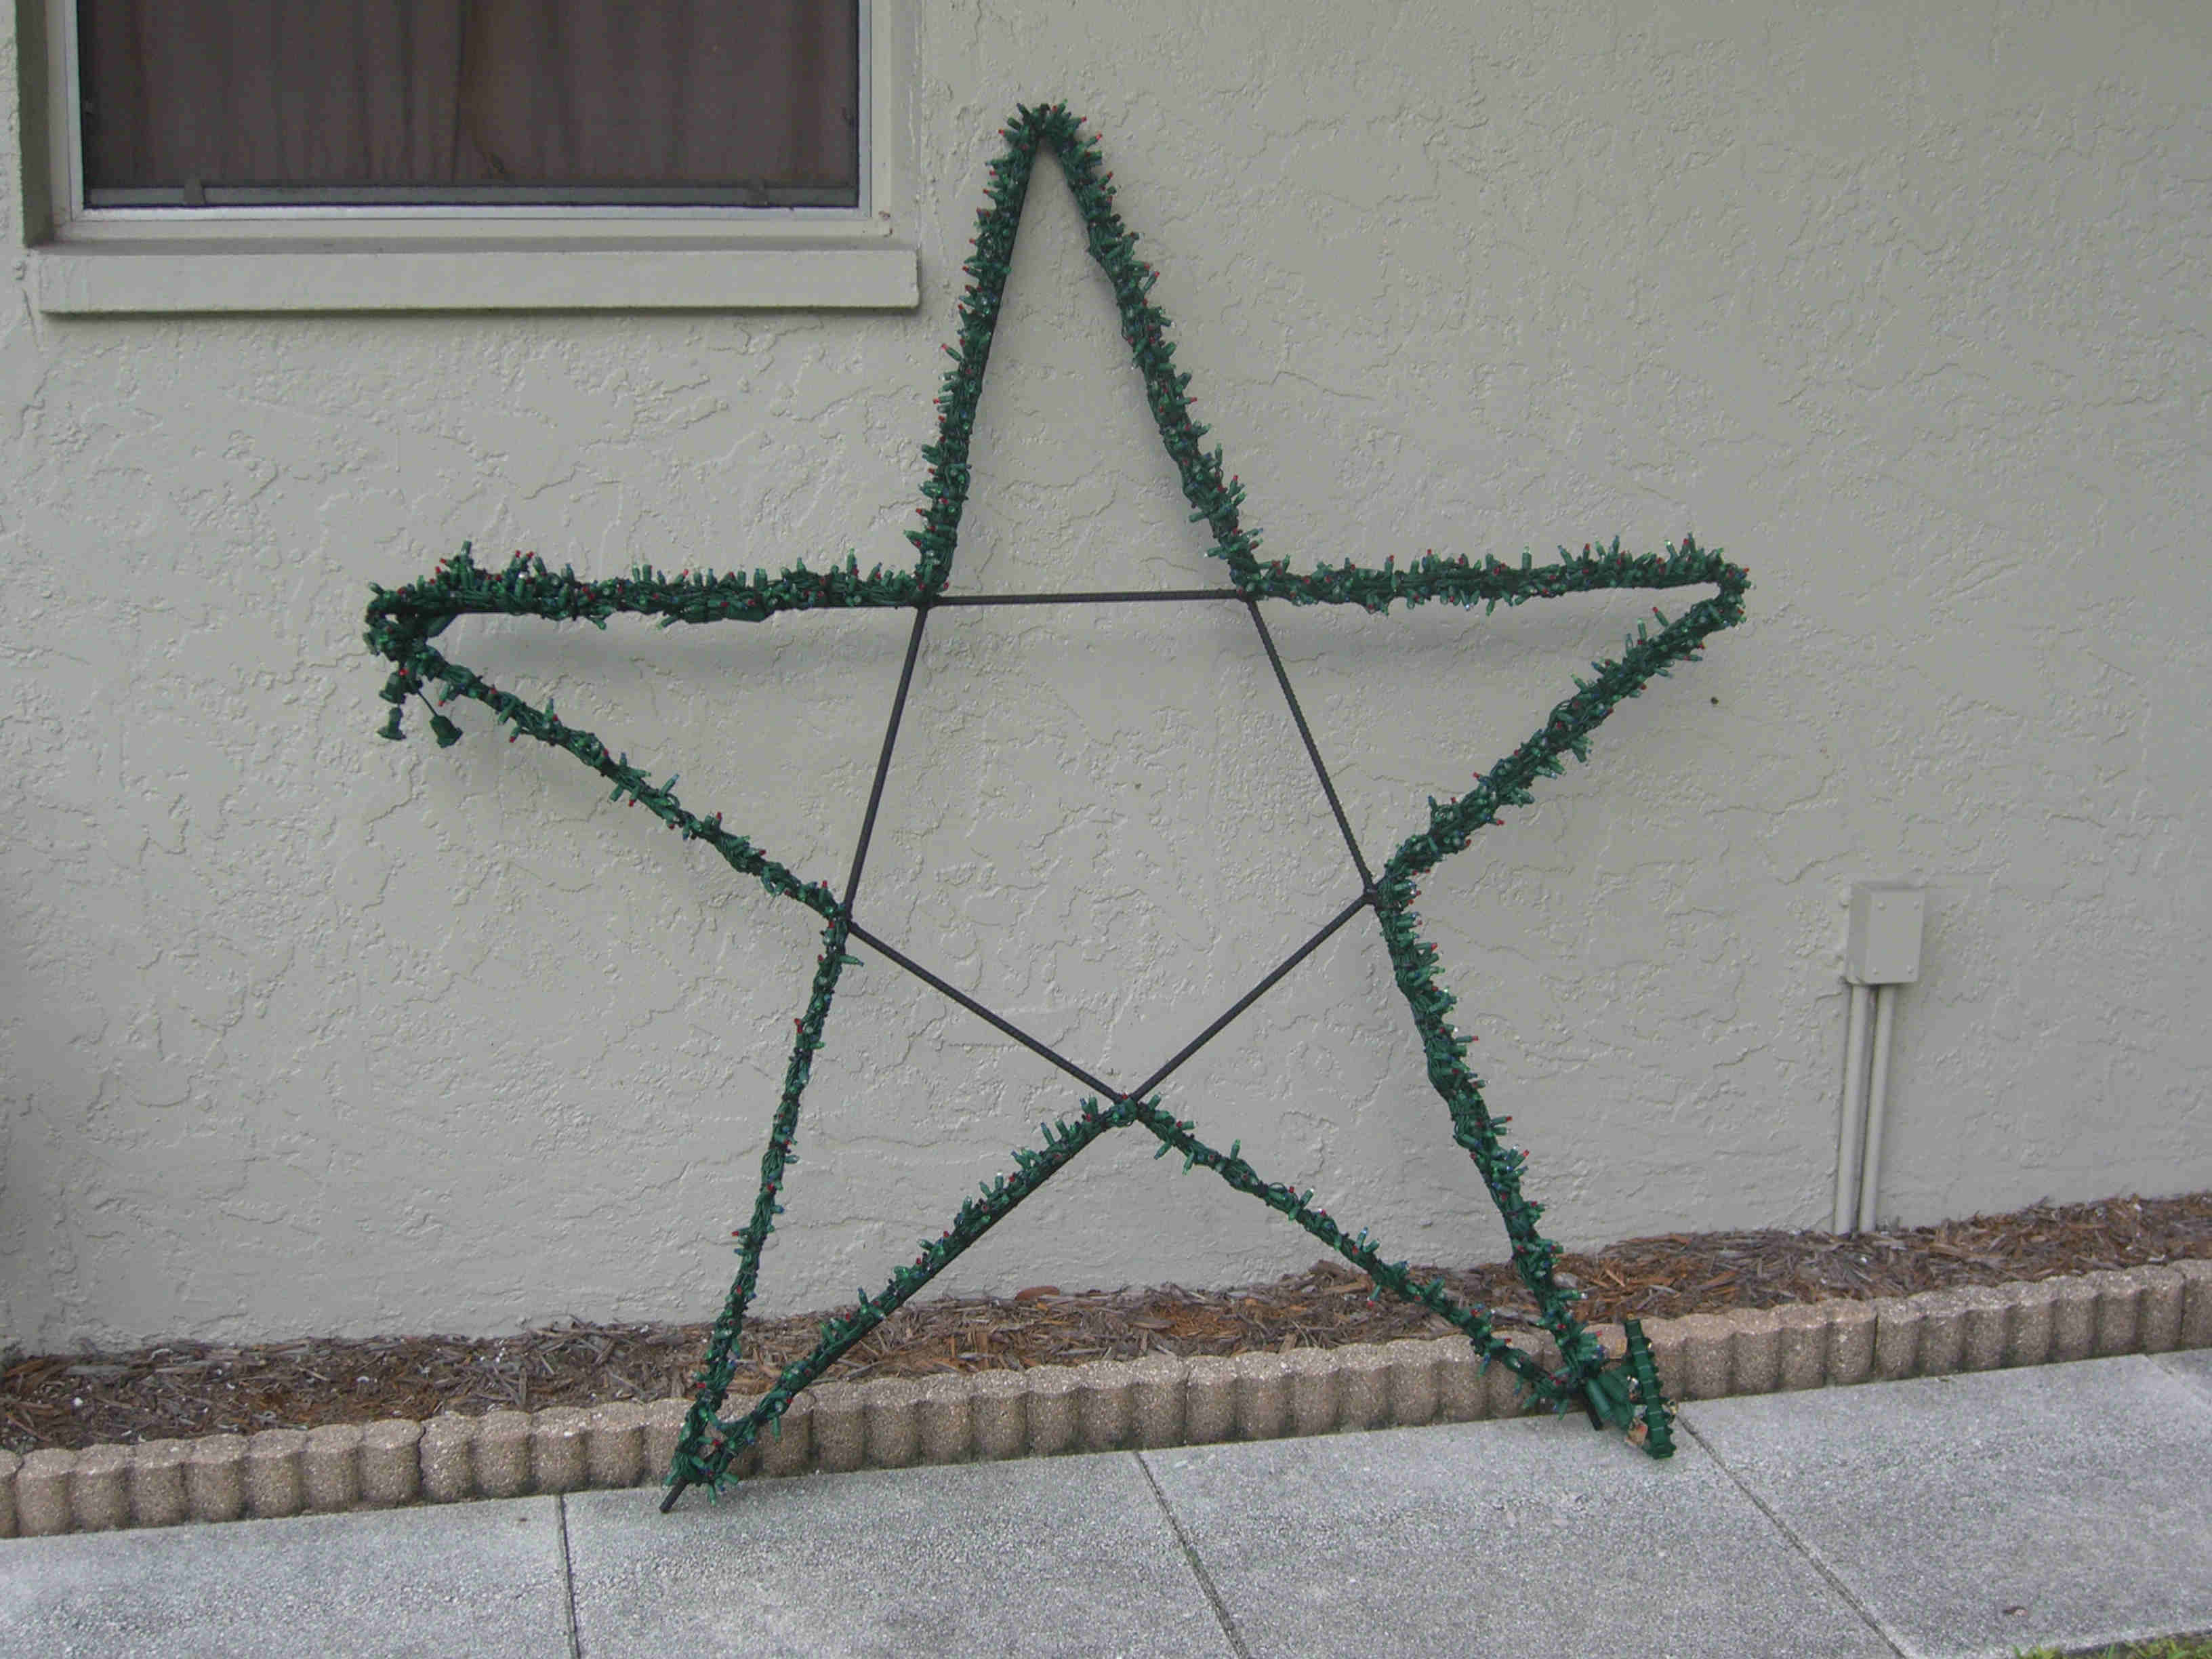
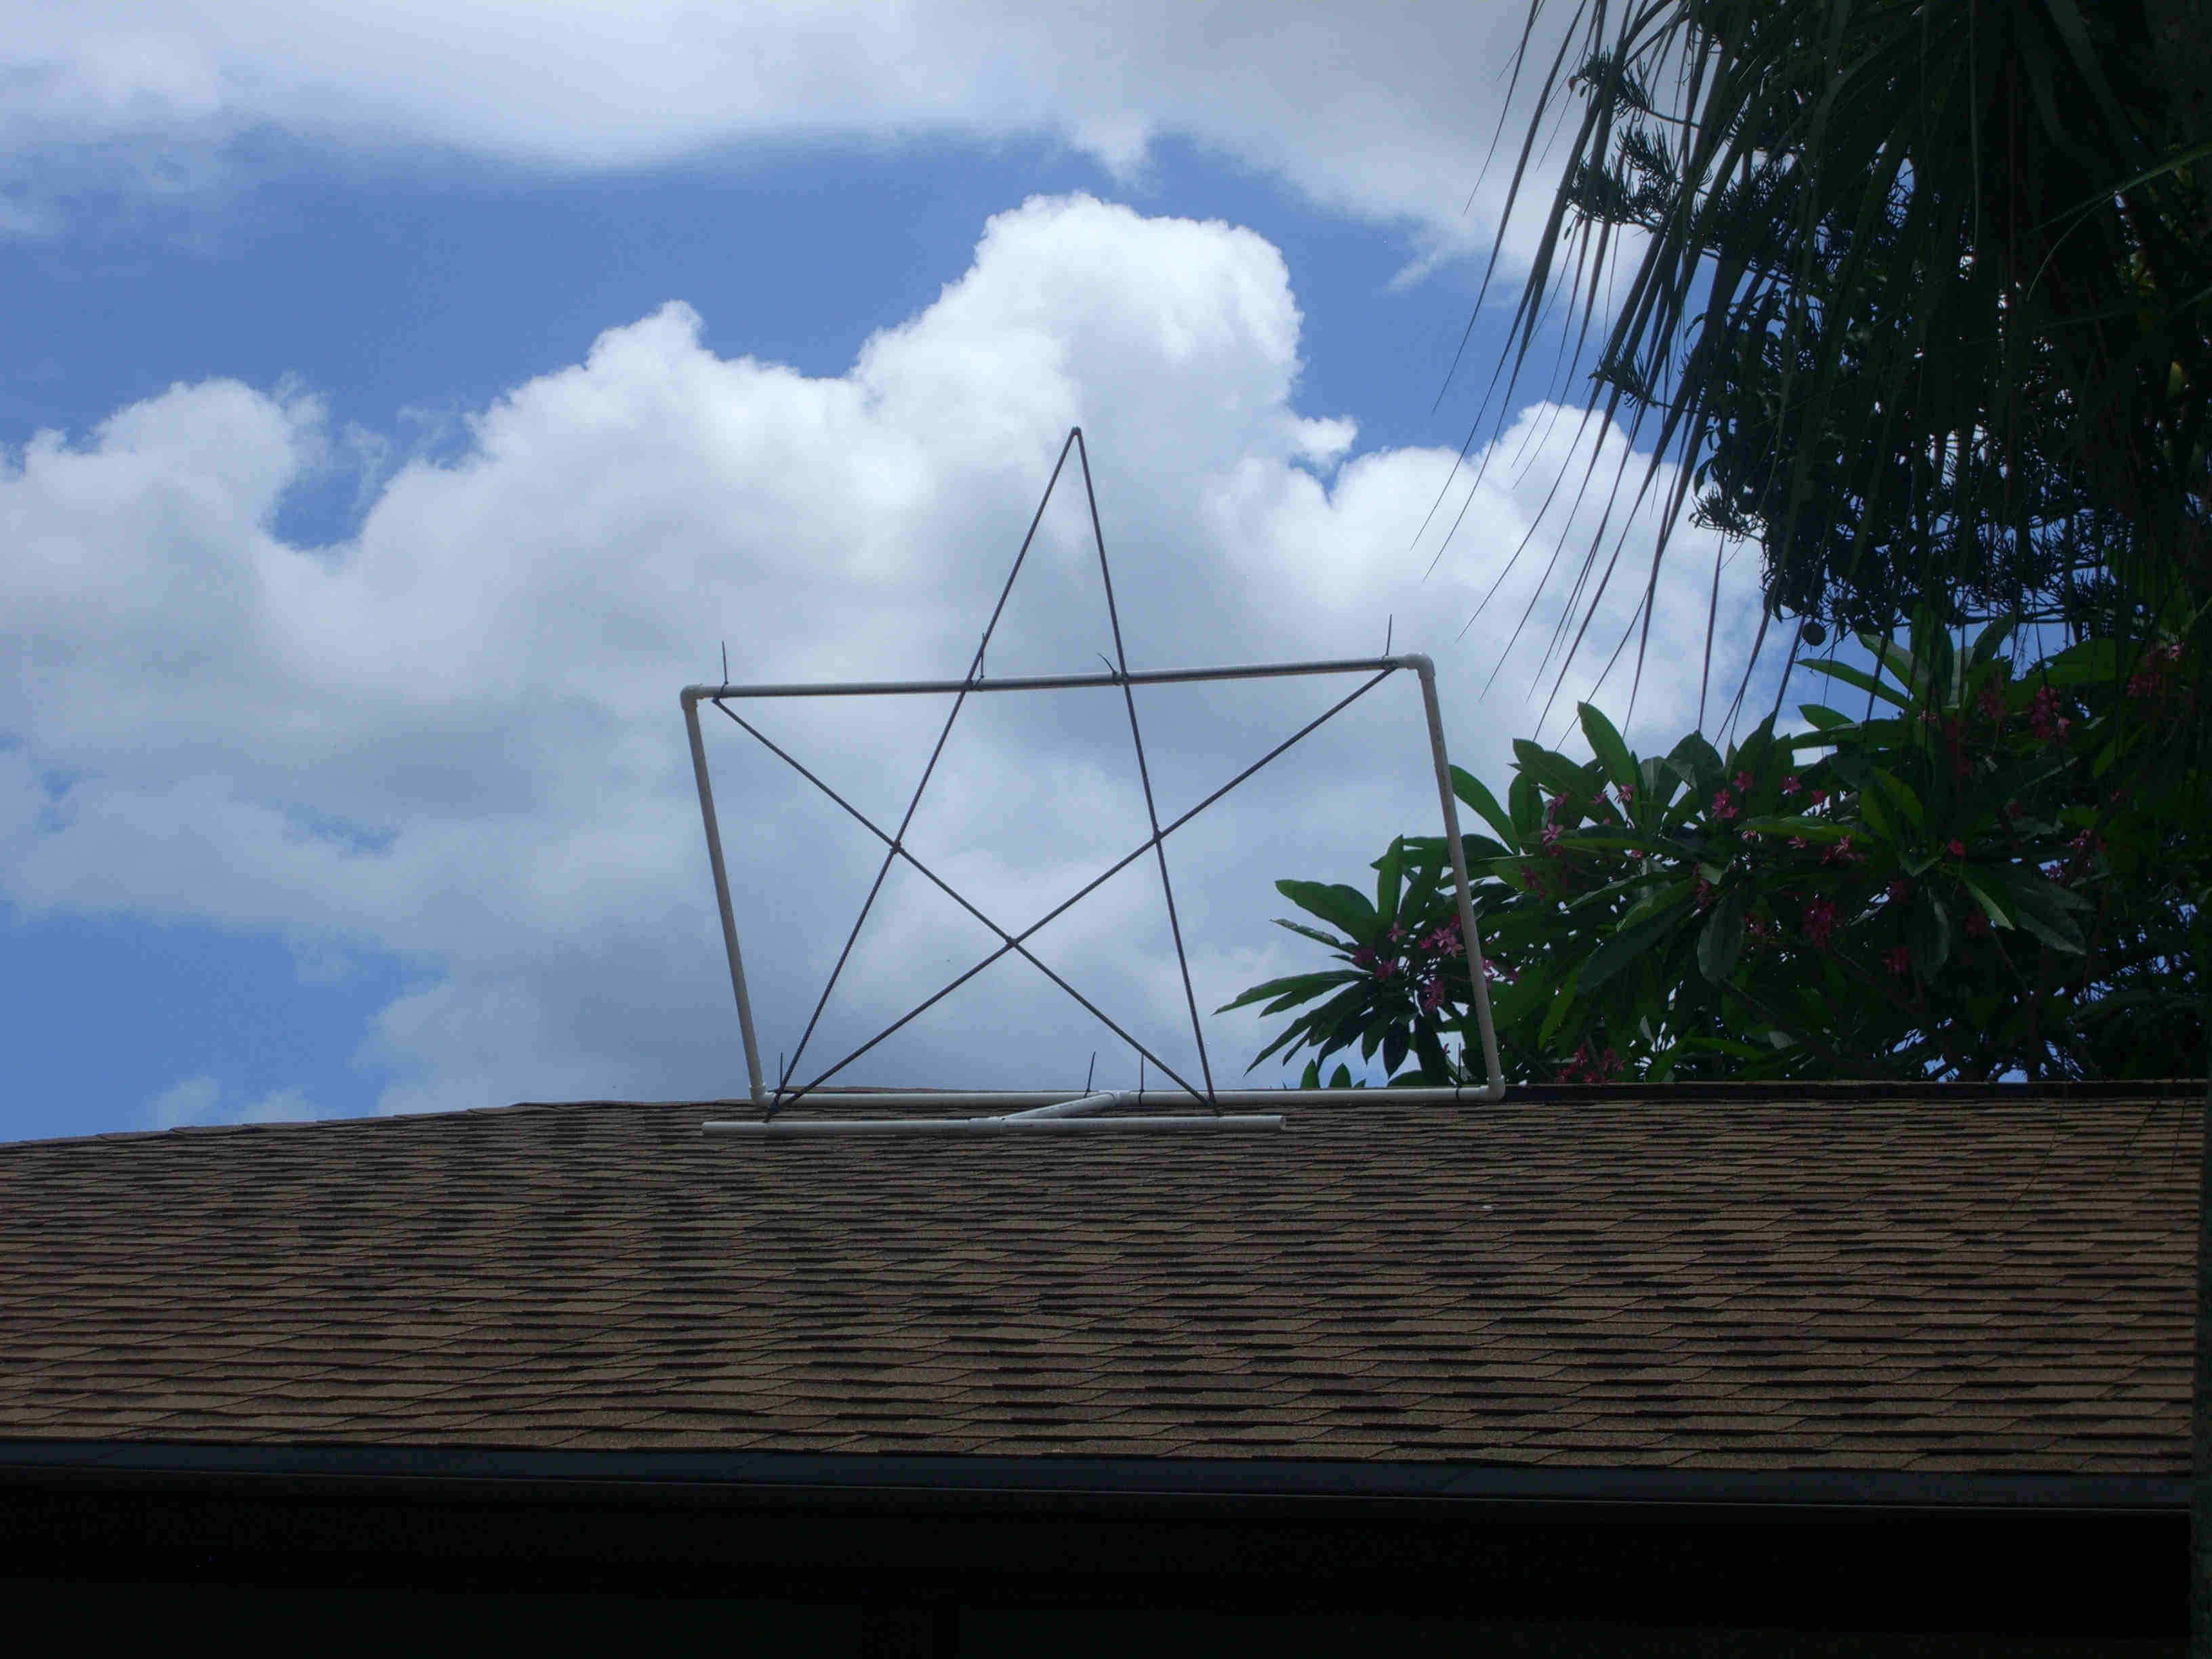
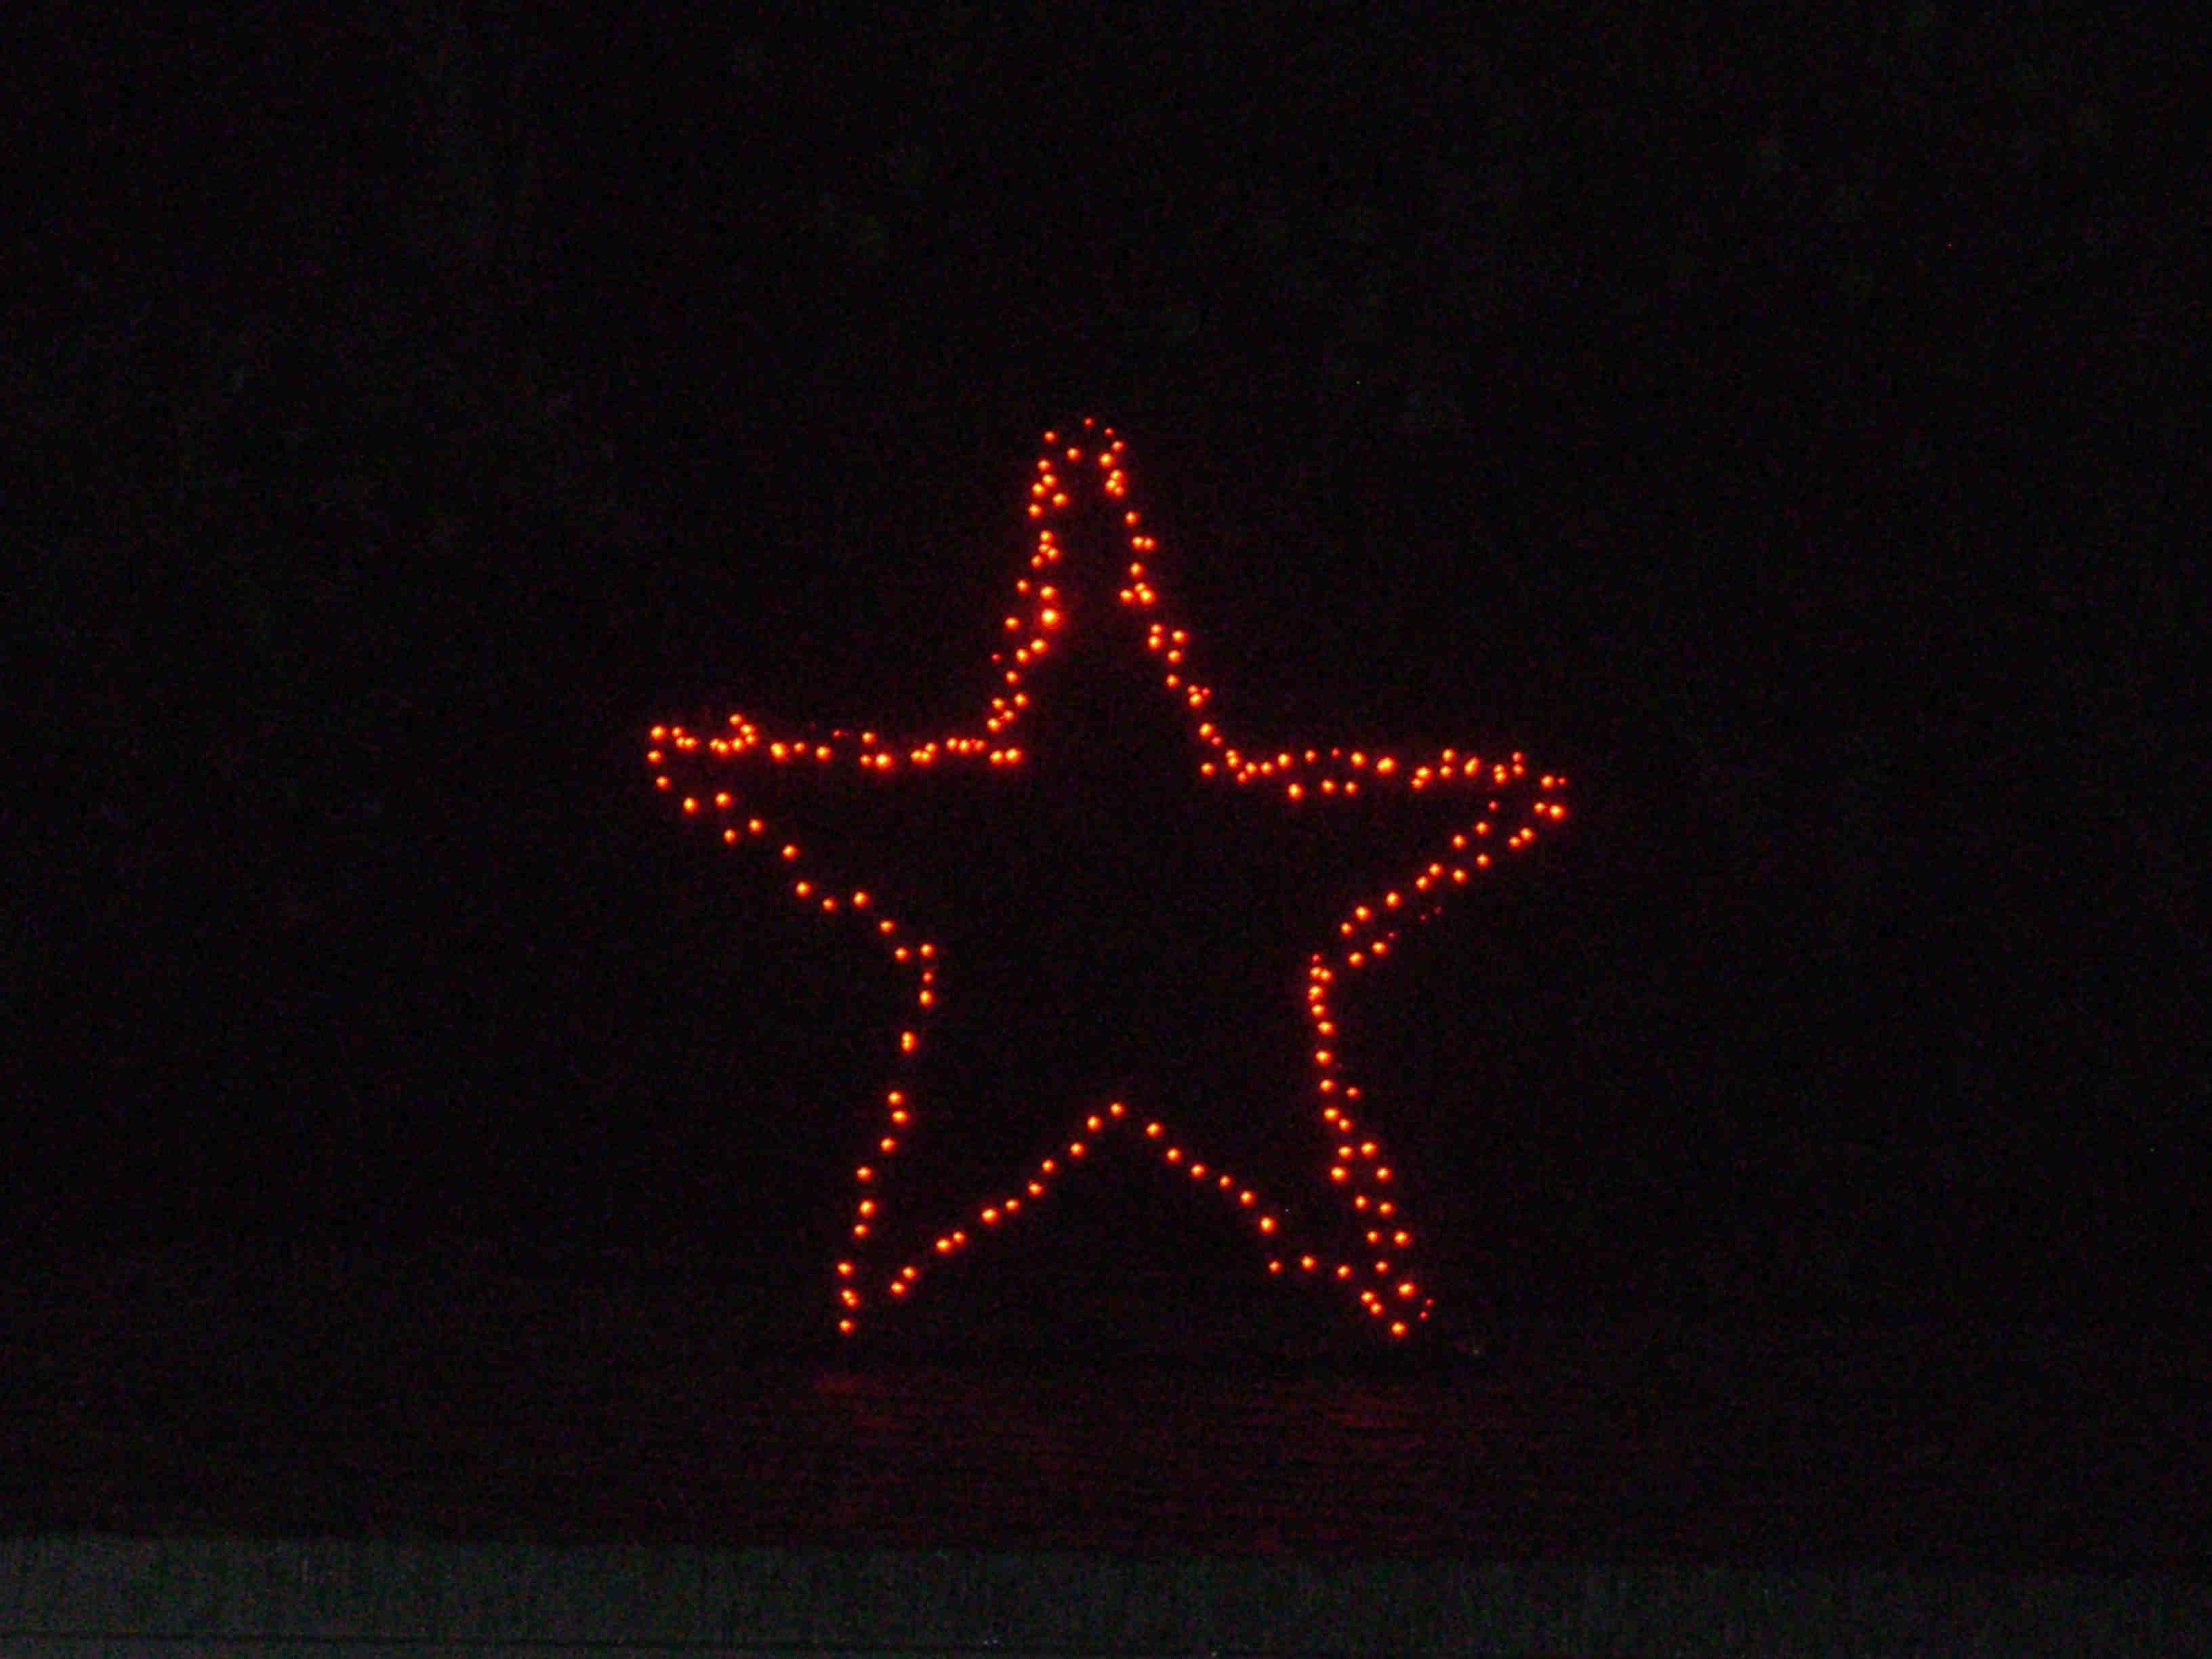
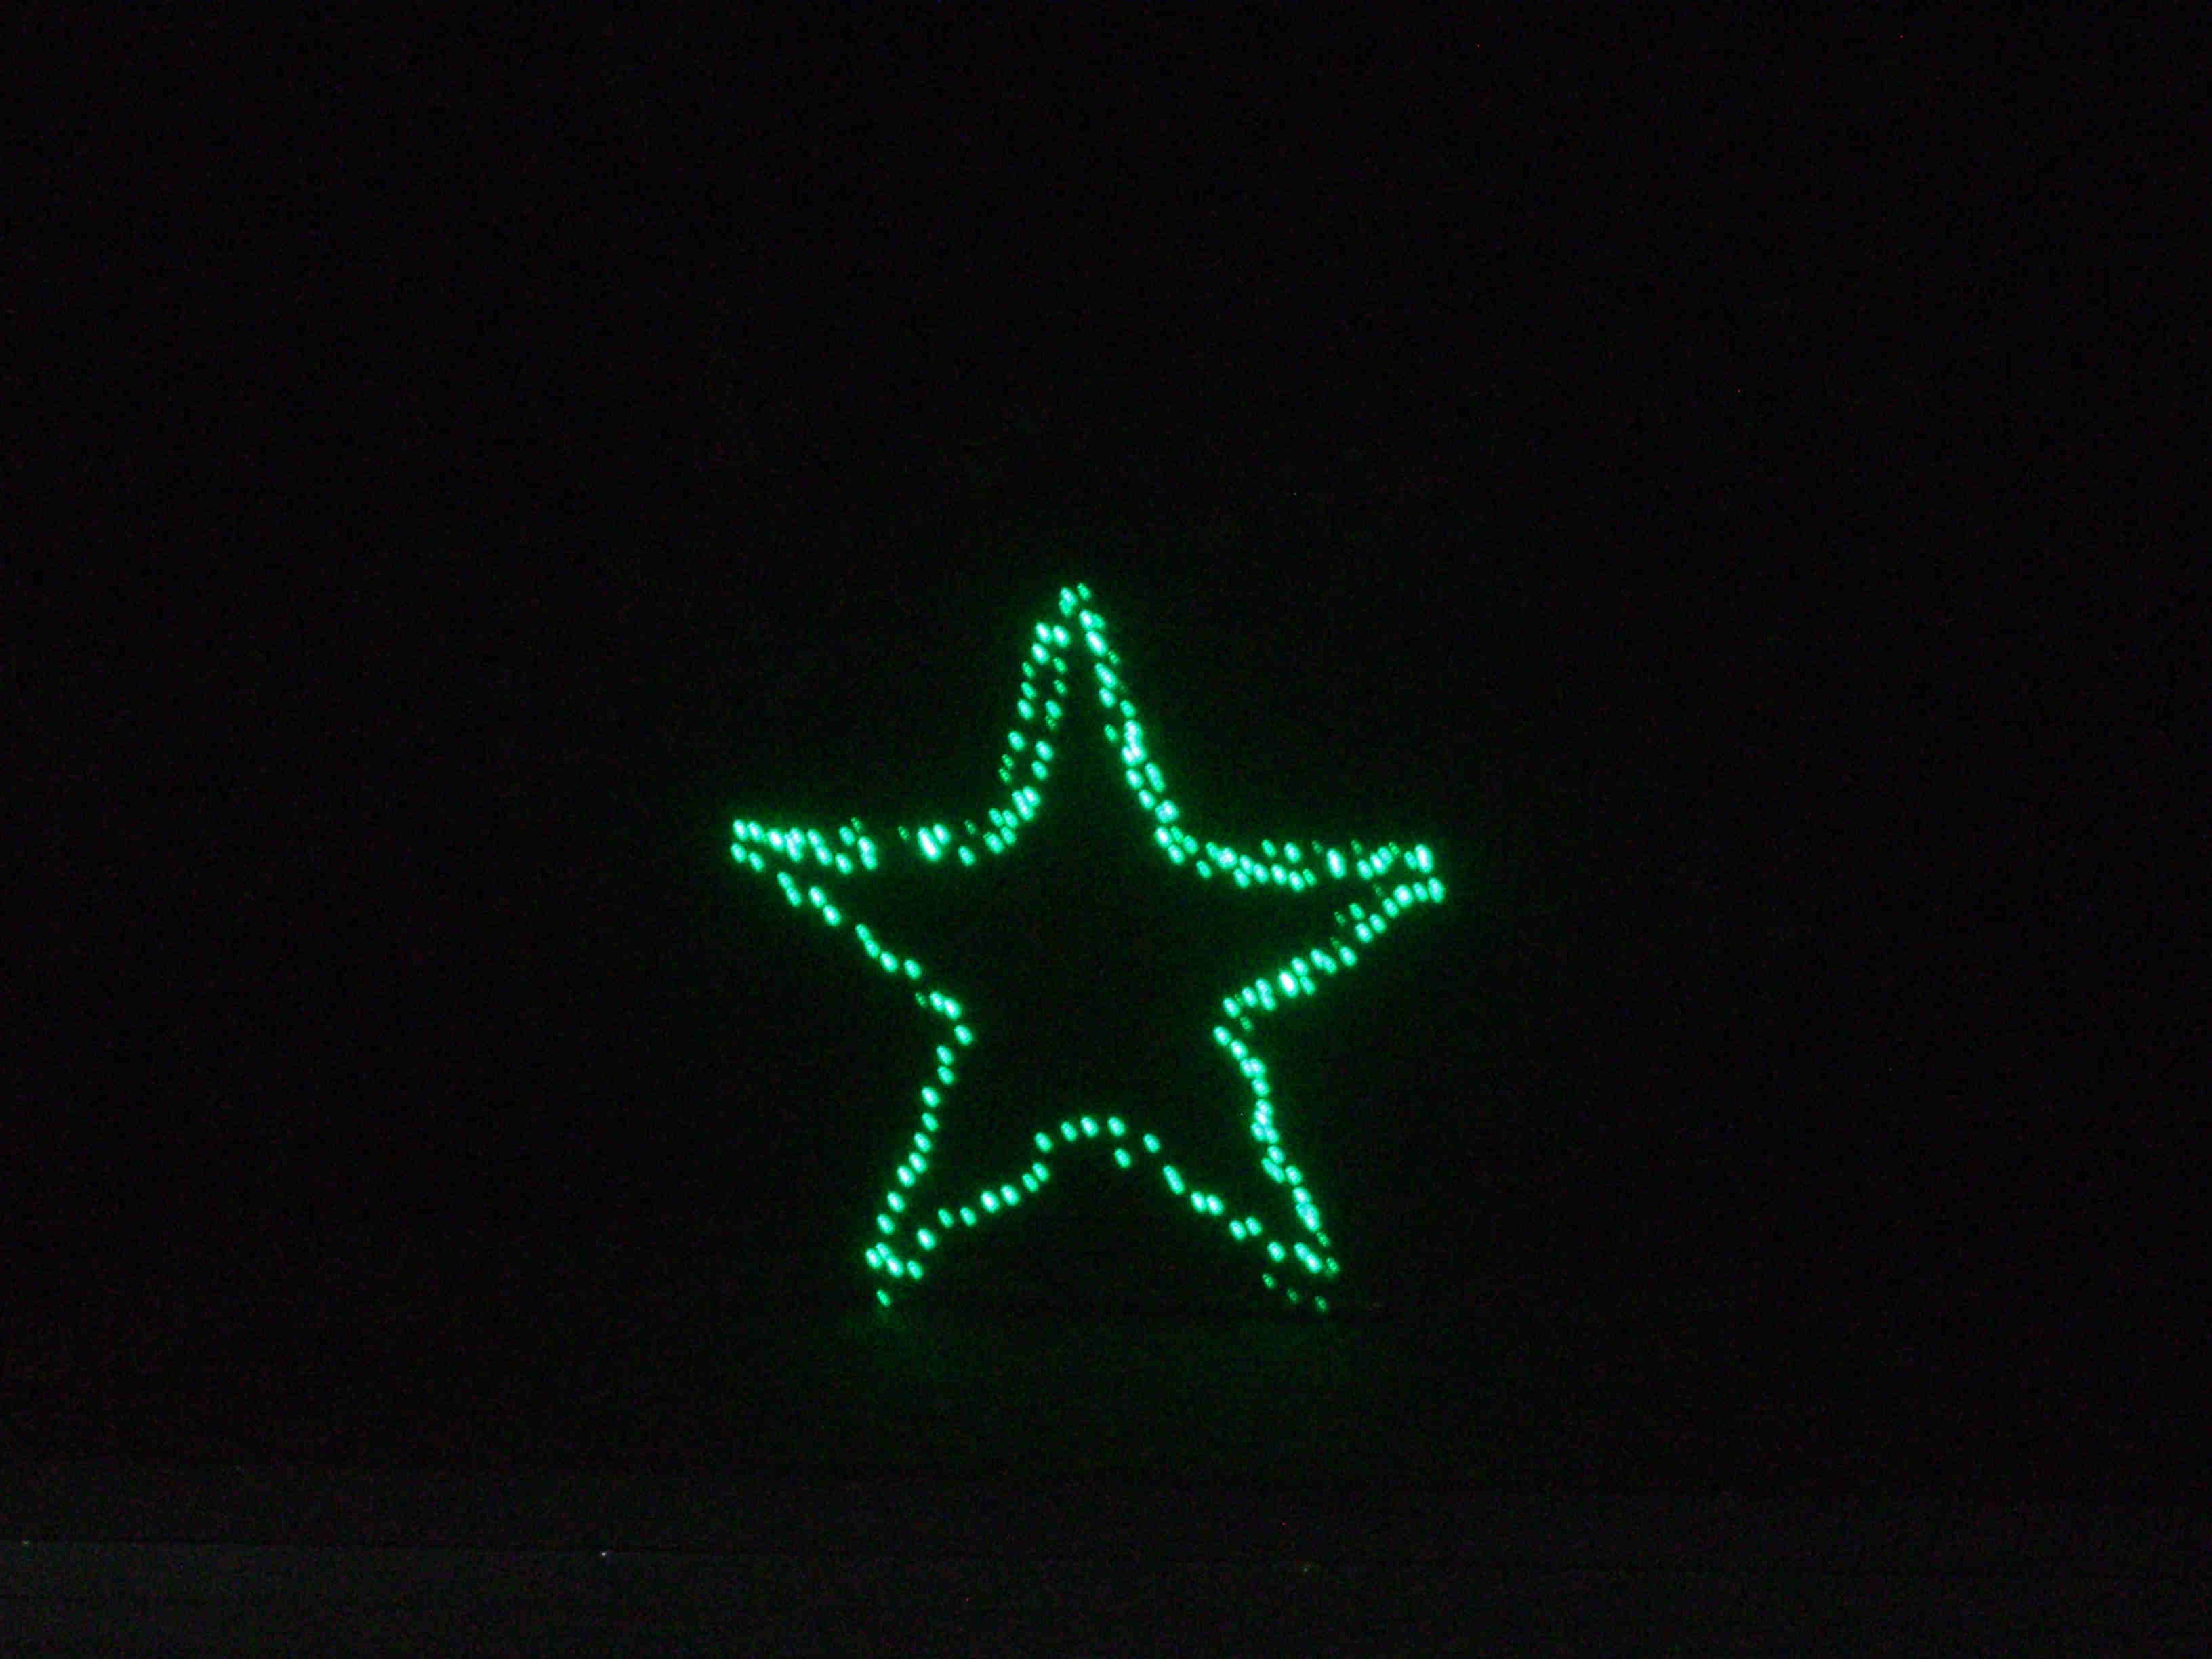
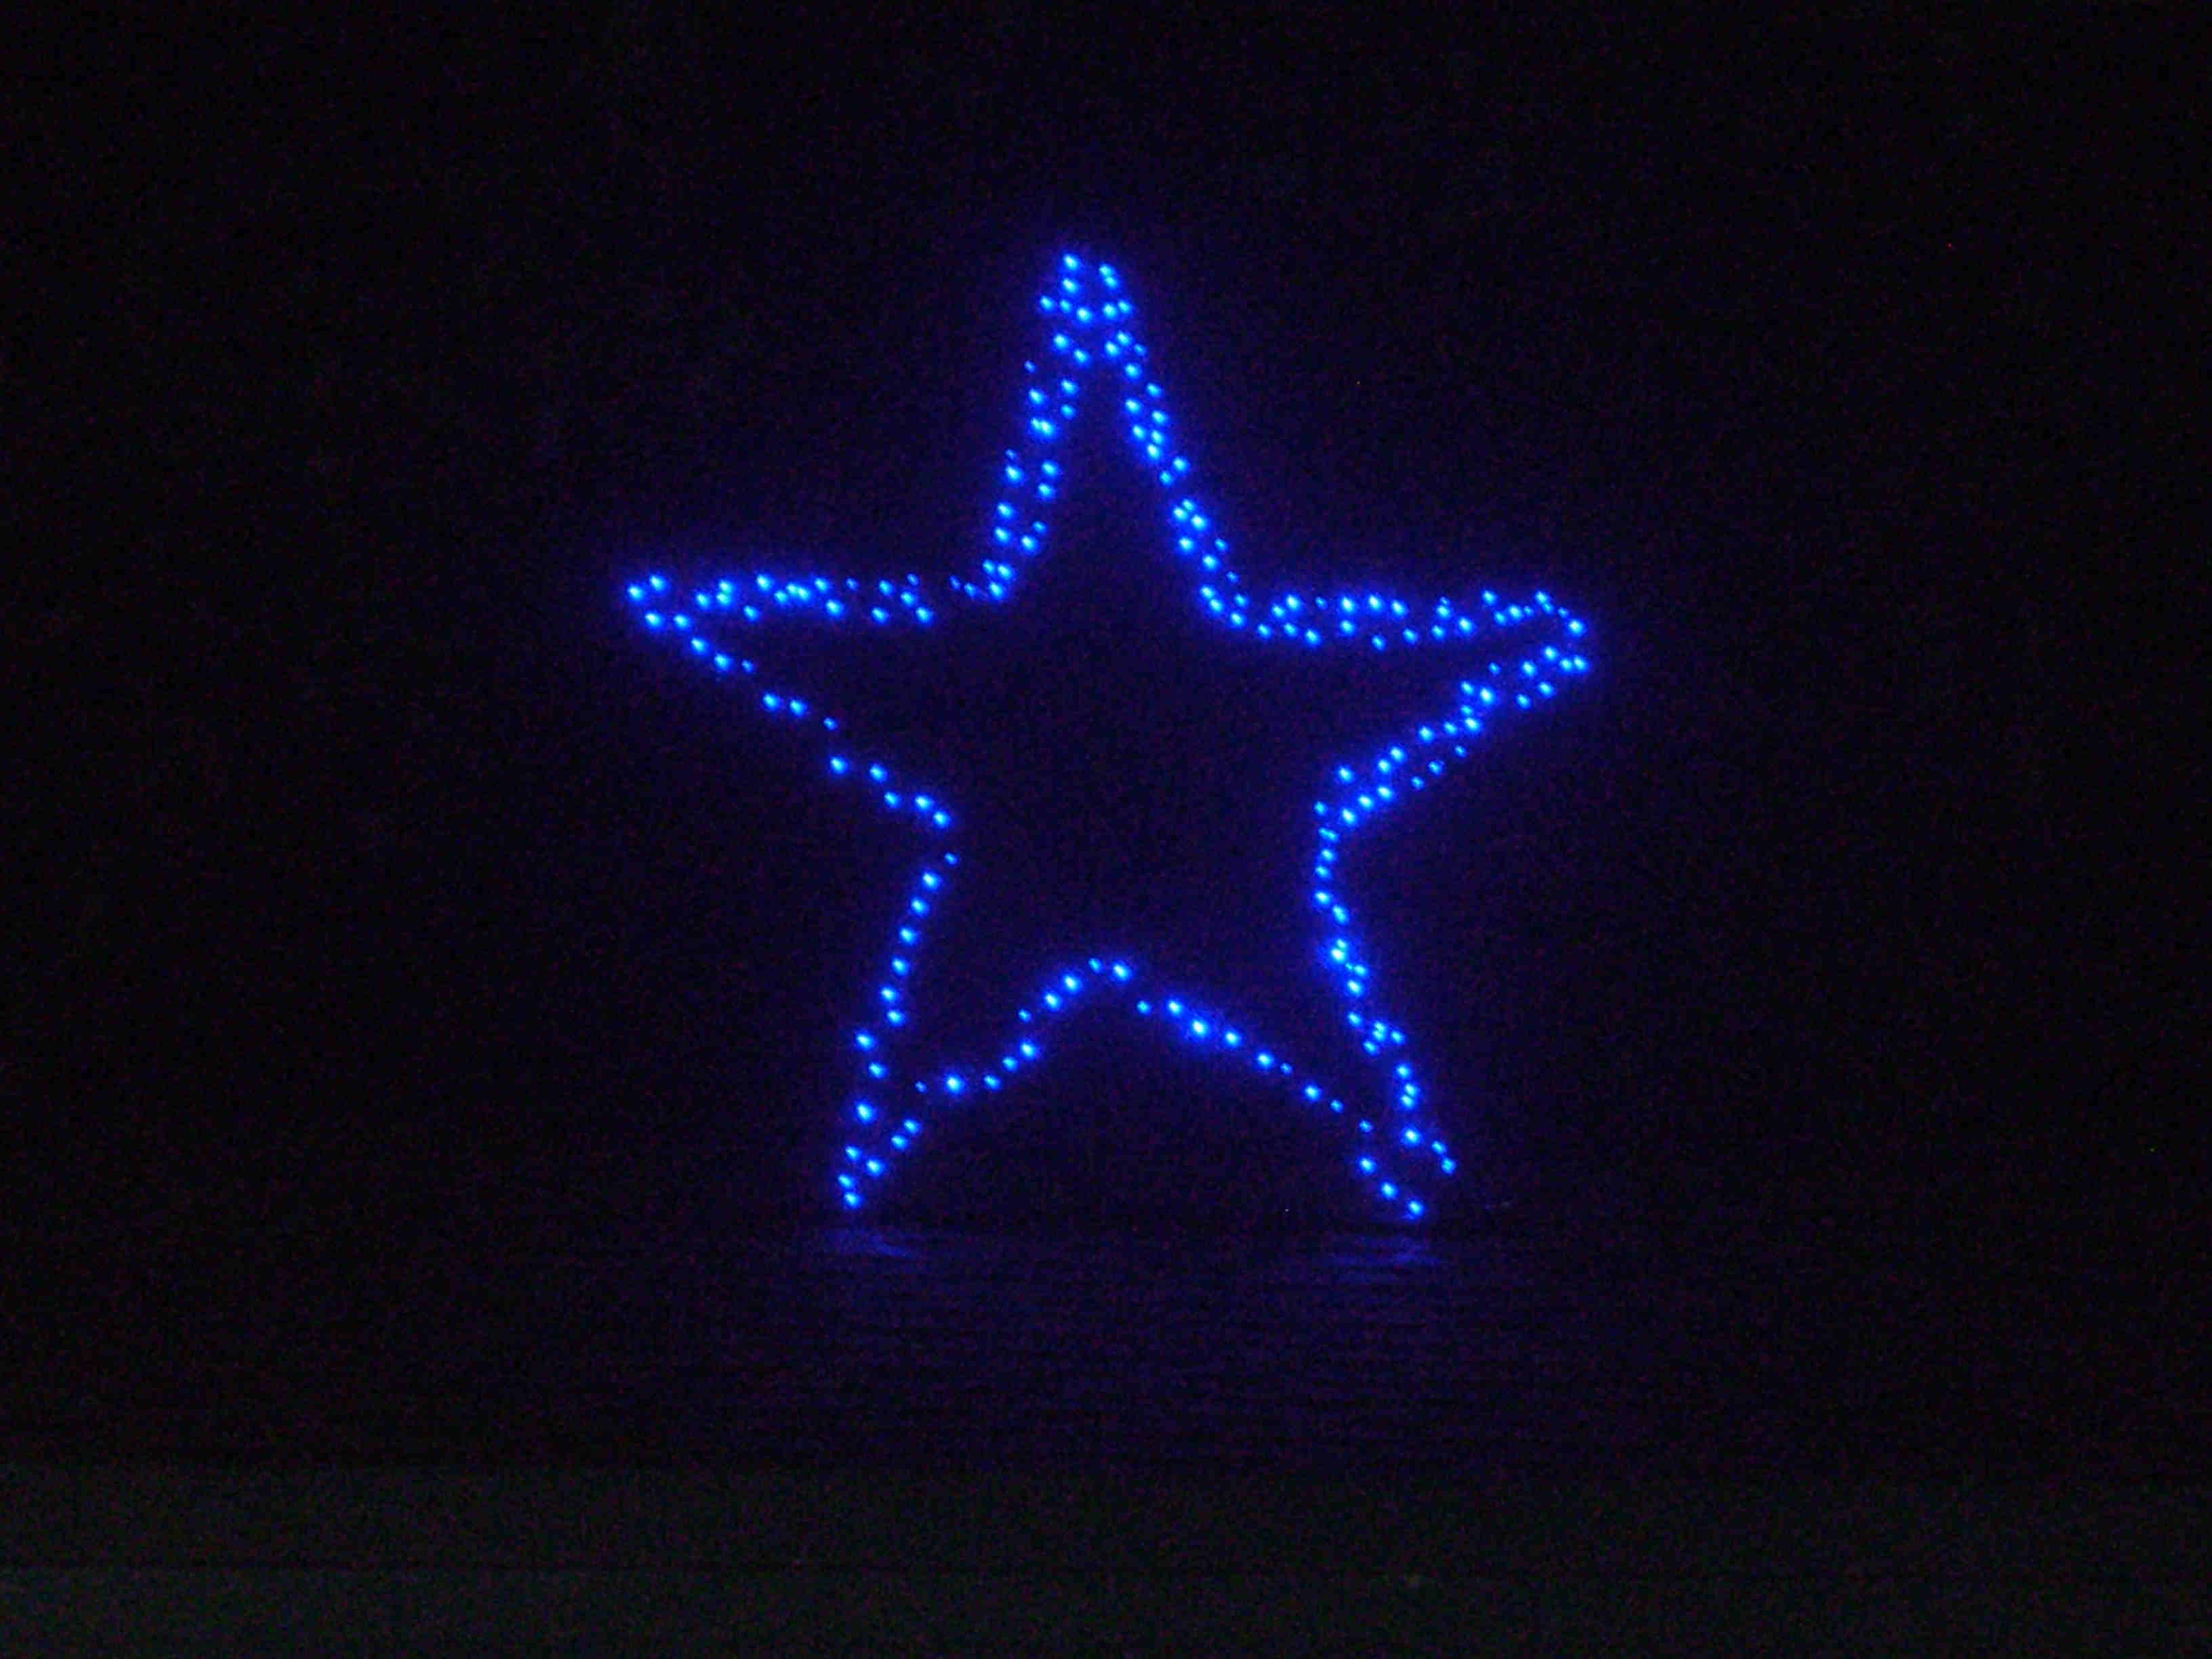
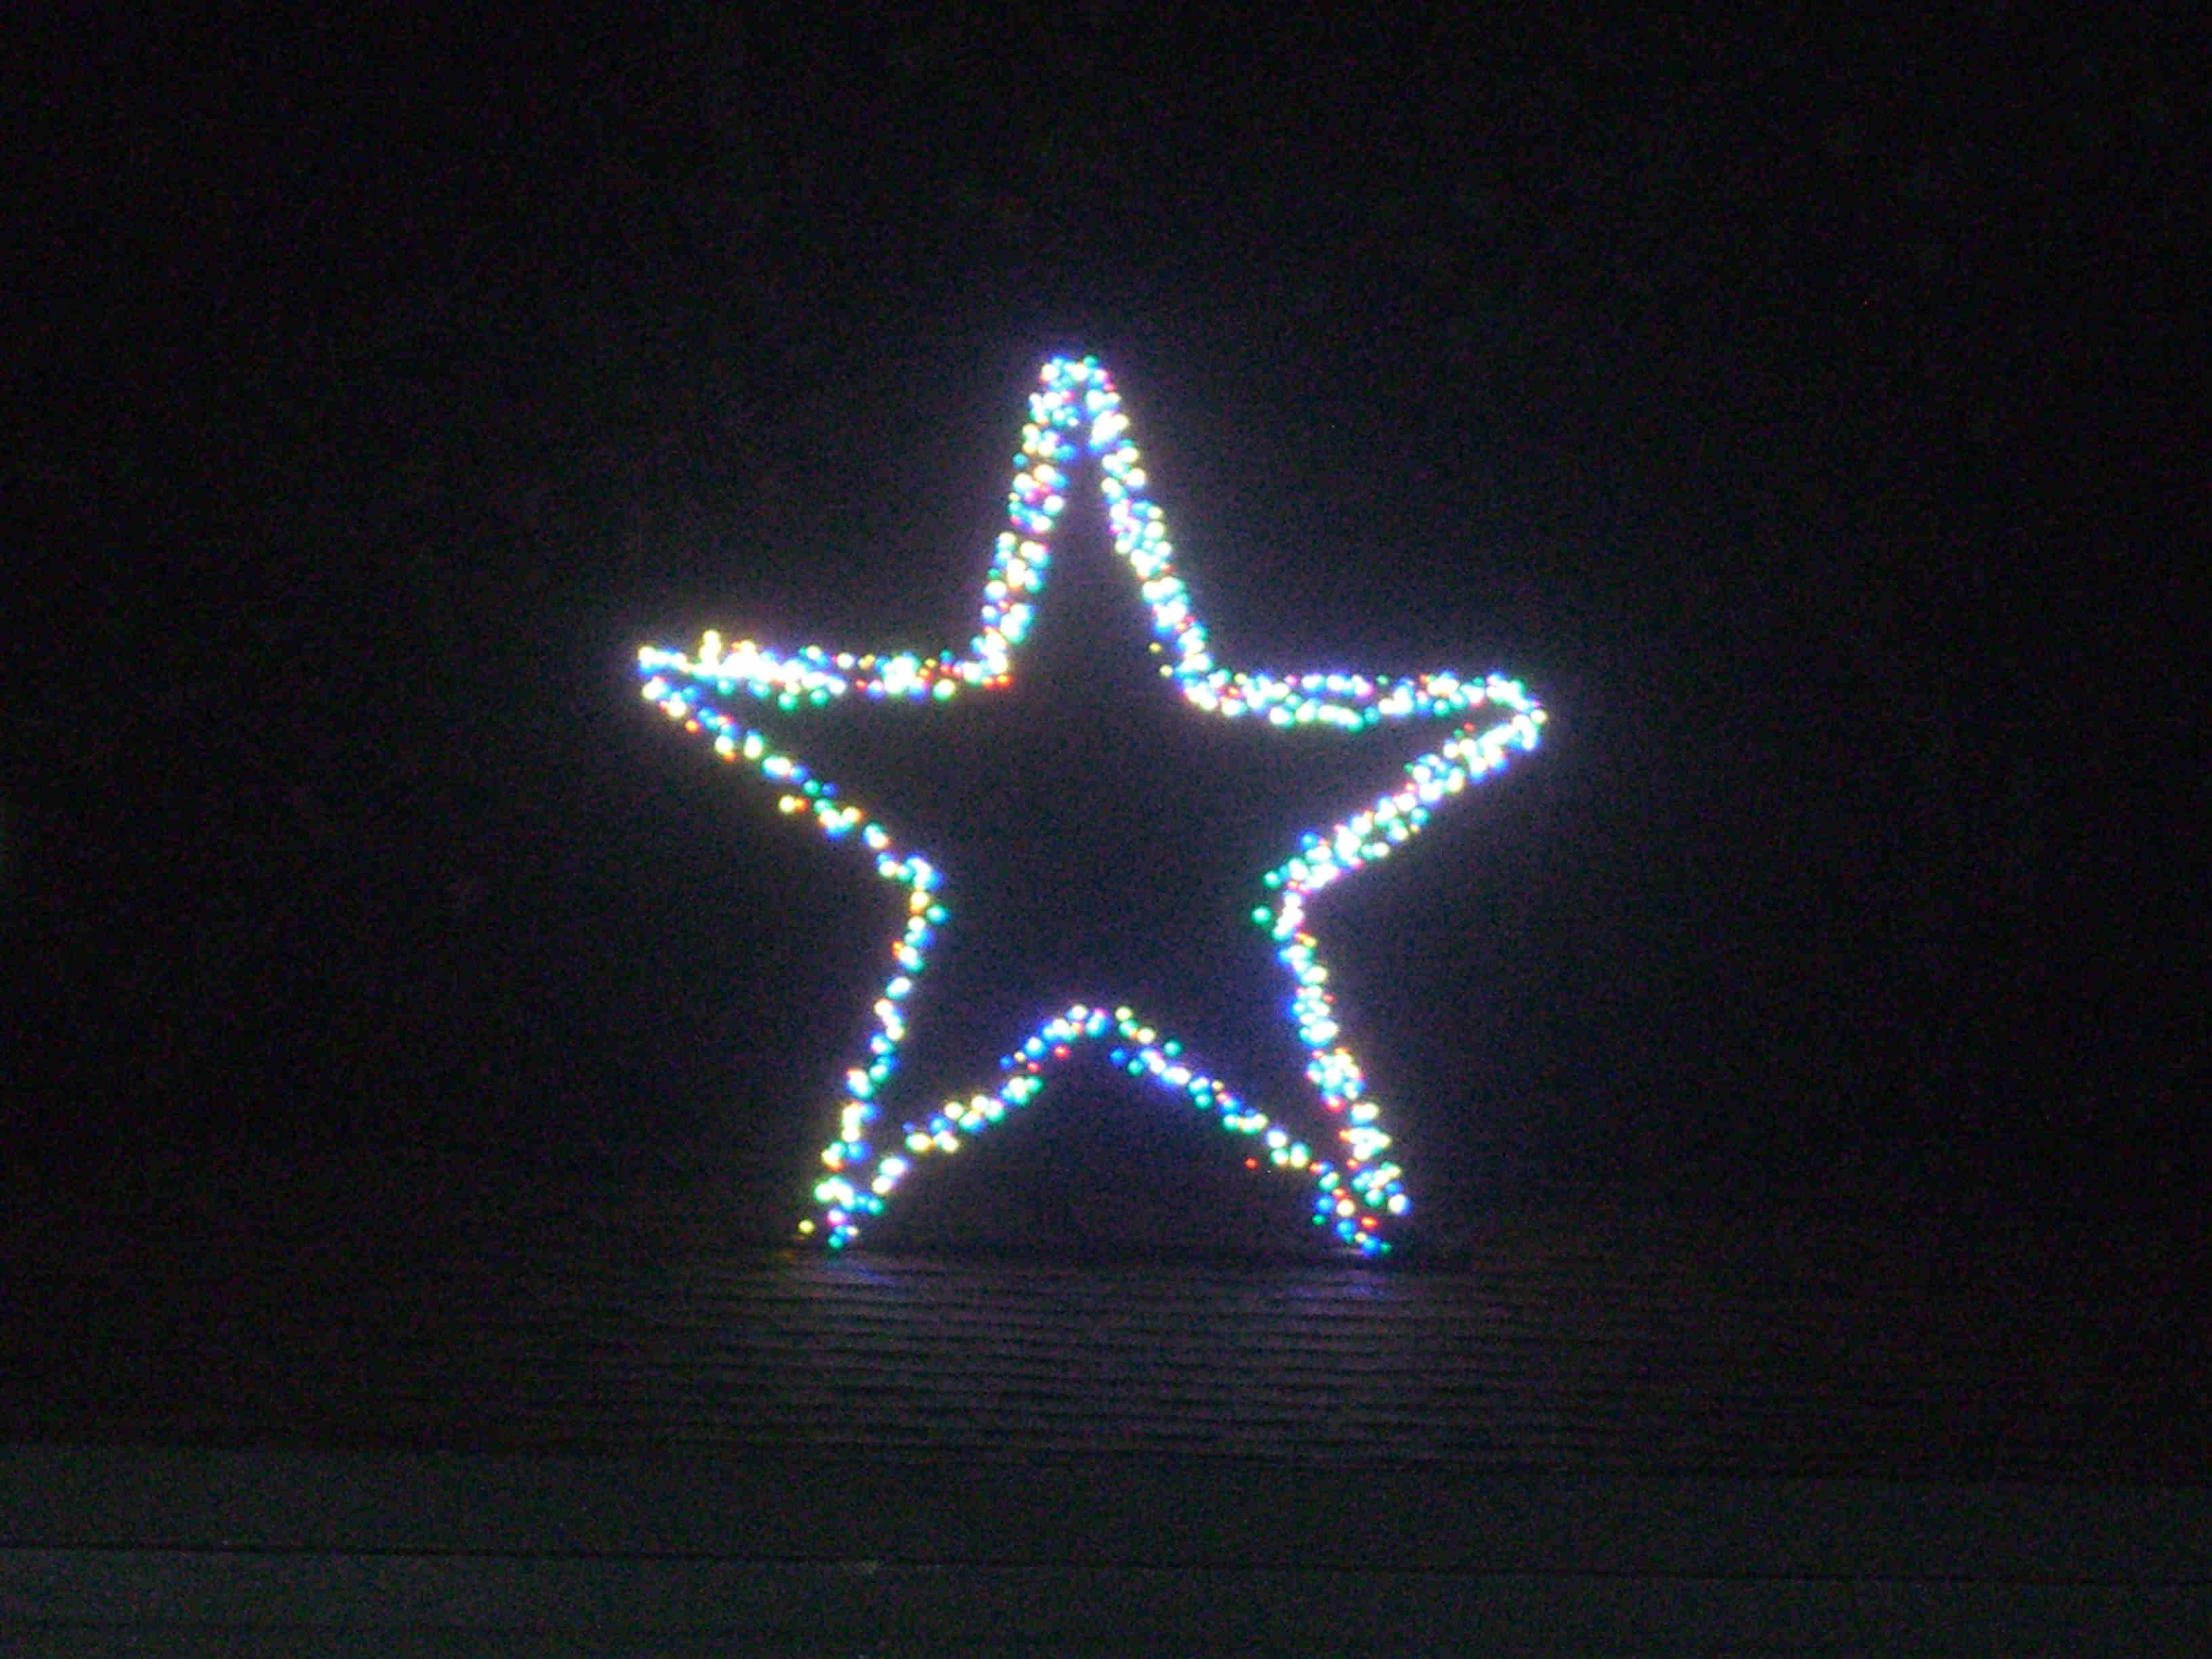
The Frames I used about 22' of 3/4" schedule 40 PVC pipe to make each frame. The pipe was cut into 1 - 48"; 1 - 63"; 2 - 34"; 1 - 22"; and 1 - 62". The 62" and 48" pipe pieces were cut in half. I also used 4 - 3/4" 90 degree elbows, 2 - 3/4" "T", glue, and 2 cans of black flat paint. The pipe was cut into the size pieces listed above. It is a good idea to put all together before gluing, so you can see how it goes and how it looks. Glue the elbows to the ends of the 63" pipe, but you will need to make sure they are straight. This can be checked by laying the pipe and elbows flat on the concrete or by sitting it up onto the open ends of the elbows. Do the same to one end of each of the 31" pipes. These are the pipes made from cutting the 62" pipe in half. Put the two 31" pipes together with a "T", but do not glue. Put the two 24" pipes together with a "T" gluing both ends to the "T". Put the 22" pipe in the third hold of the two "T" and glue when all lined up. (Please note that this length is for my roof, so if your roof has a bigger or smaller pitch the length will be different.) Finish the back brace by gluing in the two 34" pipes into the open ends of the elbows. Glue these all together to make a complete rectangle fo the back of the frame. Holes are drilled in the bottom of the forward part of the frame to put the star 'feet' into. Line star with frame and mark where to drill holes. Drill holes through one side of pipe only. The star 'feet' should sit inside the holes and lean against the back top pipe. Paint all sides with flat black paint. The unglued "T" fittings were not glued to make it easier to fold and store for the next year. The Stars I used about 25' of 3/8" rebar to make each star. The rebar was cut into 5 - 5'; and 2 - 2" pieces. I also used paint thinner, 1 can of flat black paint, zip ties, and lights. Cut rebar into above pieces and lay out into a star shape. Hold back the 2 - 2" pieces until star is welded. Making a perfect star is very difficult but if you use these measurements it will work. There should be 37" from tip to tip of each of the points. Each of the five inside measurements should be 13.5". Each side of the five points (10 pieces in all) should each measure 22.75". This is easier to do with two people. One to stand on the pieces as others are moved. Weld all joints. Weld the two 2" 'feet' to the bottom of two points. Do this in such a way that they lean to the back of the star slightly. File off sharp edges. Clean with paint thinner. Paint with flat black paint. Adding Lights There are many ways to add lights to the stars, but keep in mind the long top piece of the star will need to be flat on back side to be able to zip tie it to the frame. Here is how I did the lights. I laid out two 100 count strands of each of four colors. The two strands were shifted so that the lights fell between each of the lights of the other strand. This makes it look like the lights are closer together. They were zip tied together about every other light. I used about 150 - 4" zip ties for each color taking about an hour. When all four colors were finished, I took and put them all together forming a single rope of 800 lights. I suggest you check to make sure all lights are working before starting and after you finish each step. The rope of lights were then zip tied to the star using 6" and 8" zip ties. Start at the bottom (One of the 'feet'.) and work your way around. They will overlap for about half of the star and is a challenge to get all the lights on the rebar in such a way to look good, but it is possible. Mounting the star and securing to roof. The bottom of the upright frame was zip tied to the ridge vent holding it in place. The star was placed in the holes and zip tied to the PVC. The back of the stand was adjusted so that the long 'arm' of the star fits across it and then zip tied in place.
Click on a picture to enlarge it.
Website Design Mysorefigtree@comcast.net Website Homepage Mysore Fig Tree |