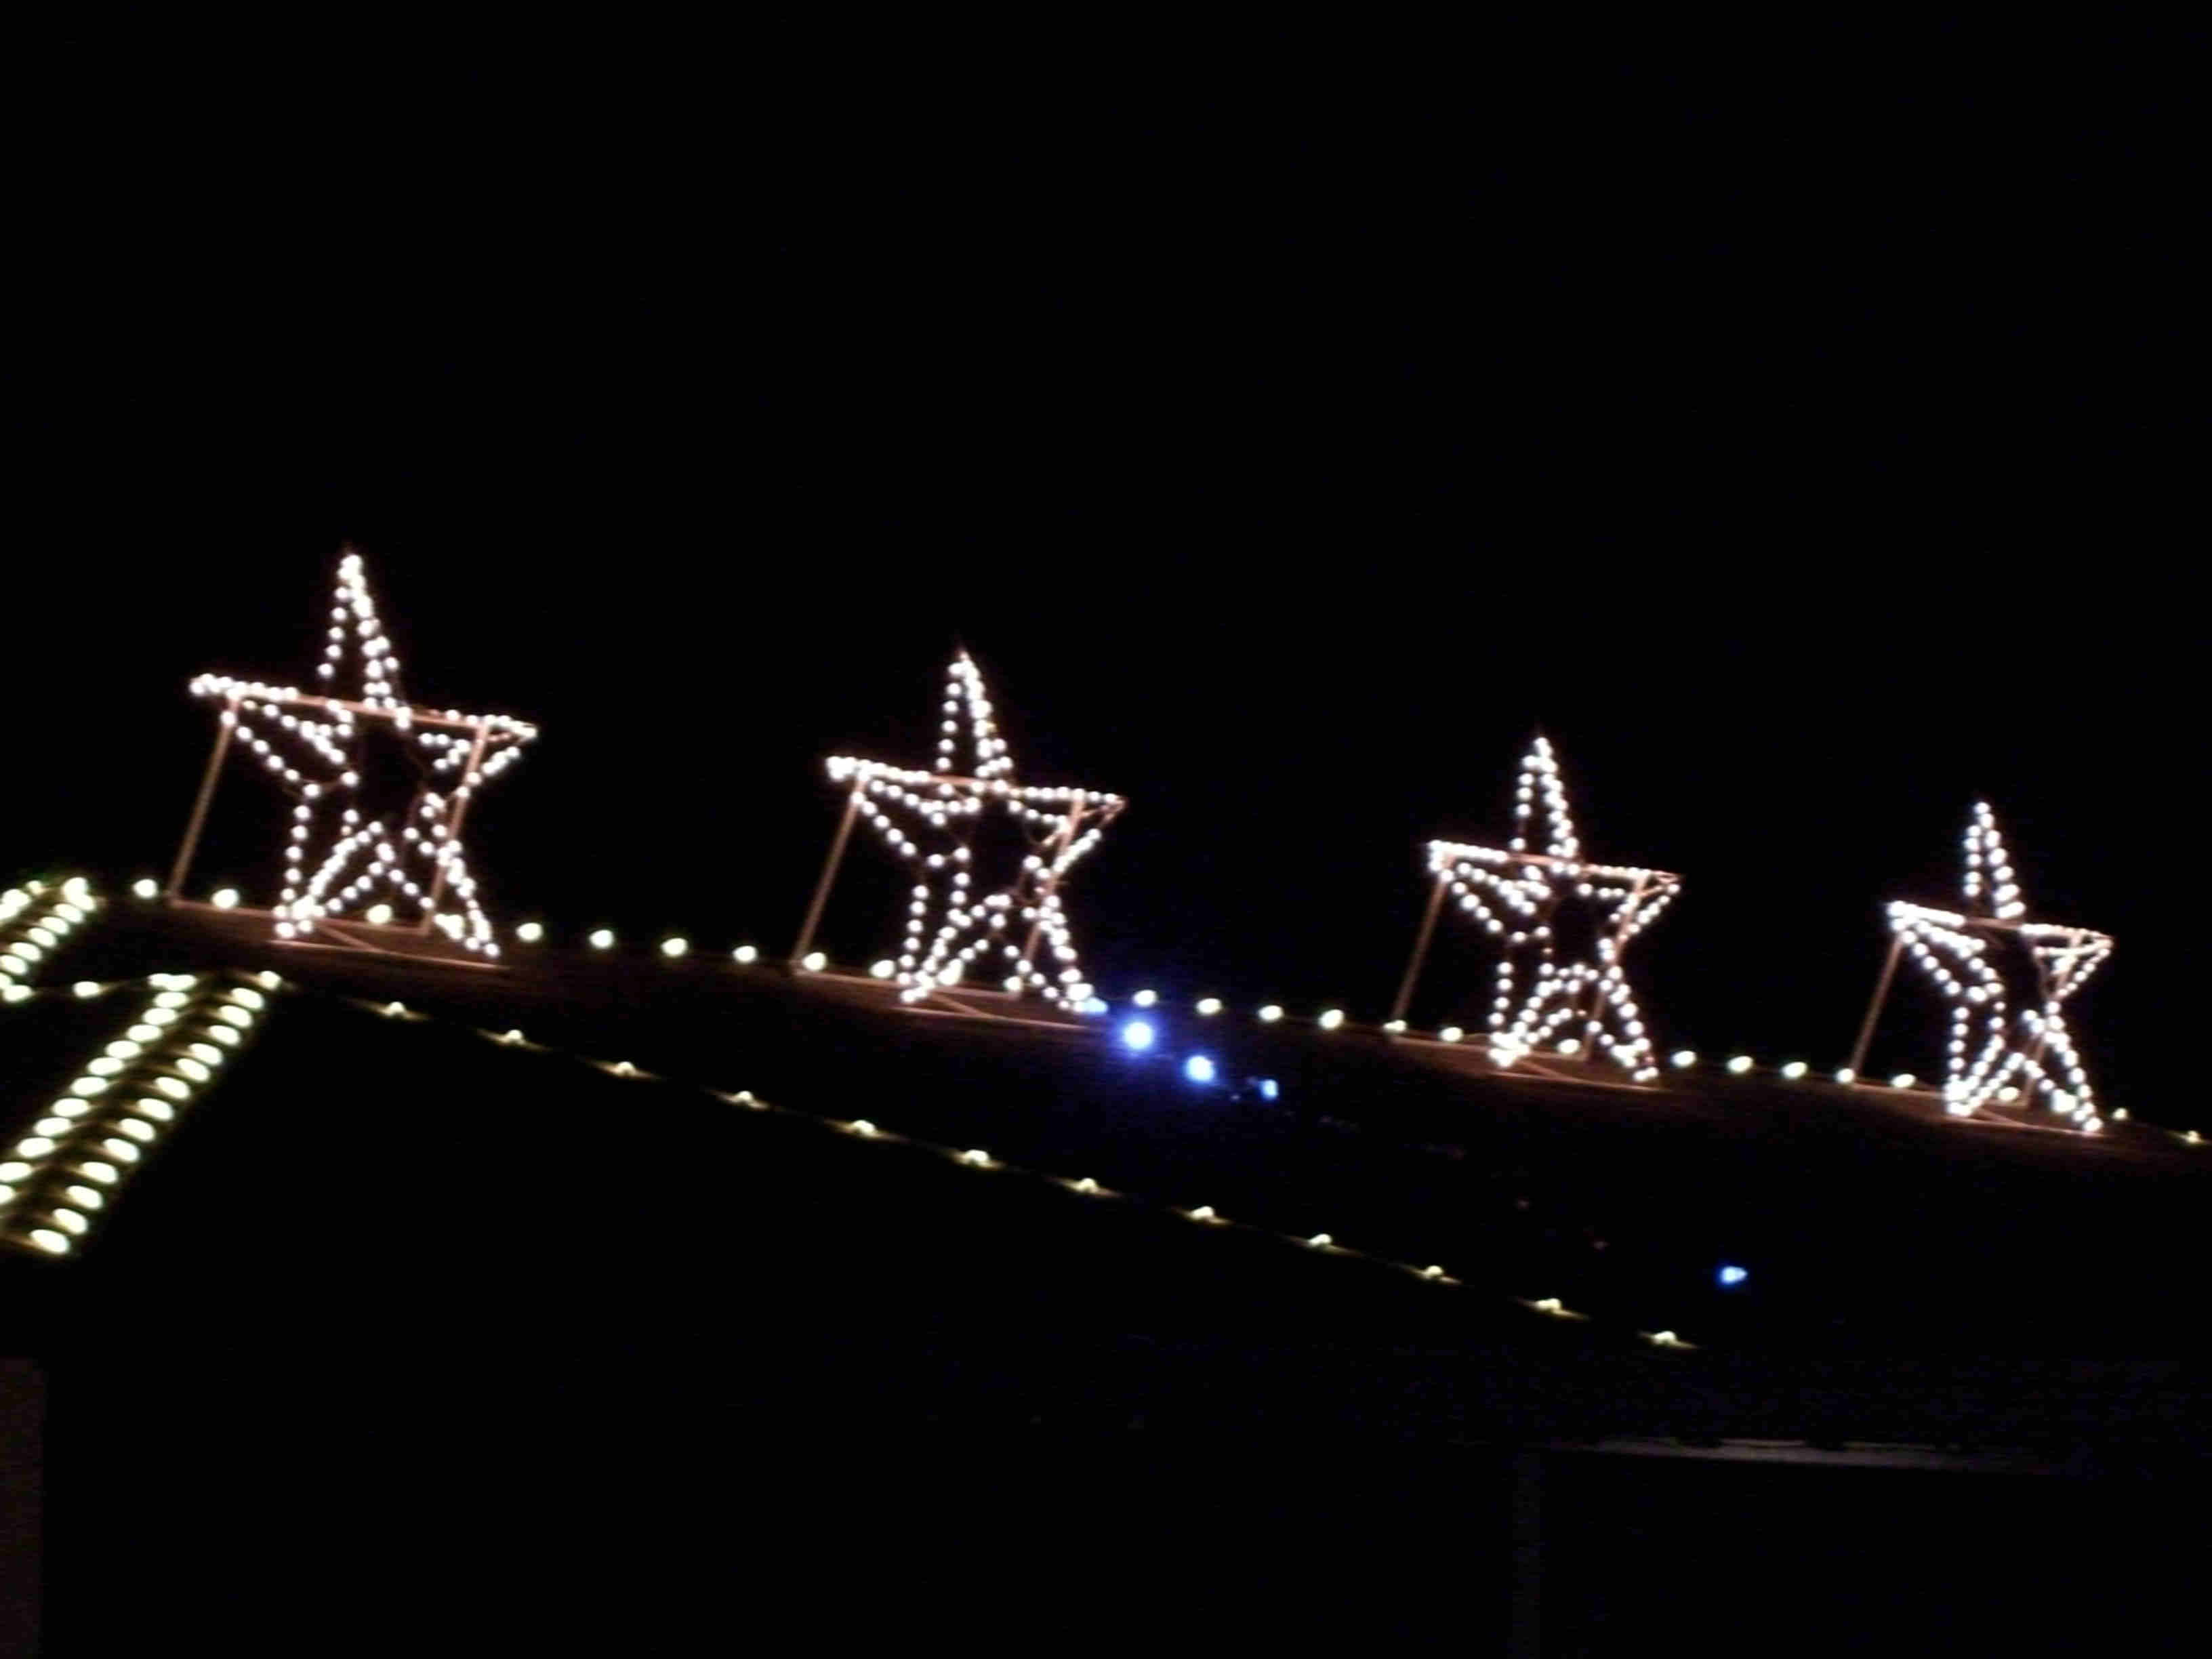
Over The Top Christmas Lights 2012 Behind the Scenes - Stars 
|
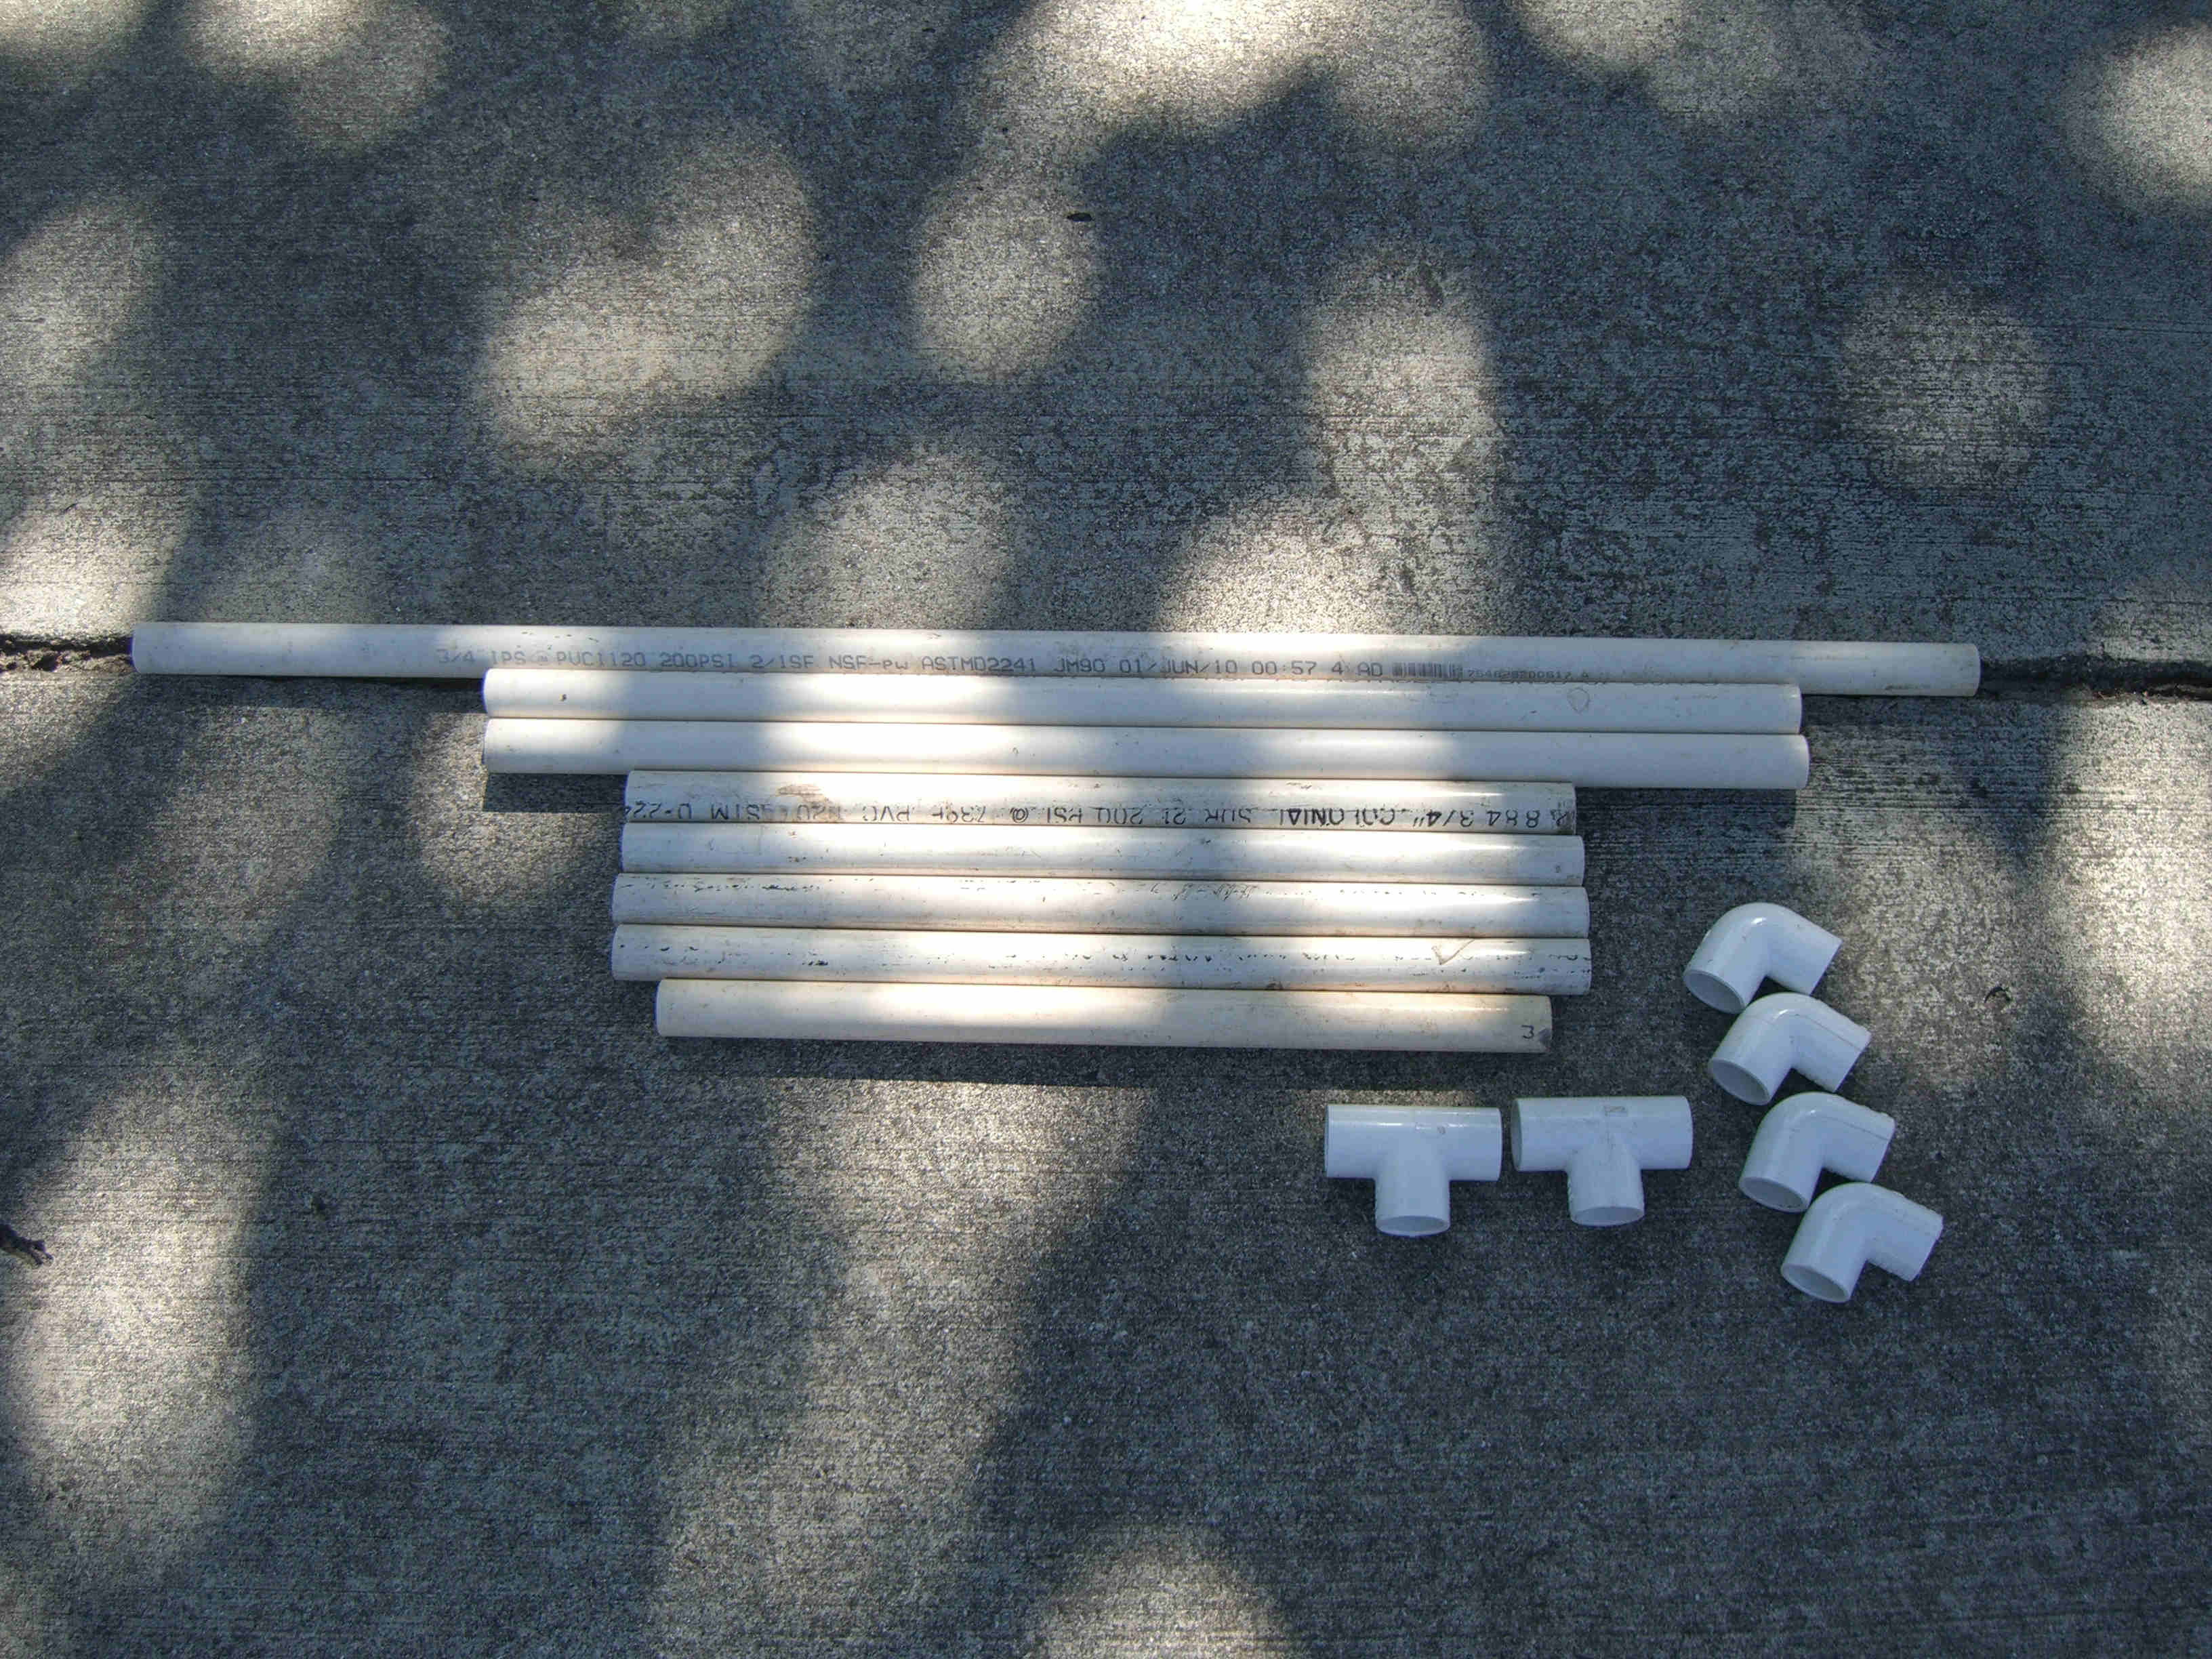
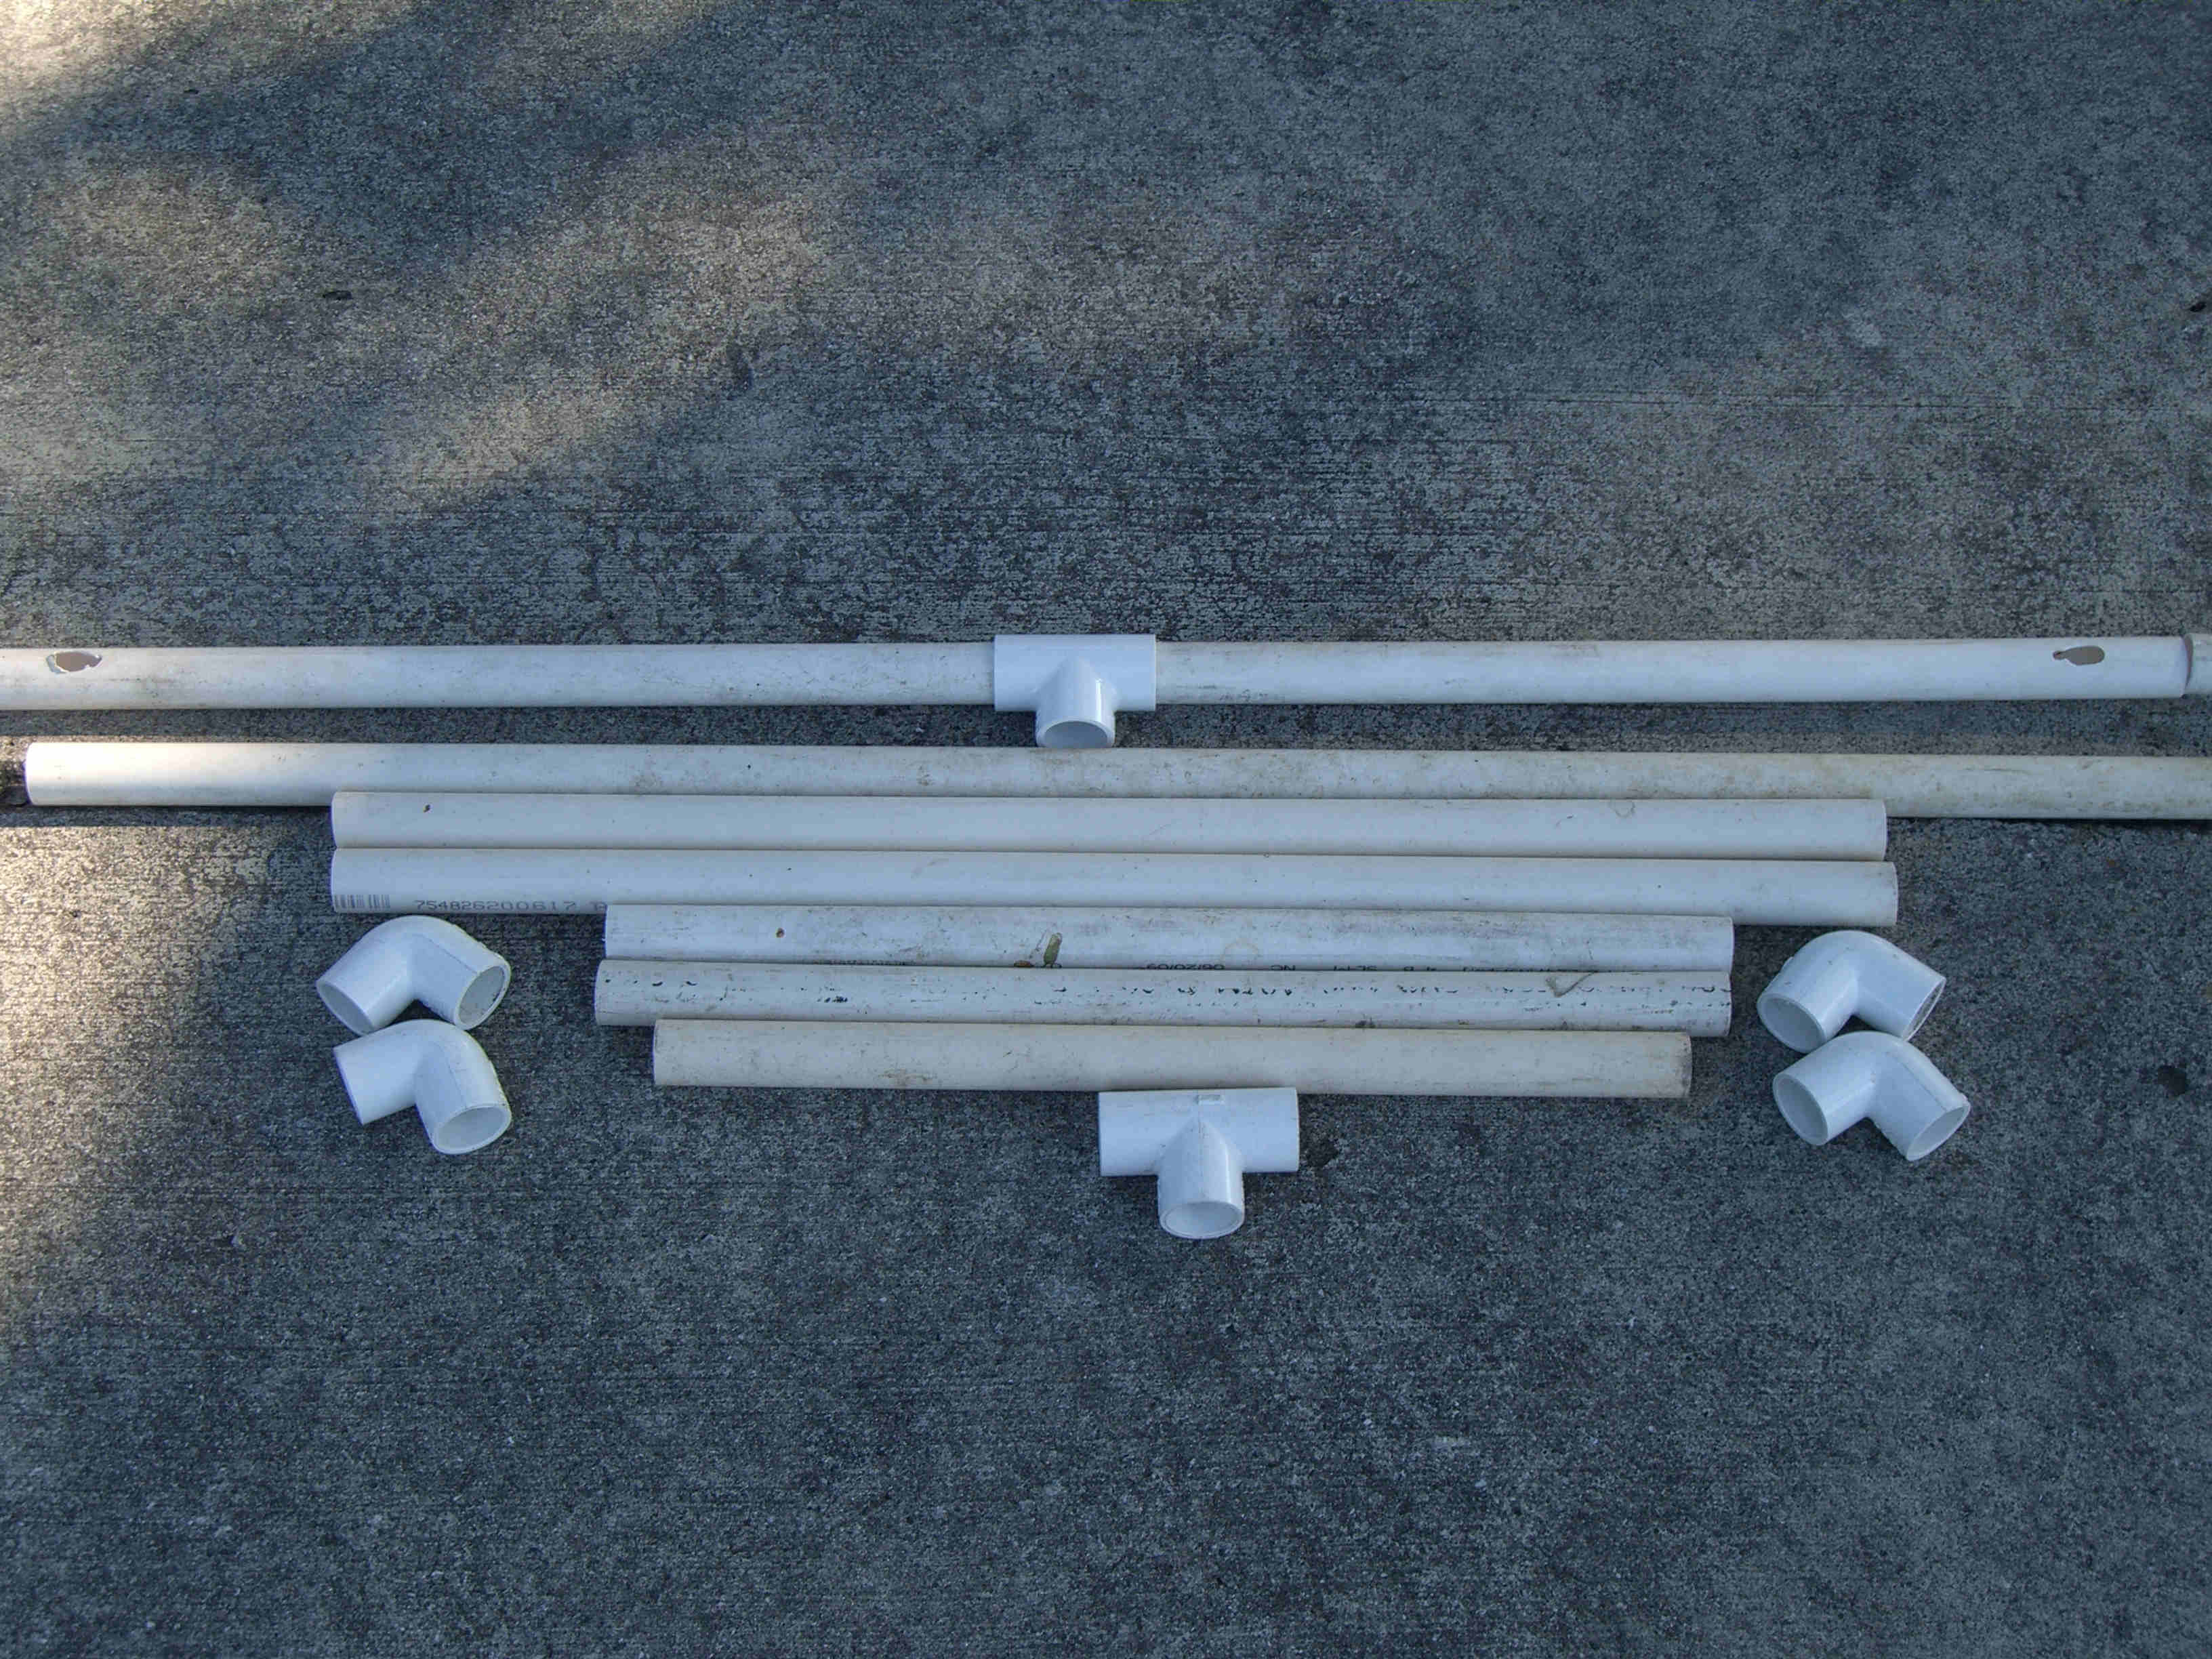
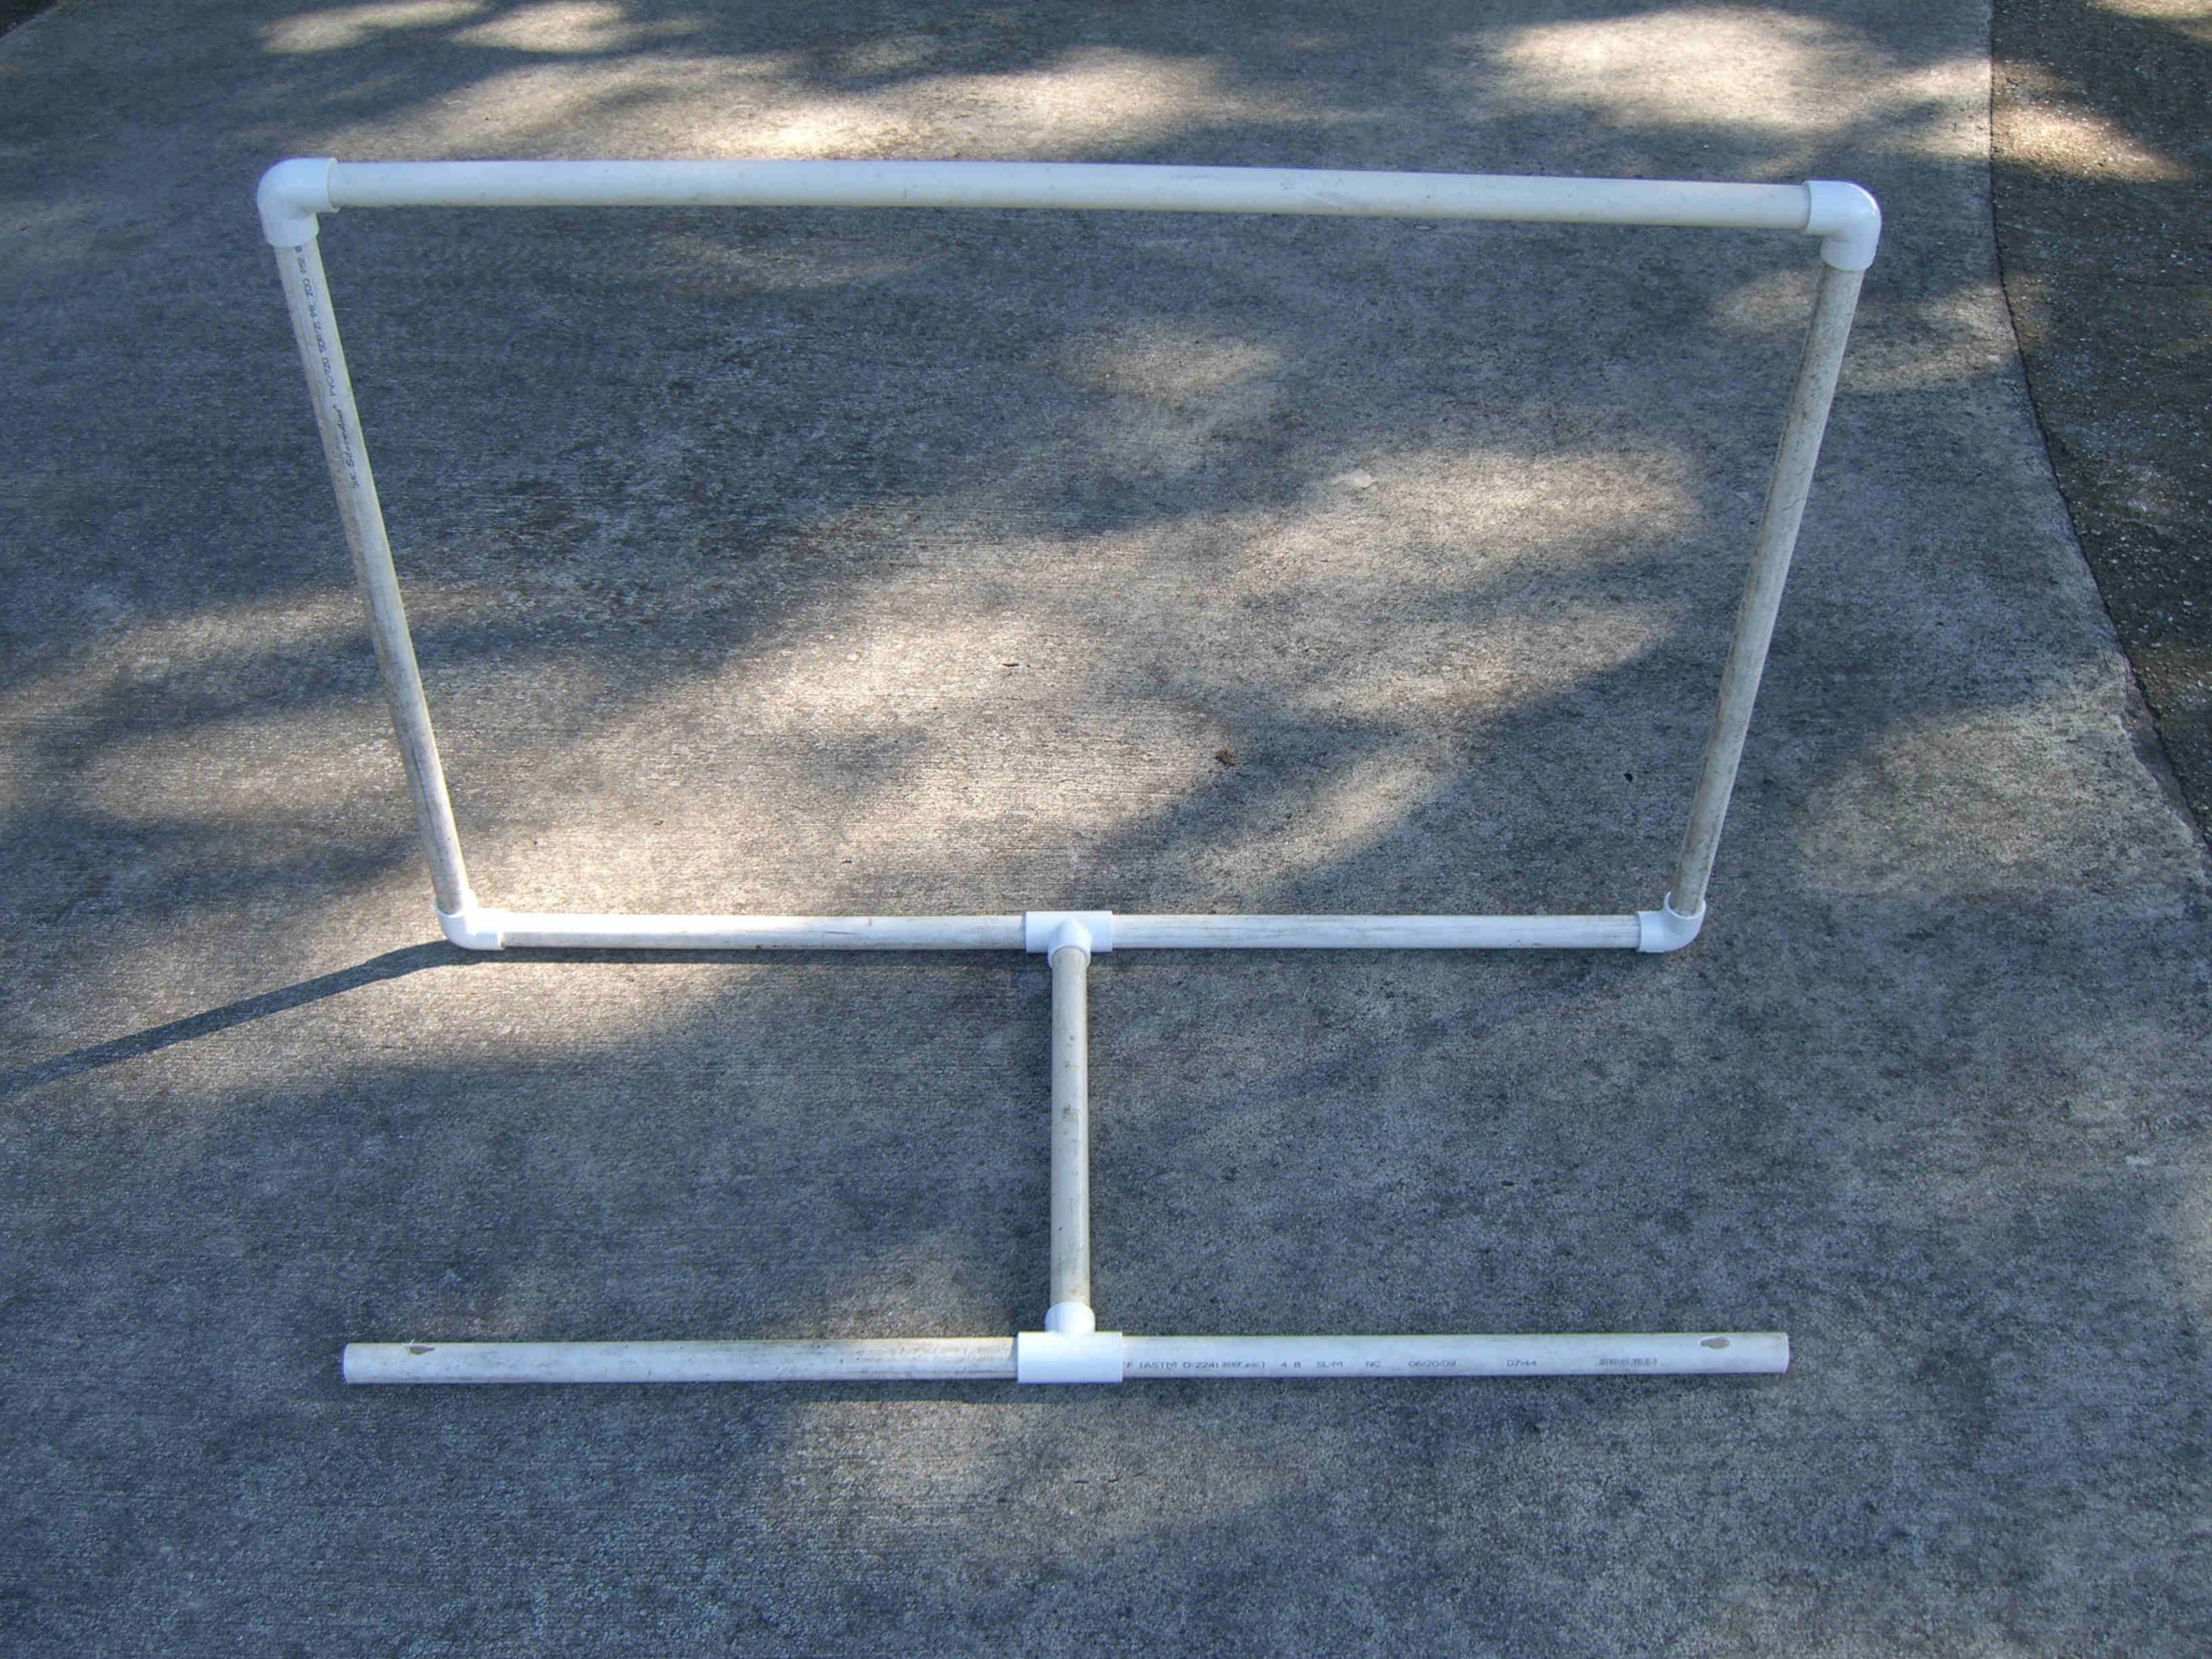
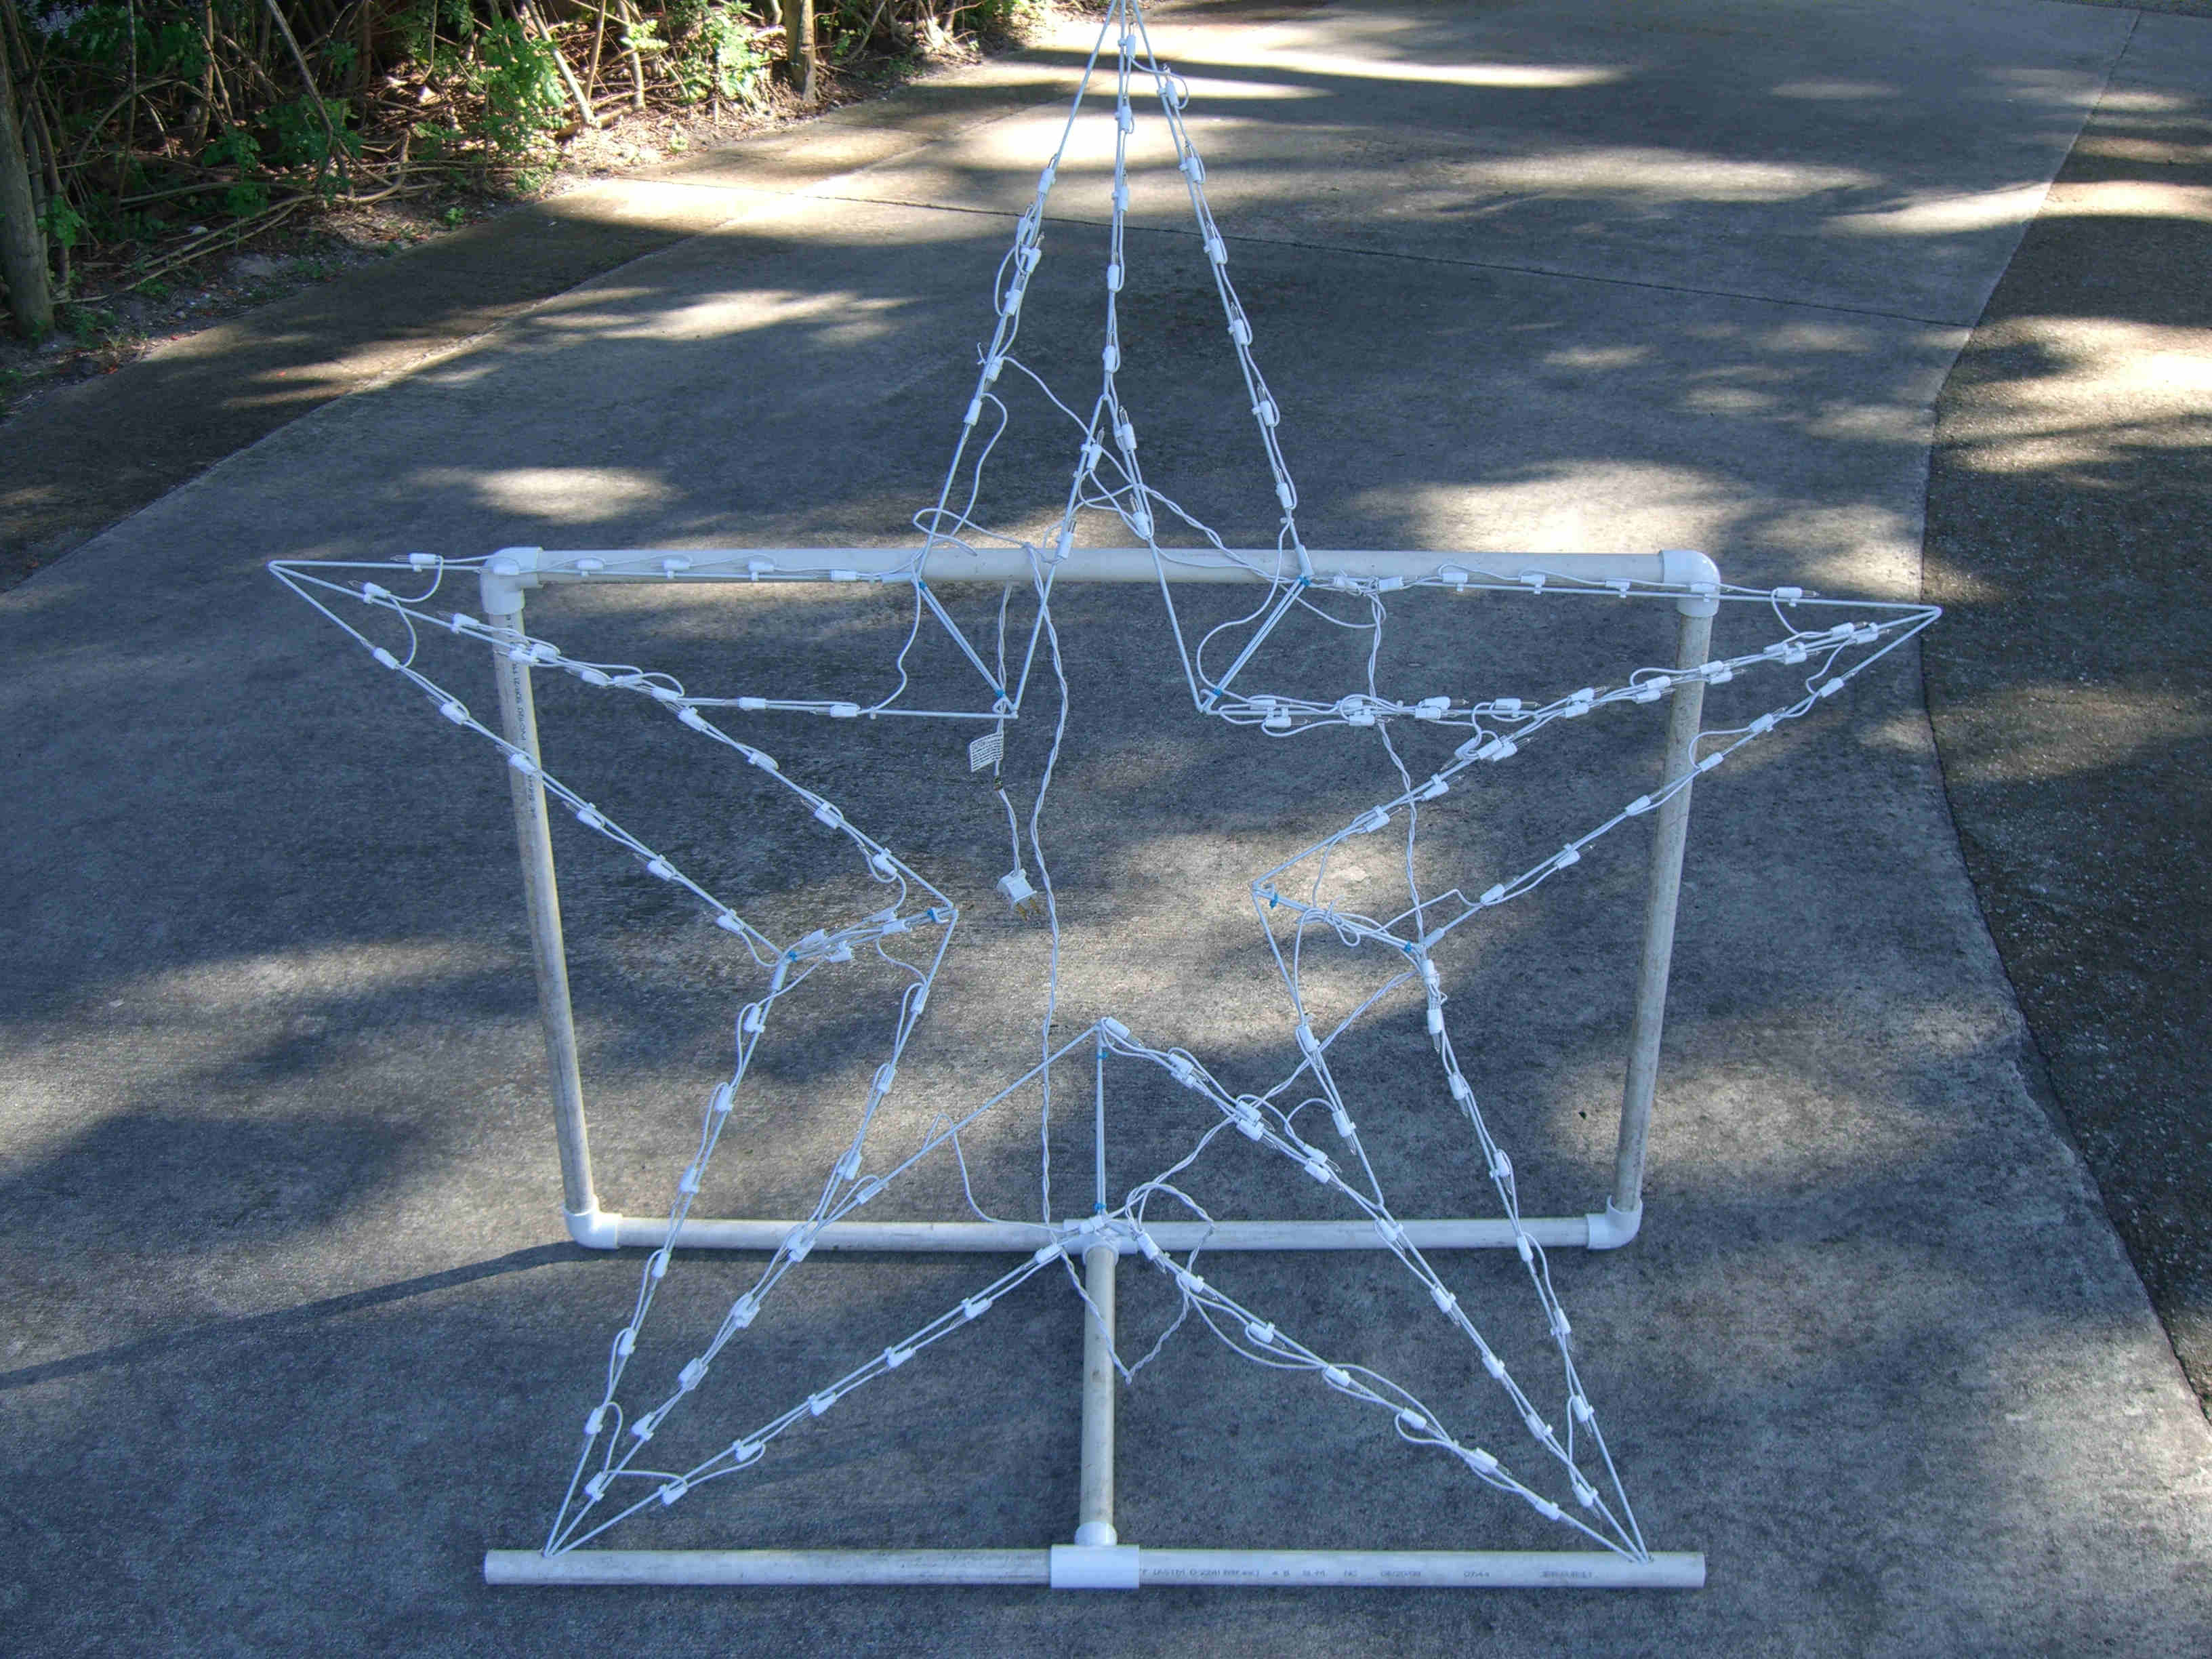
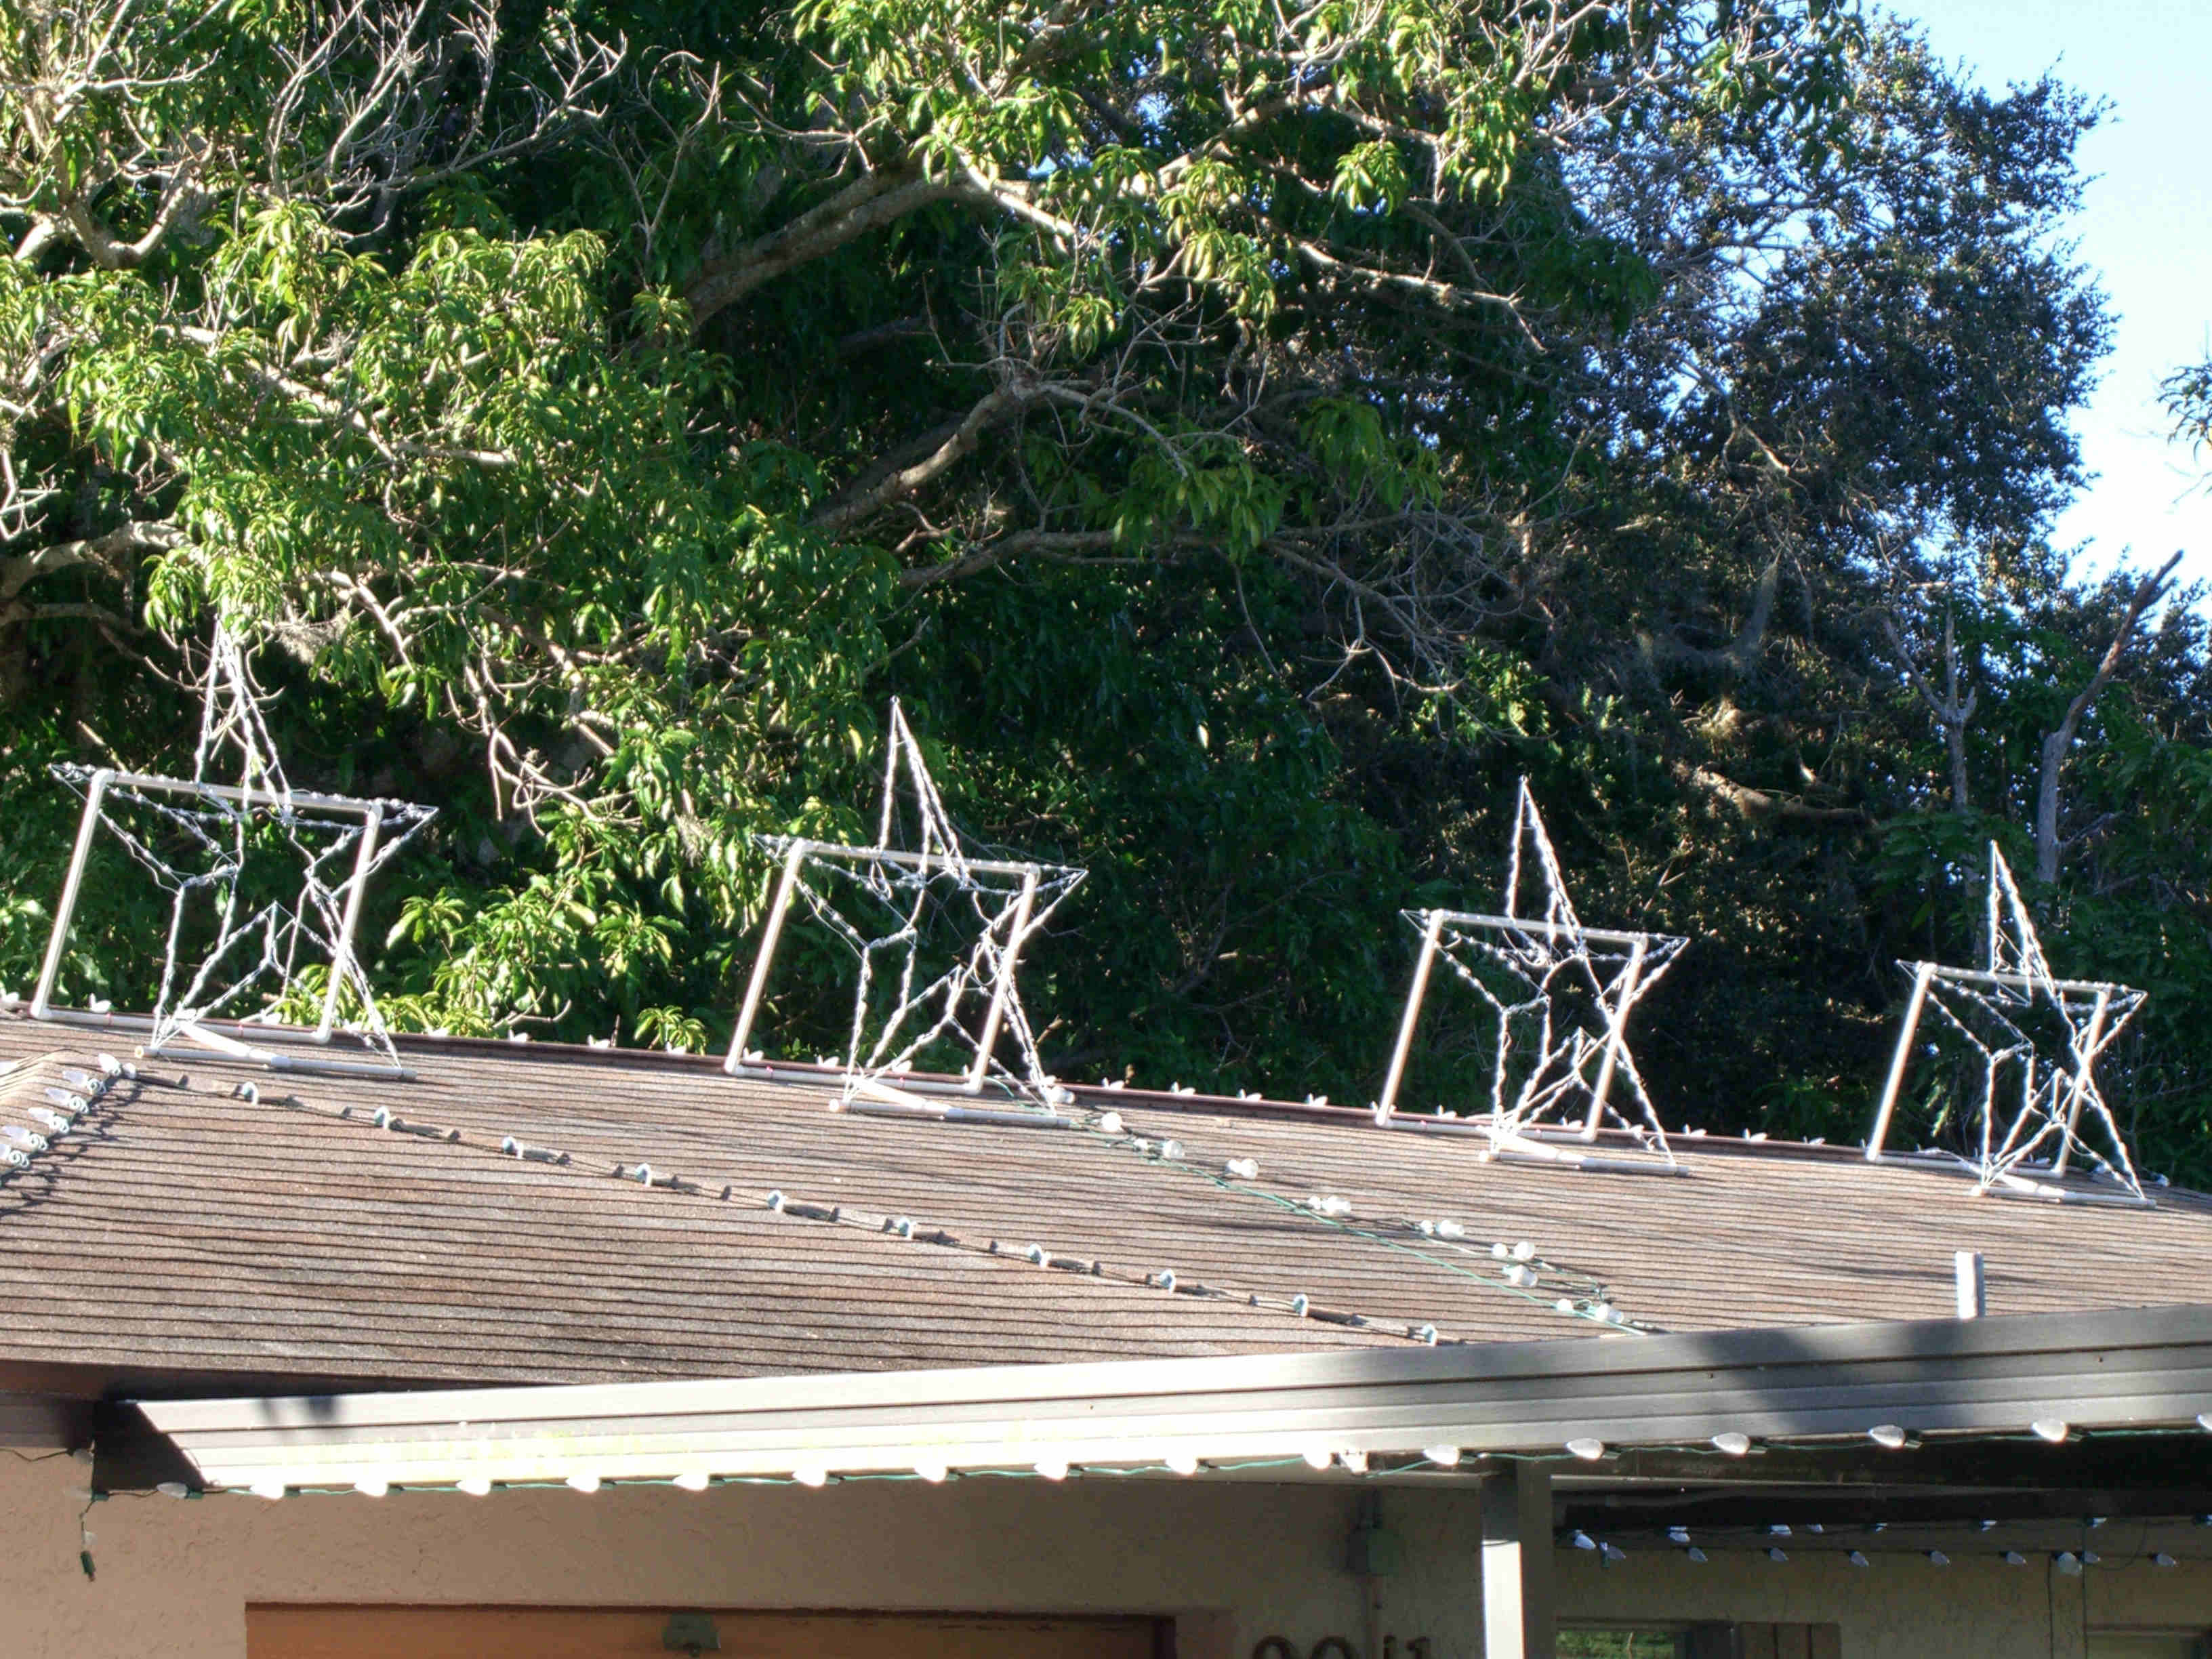
I used about 17' of 3/4" thin wall PVC pipe to make each frame. I figured the distance needed for the base of the stand by measuring the length between the bottom two points of the star. The pipe was then cut in half and a "T" added in the middle. I had to have two of these one for the front and one for the back of the frame. The "T"s were connected with a shorter piece of pipe which was the distance from the ridge vent down the roof a short distance (about 18"). A piece of pipe was cut the width of the stand. This was used as part of the back part of the stand. Two other pieces were cut for the height of the stand. These last pieces were all attached together with four elbows and the bottom piece that was attached to the "T" making a rectangle. The bottom piece opposite the back gets two holes in which the star points are placed. The bottom of the upright frame was zip tied to the ridge vent holding it in place. The star was placed in the holes and zip tied to the PVC. The back of the stand was adjusted so that the long "arm" of the star fits accross it and was zip tied in place. The back was adjusted so that the star is easily viewed from the ground. None of the fitting were glued. This makes it easy to adjust and to store for the next year. Since the pipe fits tight there was no problem with it falling apart. See for yourself how nice this works from the pictures below. I made these for 52" stars but the same idea can be used for any sized wire framed star.
Click on a picture to enlarge it.
Website Design Mysorefigtree@comcast.net Website Homepage Mysore Fig Tree |