Over The Top Christmas Lights 2014 - Behind the Scenes - Light Wheel Update 
|
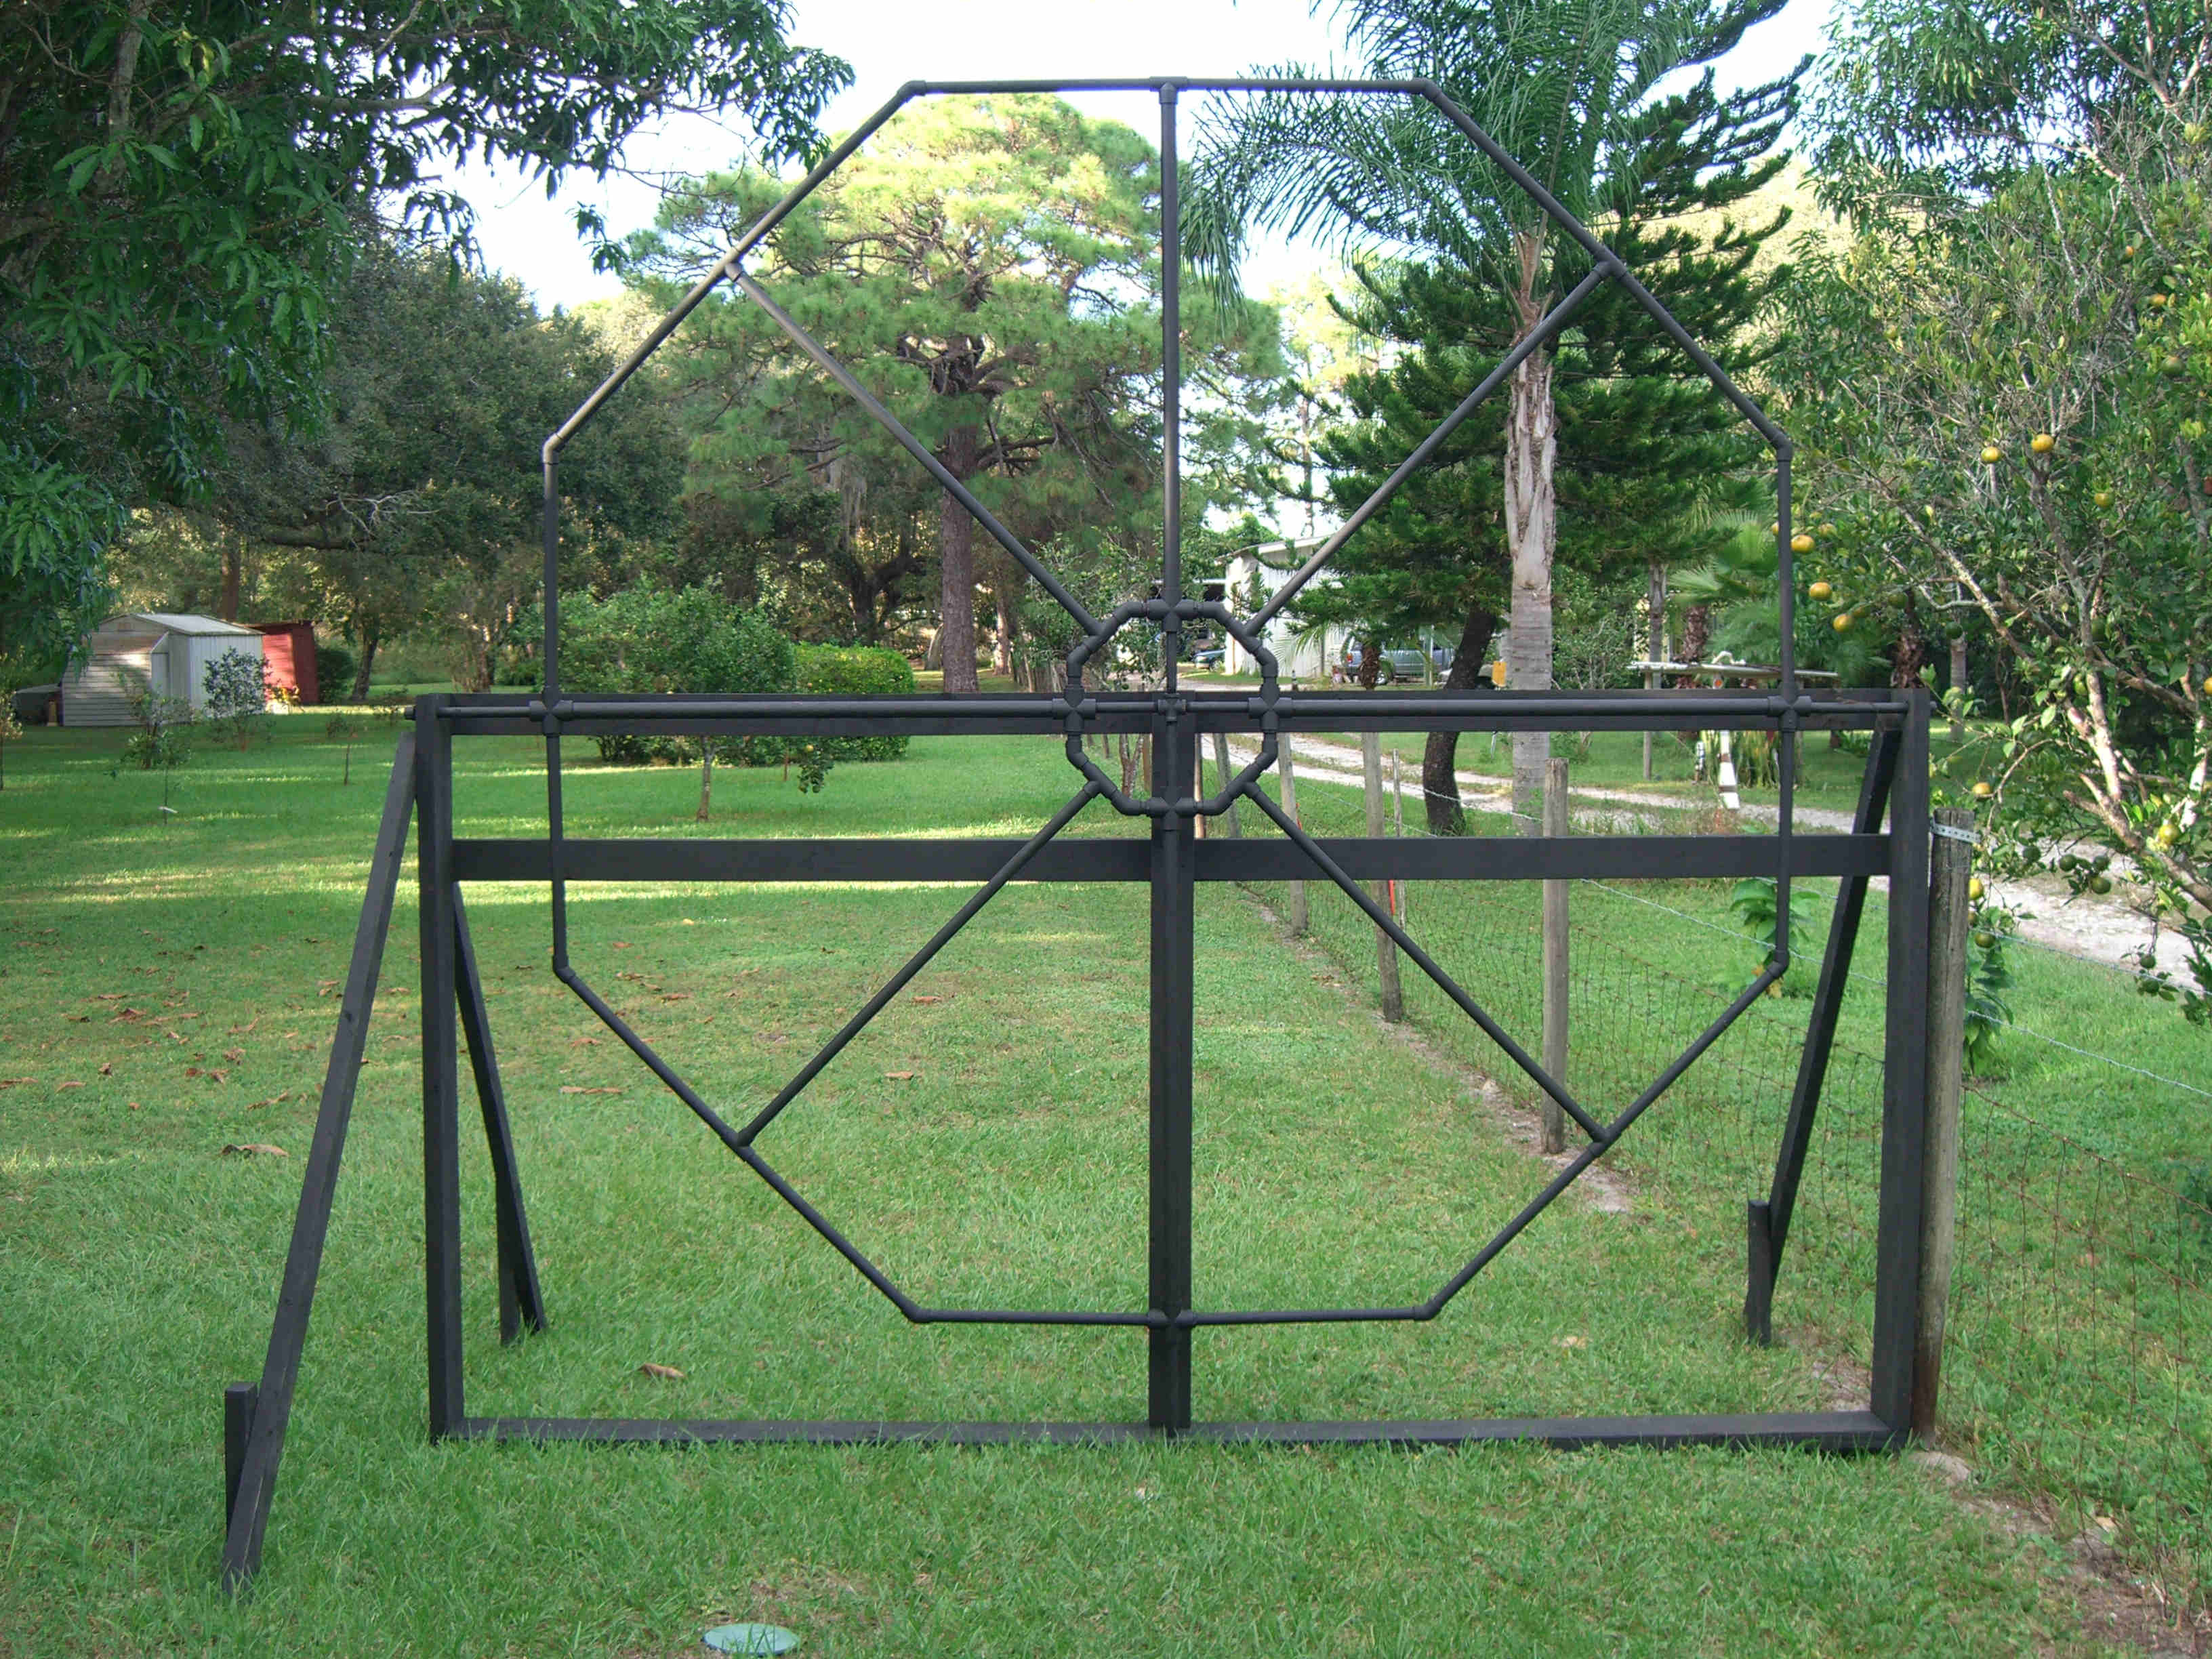
I found that the design I used last year was not as strong and rigid as was needed. Since I was adding more lights I decided to redesign the wheel. If you are rebuilding one you have built then follow these directions. If you are building one from scratch you will need to read the original design then add these updates to it. The additional cost is small and well worth it. Used 7 - 1" crosses, 1 - 1" x 3/4" Tee, 14 - 1" to 3/4" reducers, 4 pieces of 1" x 40" schedule 40 PVC pipe, 1 can of medium clear PVC glue, flat black spray paint, 1 - 1/2" 30" long steel black pipe, and 1 - 1/2" steel black pipe cross. Replace 3/4" crosses with 1" crosses adding 3/4" reducers to two sides. Glue reducers to crosses. Glue crosses in place of old crosses. Replace upright 3/4" with 1" x 40" schedule 40 PVC pipe and add 3 - 1" x 40" schedule 40 PVC pipe to bottom right and left from inter to outer circles. Take all apart that was not glued and glue everything back together. If you are building for first time then make sure you glue everthing together before you finish. Slide black steel pipe inside 1" pipe putting the 30" piece upright from cross. Screw all black pipe into cross. Paint everything black as you go. Place finished wheel inside the frame built using instructions from last year. The only update to the frame was I drilled the bottom hole all the way through then placed a metal plate with a small hole in it under the drilled hole and kept in place using screws from underneath. ***NOTE*** Keep as much attached as you can as you work to make sure it all fits right.
Click on a picture to enlarge it.
Website Design Mysorefigtree@comcast.net Website Homepage Mysore Fig Tree |