Over The Top Christmas Lights 2016 Behind the Scenes - RGB Controller Box 
|
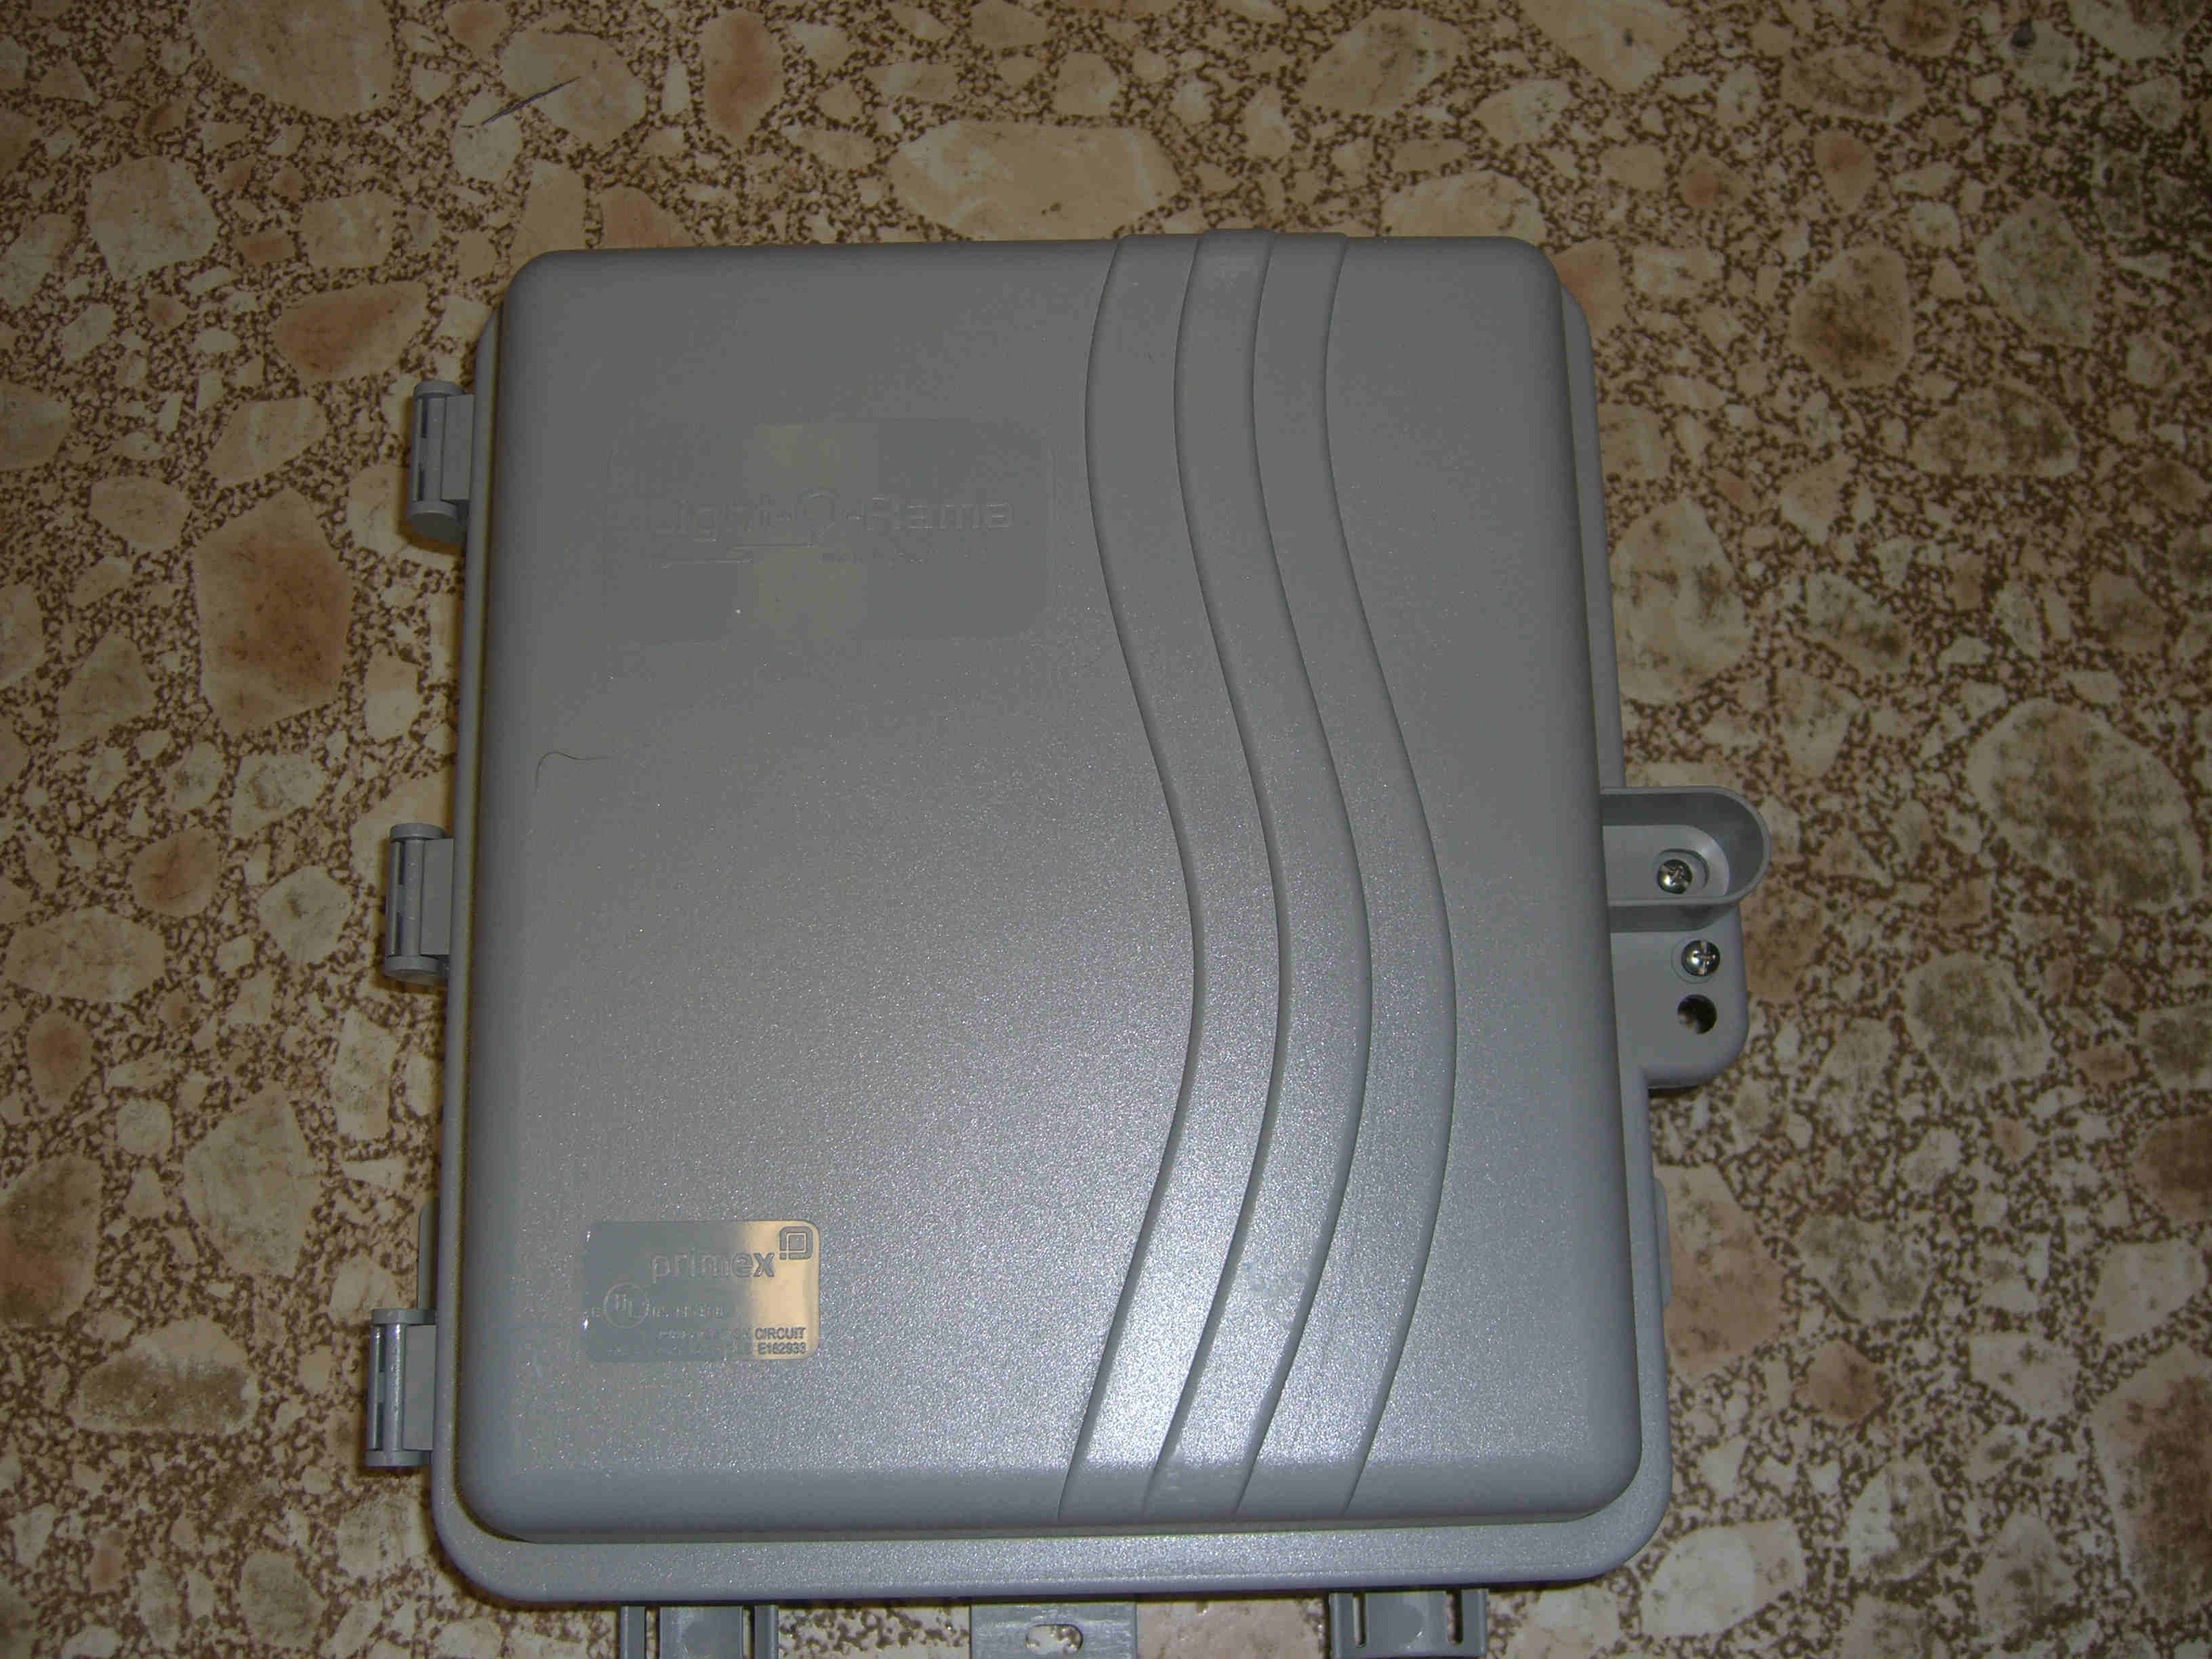
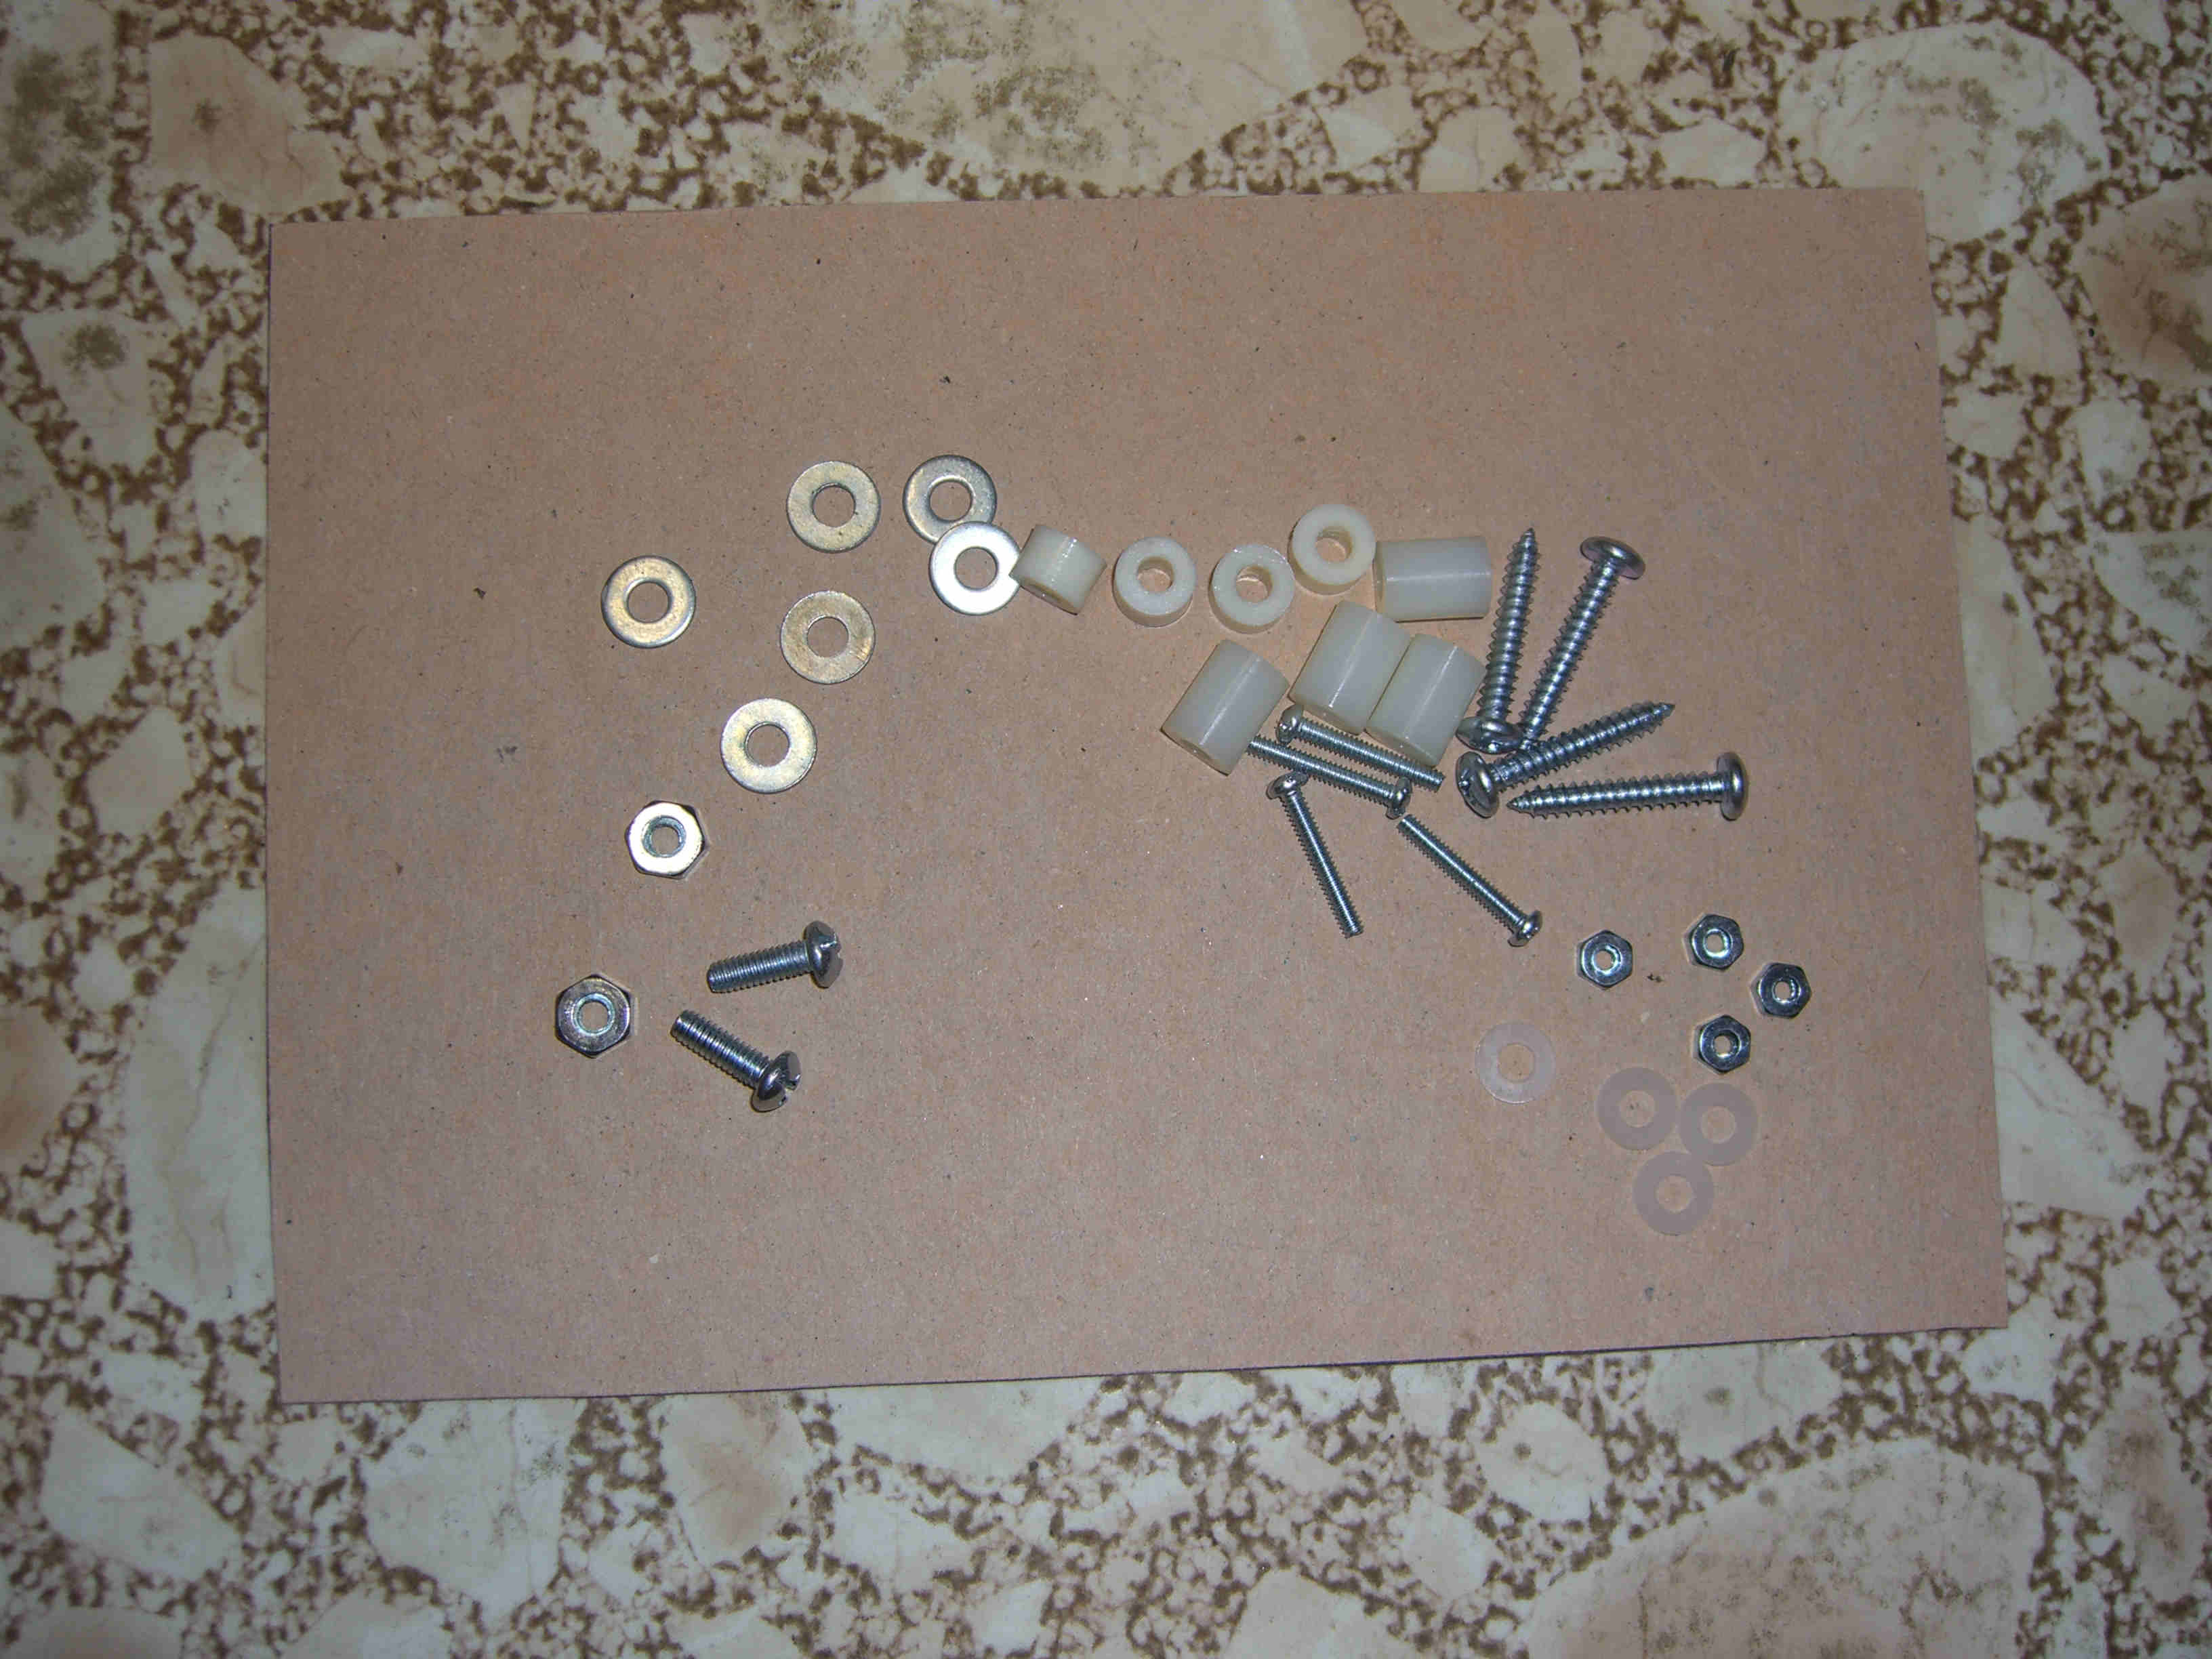
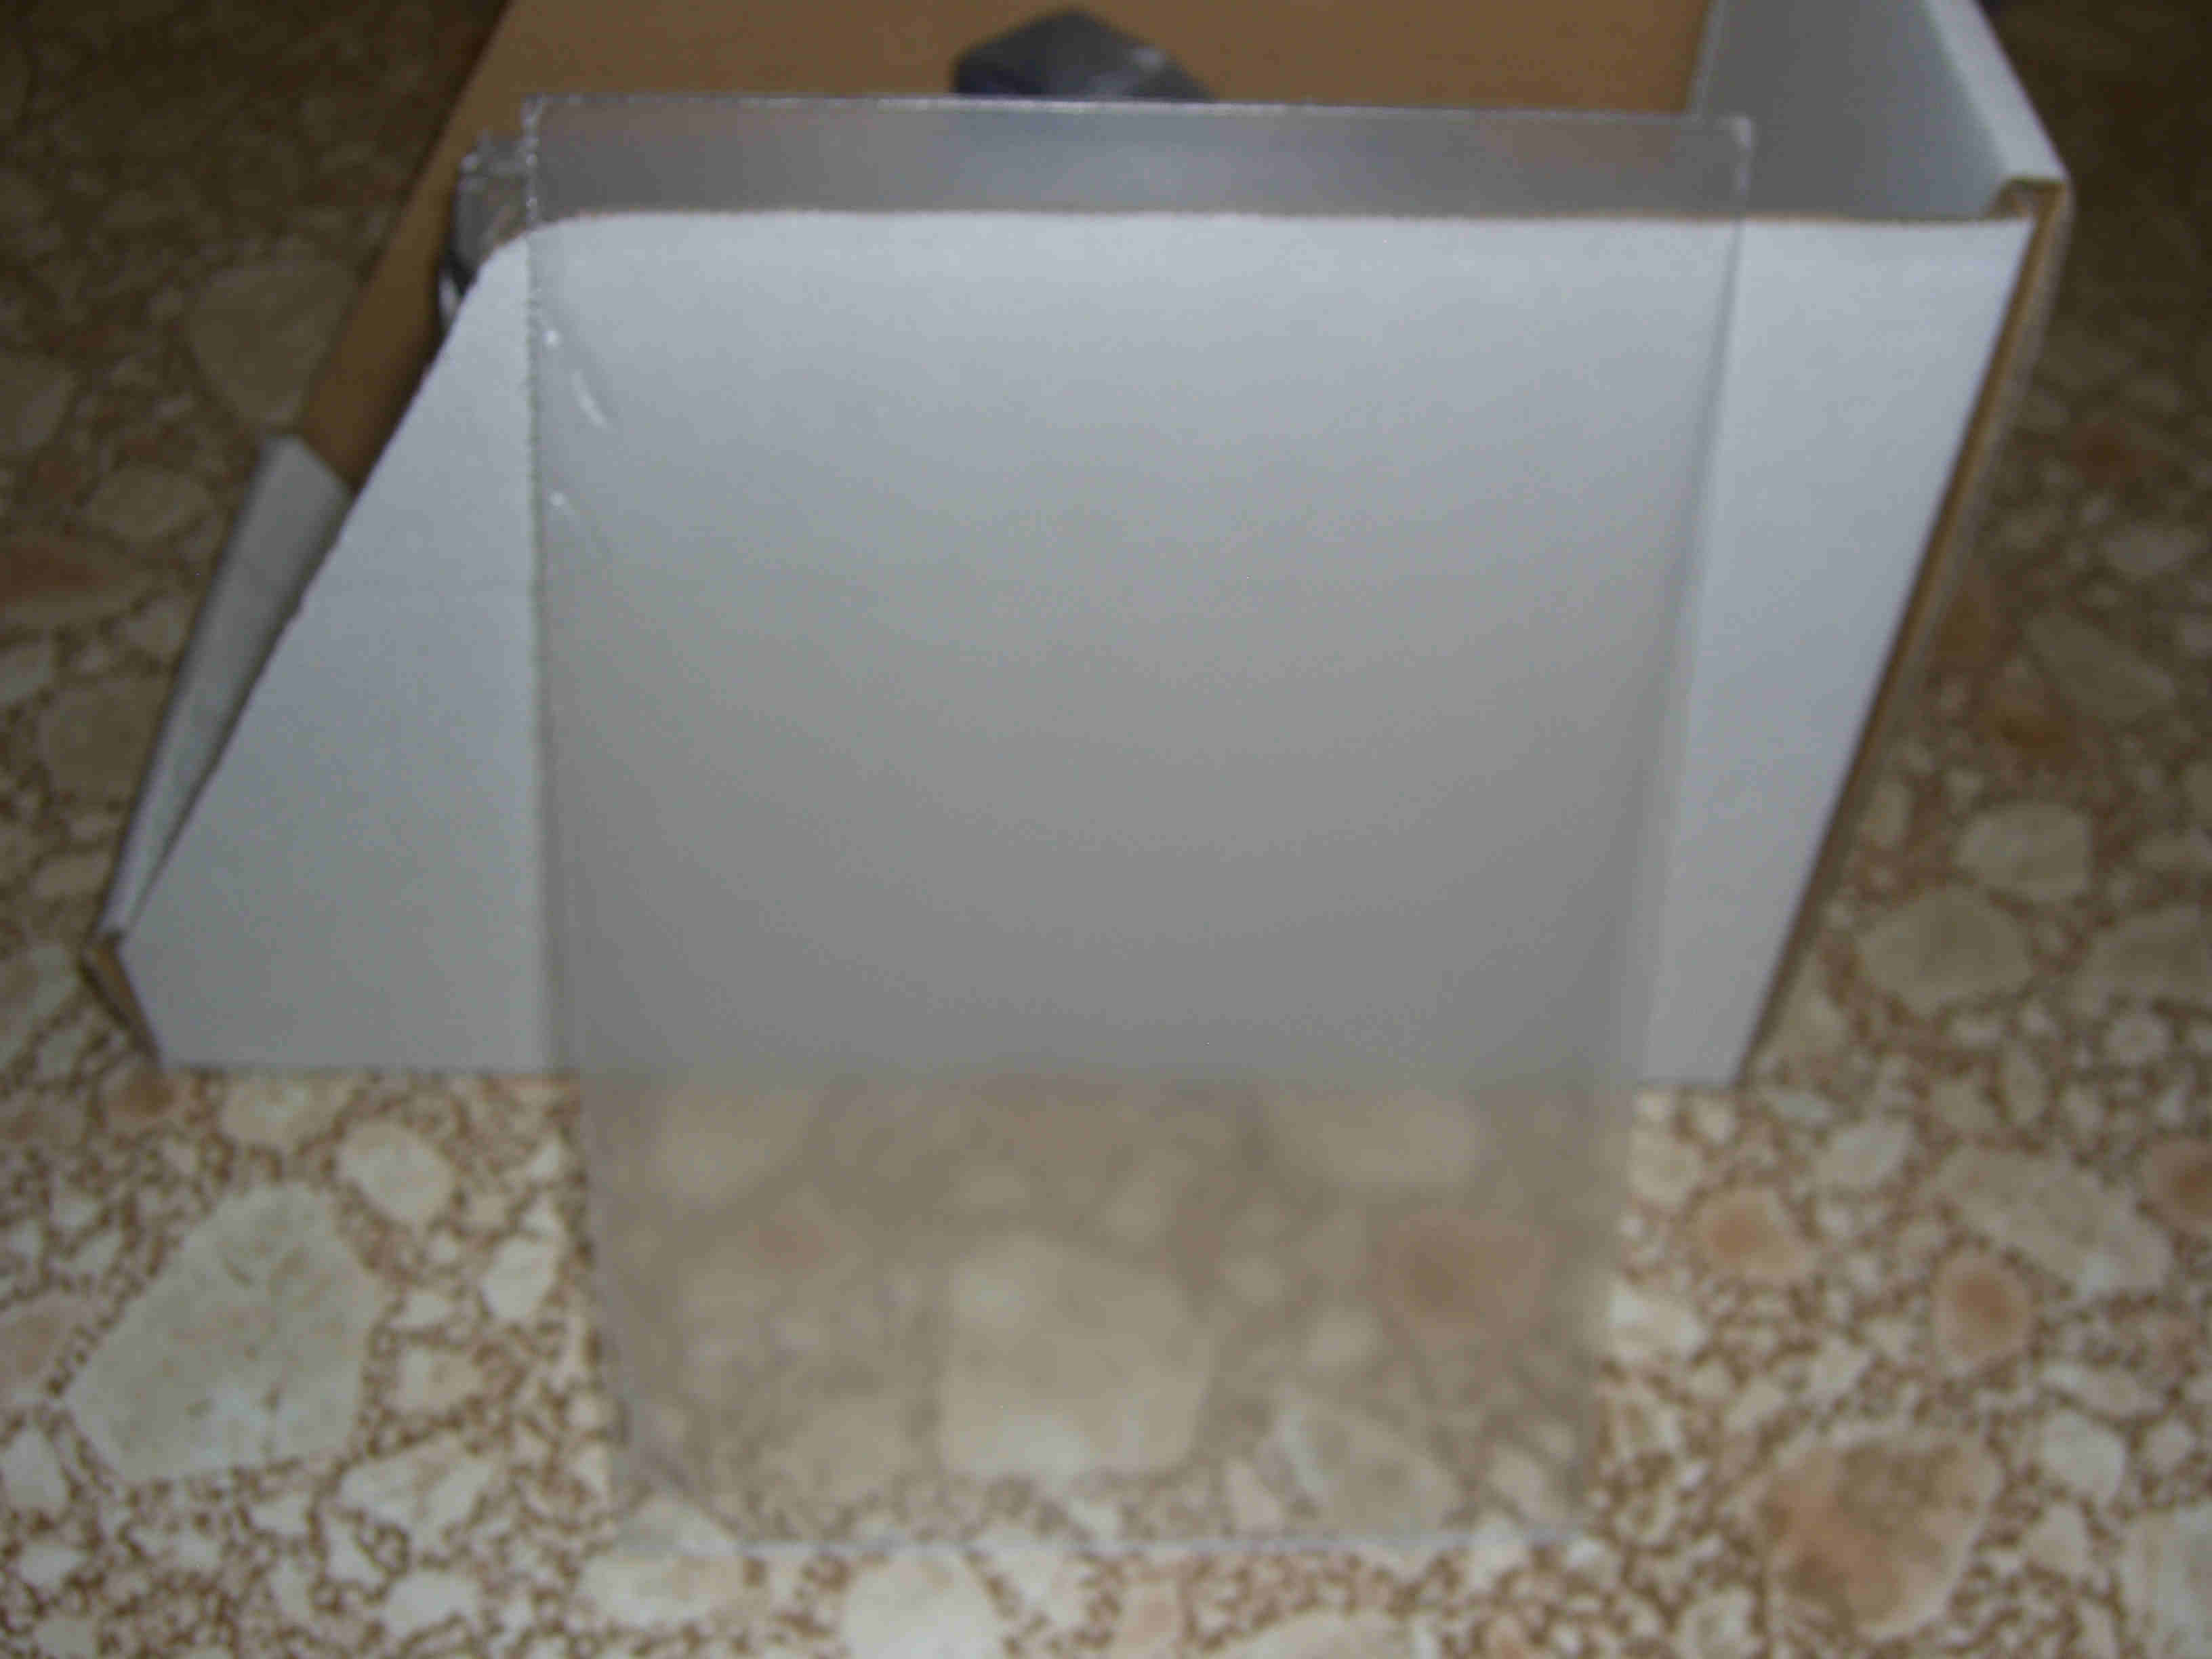
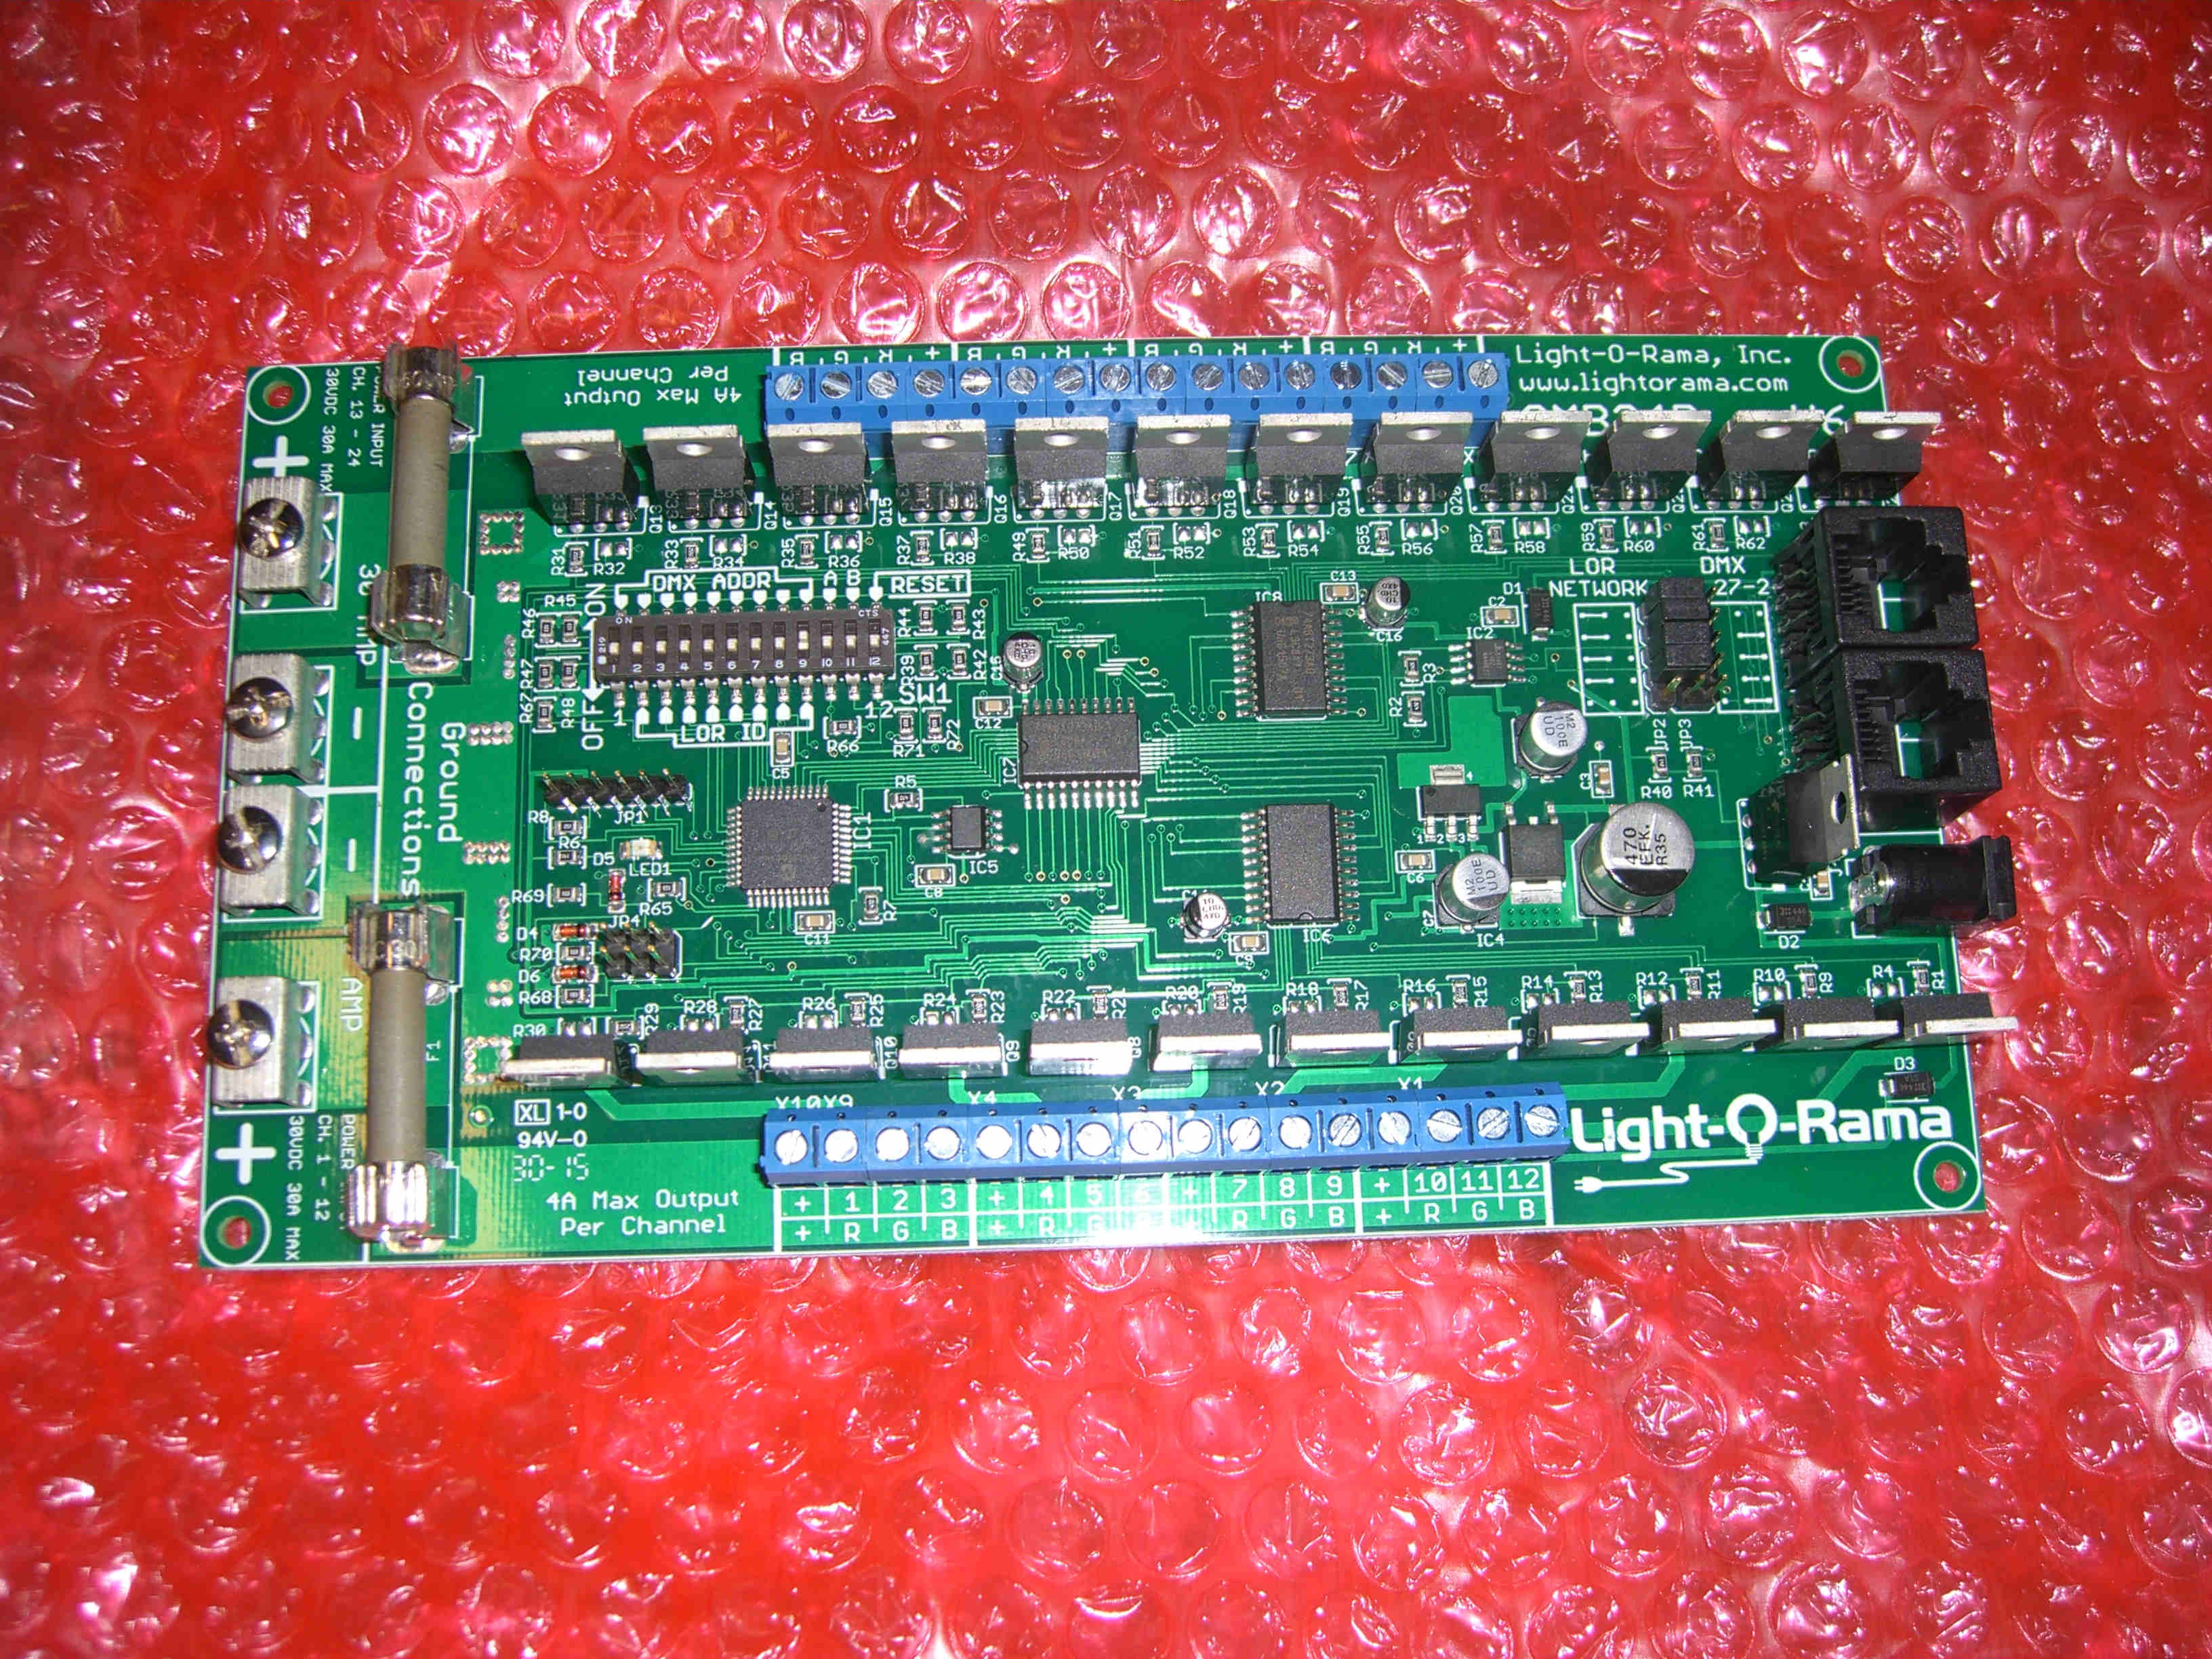
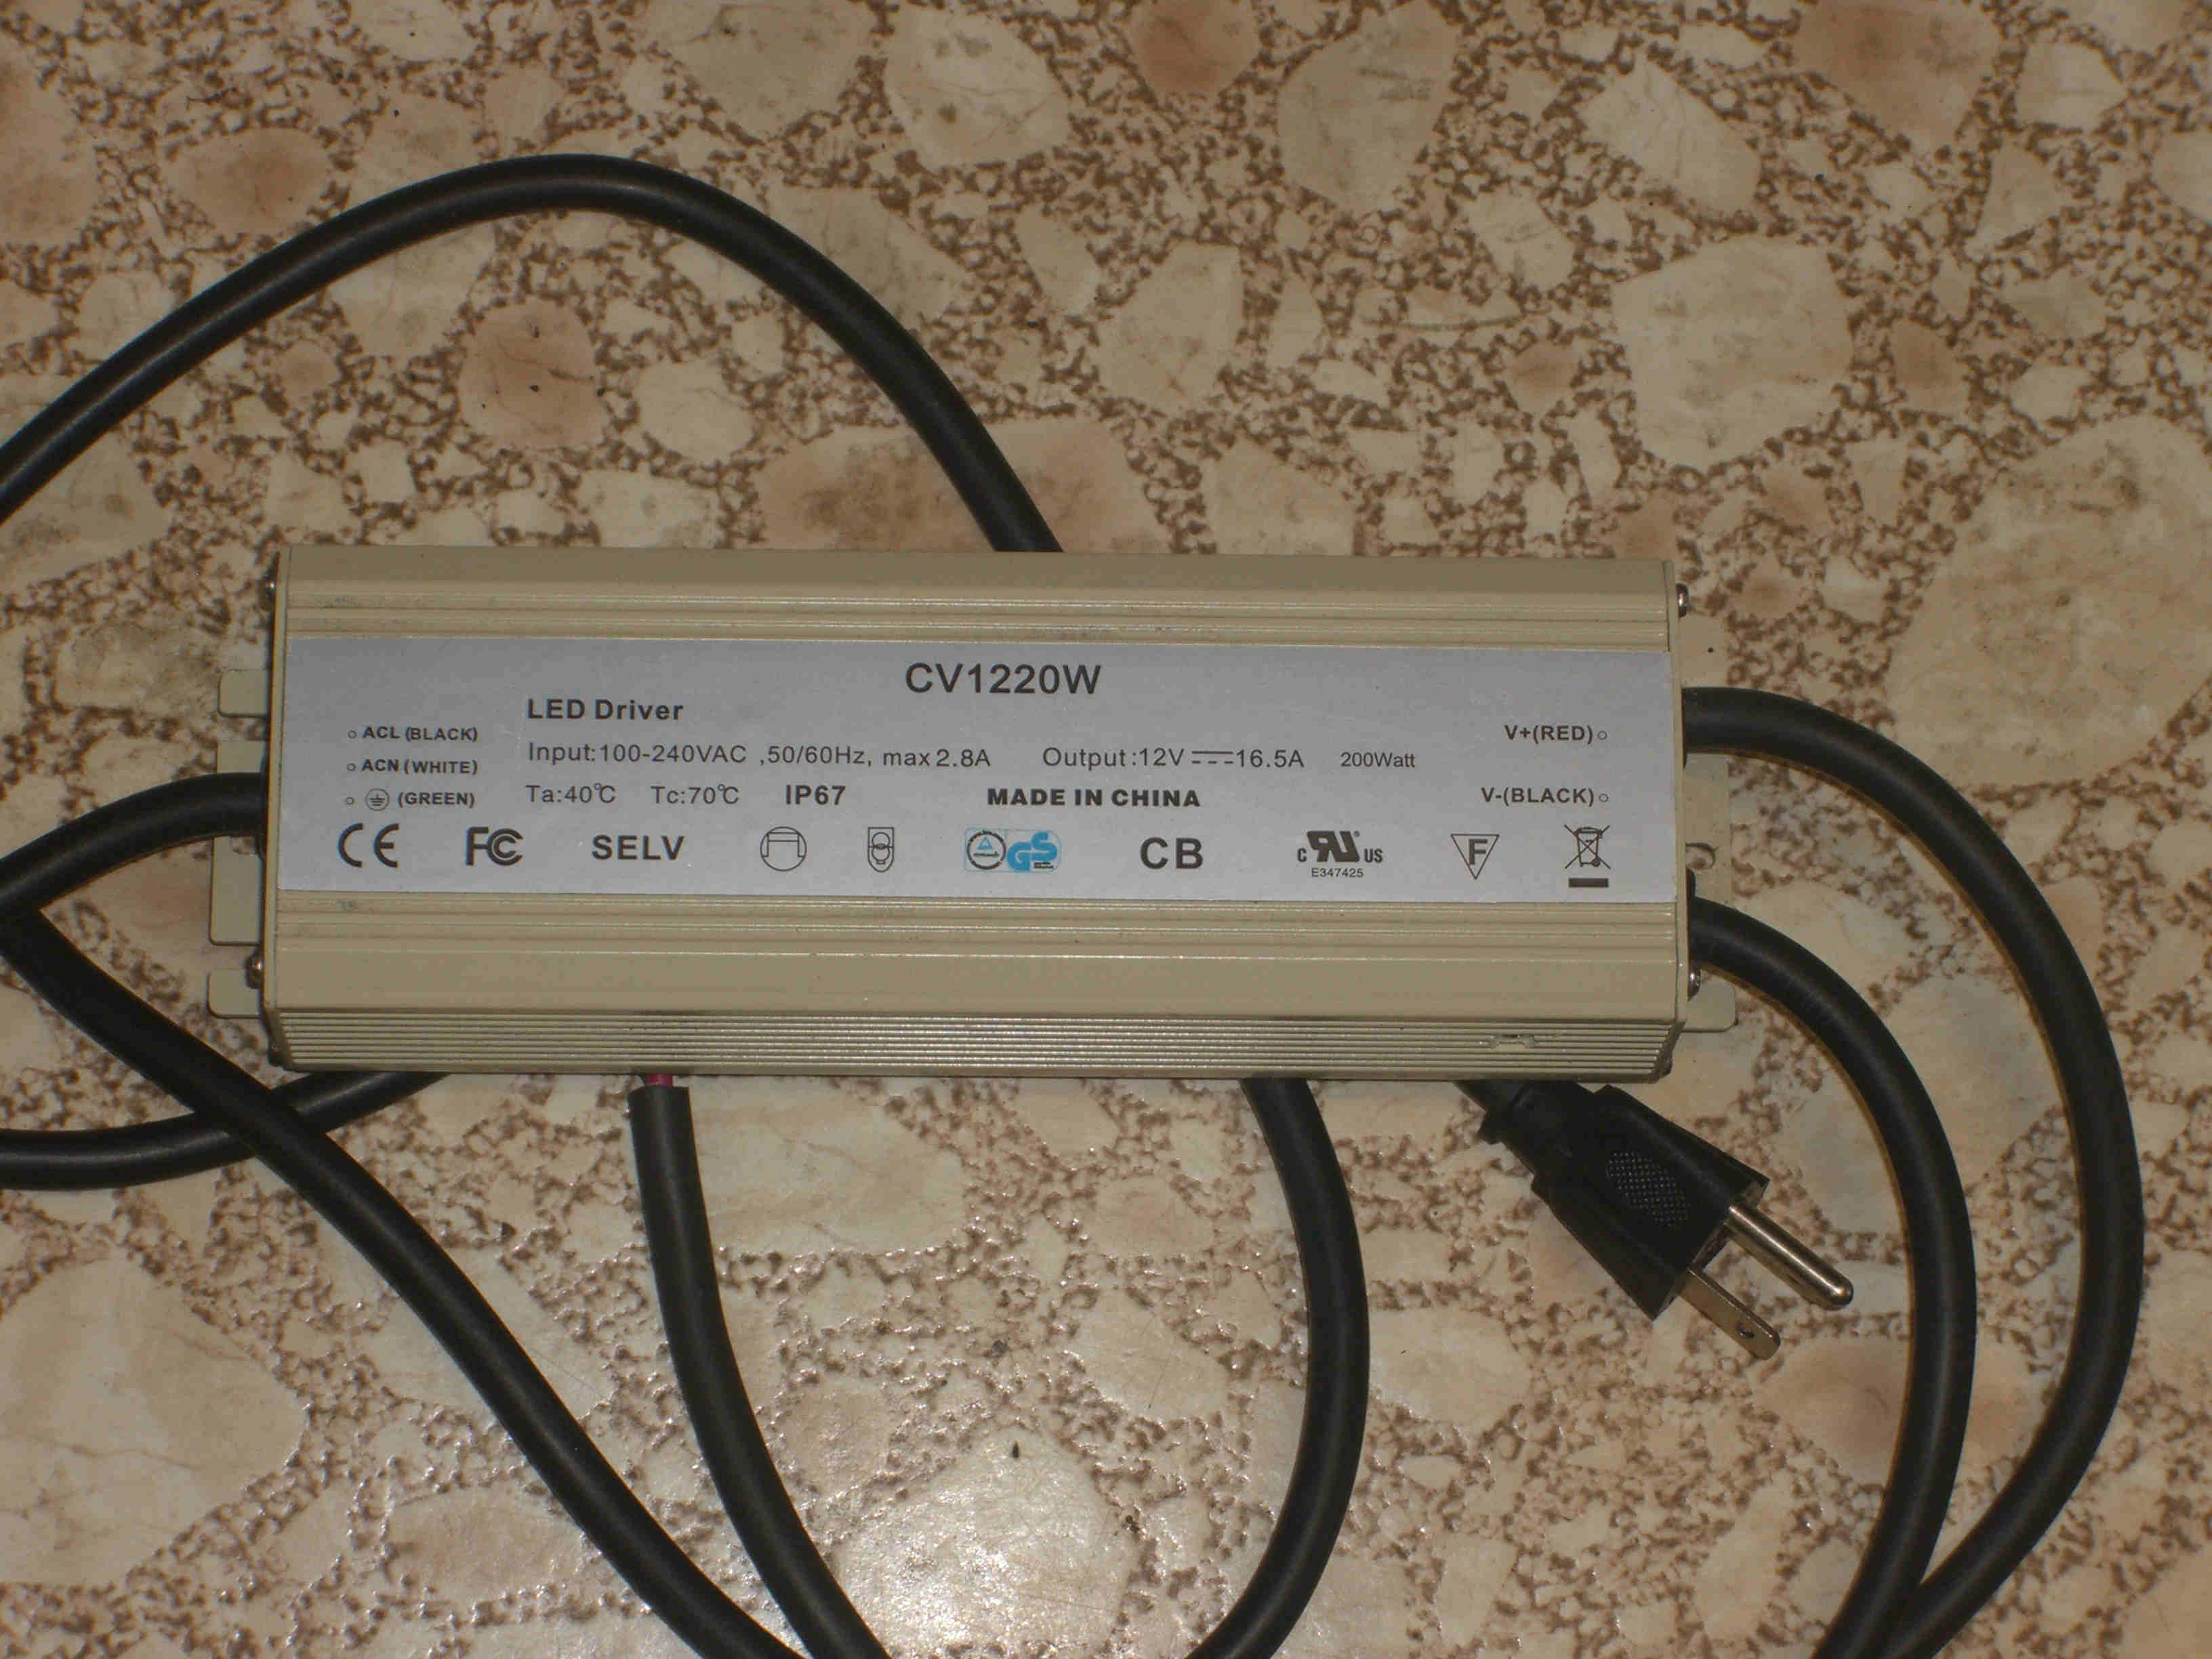
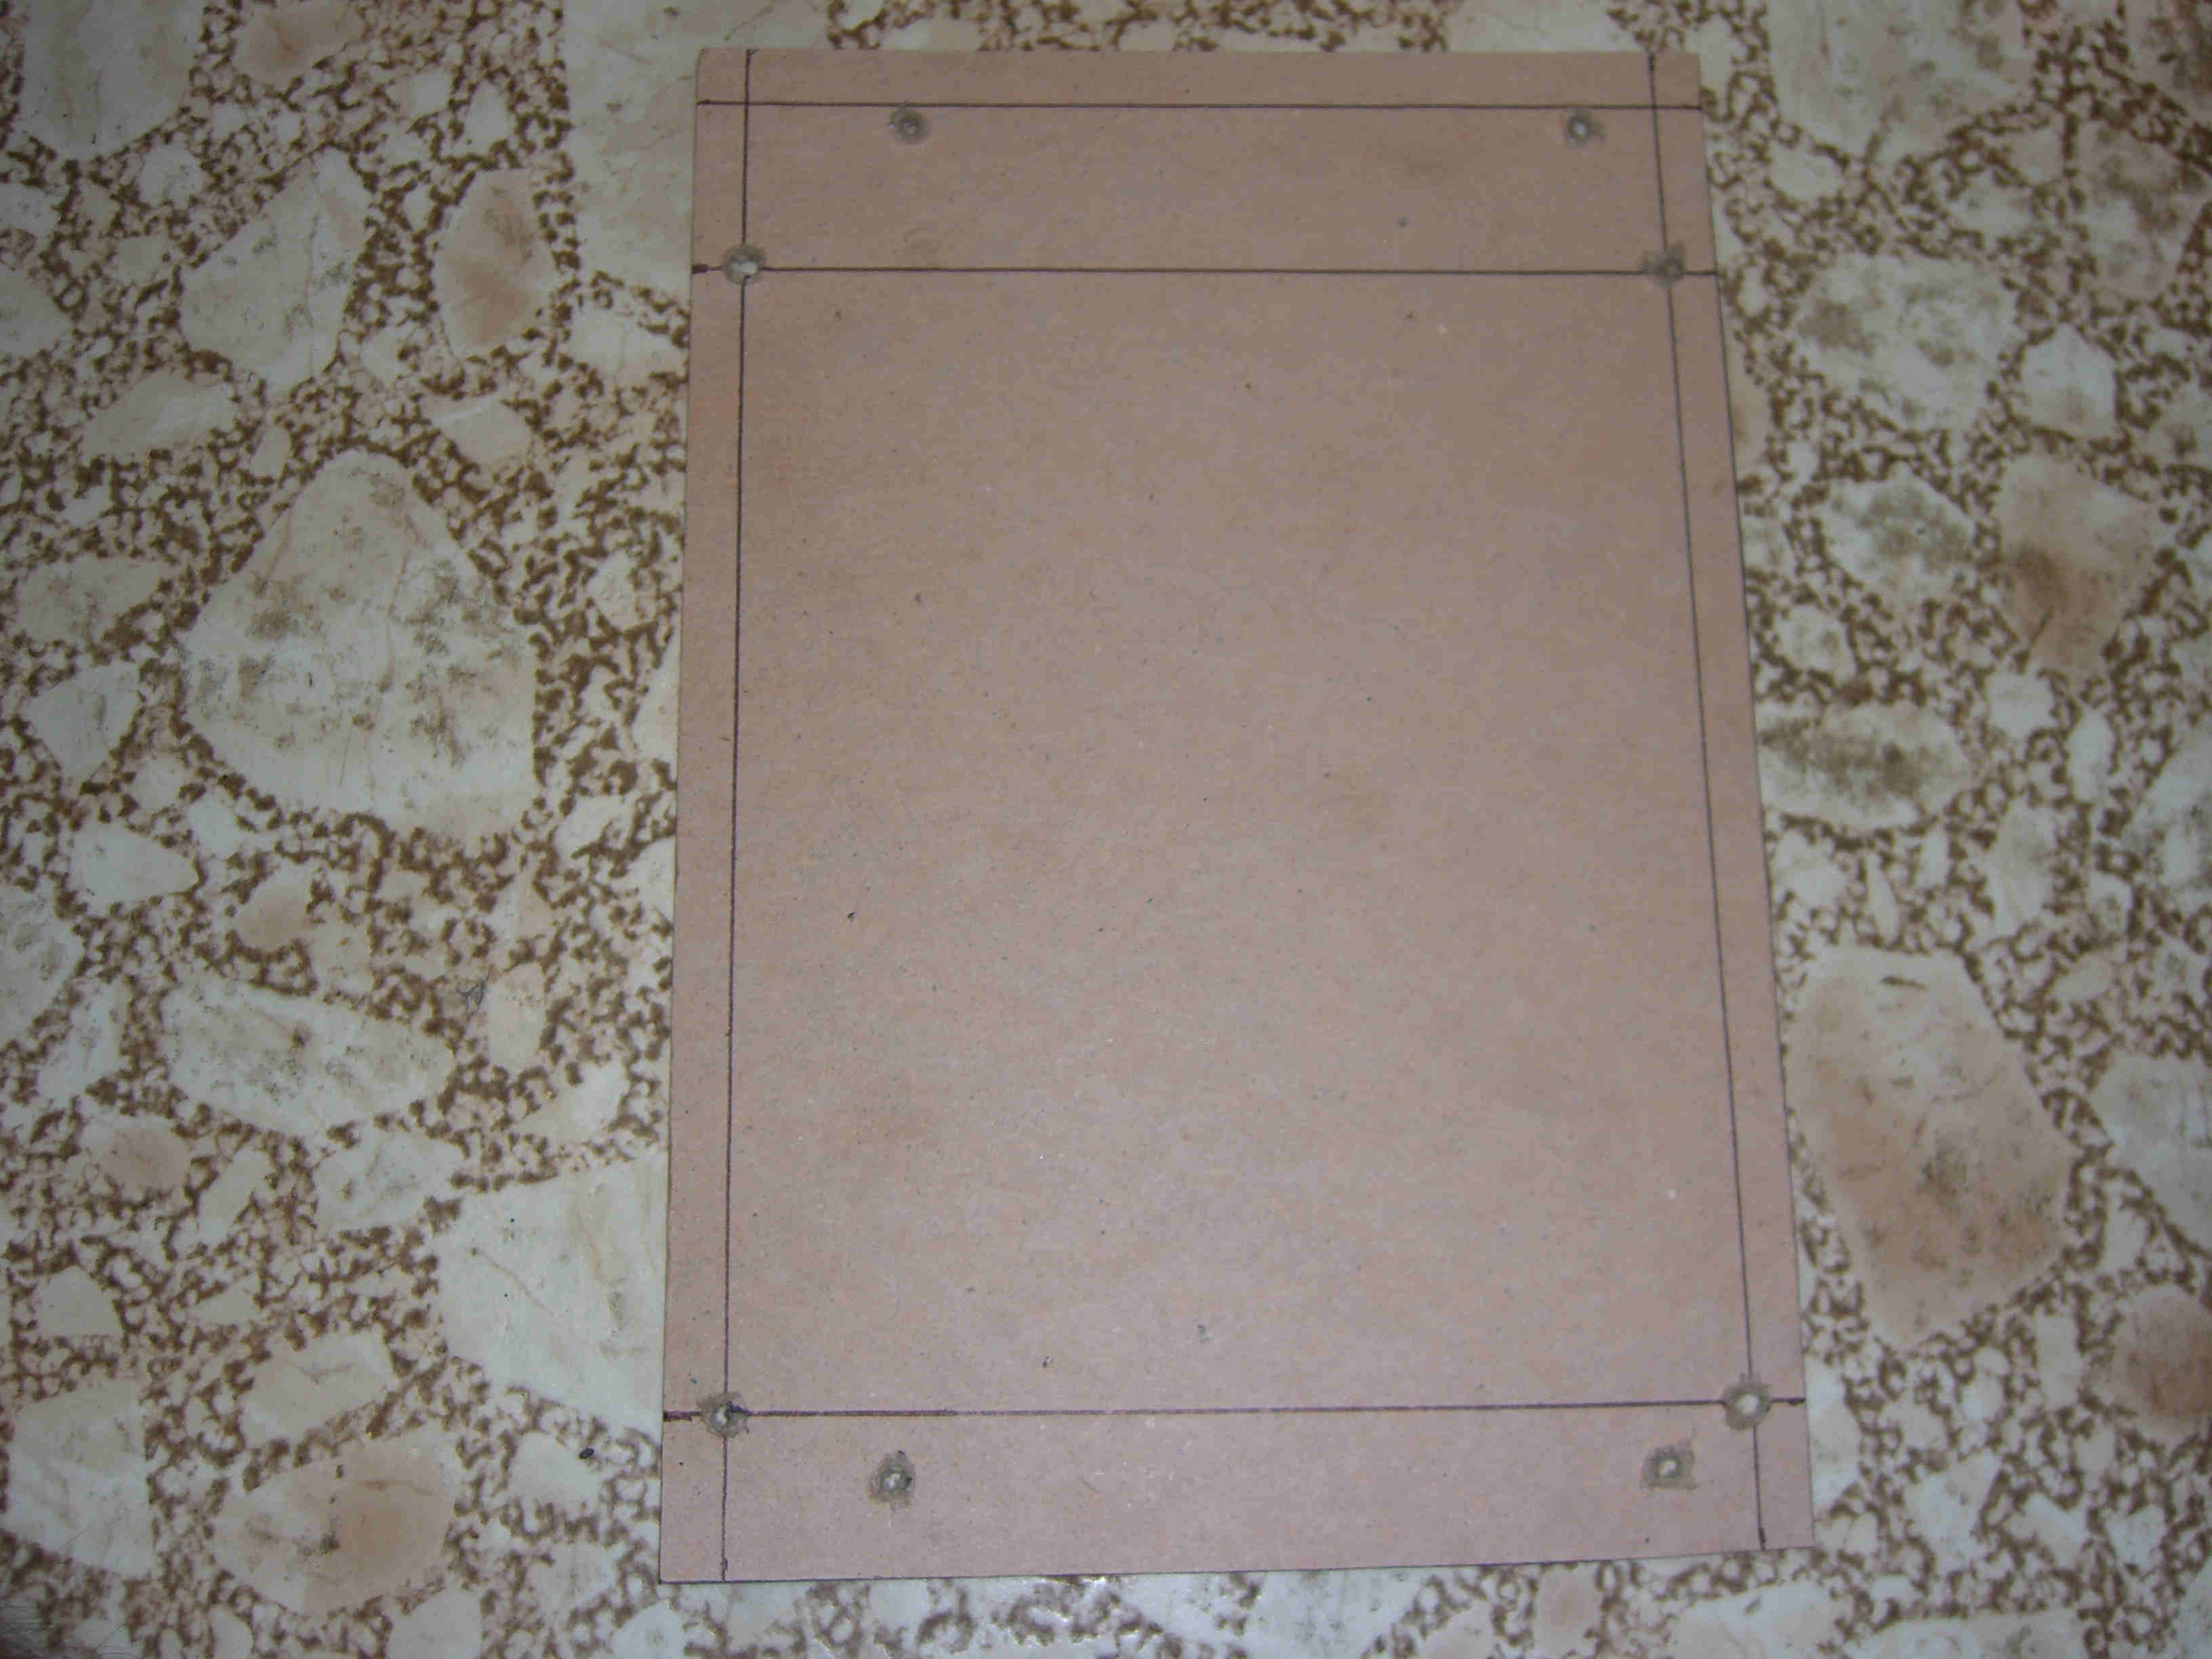
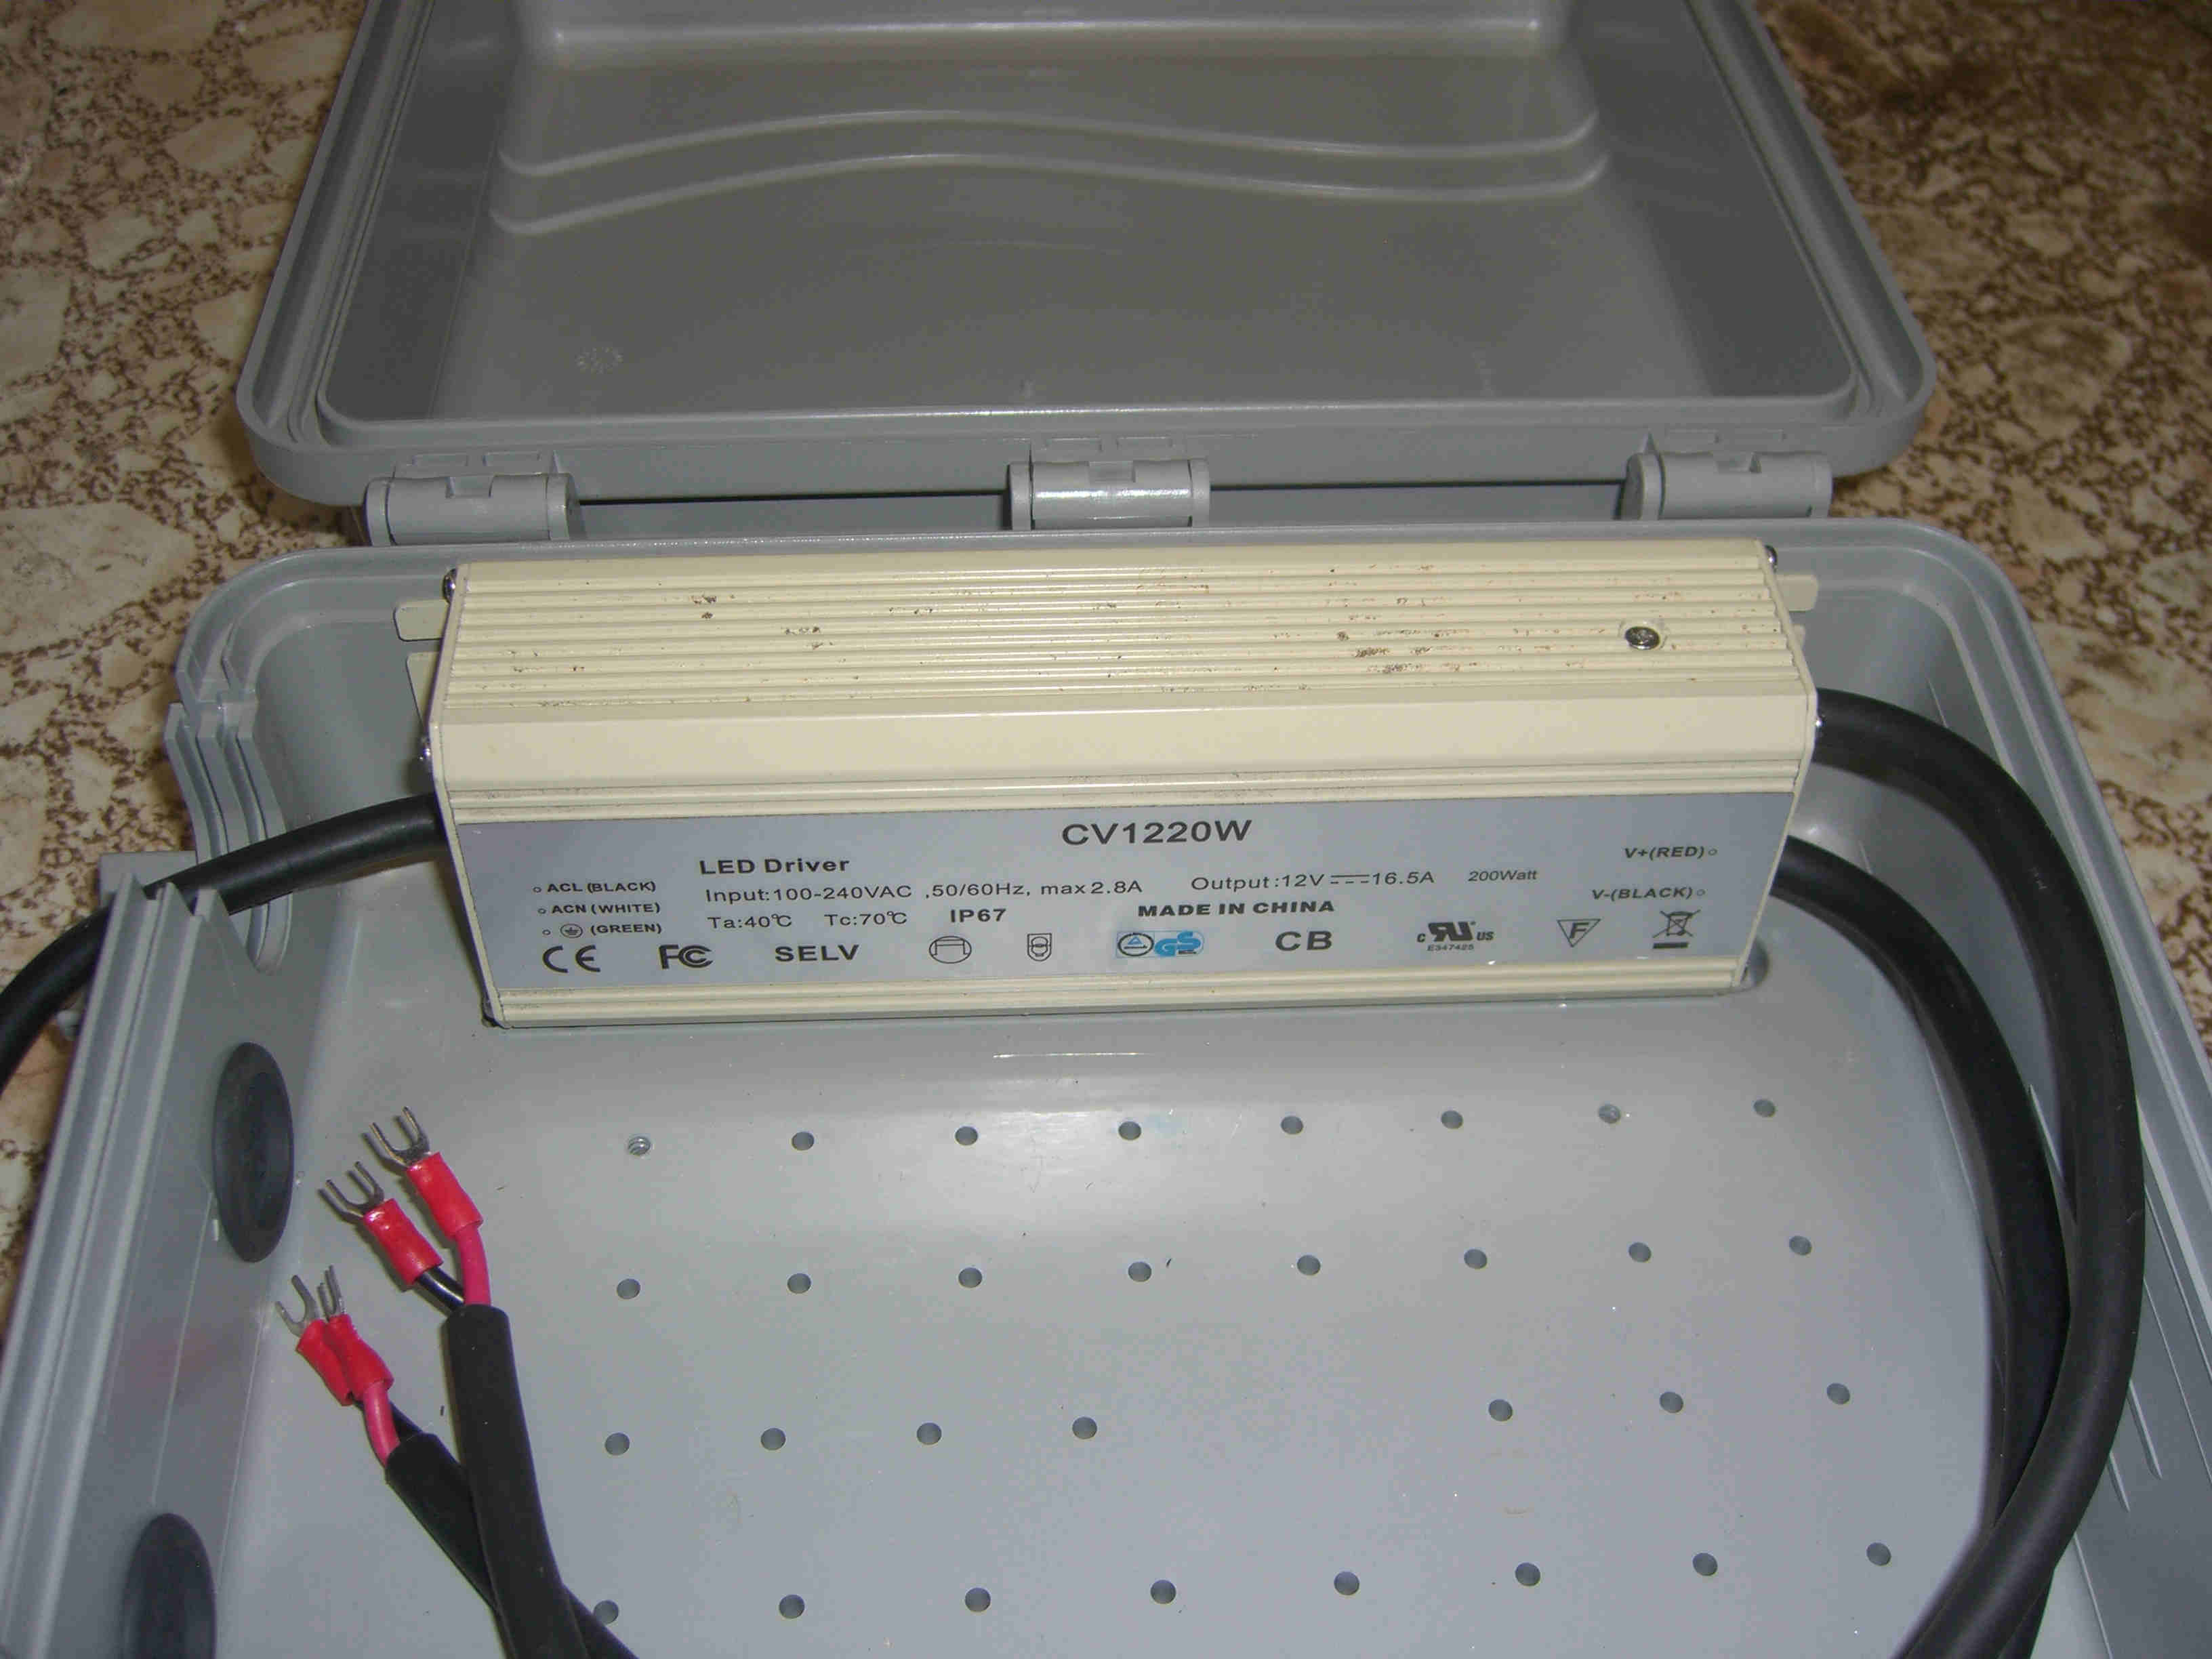
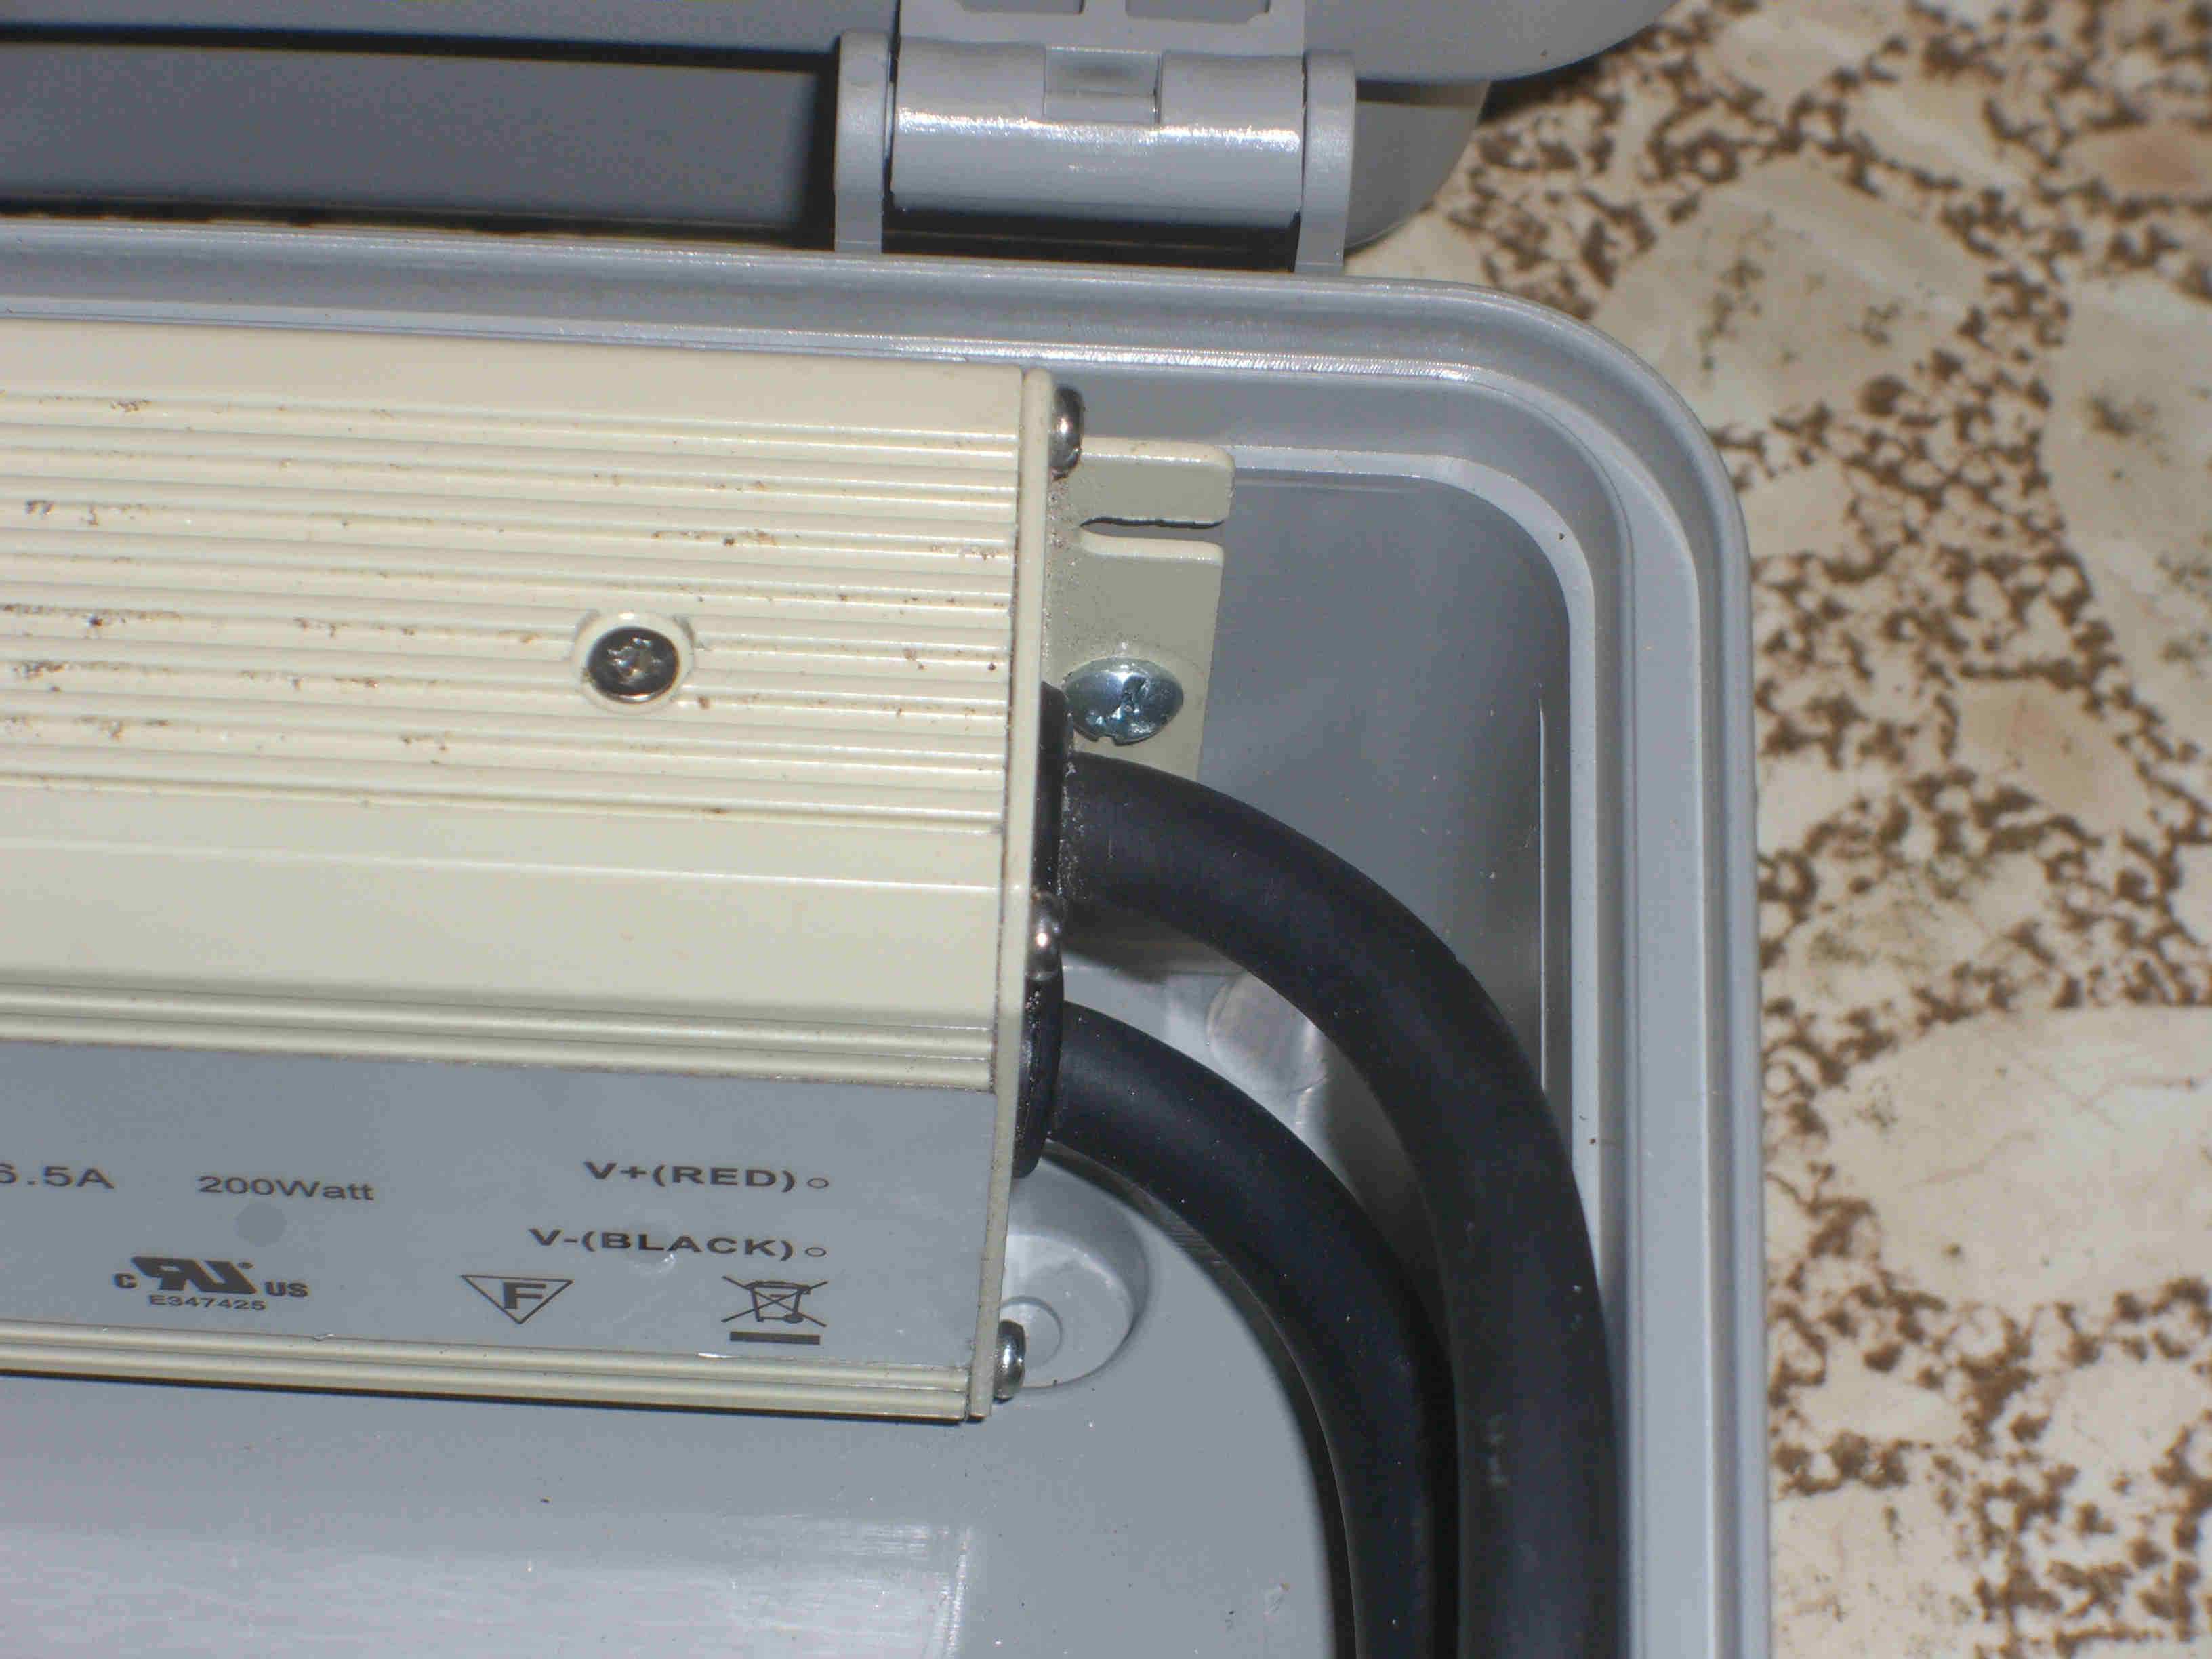
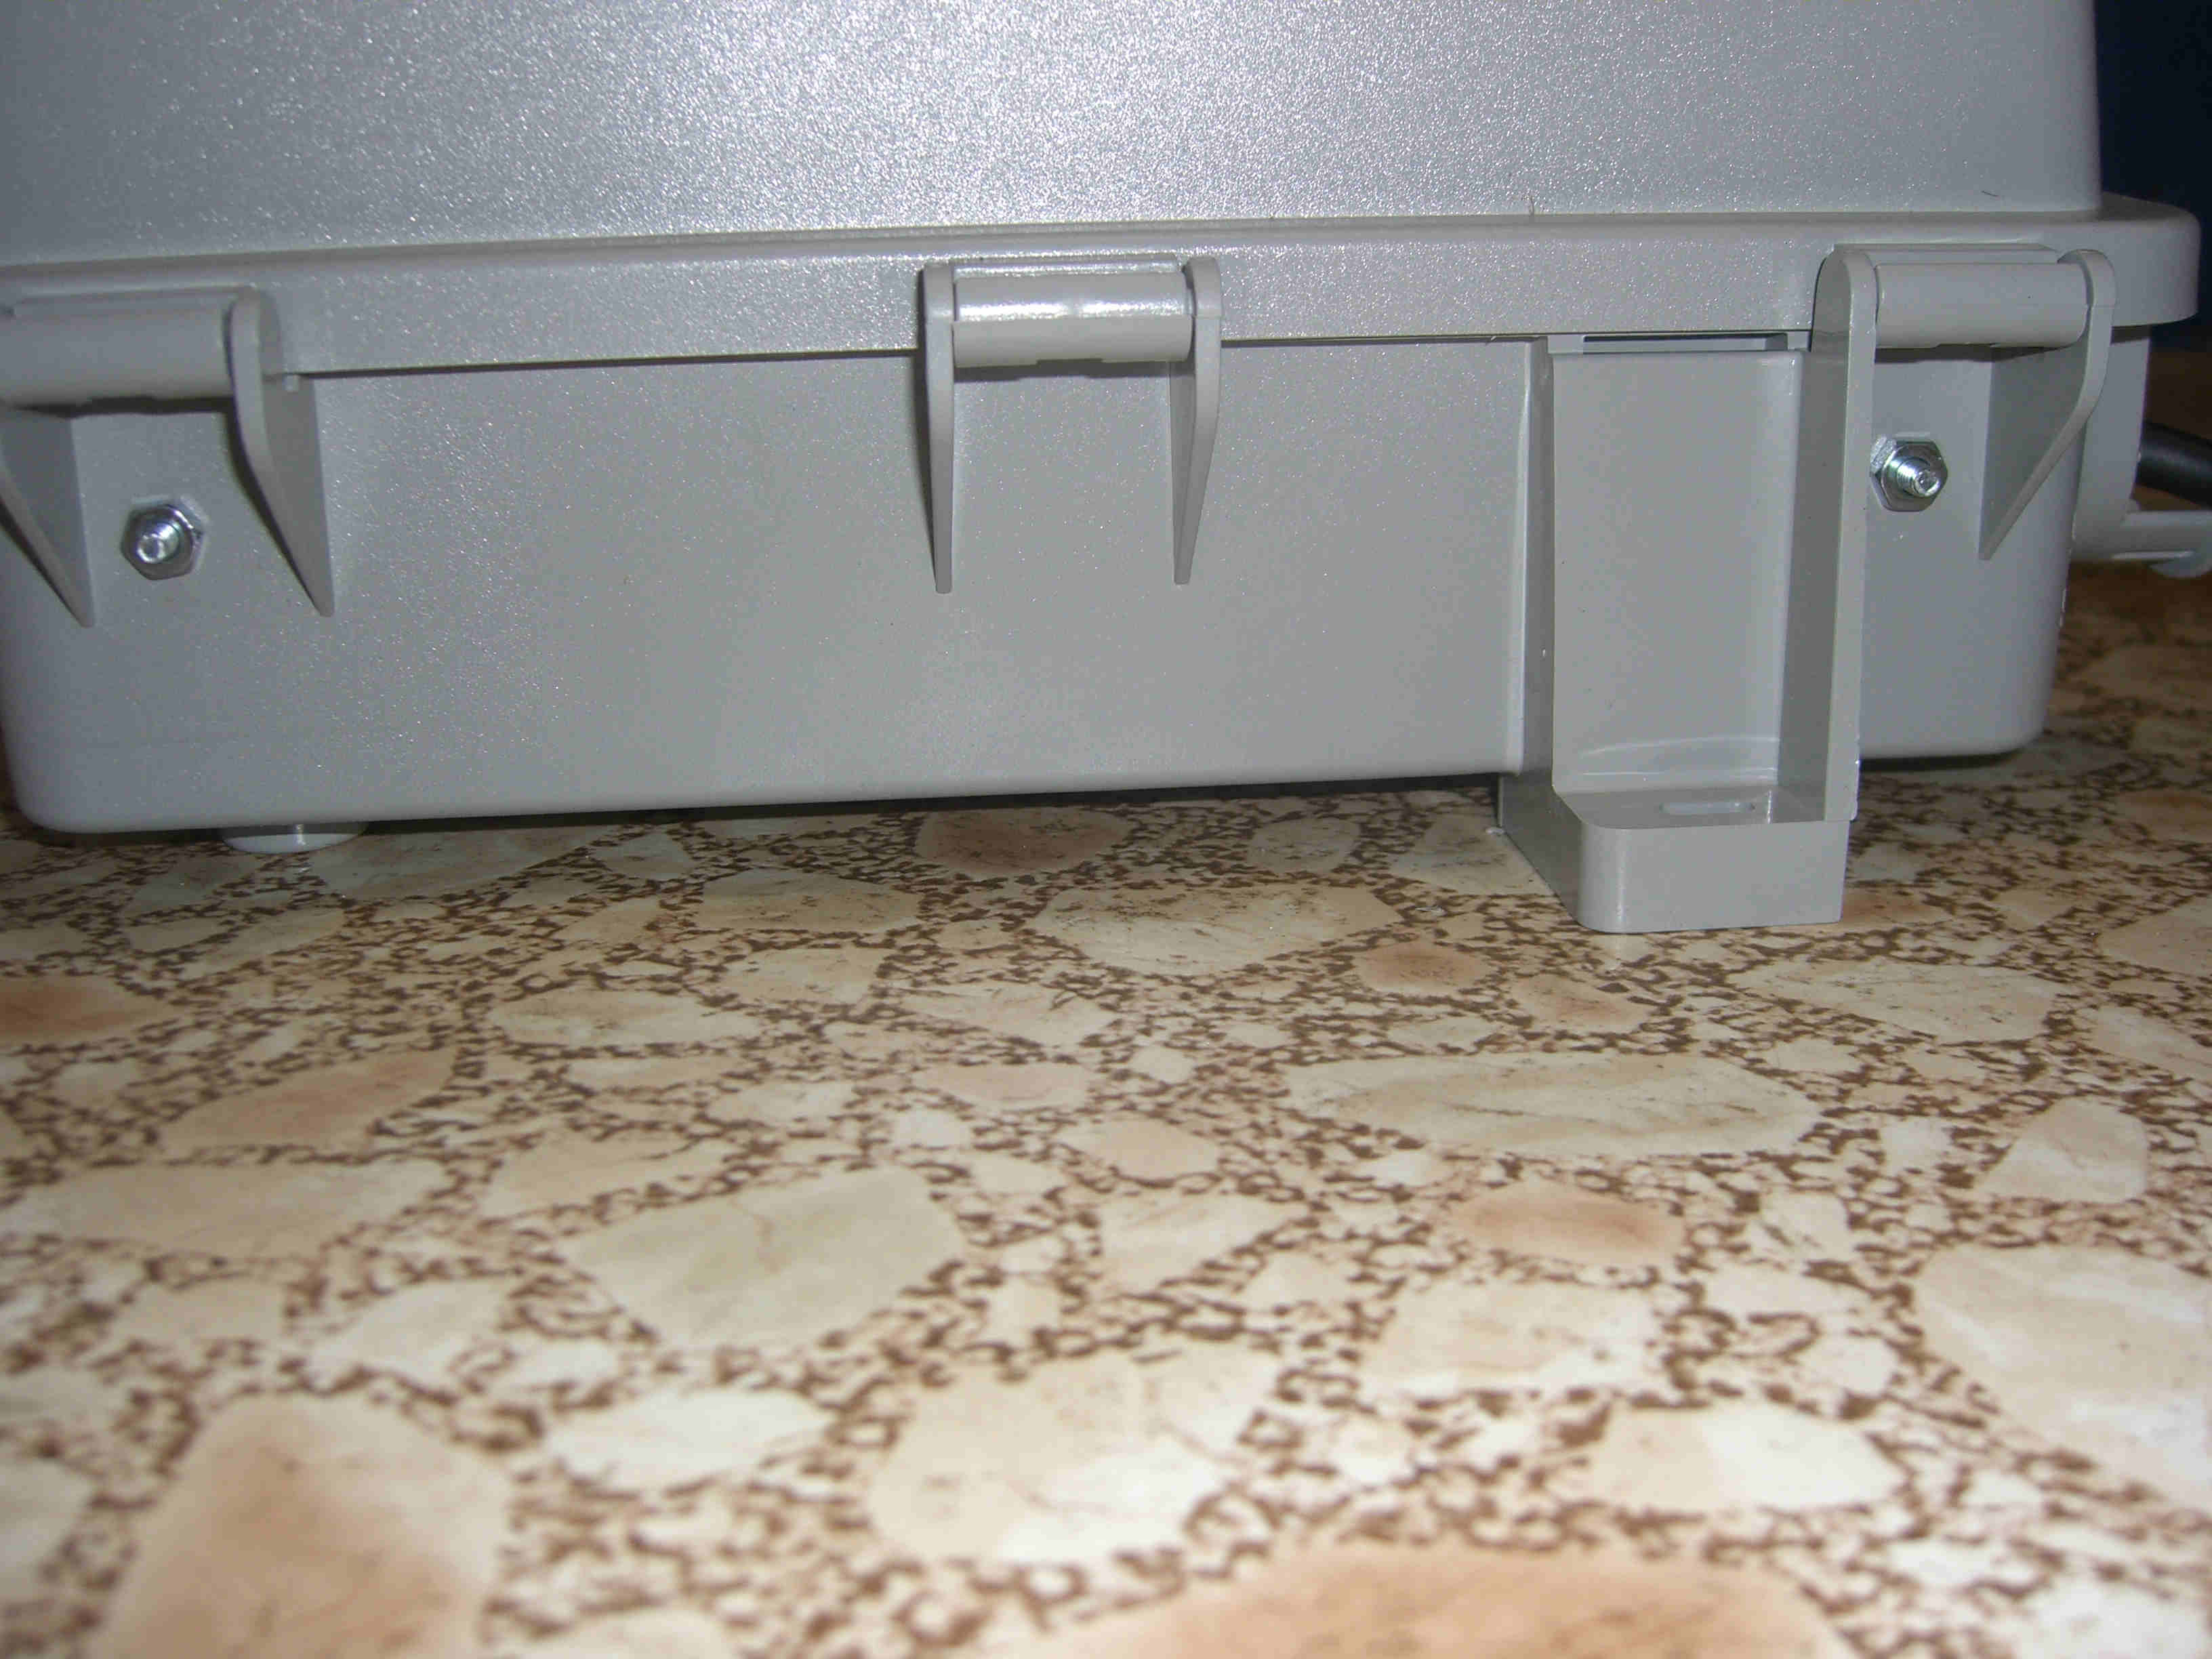
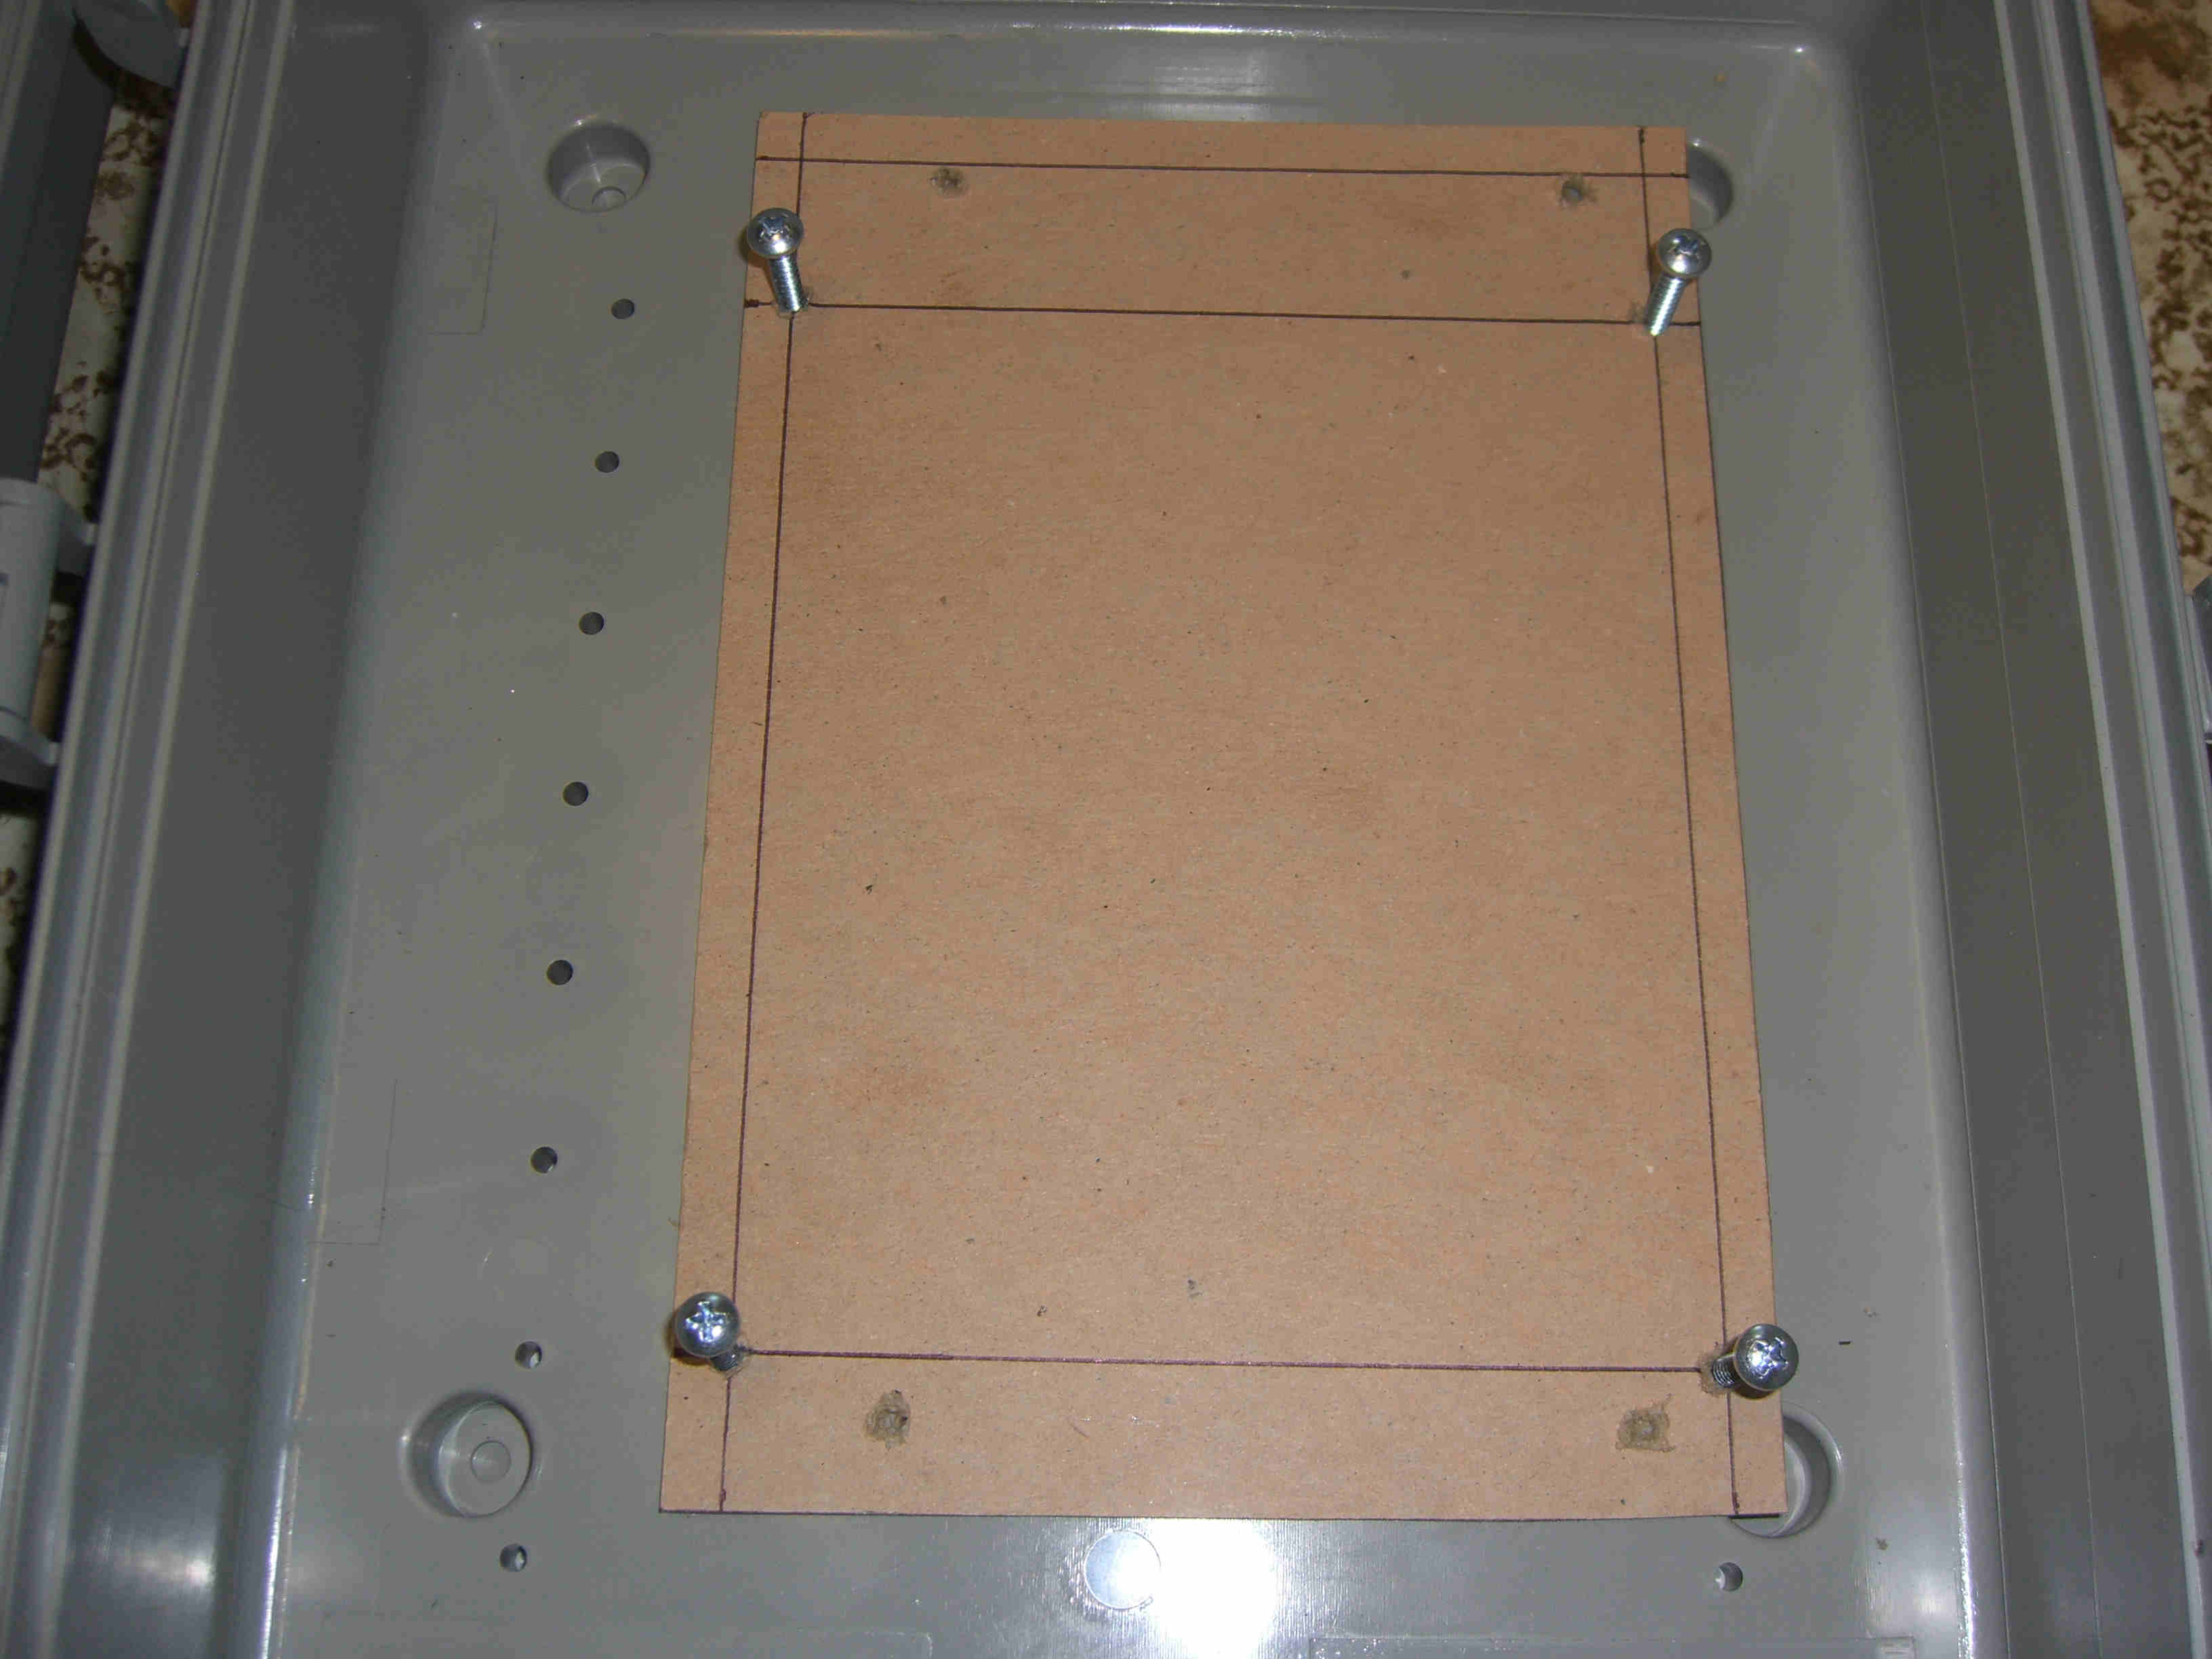
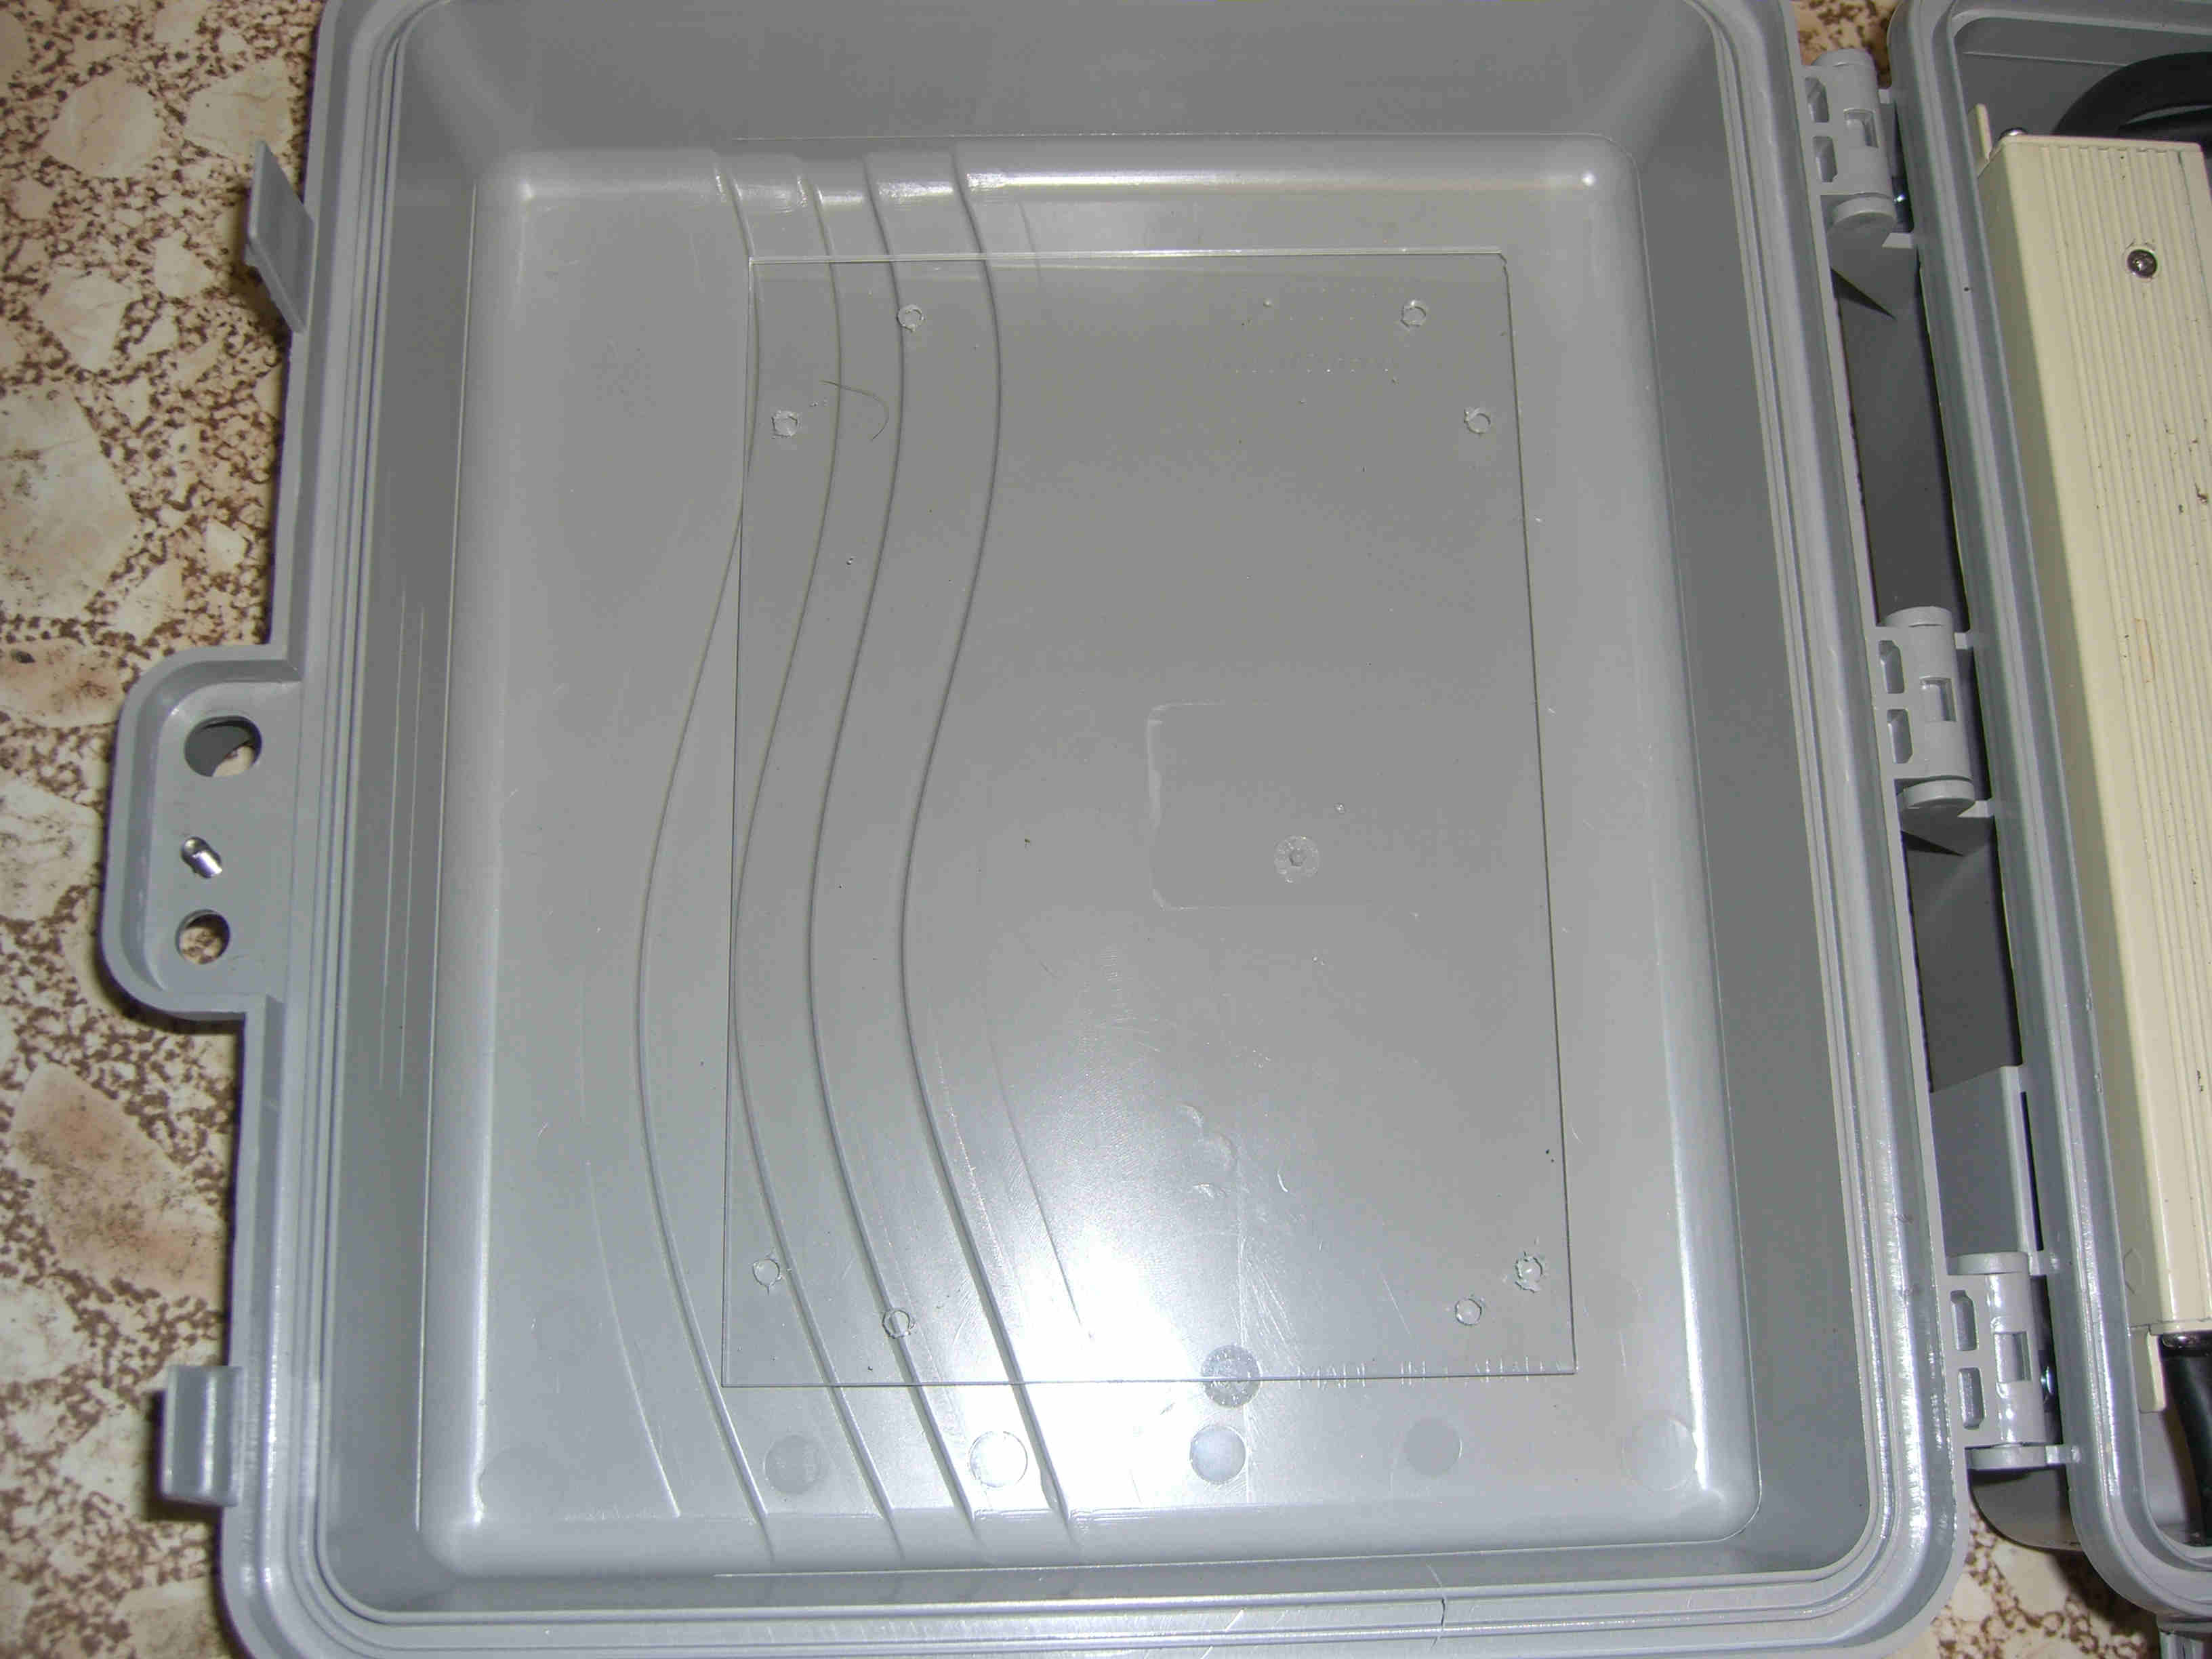
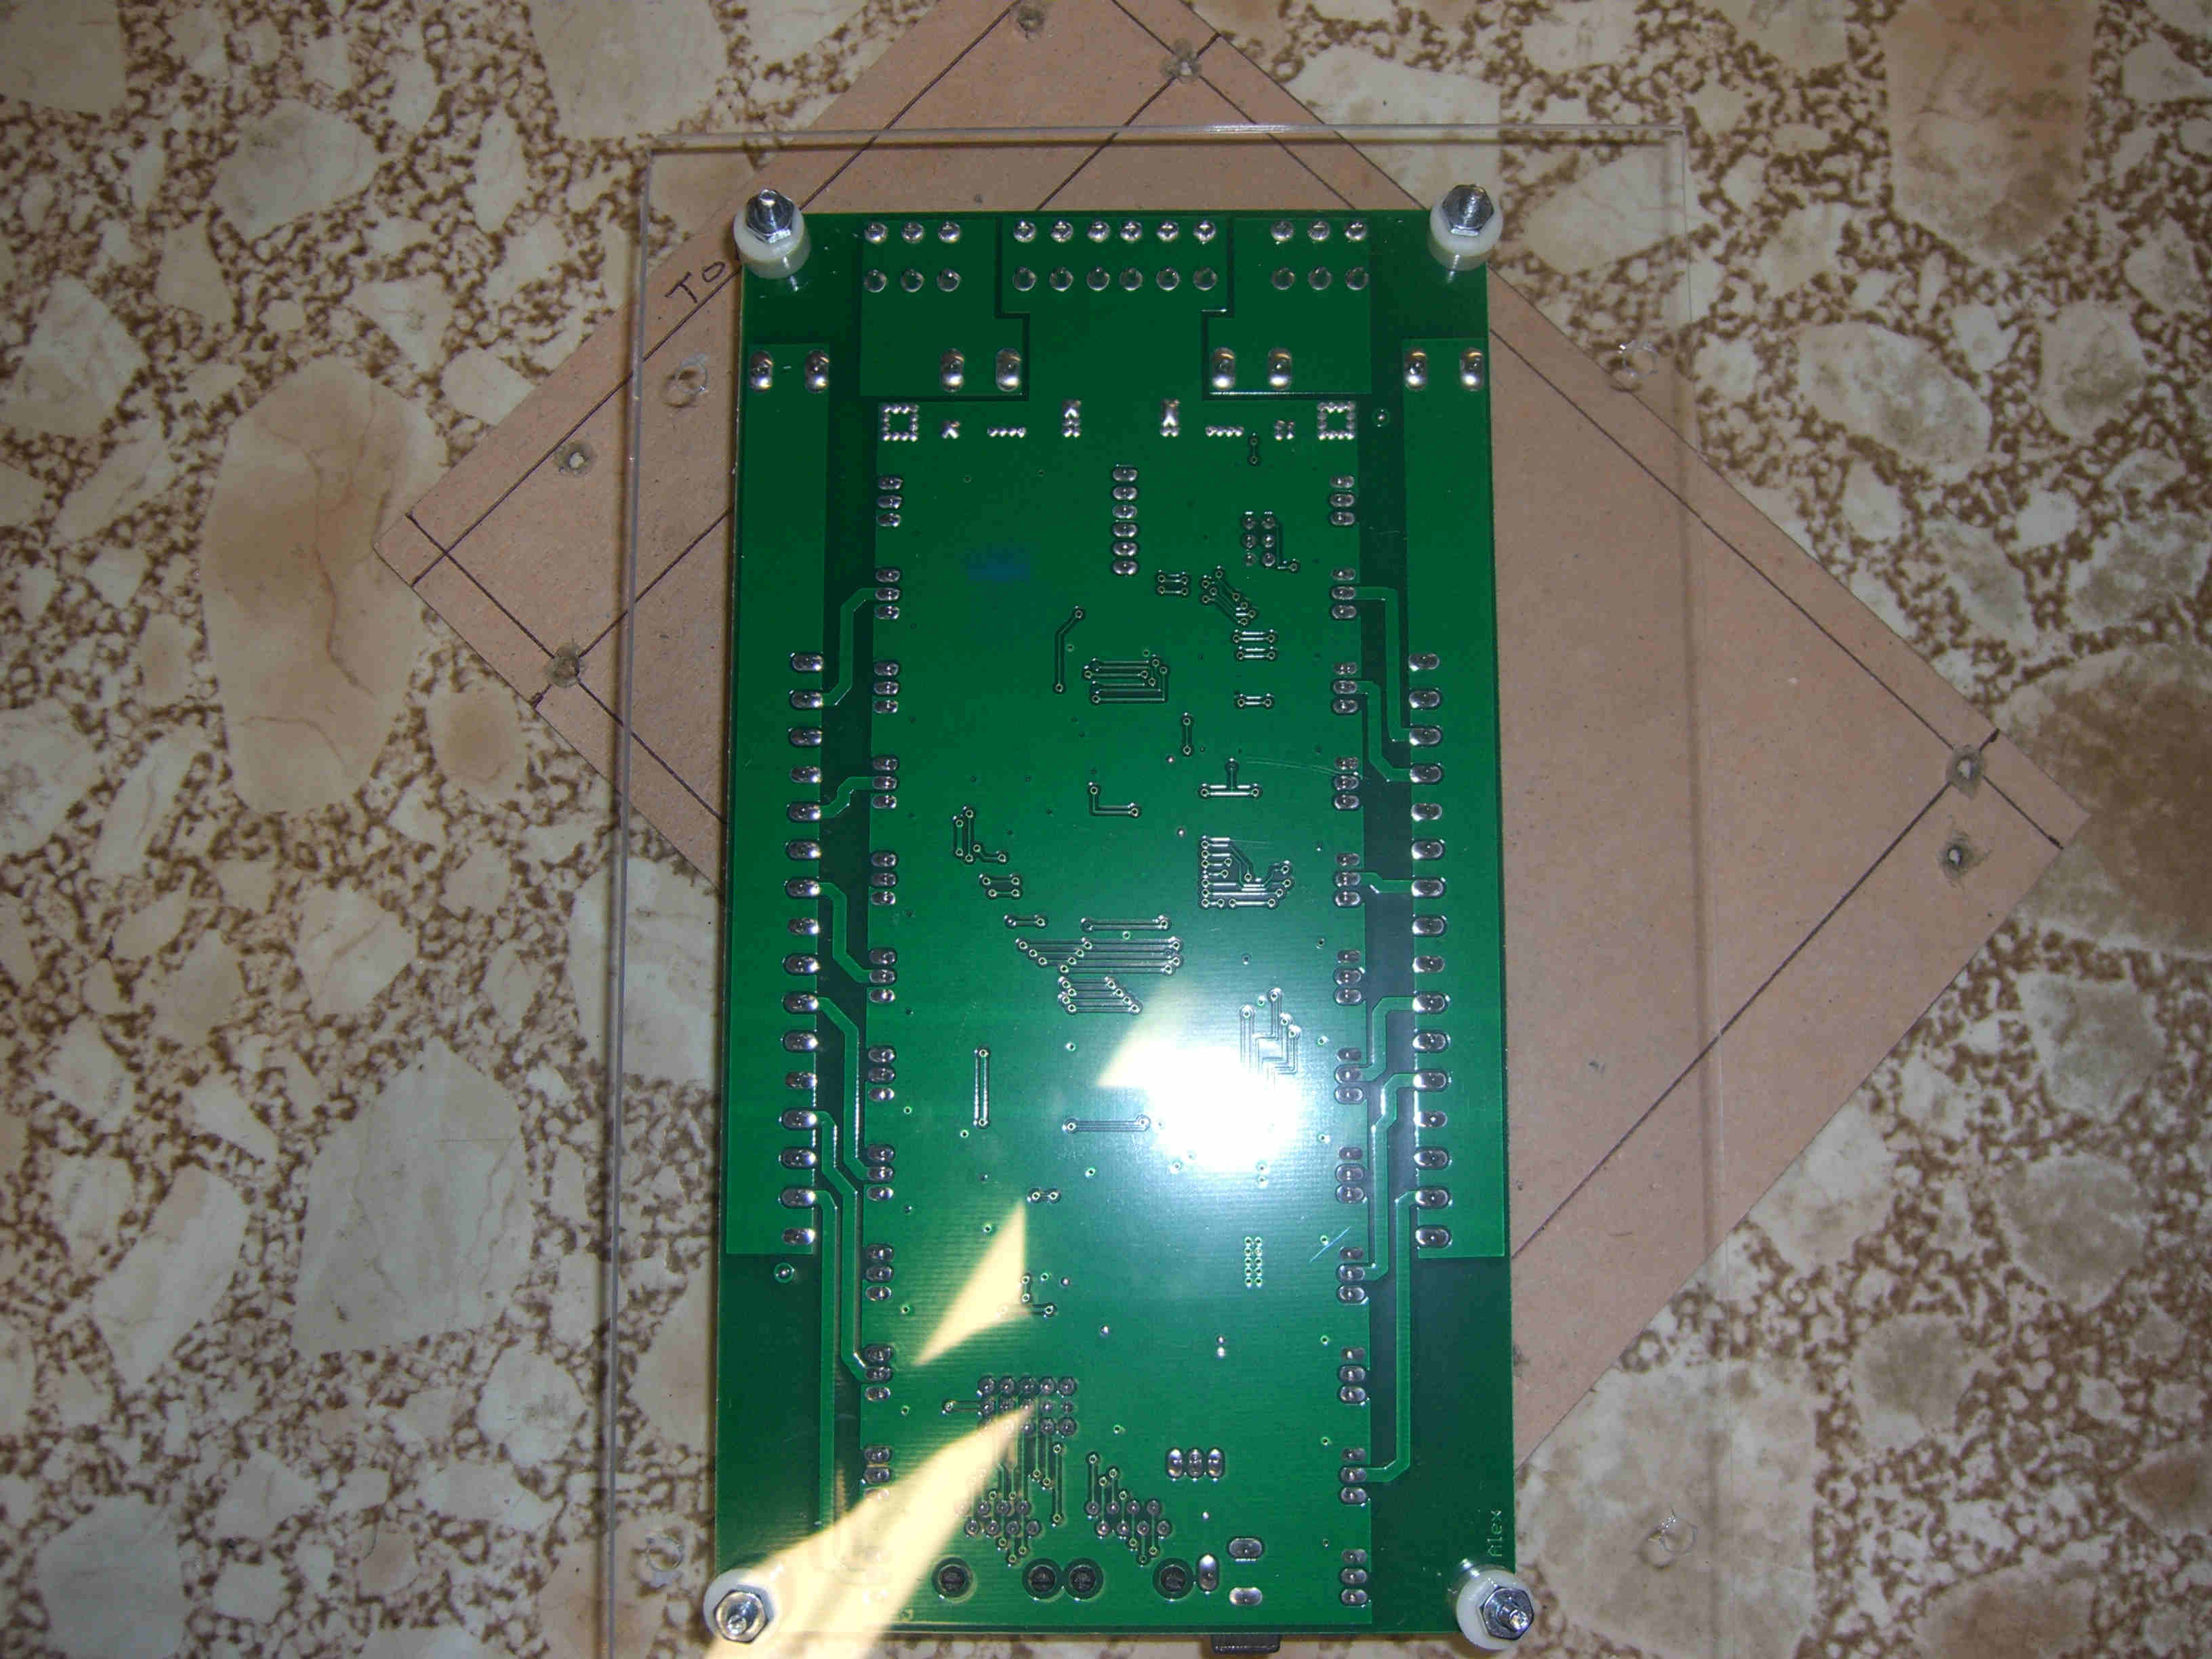
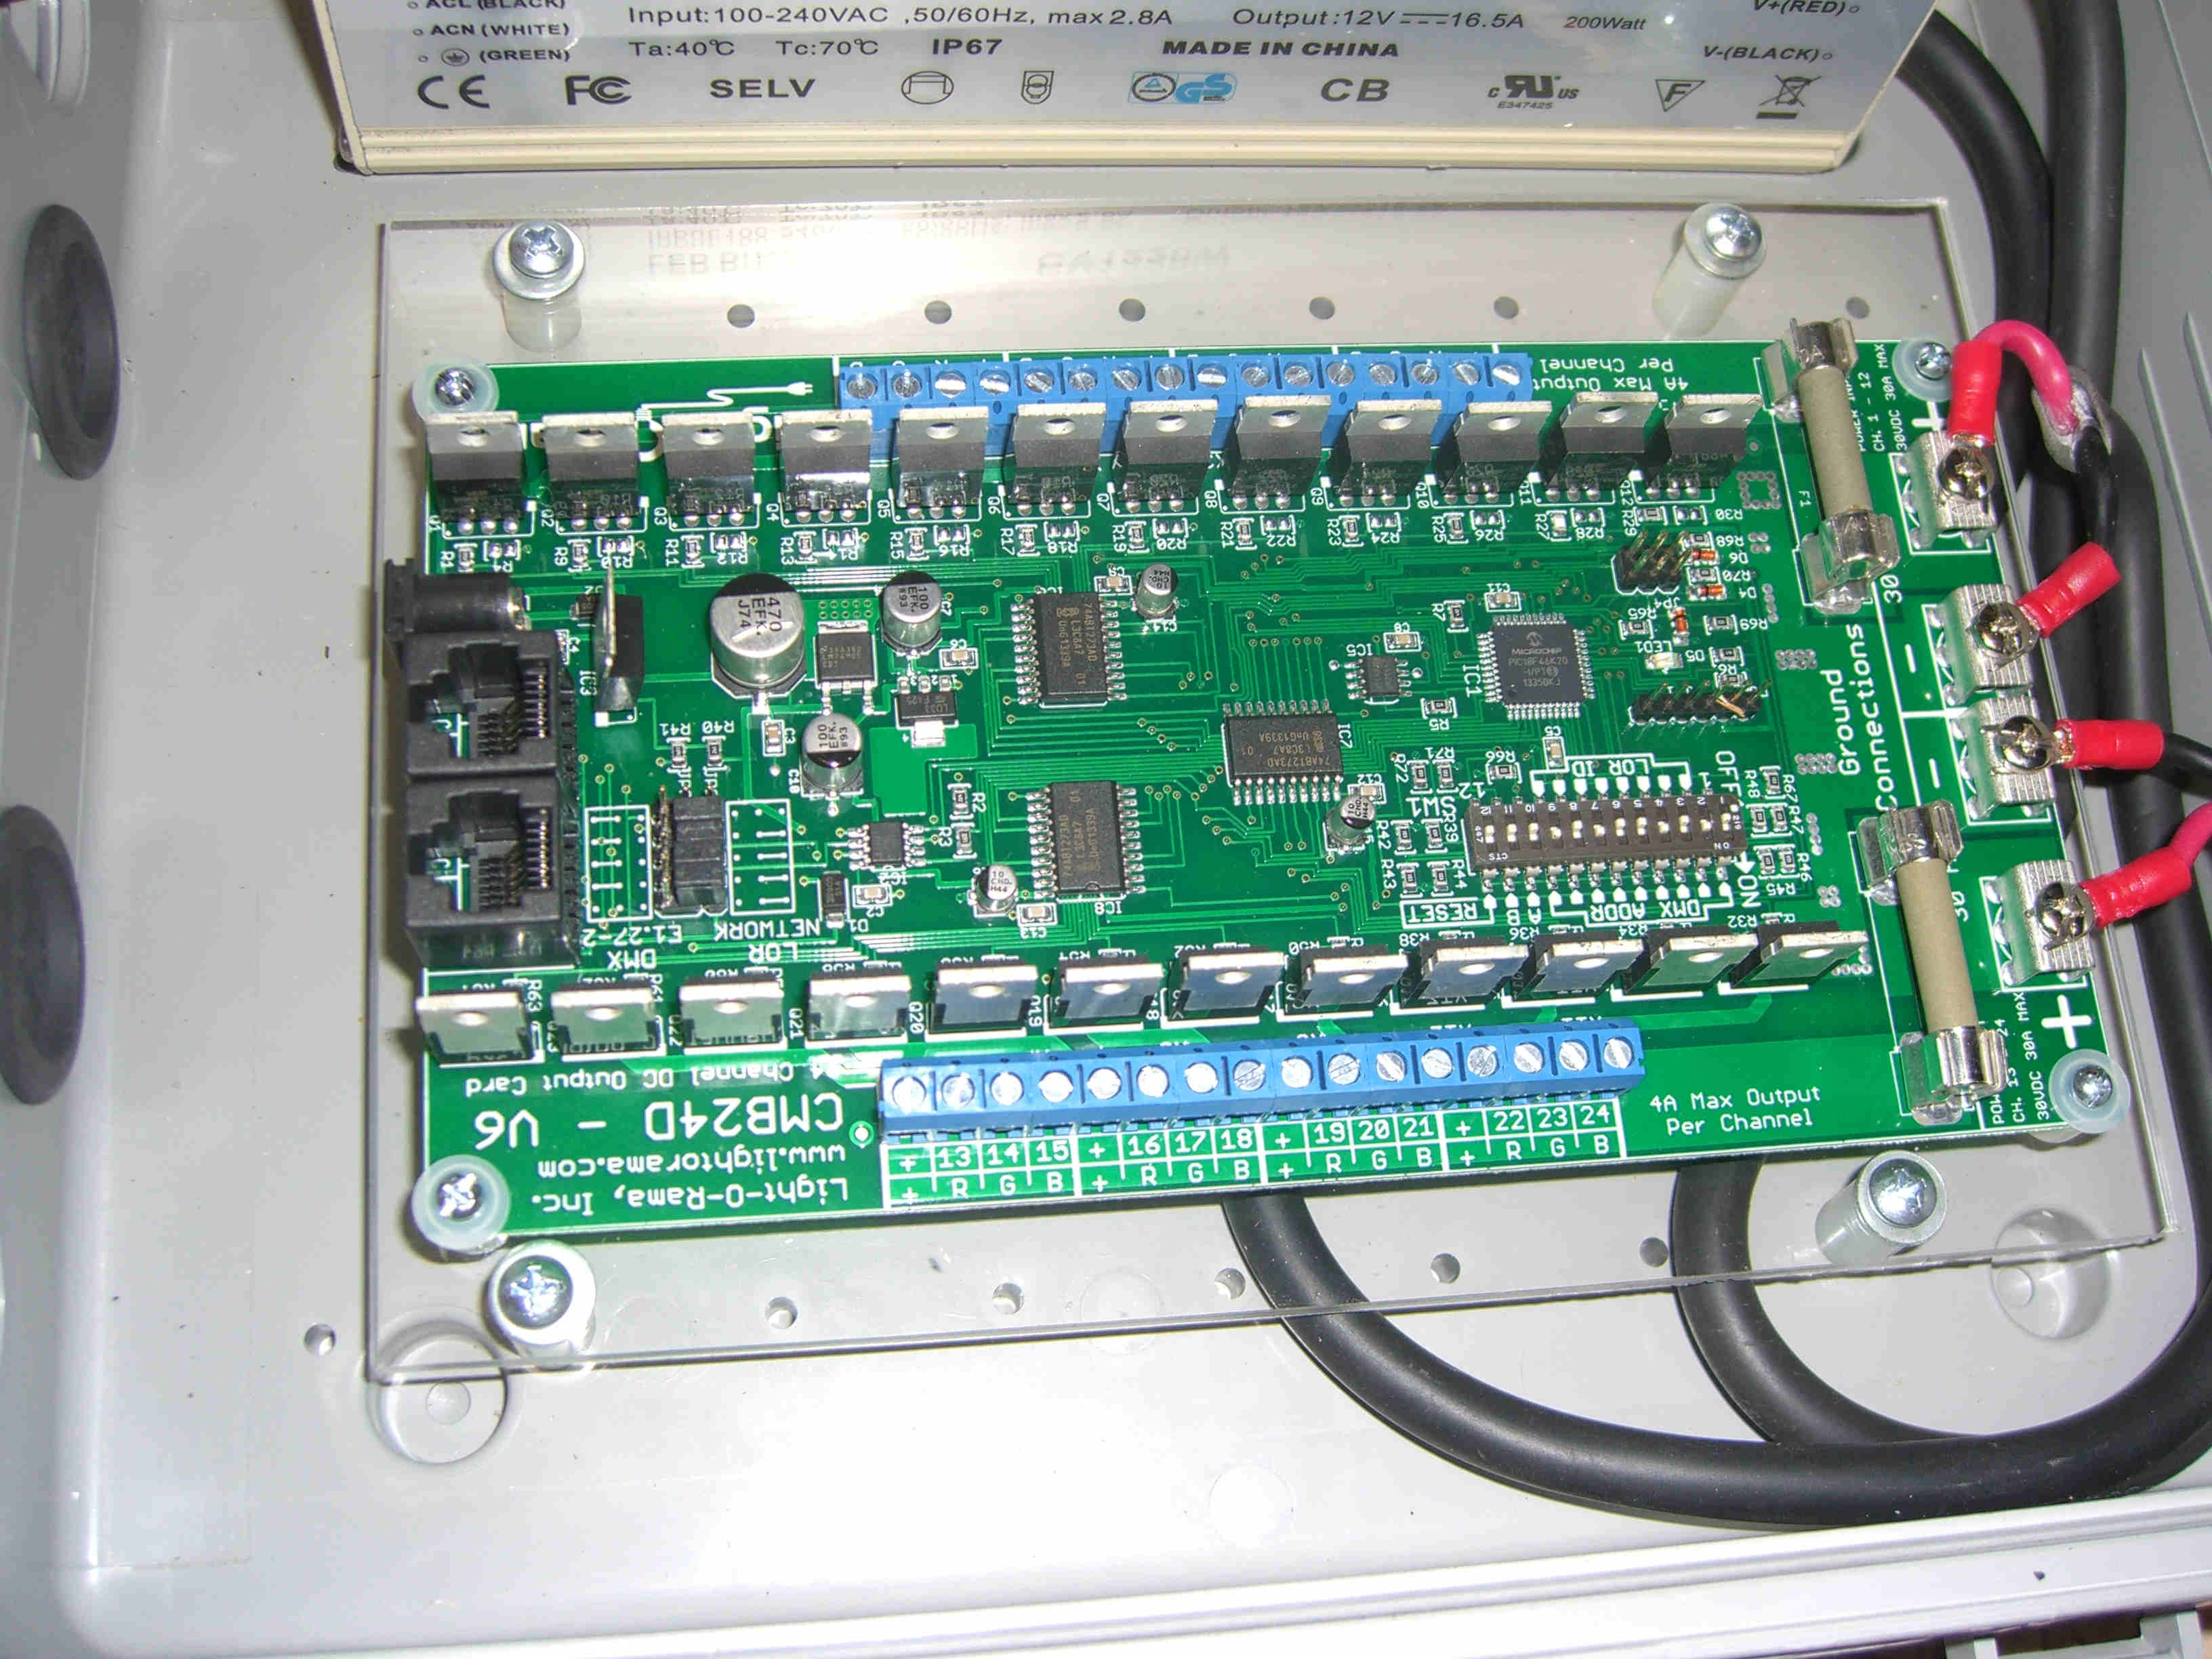
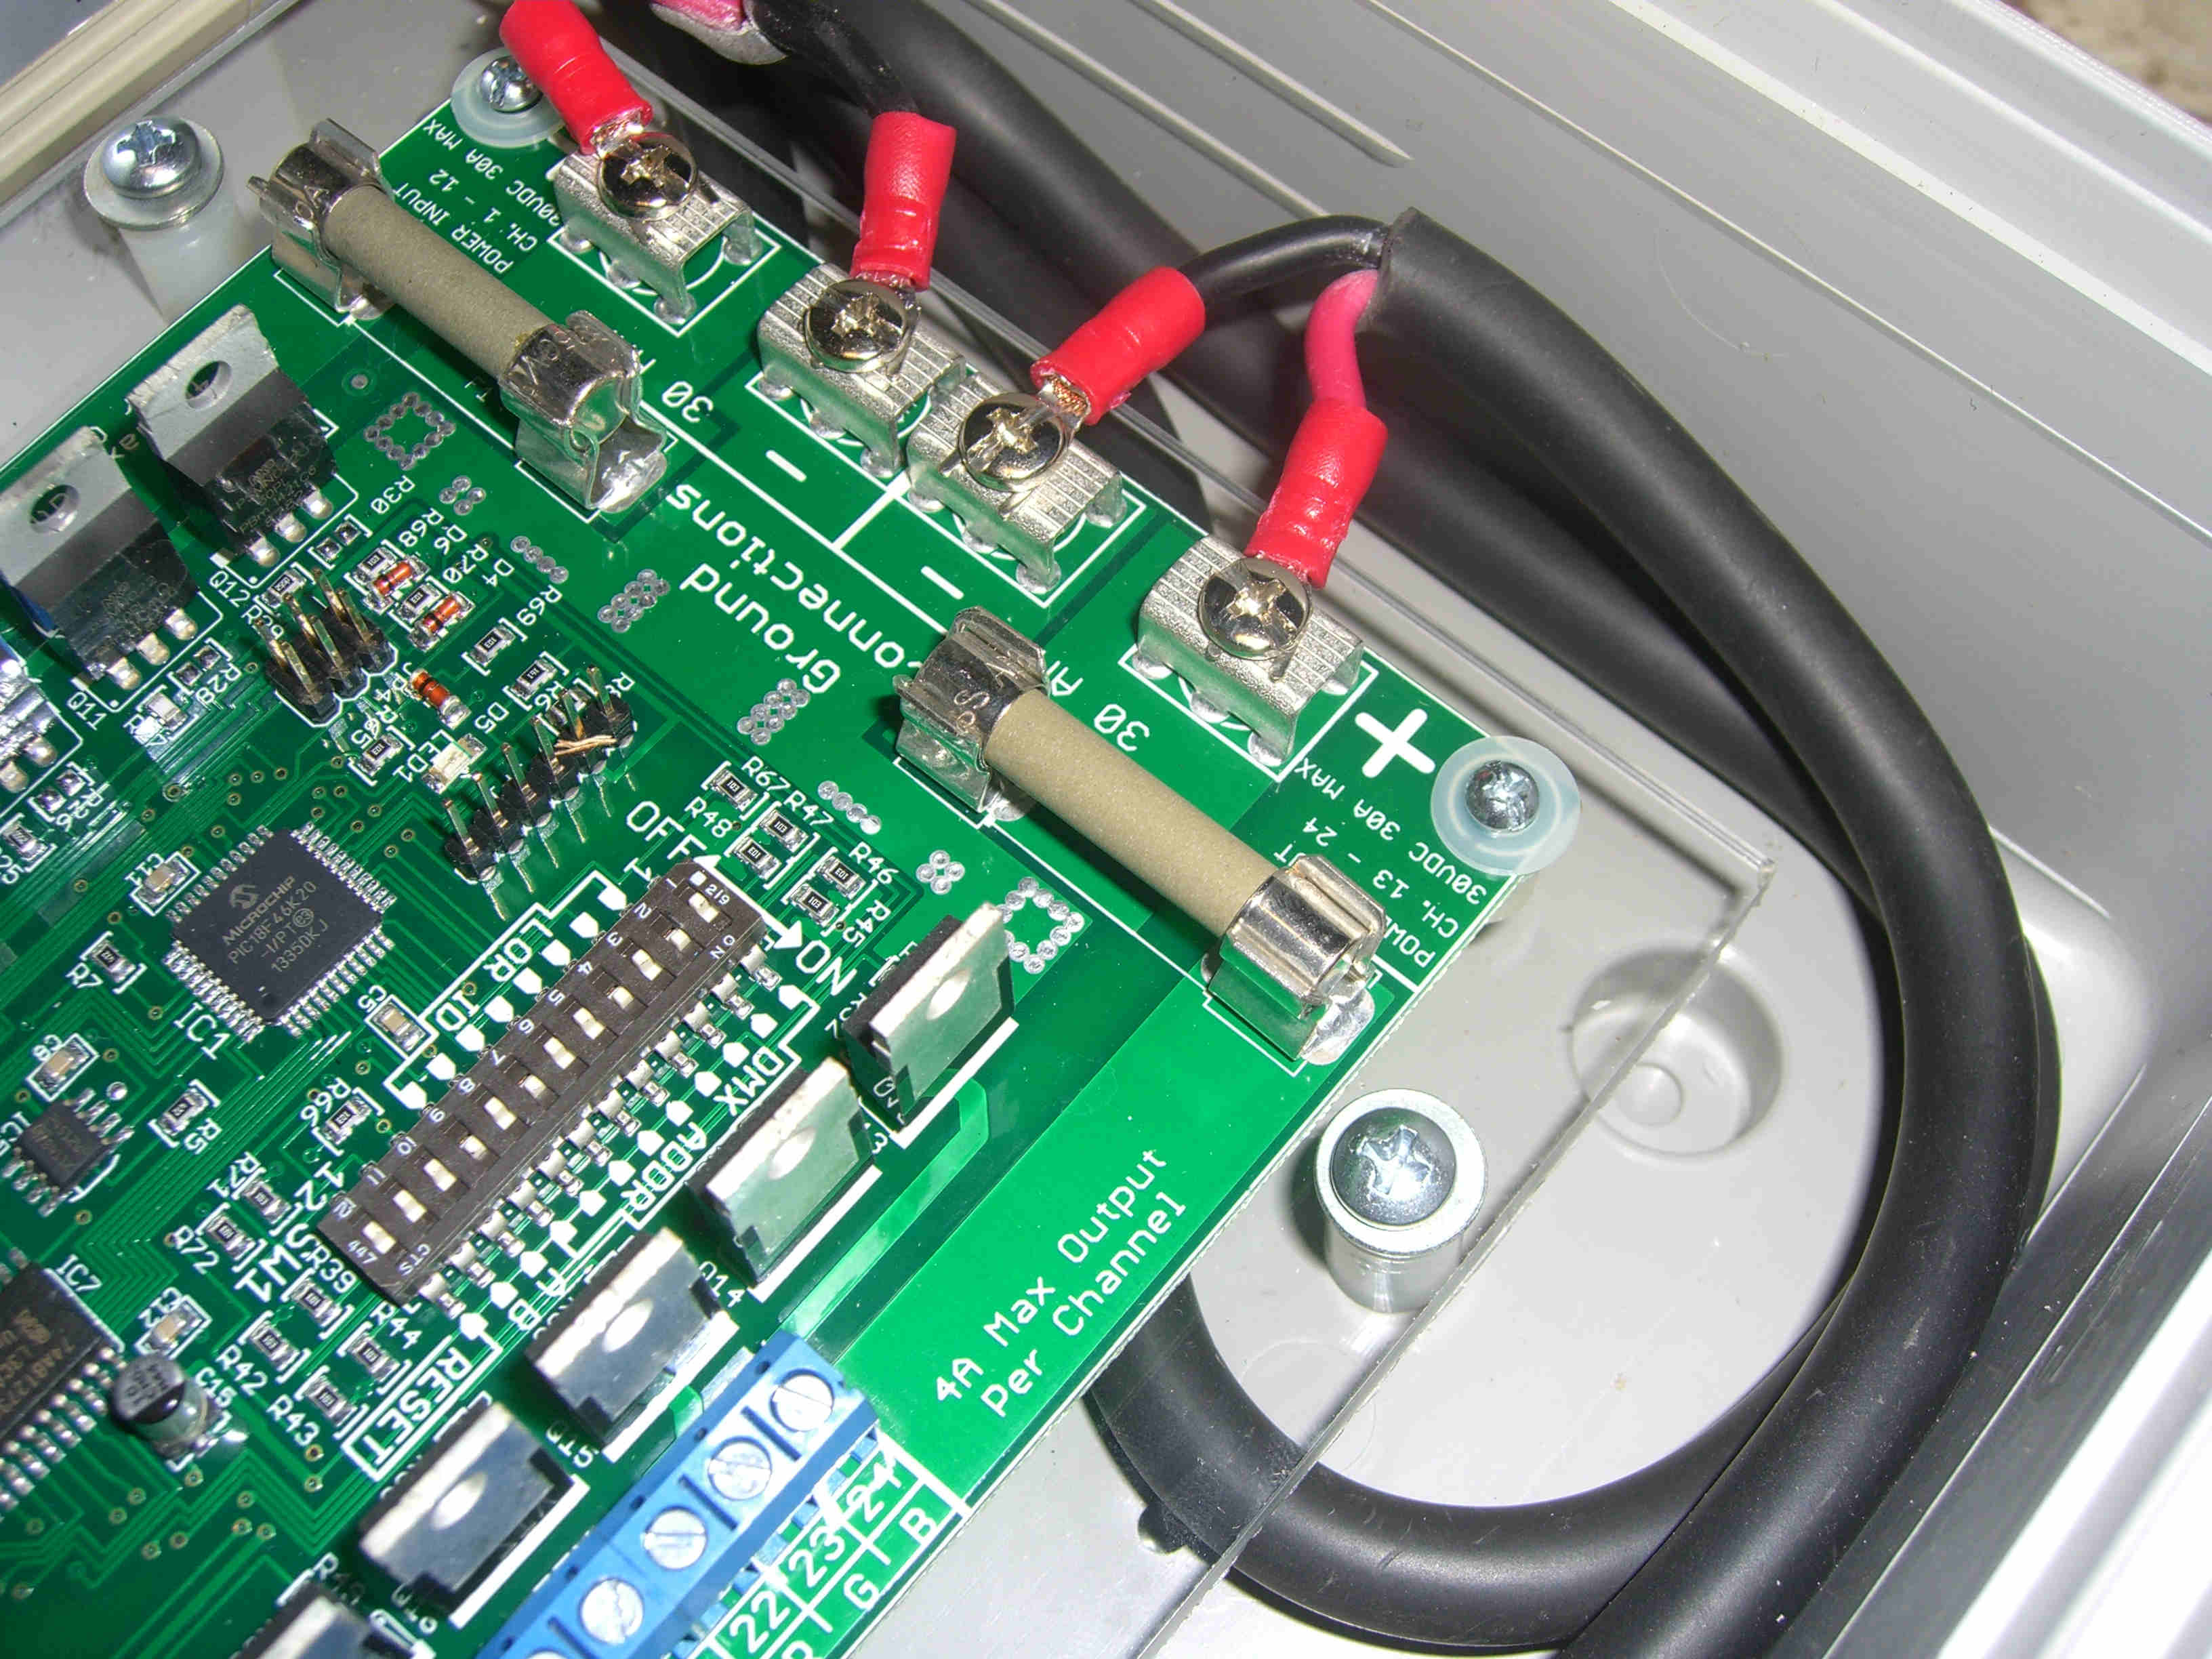
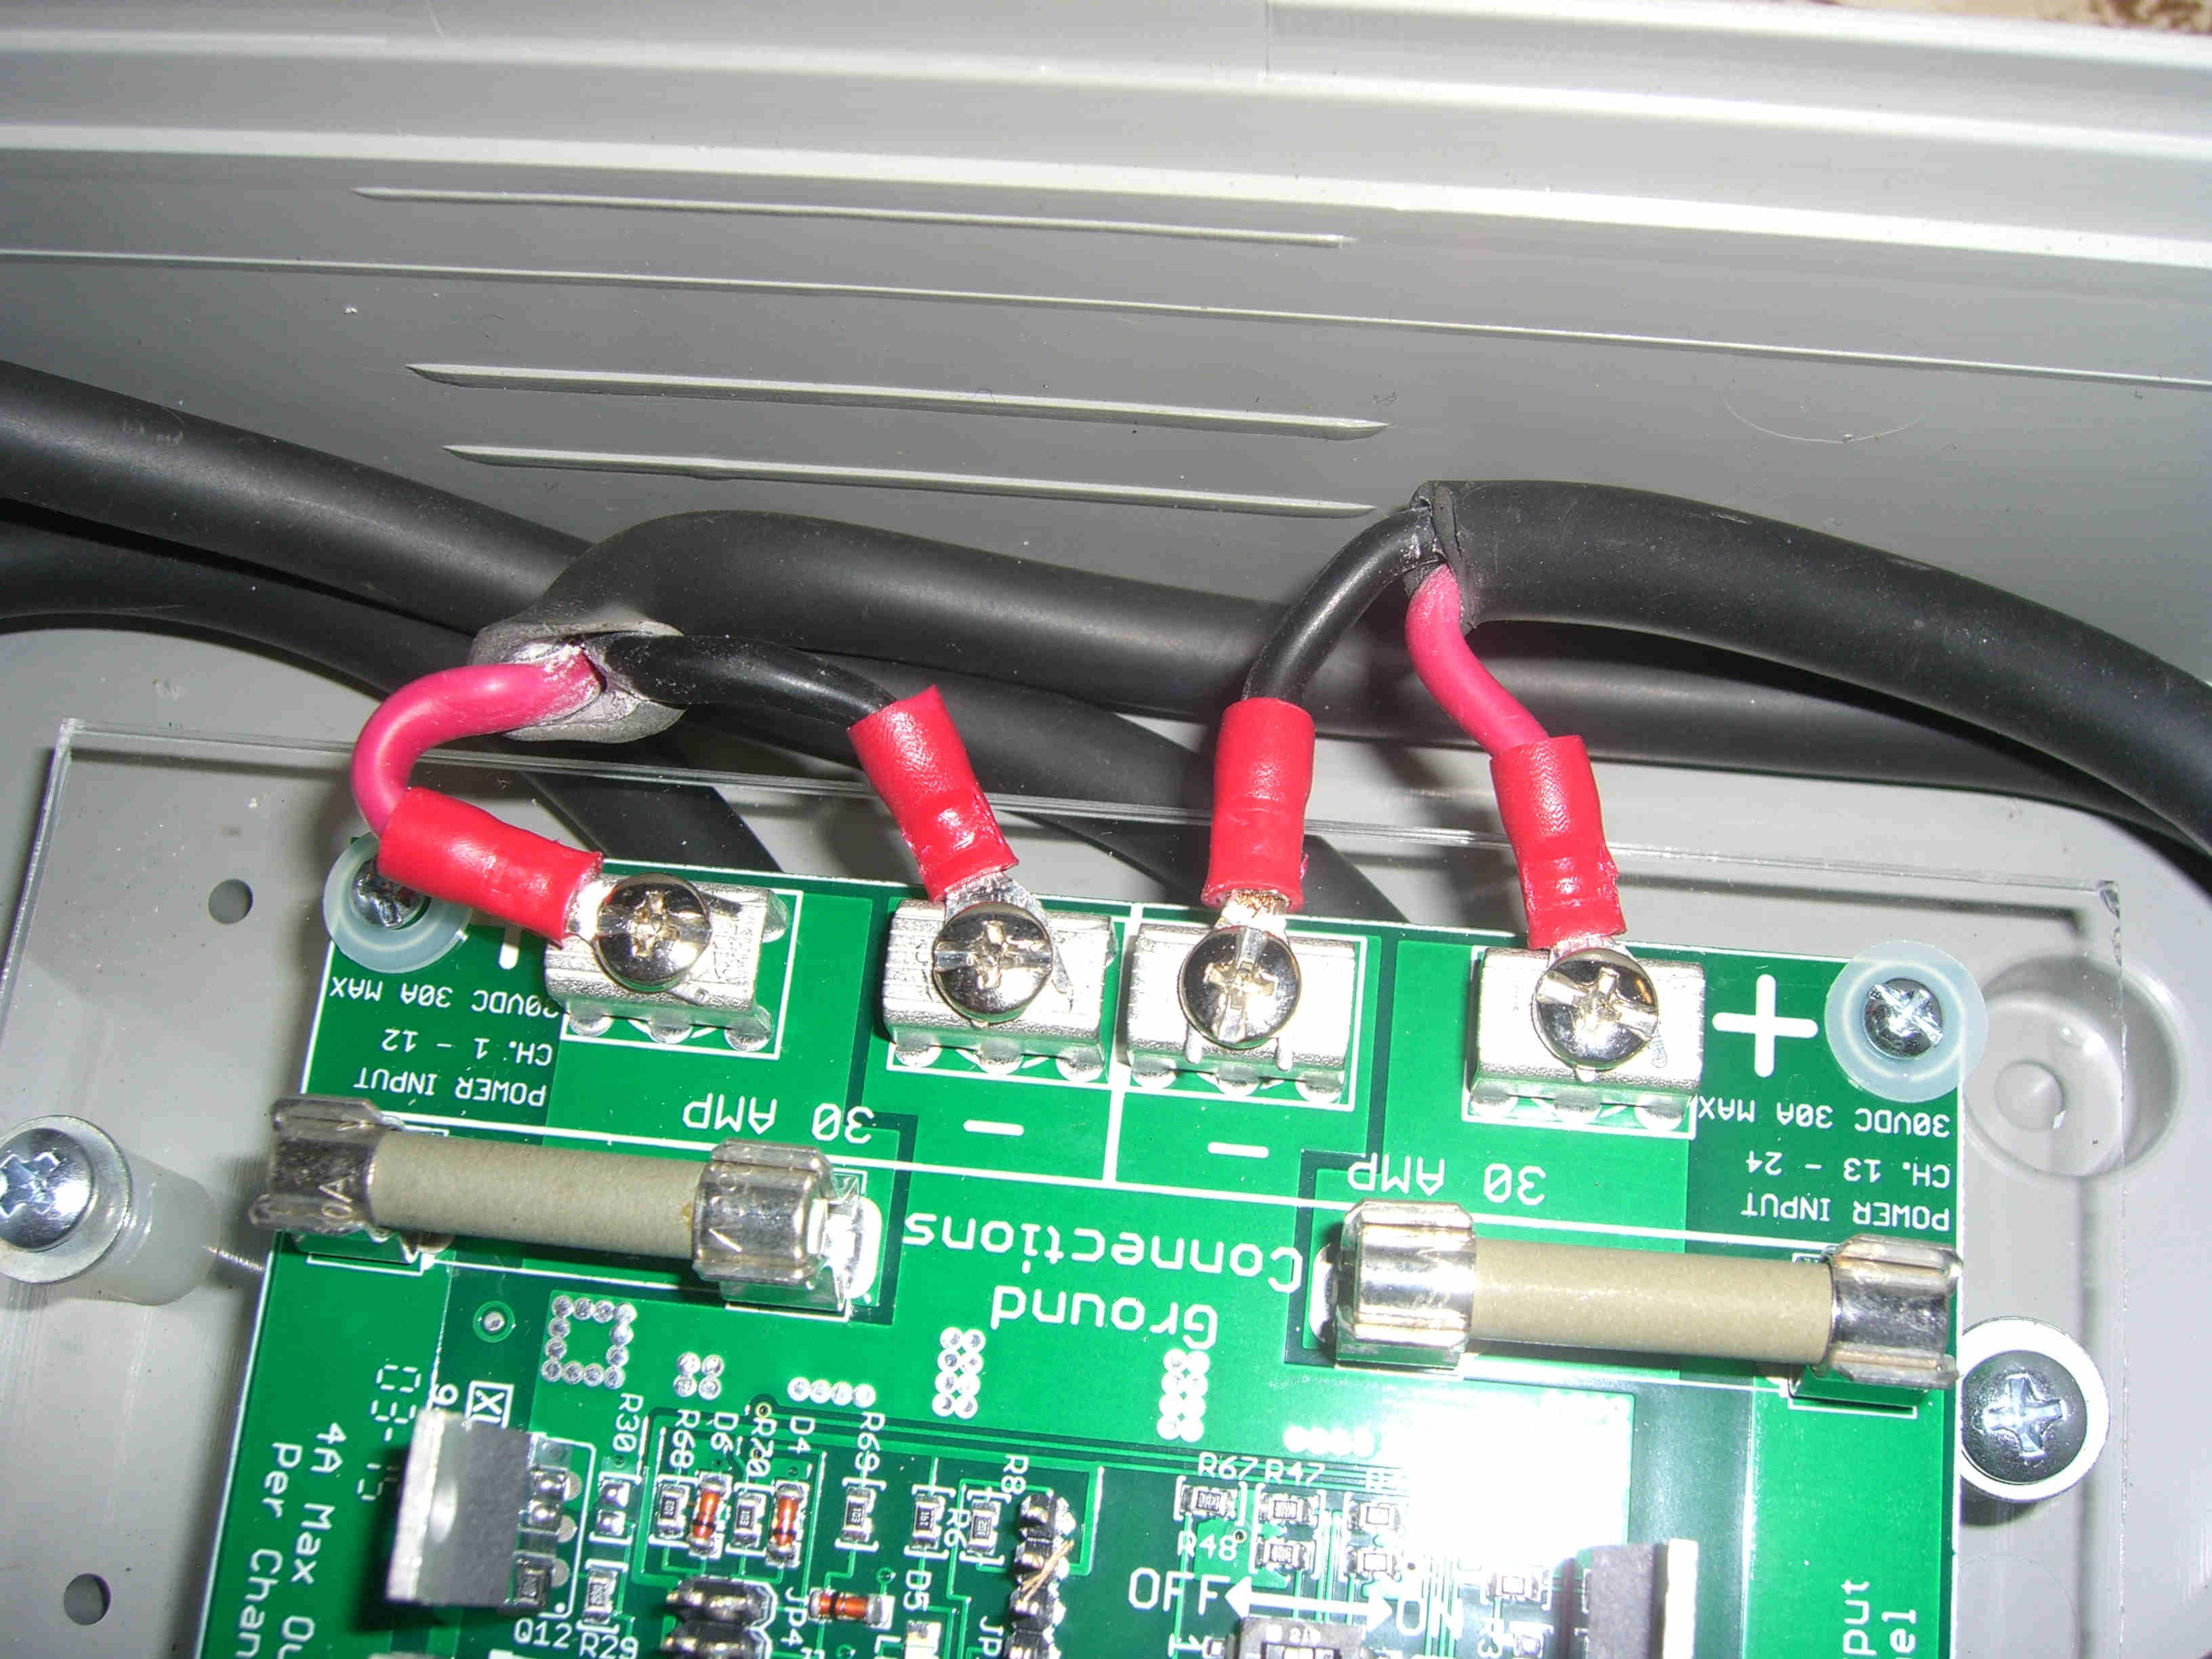
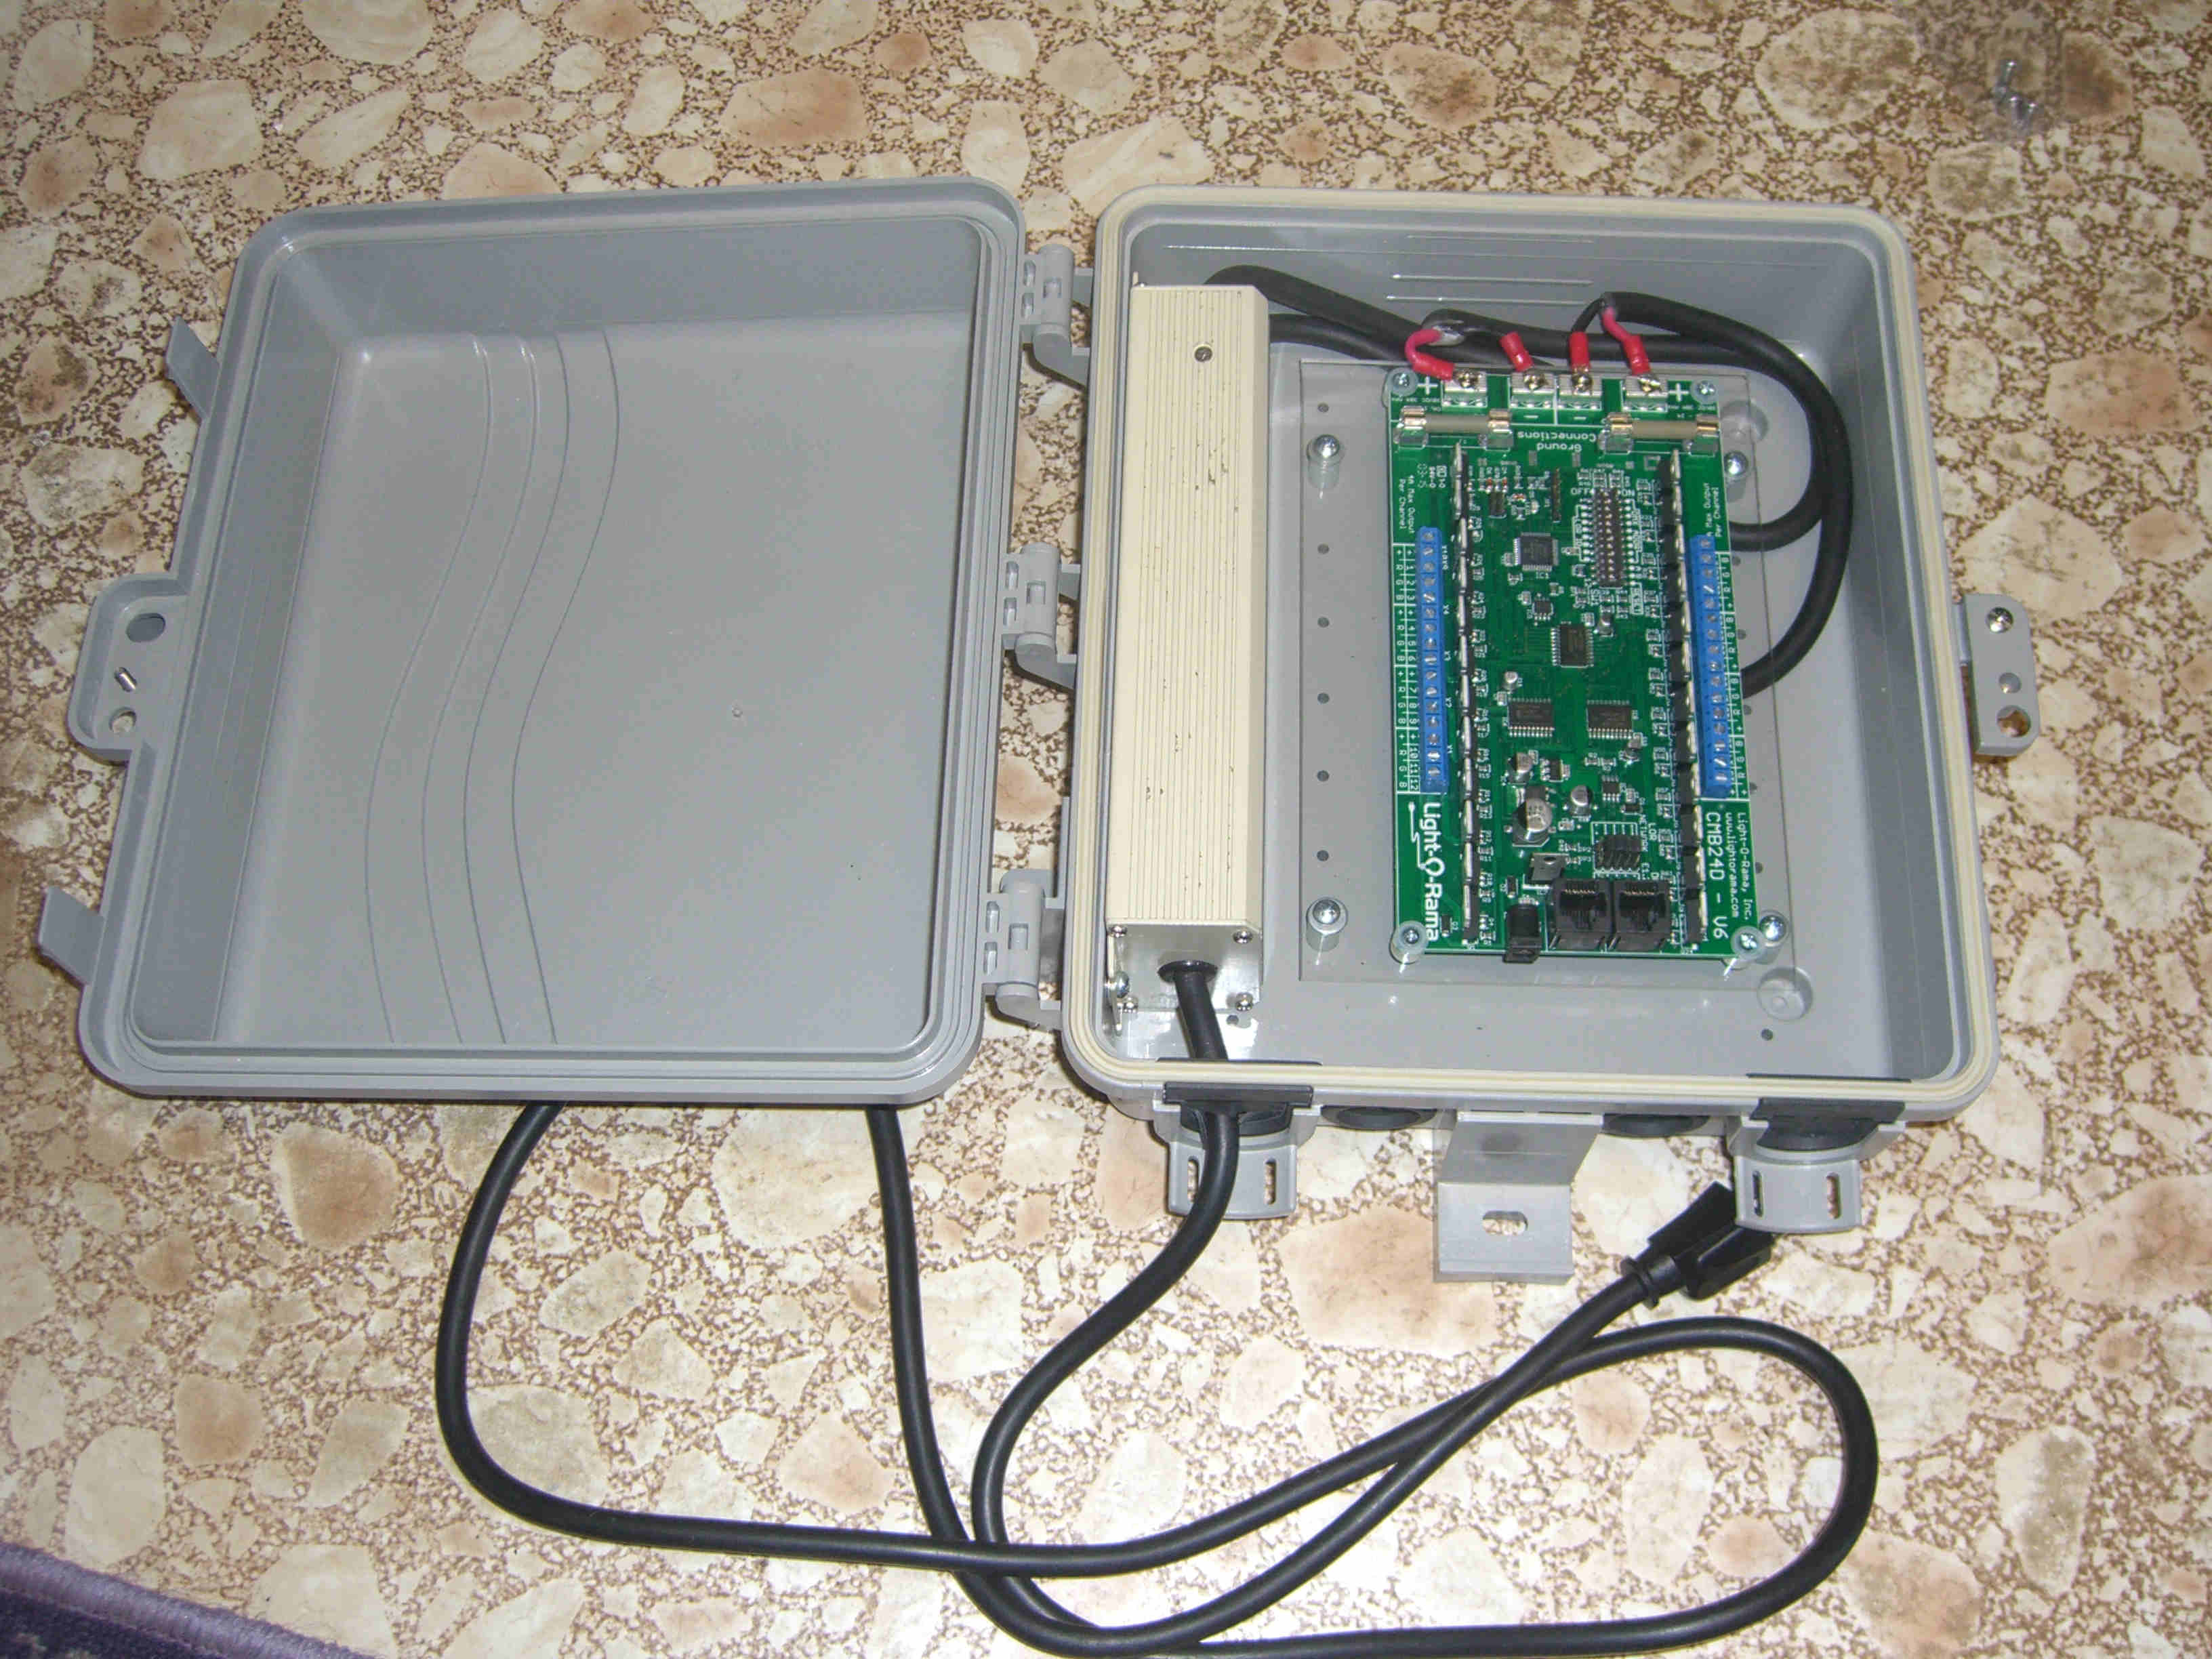
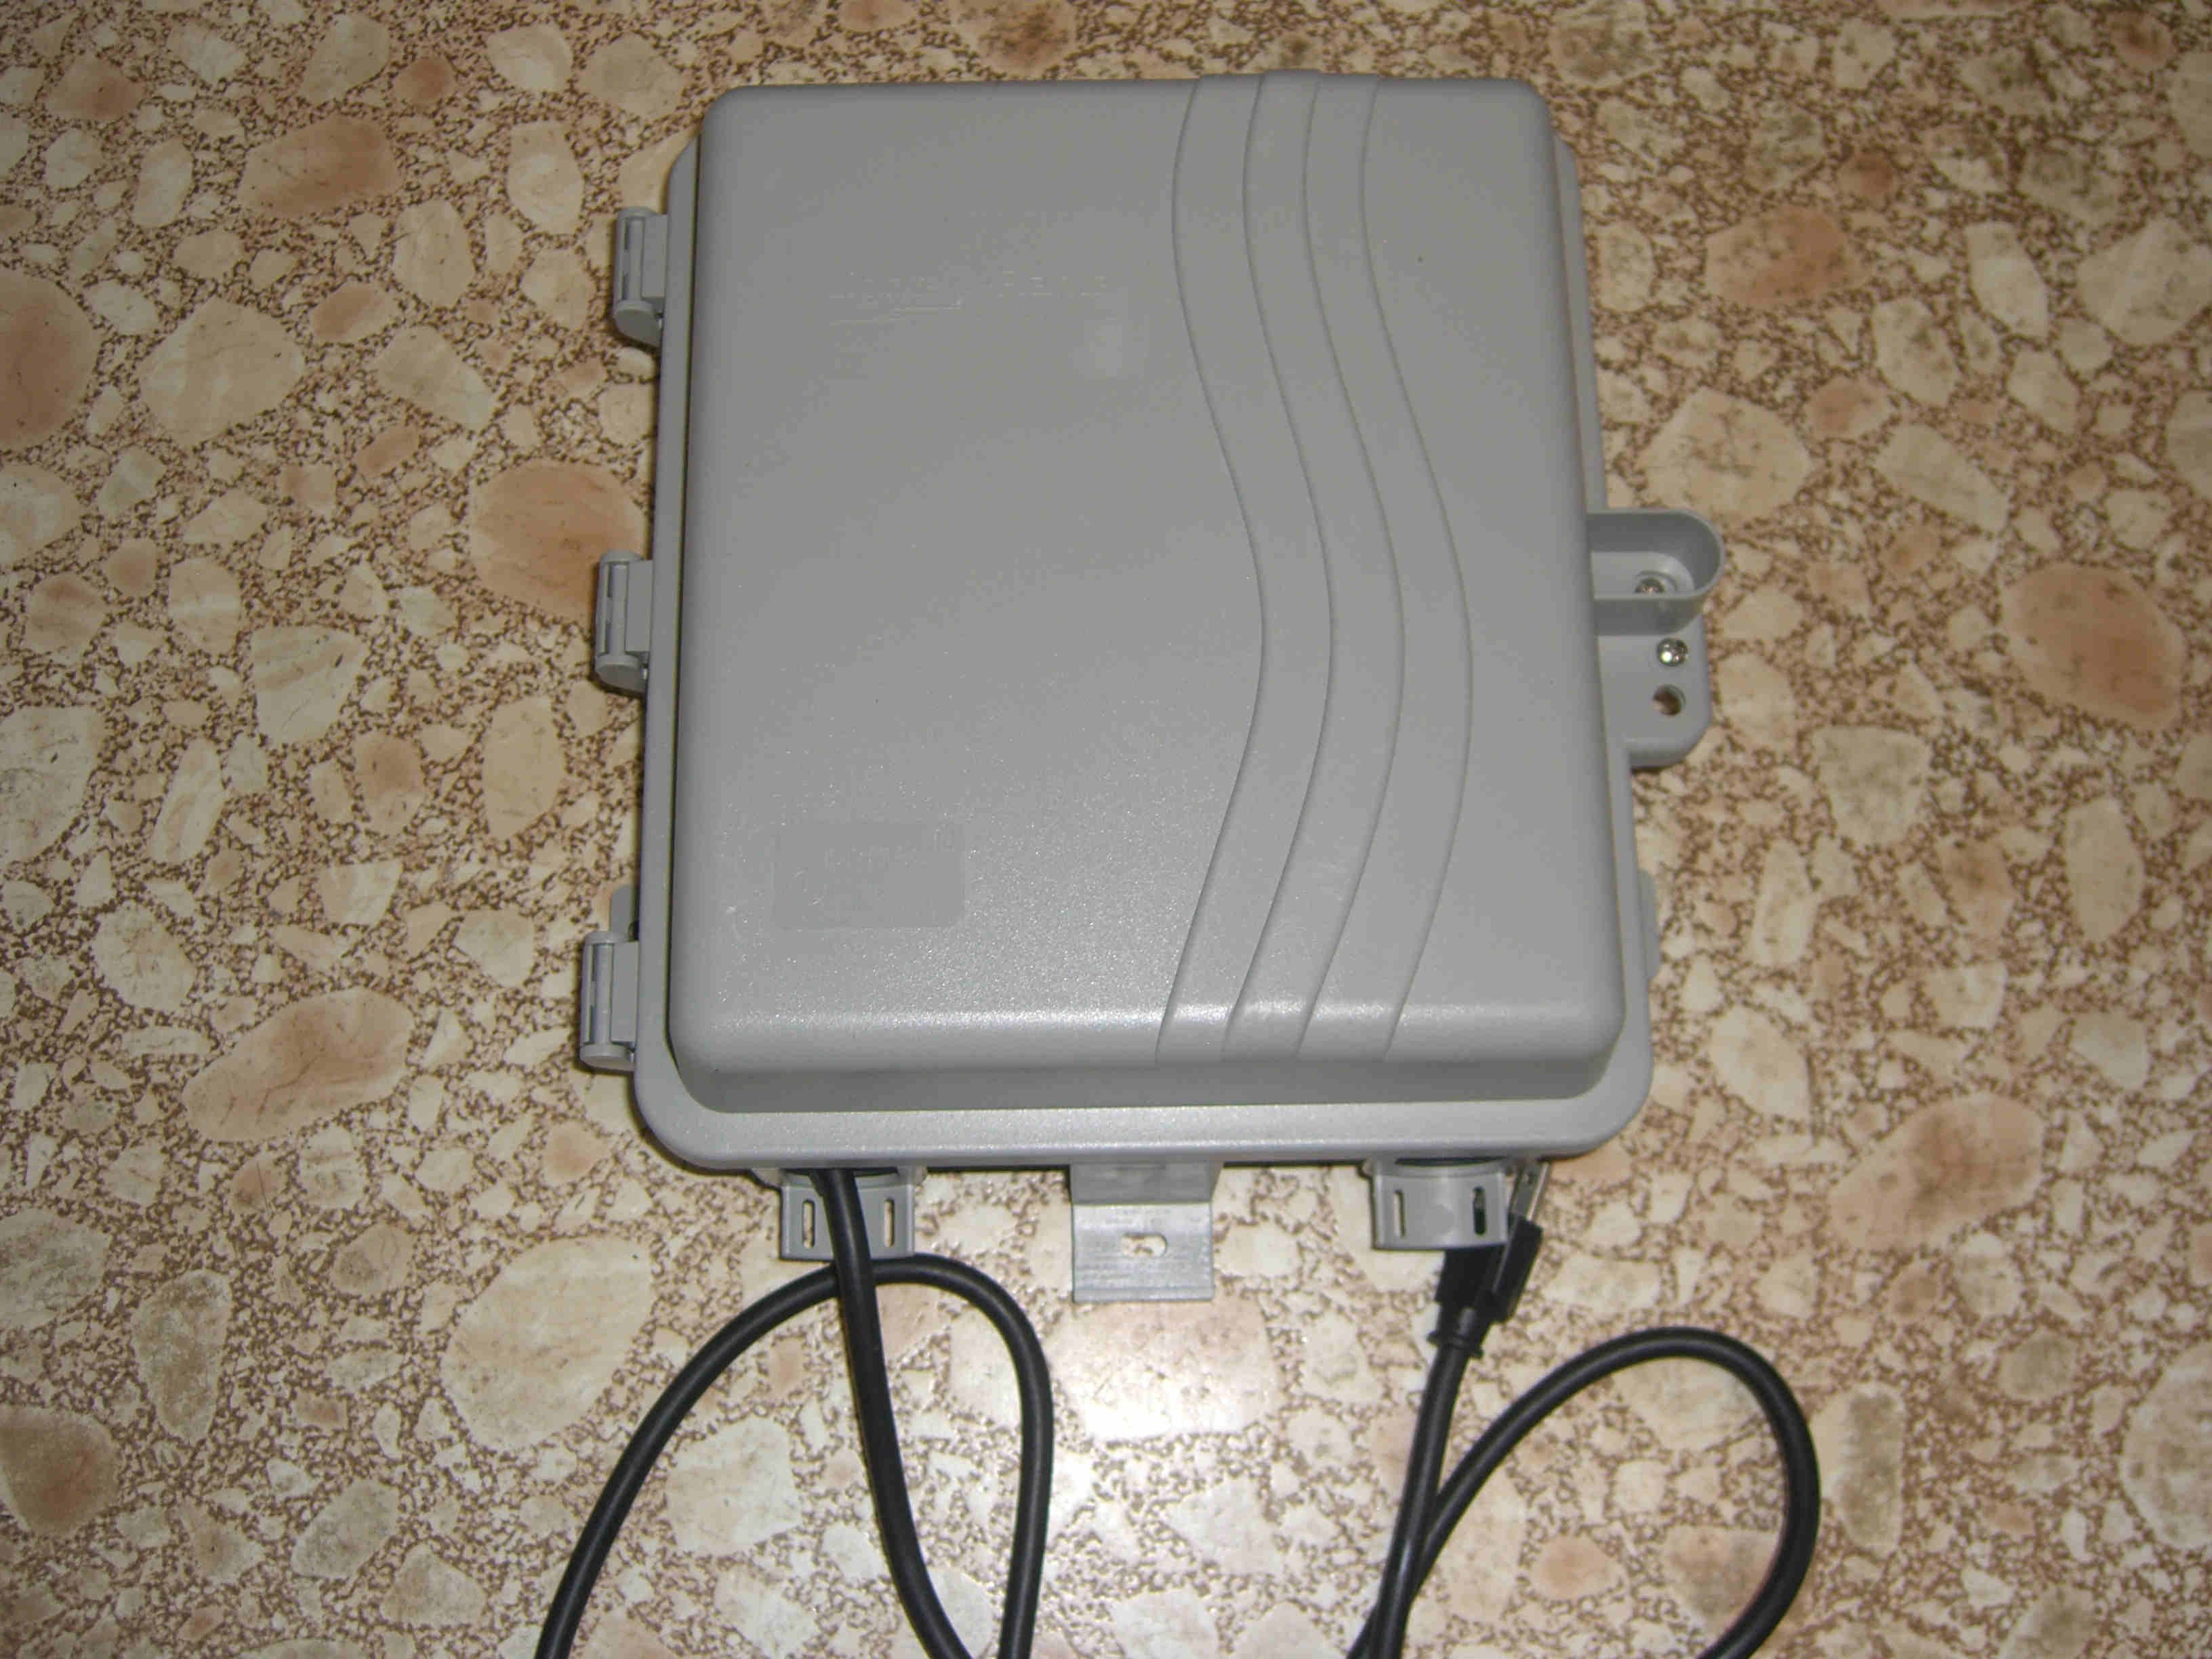
Unless you purchase the package deal with the RGB controller already mounted in a box you will need to do something to protect it. If you decide to protect it yourself here are the instructions and parts list you will need. The box will cost about $24.00 and the parts will cost about $10 from Lowes. The power supply will cost about $70 and the controller card is about $110 so for the total DIY package you will spend about $214. Then you will need RGB 10 watt floods or RGB strips to complete the set-up. Once you have done the first one the others will take about an hour a piece to complete. The parts used for each box was 1 - PC-Enclosure, 1 - power supply (PS-LED-12V-200W), 1 - controller card (CMB24D), 1 - 5.5" x 8" (2mm thick) acrylic sheet, 4 - 3/8" x .171" x 1/4" nylon spacers, 4 - 3/8" x .171" x 1/2" nylon spacers, 4 - #6 nylon flat washer, 4 - #4 40 x 3/4" machine screws and nuts, 6 - #8 flat washers, 4 - #8 1" metal screws, and 2 - #8 32 x 1/2" machine screws and nuts. The template was made the size of the acrylic sheet with the holes for mounting to the box and the holes for mounting the card to the acrylic sheet marked. This template was laid on top of the acrylic sheet and the holes marked and drilled. A 5/32" drill bit for all the holes was used. (Note: Drill a very small starter hole then use the 5/32" drill bit to enlarge the hole. Drill very slowly and be very careful so as not to crack or break the acrylic sheet.) Place the power supply inside box so as the hole on each end lines up in the middle of the top and bottom hinge. Mark and drill a 5/32" hole for each of the two screws. Using the 2 - #8 32 x 1/2" machine screws and nuts along with two flat washers attach the power supply to the box. Place power supply with the power cord pointing to the bottom of the box. (Note: For the door to close properly you will need to place the washer between the box and the power supply.) Tighten the machine screw so the power supply is tight. Mount the controller card to the acrylic sheet using the 4 - #4 40 x 3/4" machine screws and nuts, and 4 - #6 nylon flat washers. The order from top is the #4 machine screw, nylon washer, controller card, acrylic sheet, and nut. Tighten but do not over tighten. Mount the acrylic sheet and controller card to the box using 4 - #8 1" metal screws, and 4 #8 washers. The order from top should be #8 metal screw, #8 flat washer, and then the acrylic sheet. Tighten into corresponding holes. (Note: Screw the screws all the way through the acrylic sheet until the hole is stripped out and the screw turns easily. Do this slowly so that the acrylic sheet does not crack or break.) Carefully thread the two cords from the power supply under the acrylic sheet and back around to the connections. Connect to the proper screws on controller card. Cut slit in black rubber and push power cord through then place back in hole in box. Place the gasket around the grove in box and press down. Check to make sure the door closes. Connect RGB floods or strips to connectors running wires out of box. Connect CAT5 and enjoy.
Click on a picture to enlarge it.
Website Design Mysorefigtree@comcast.net Website Homepage Mysore Fig Tree |