Over The Top Christmas Lights 2016 - Behind the Scenes - Mega Spiral Tree 
|
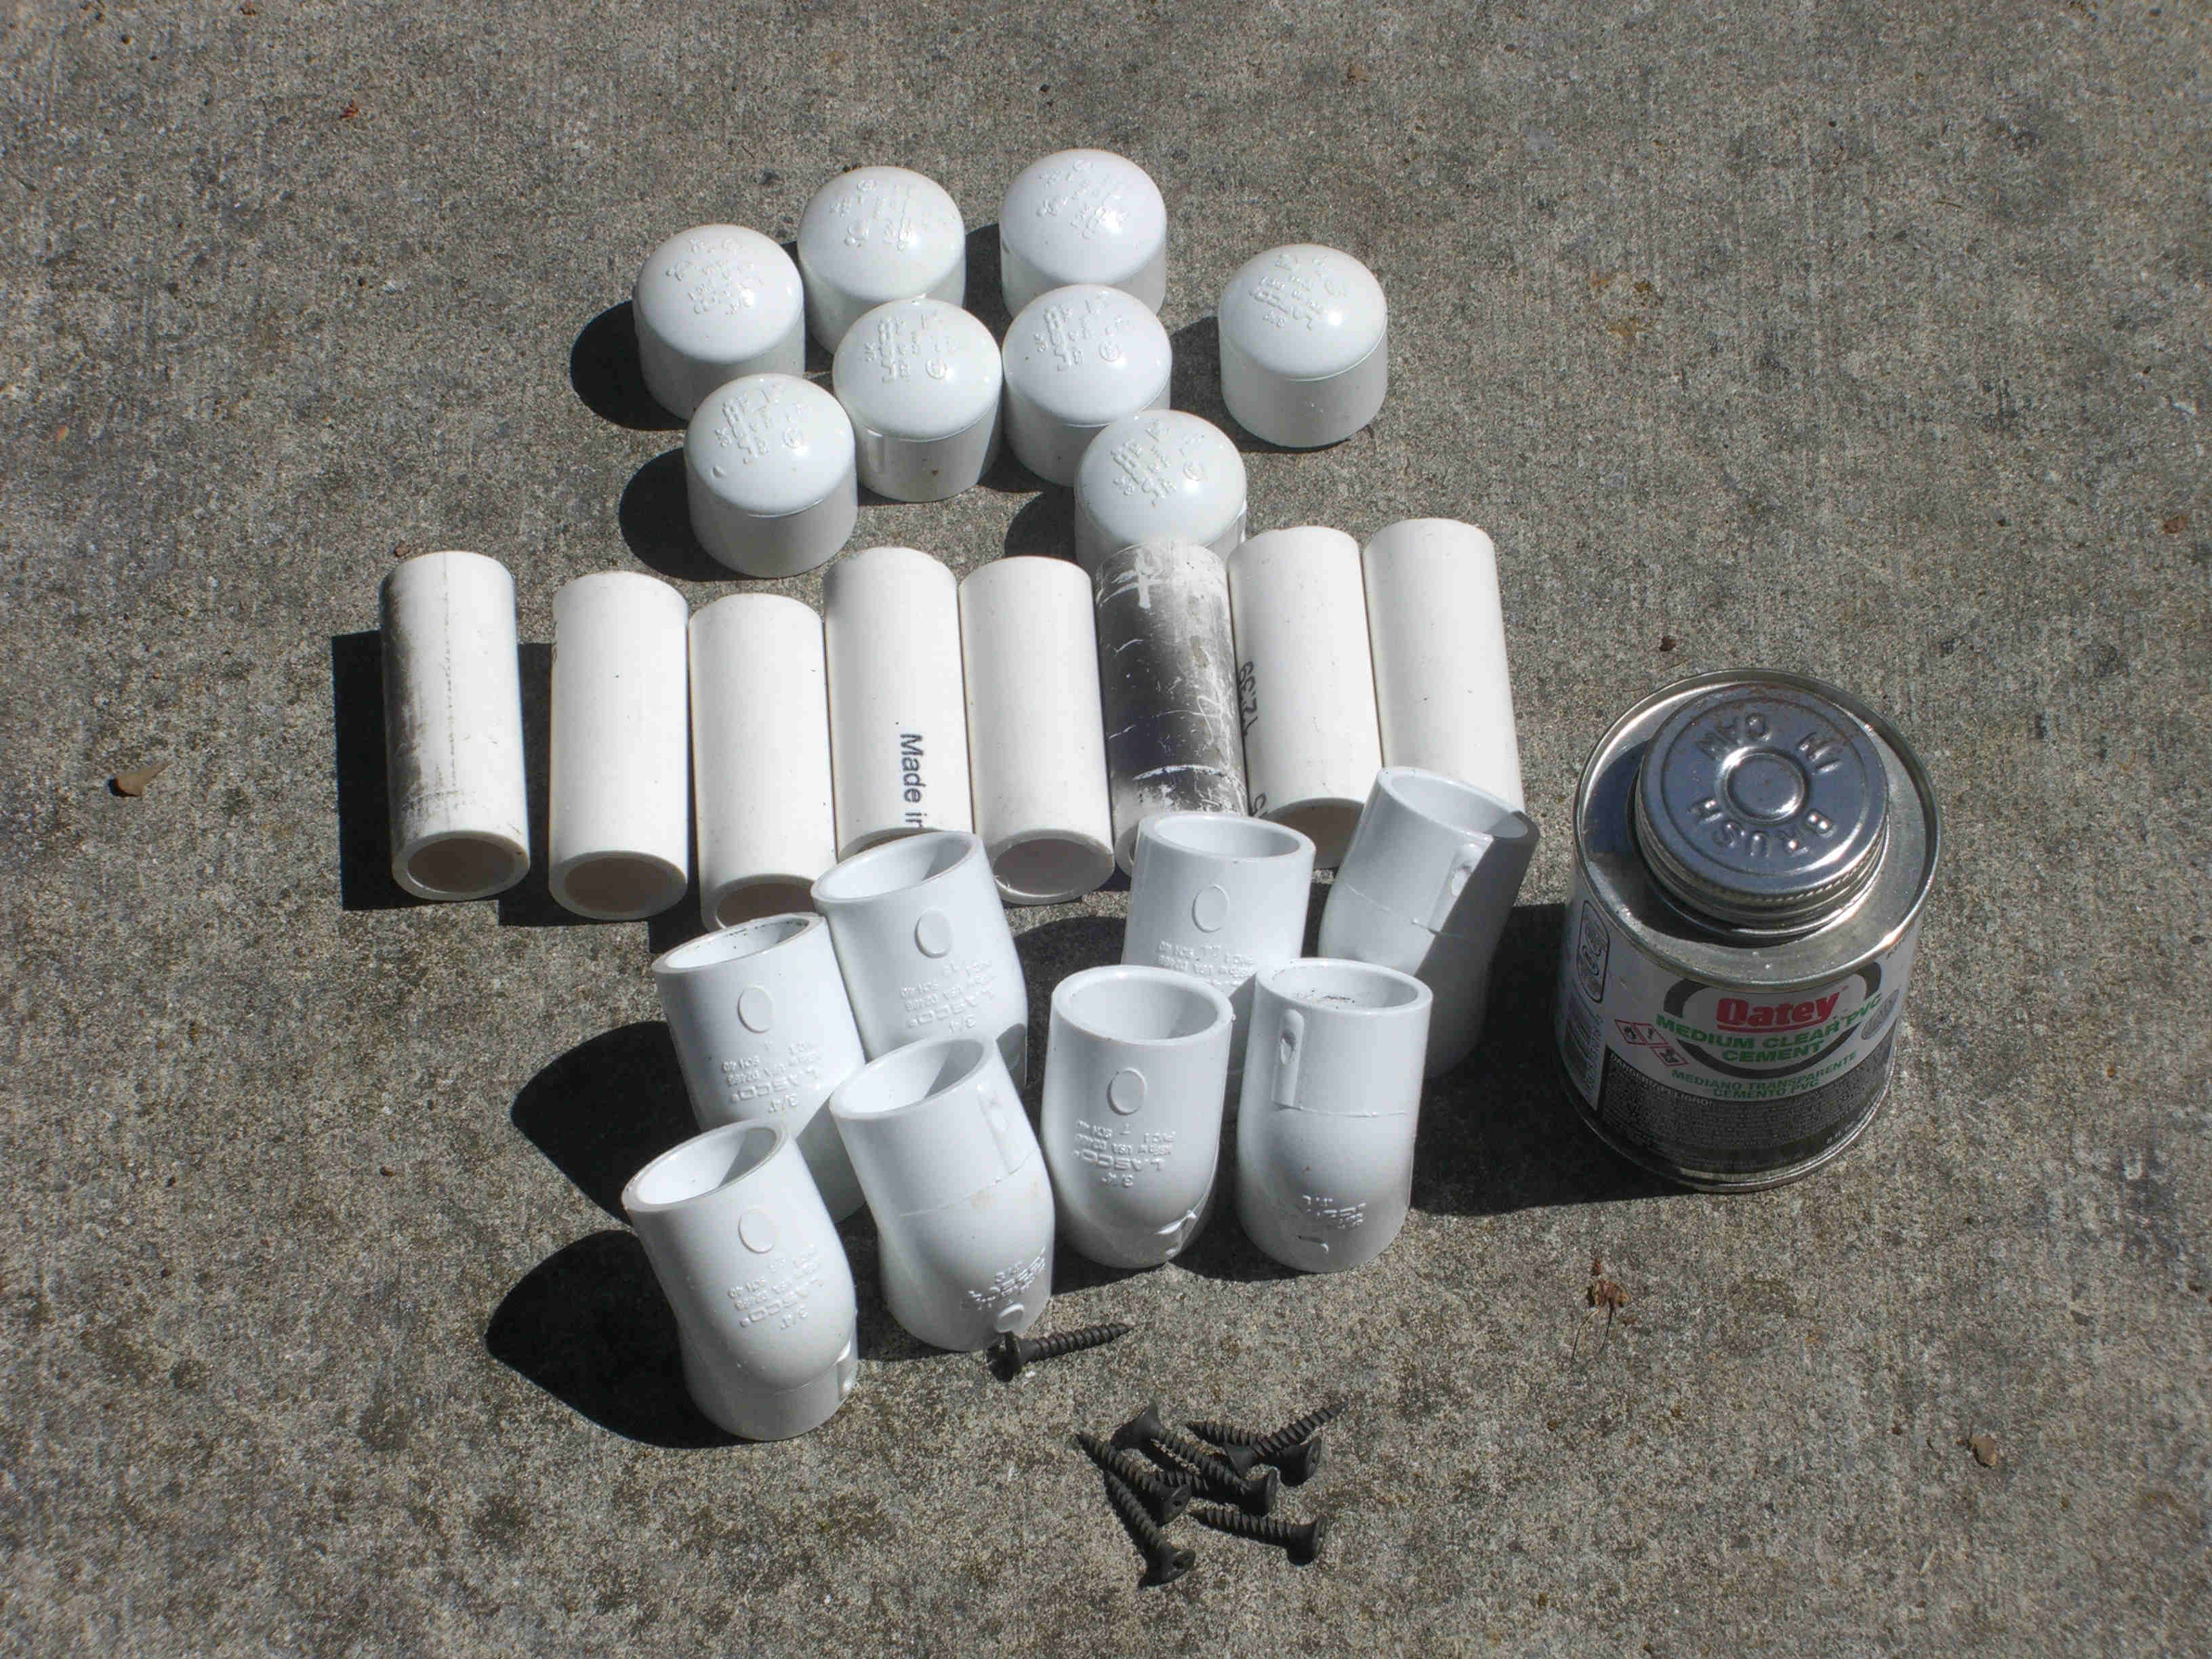
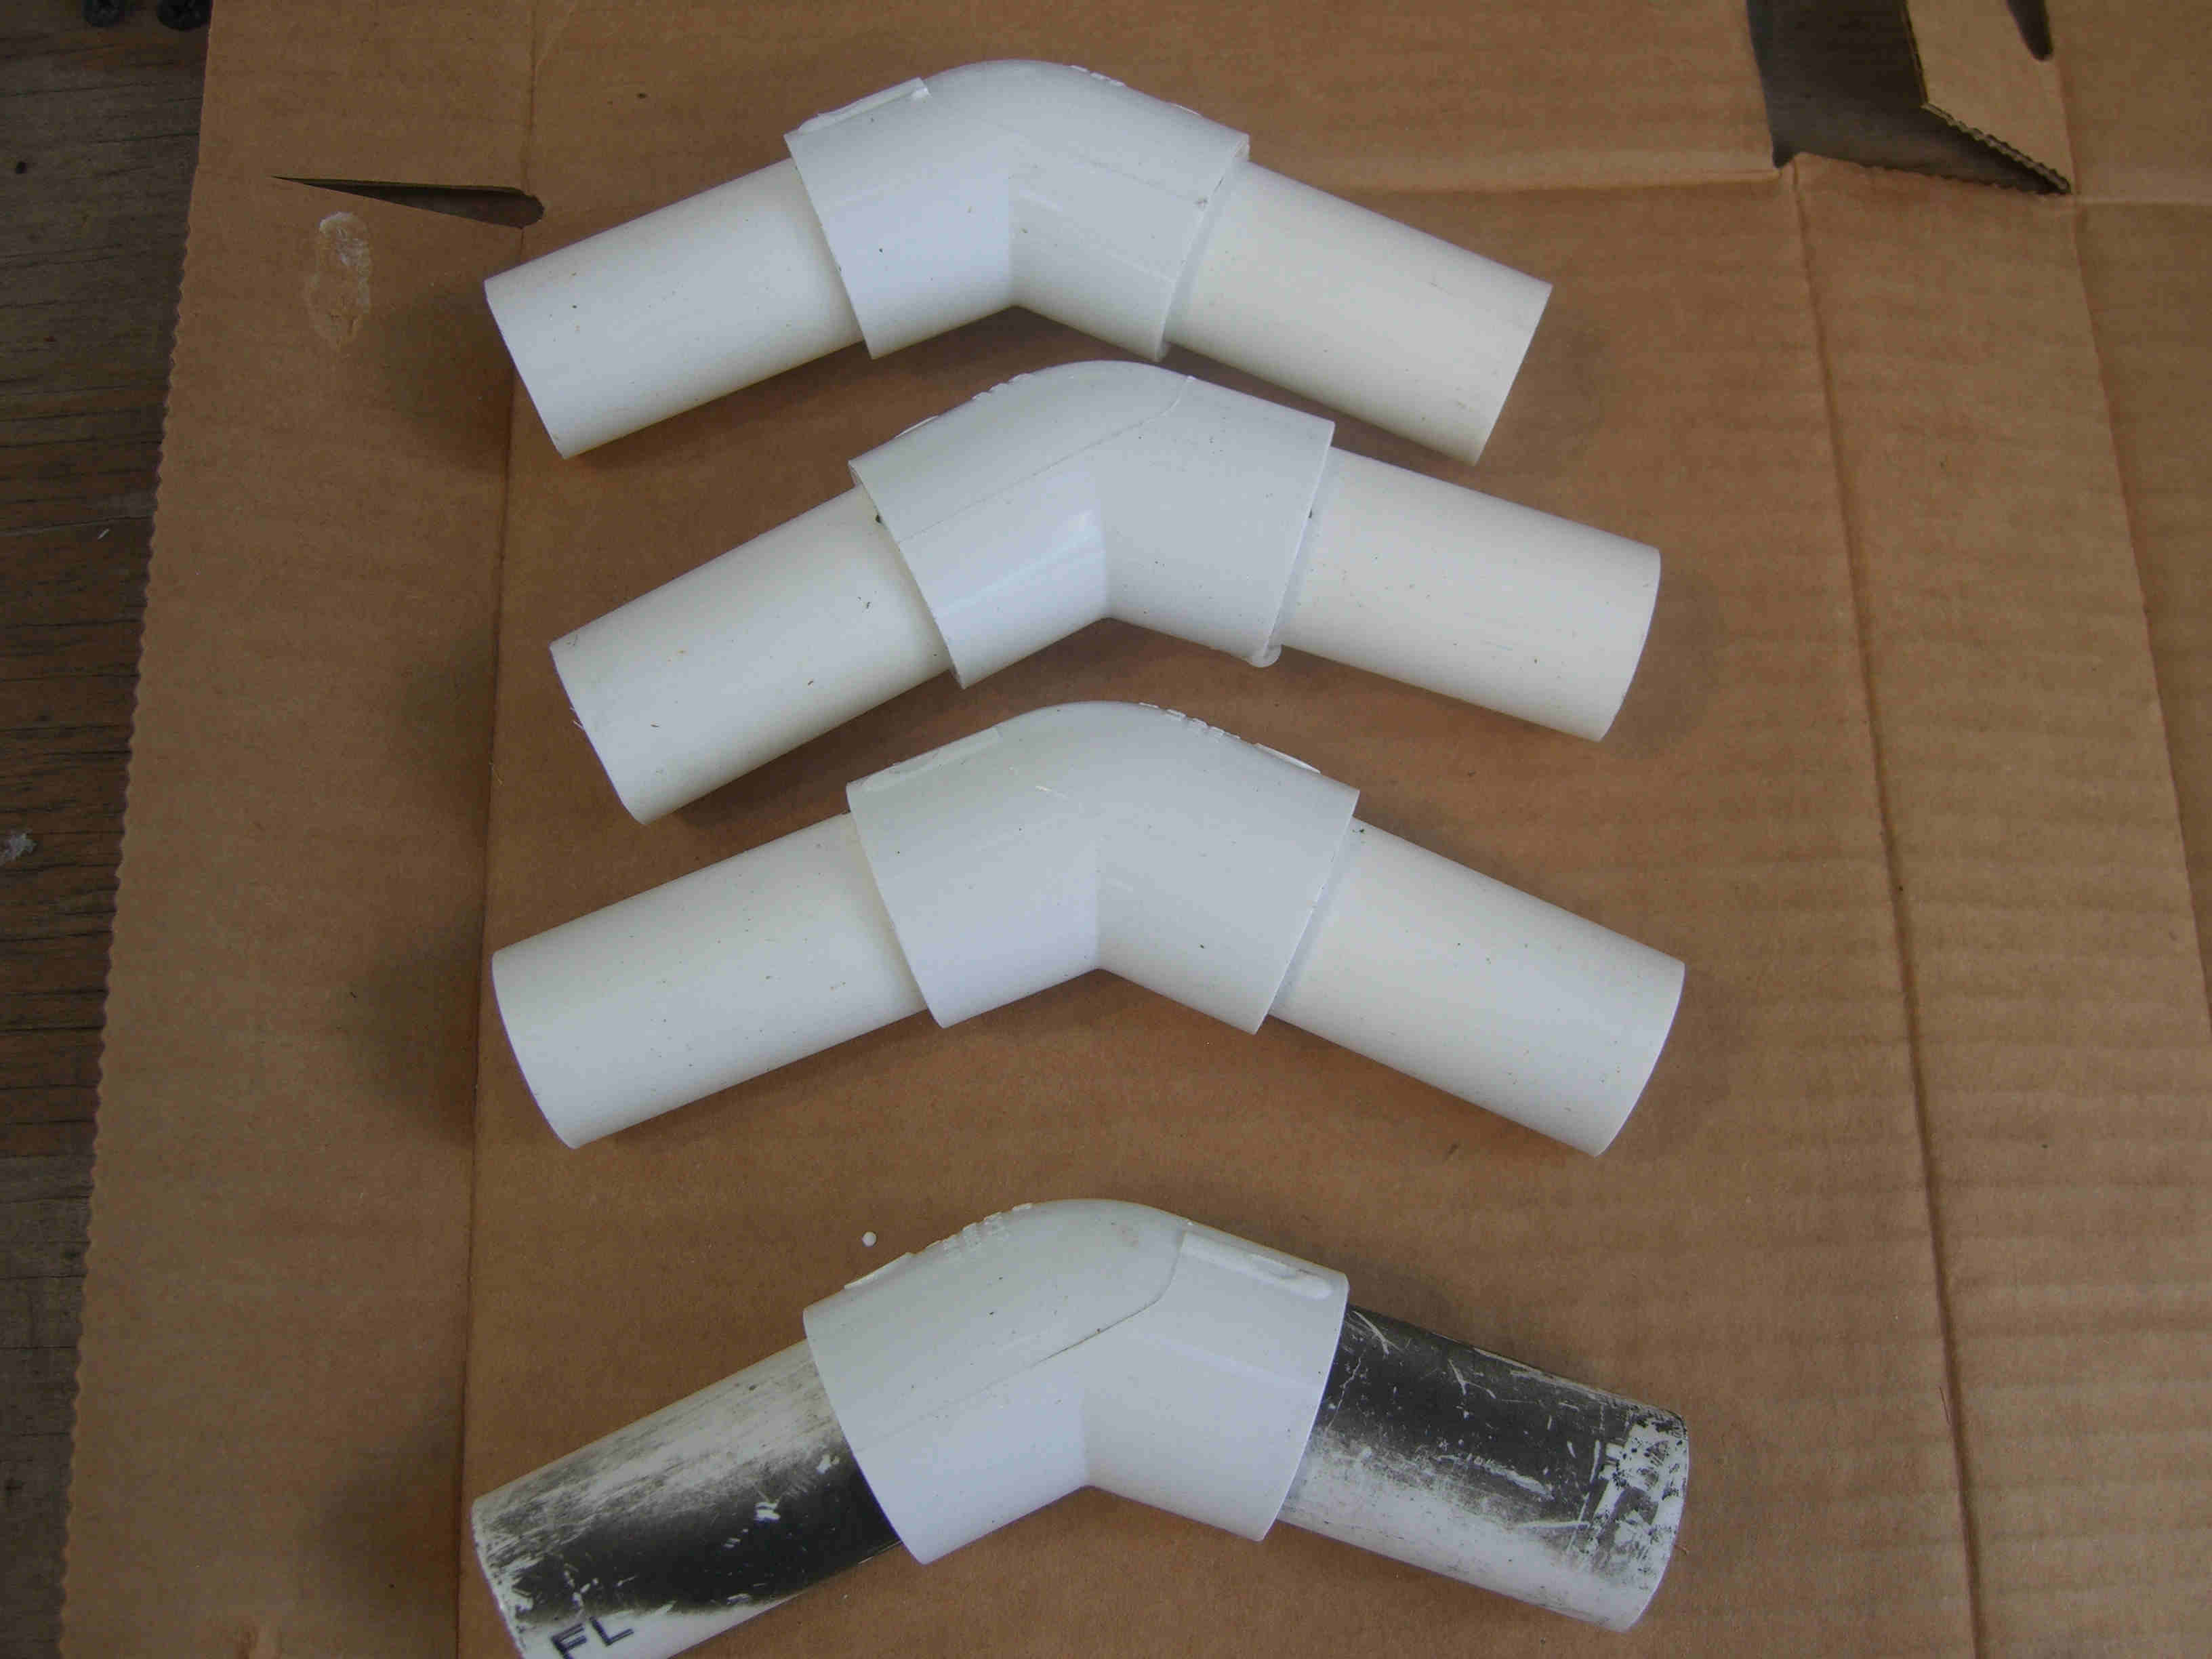
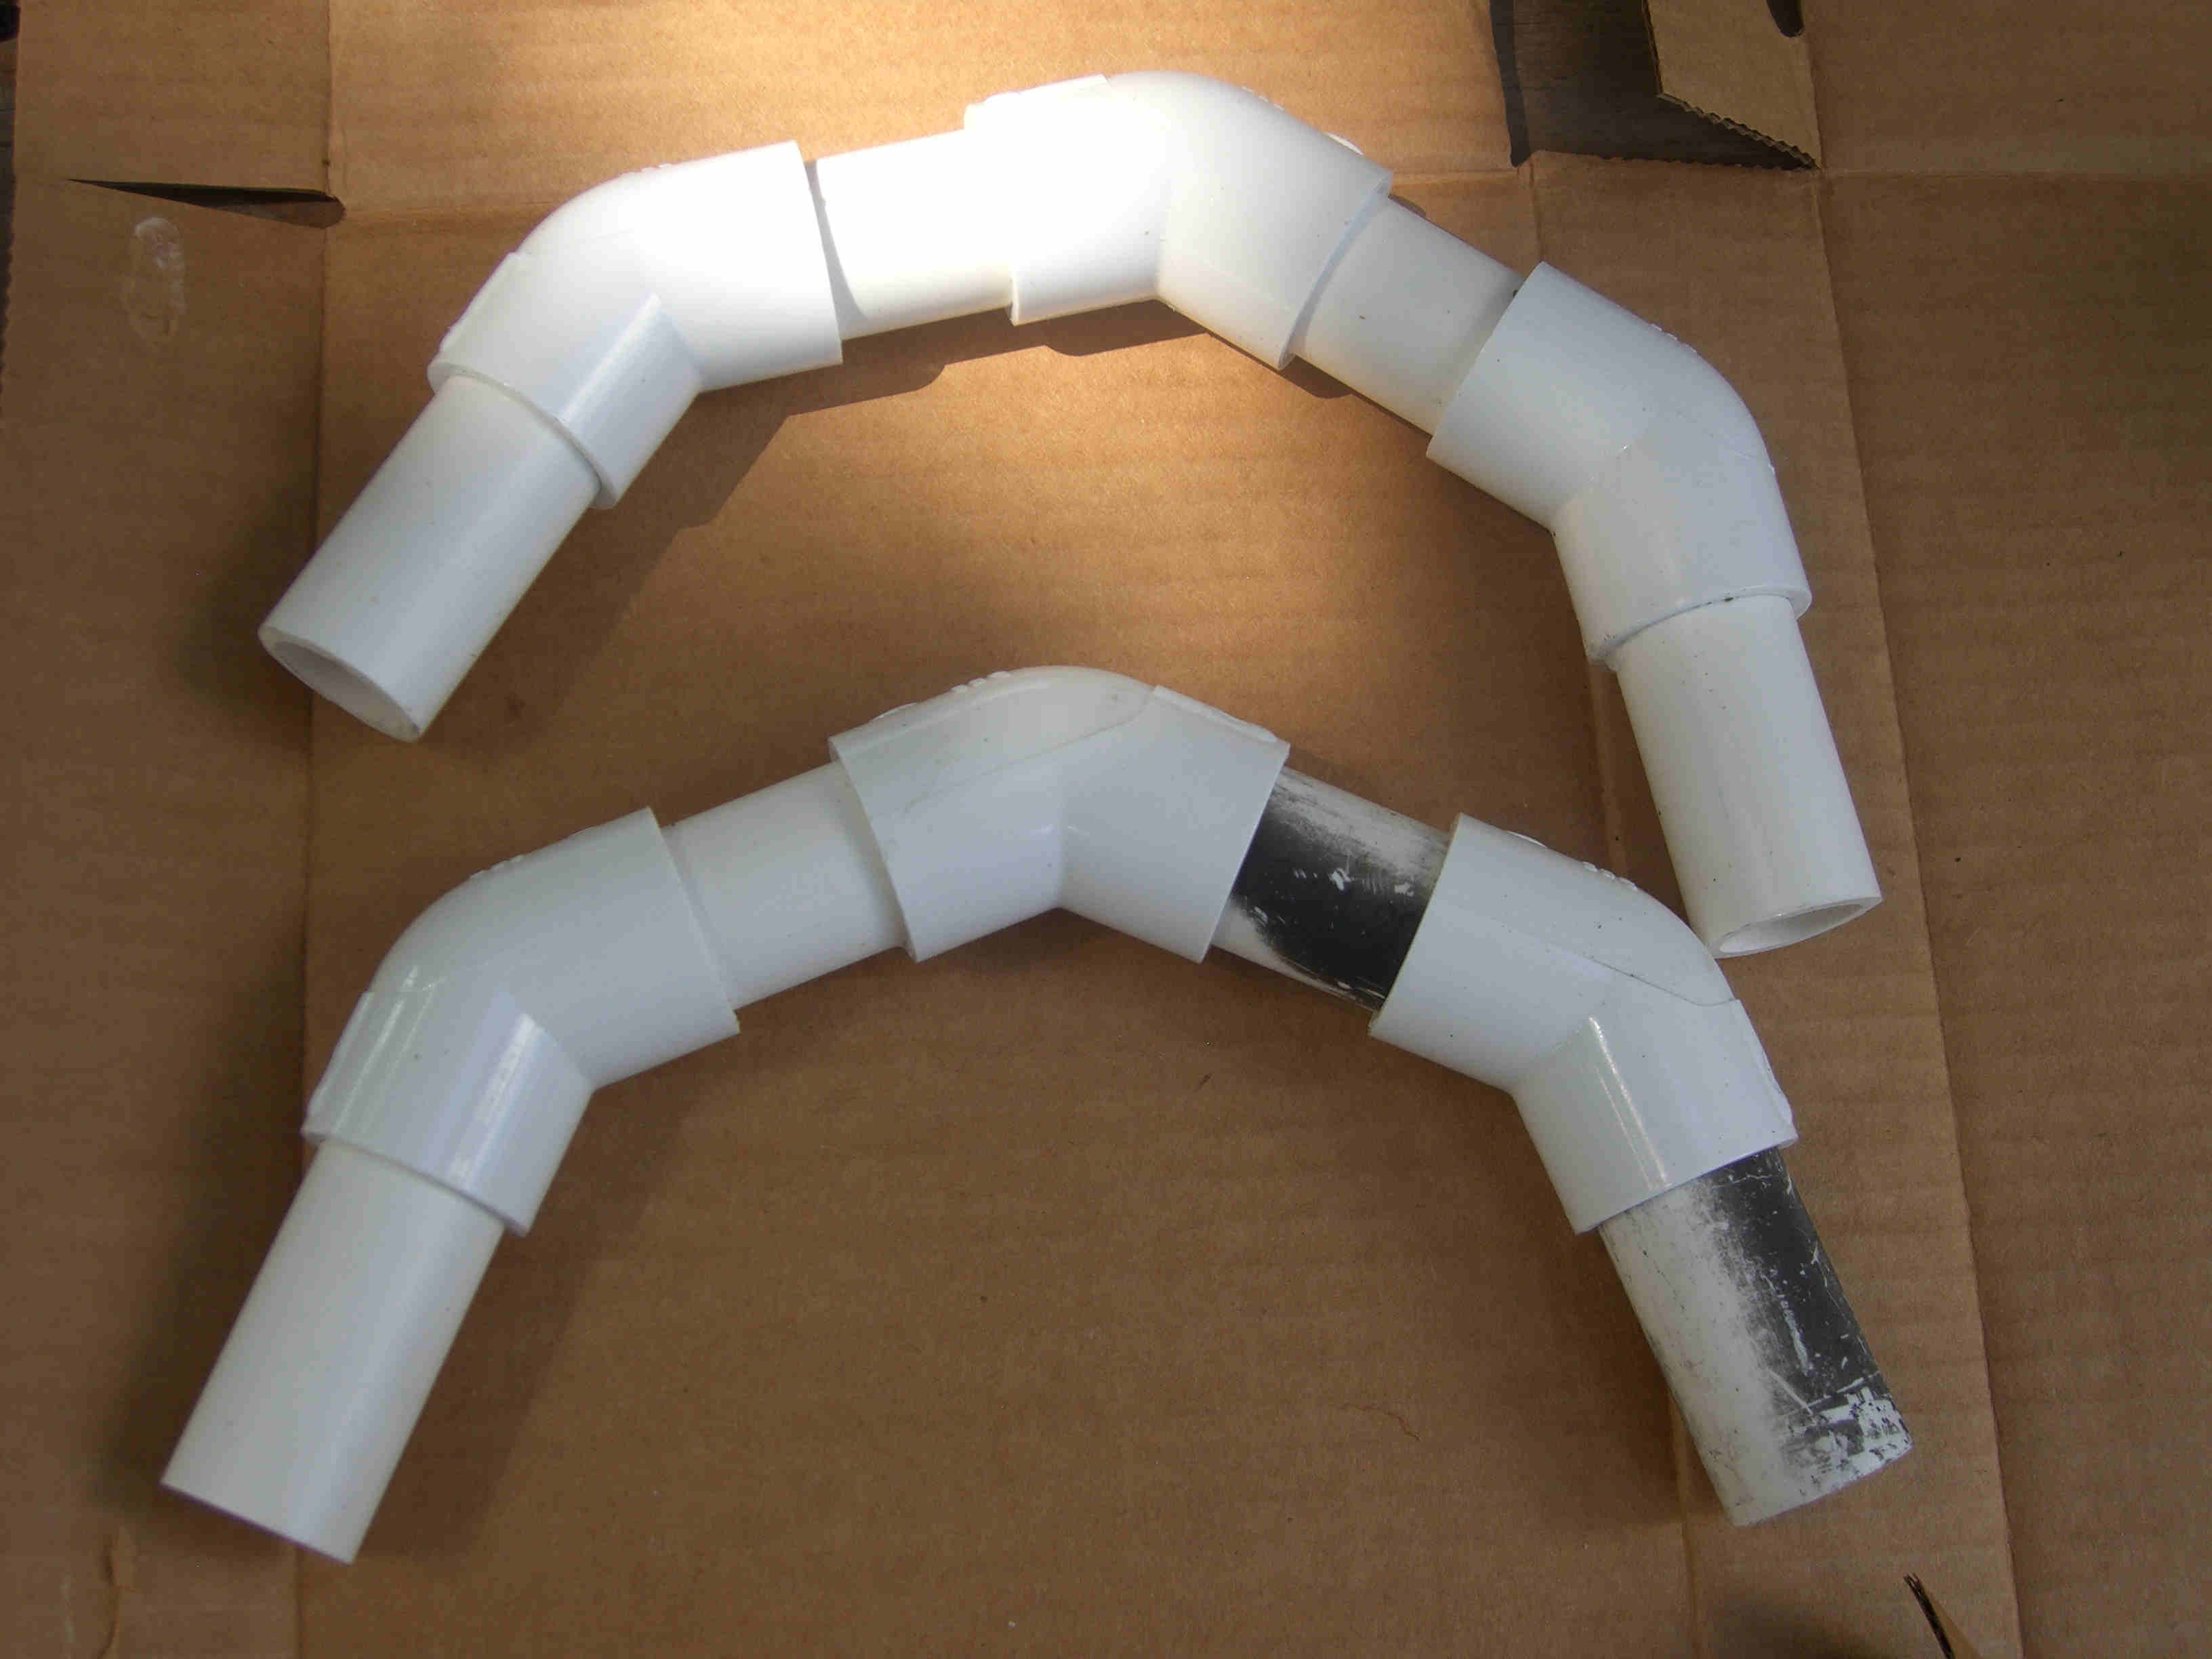
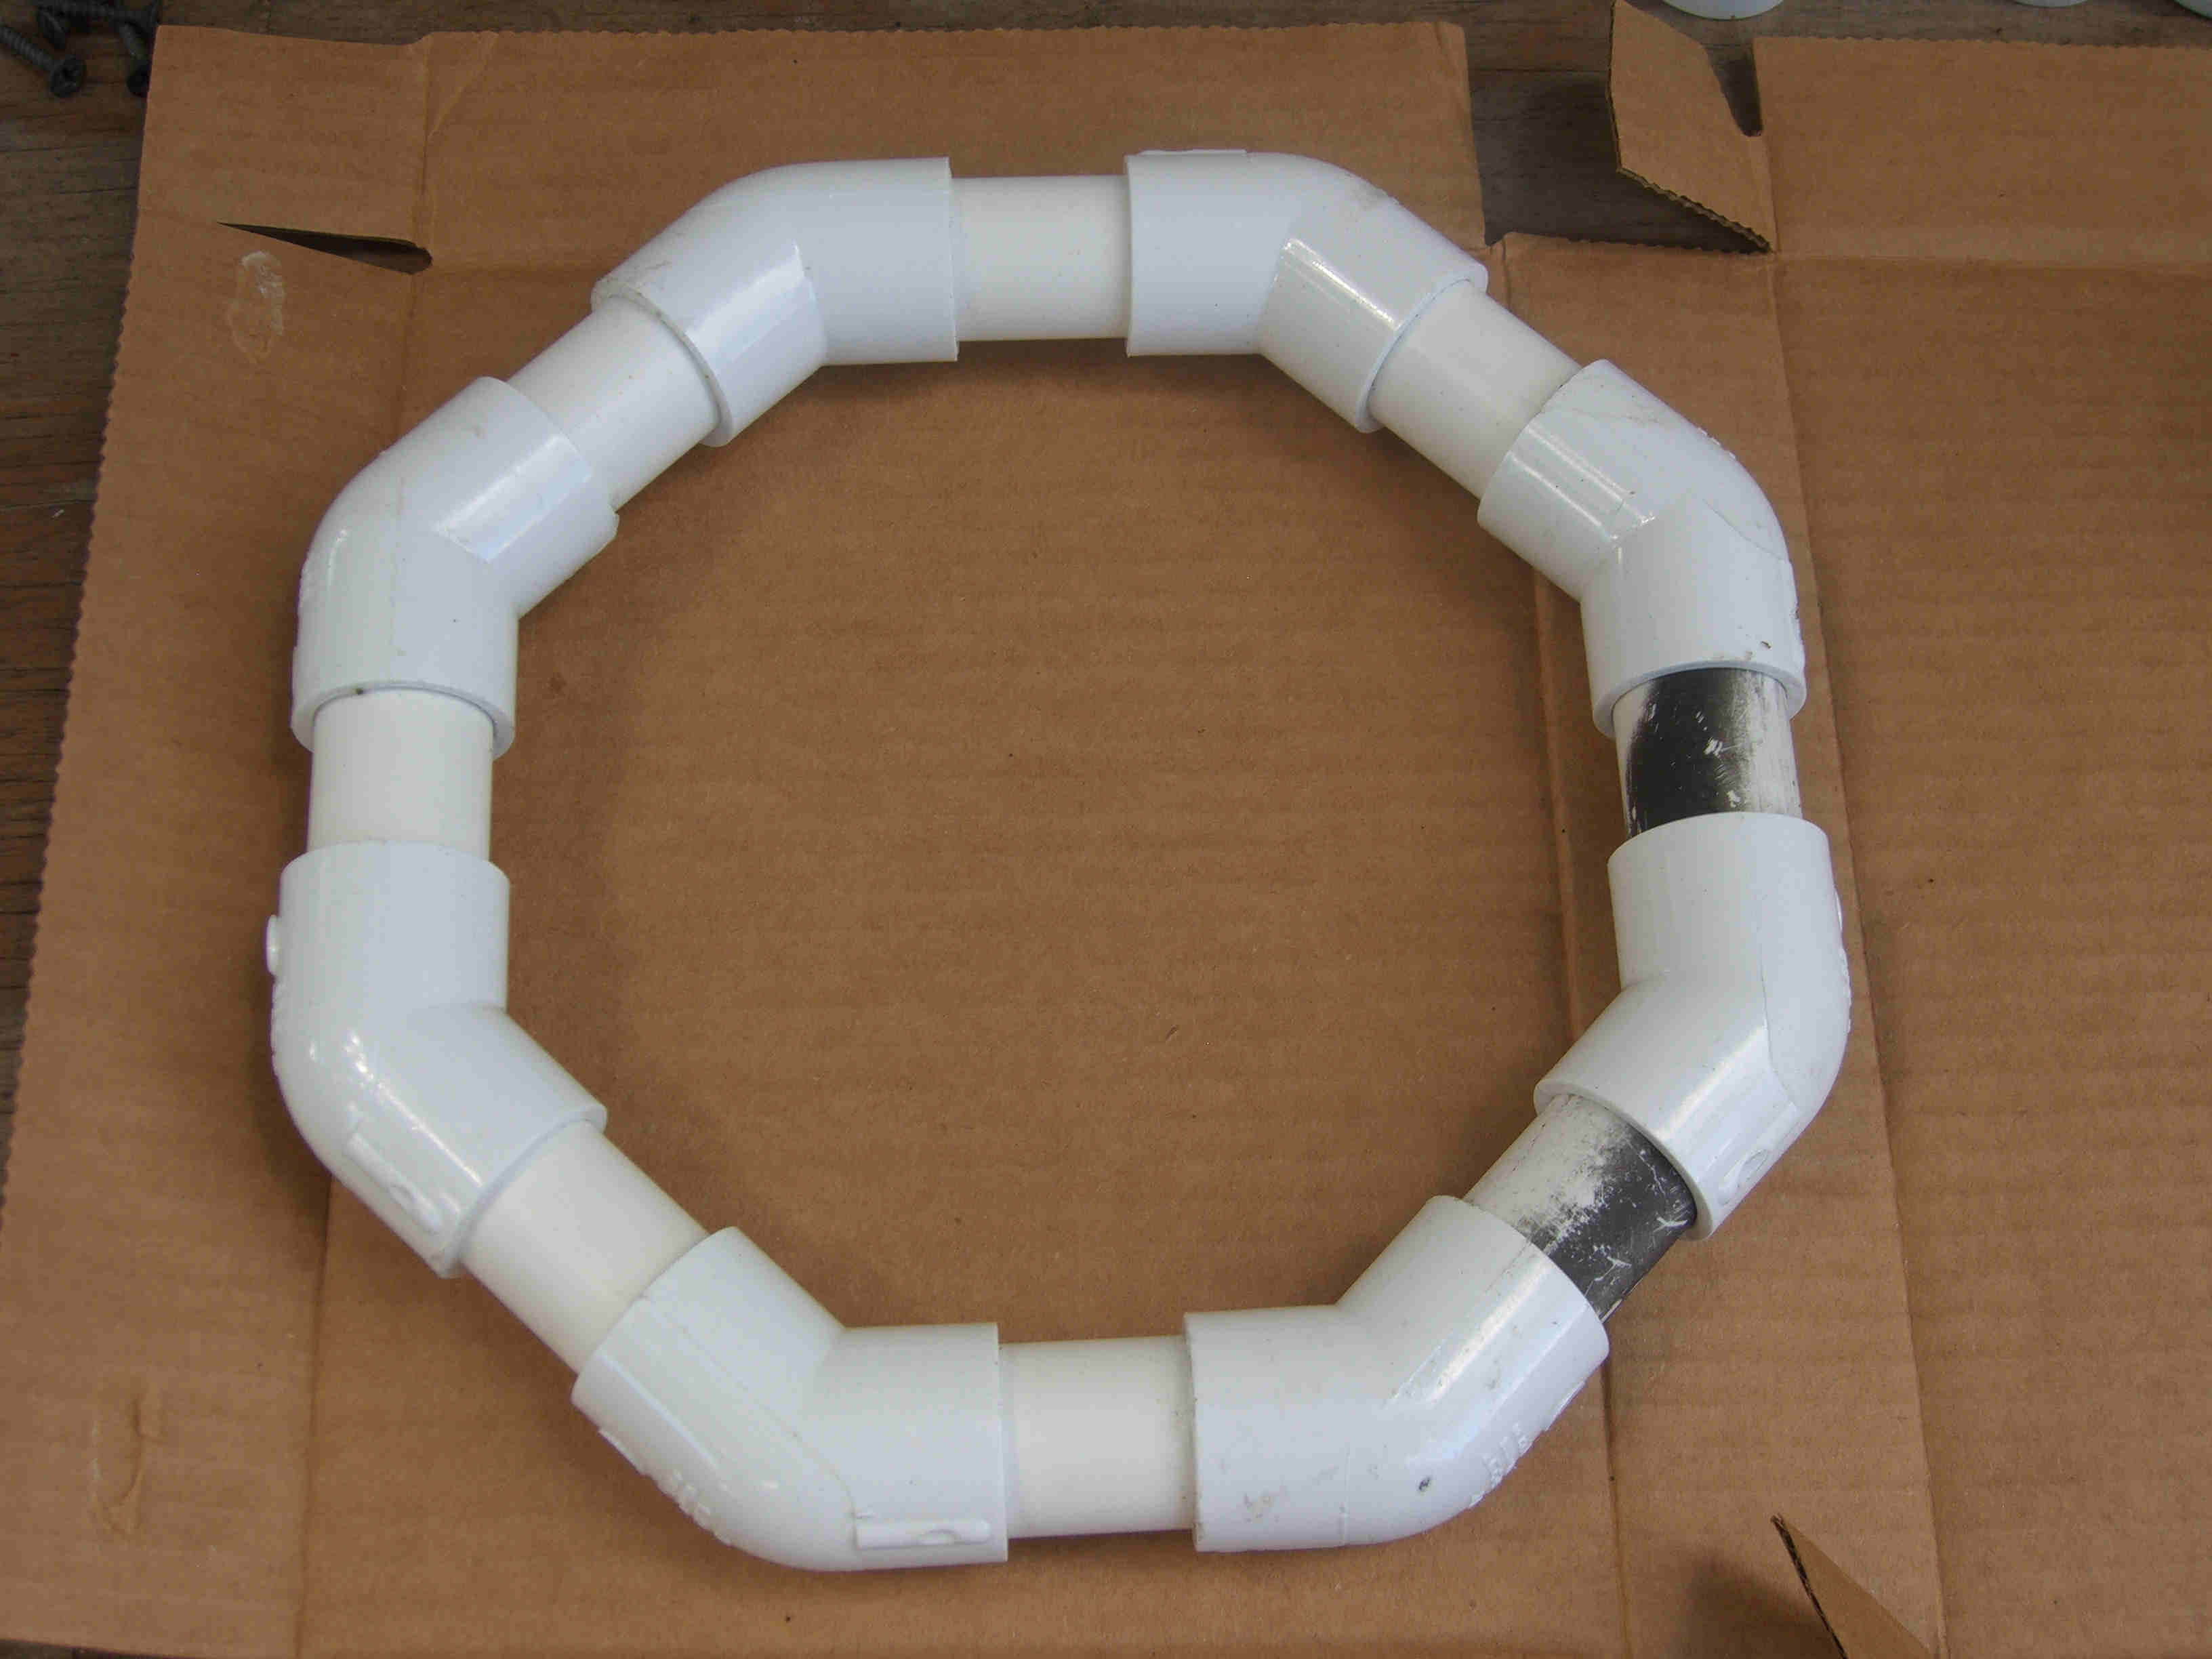
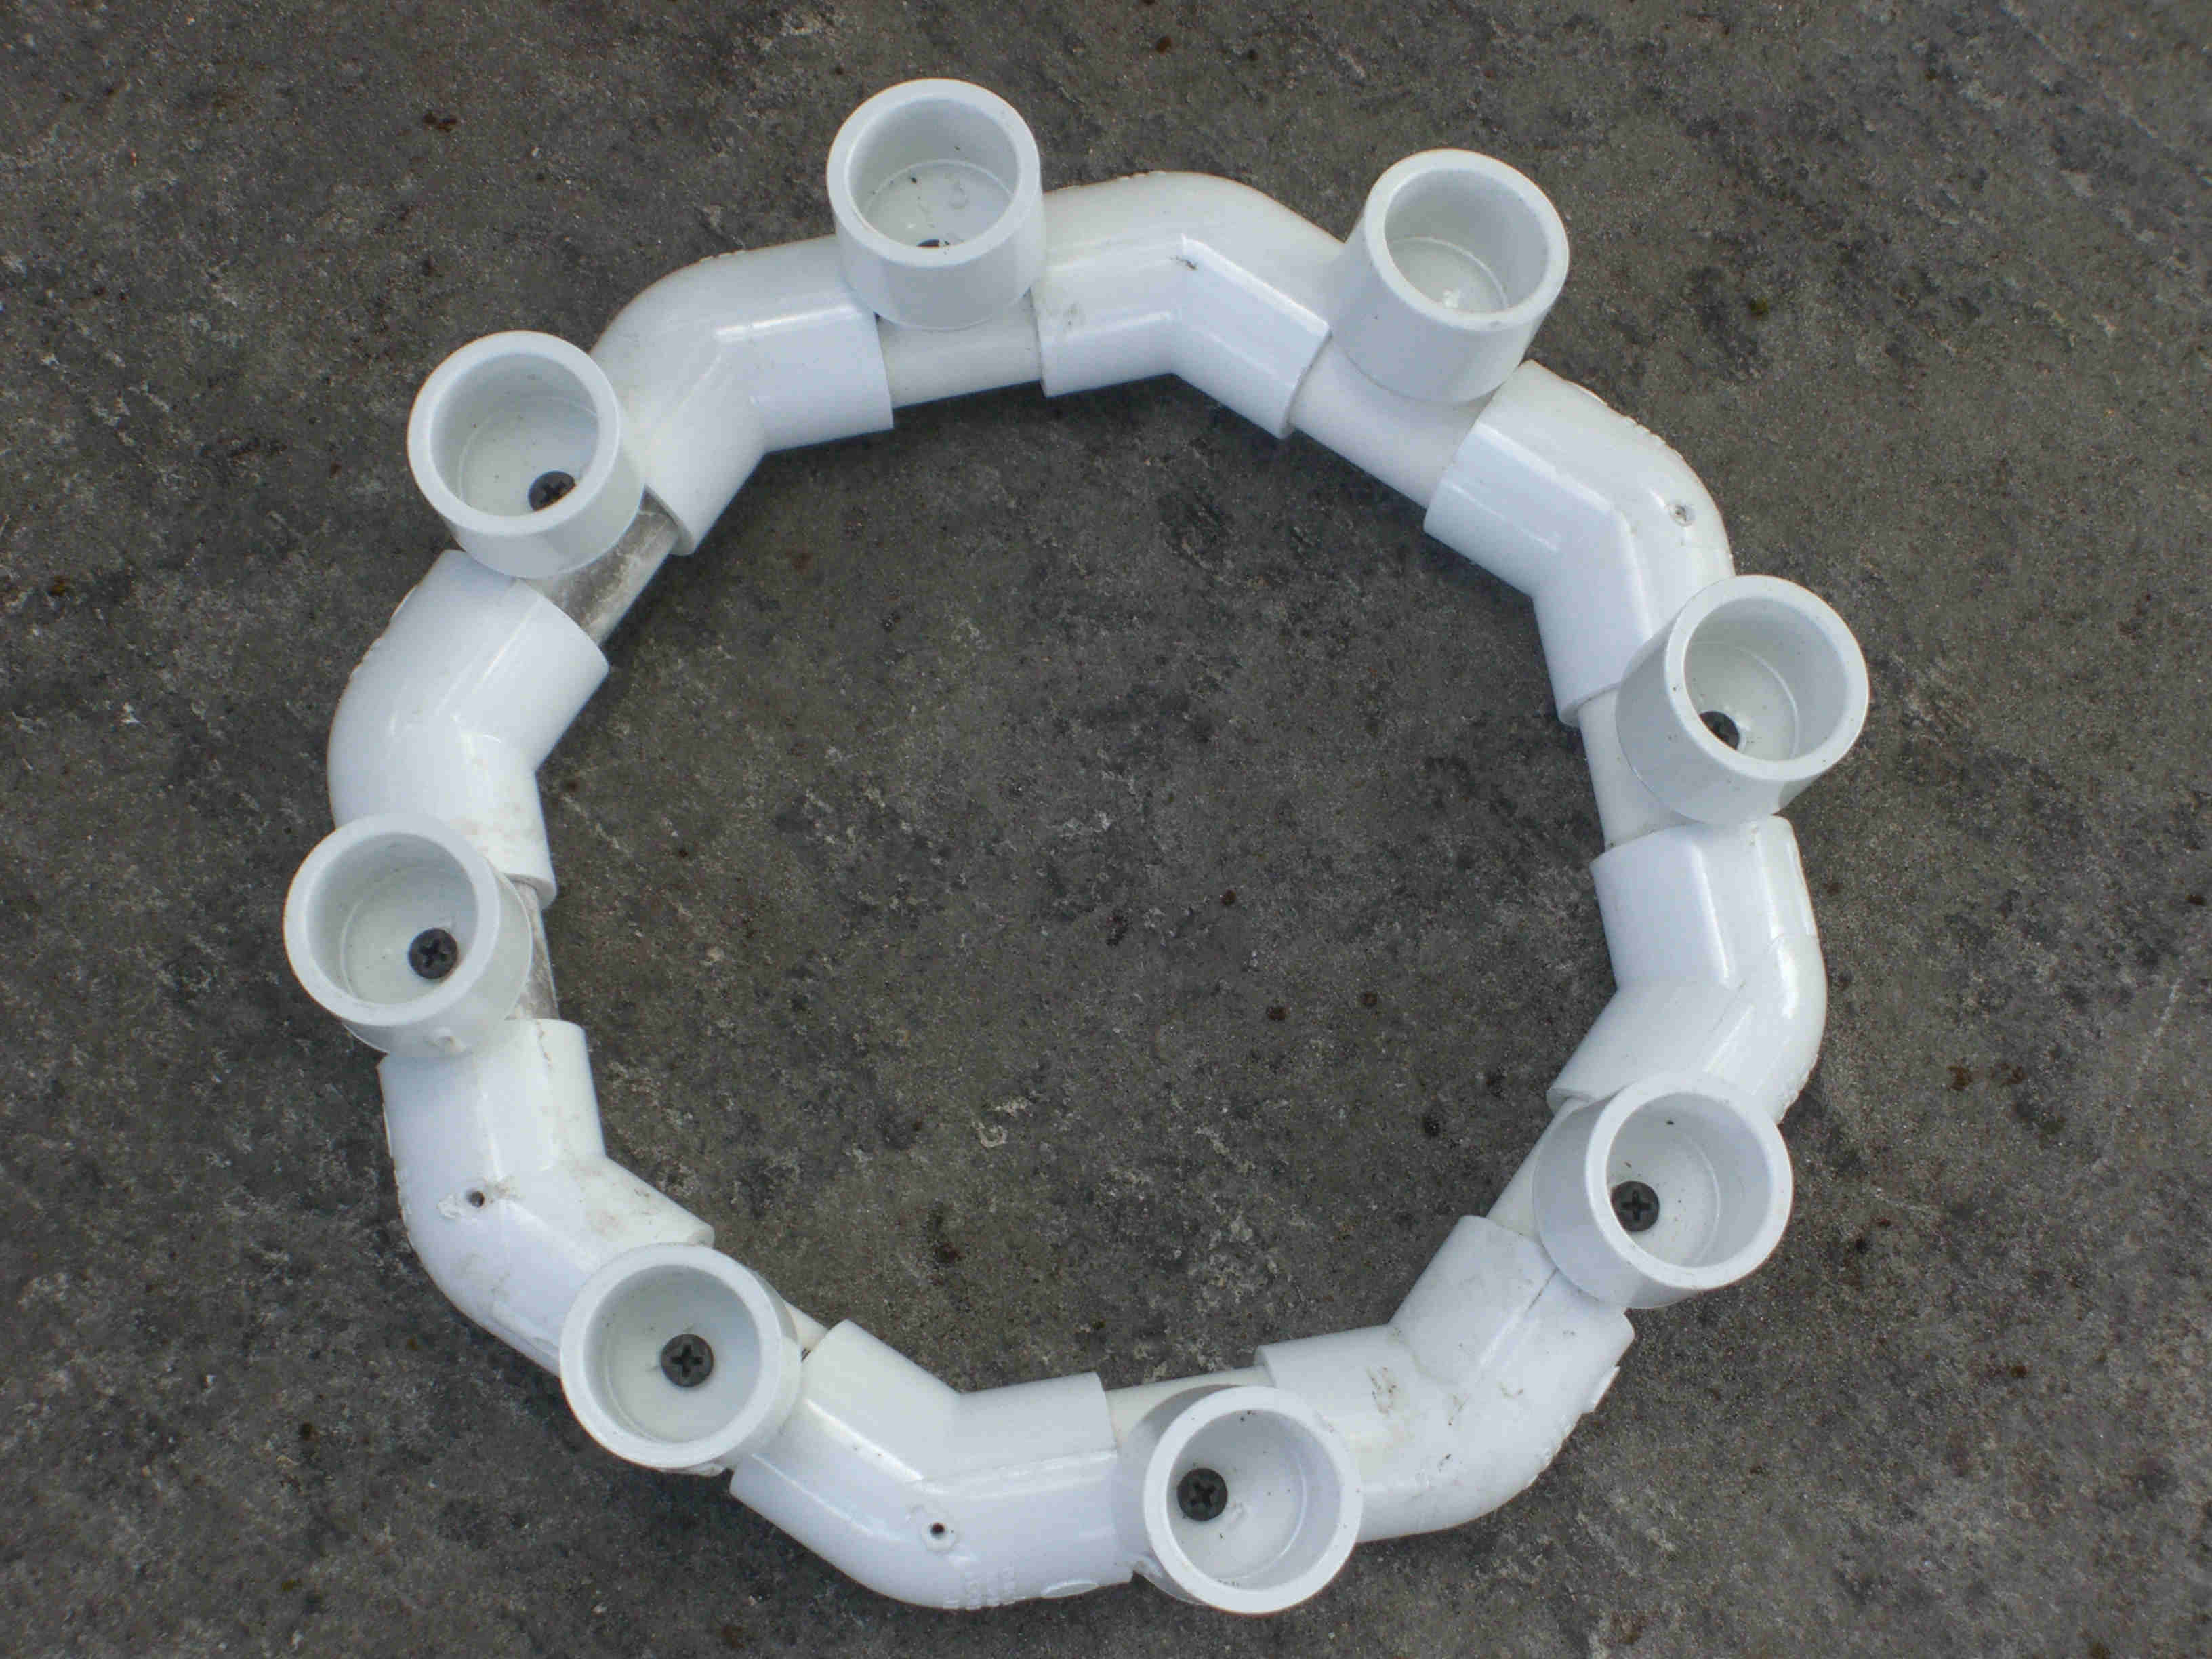
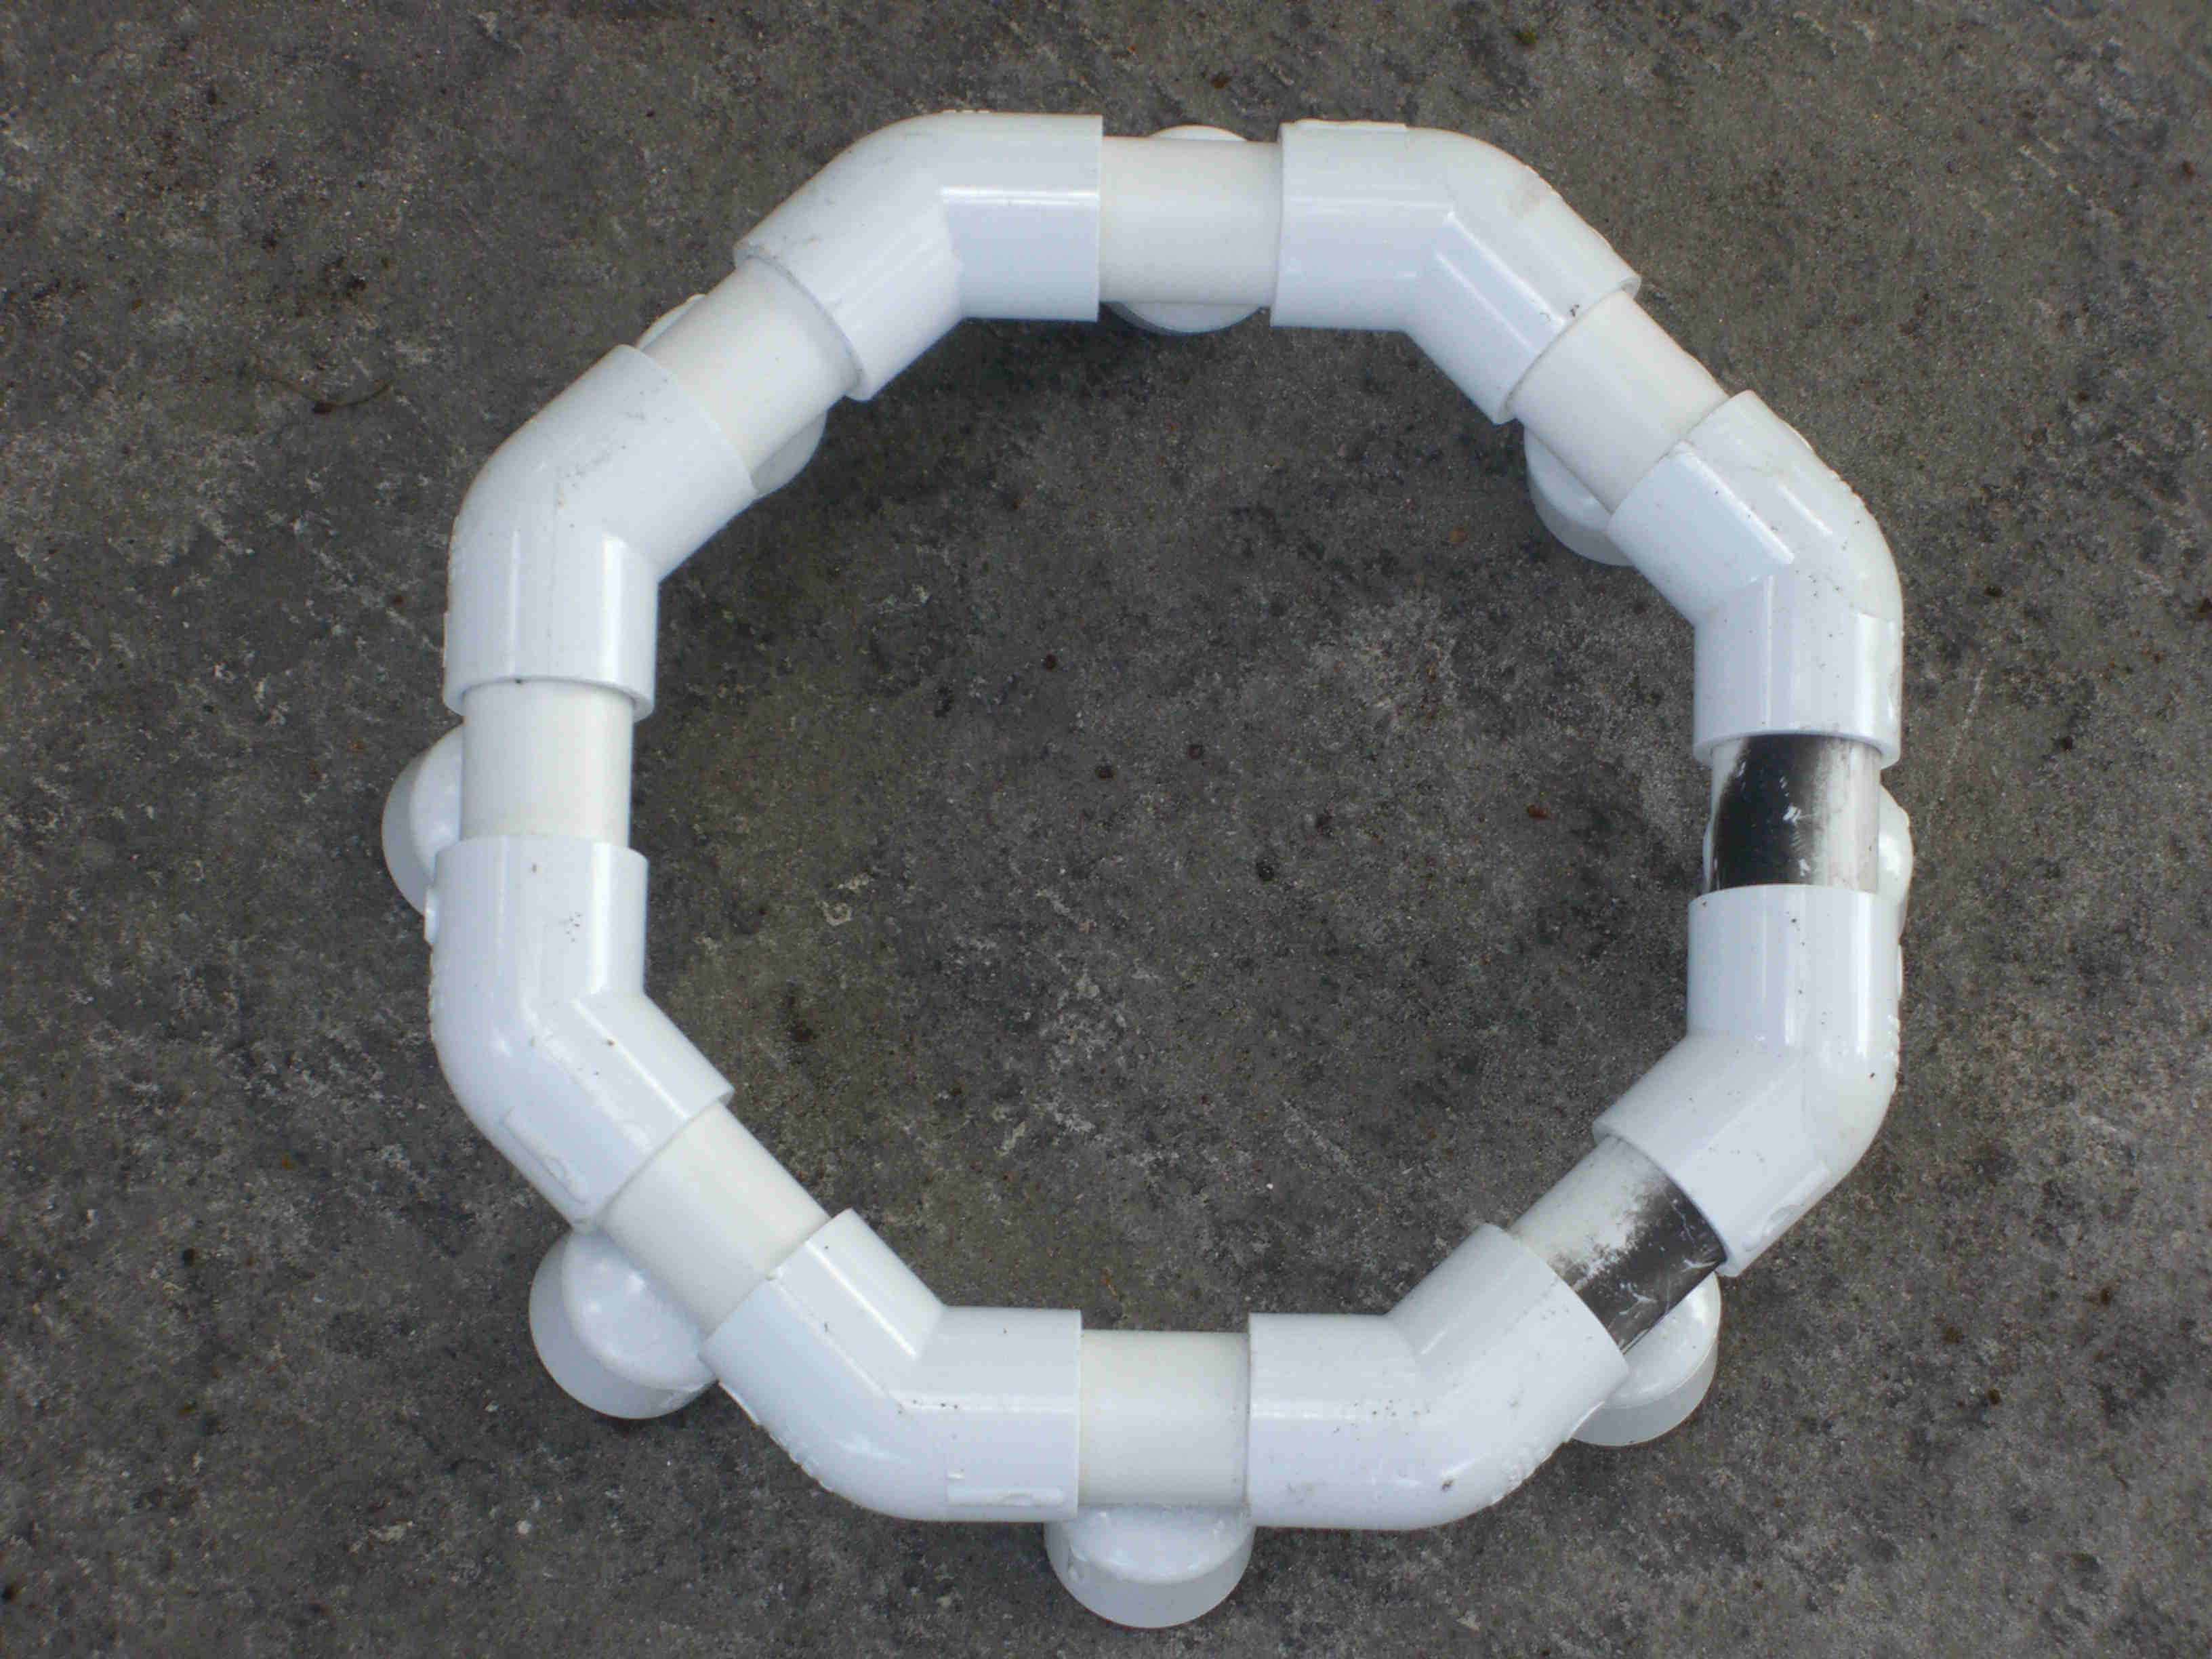
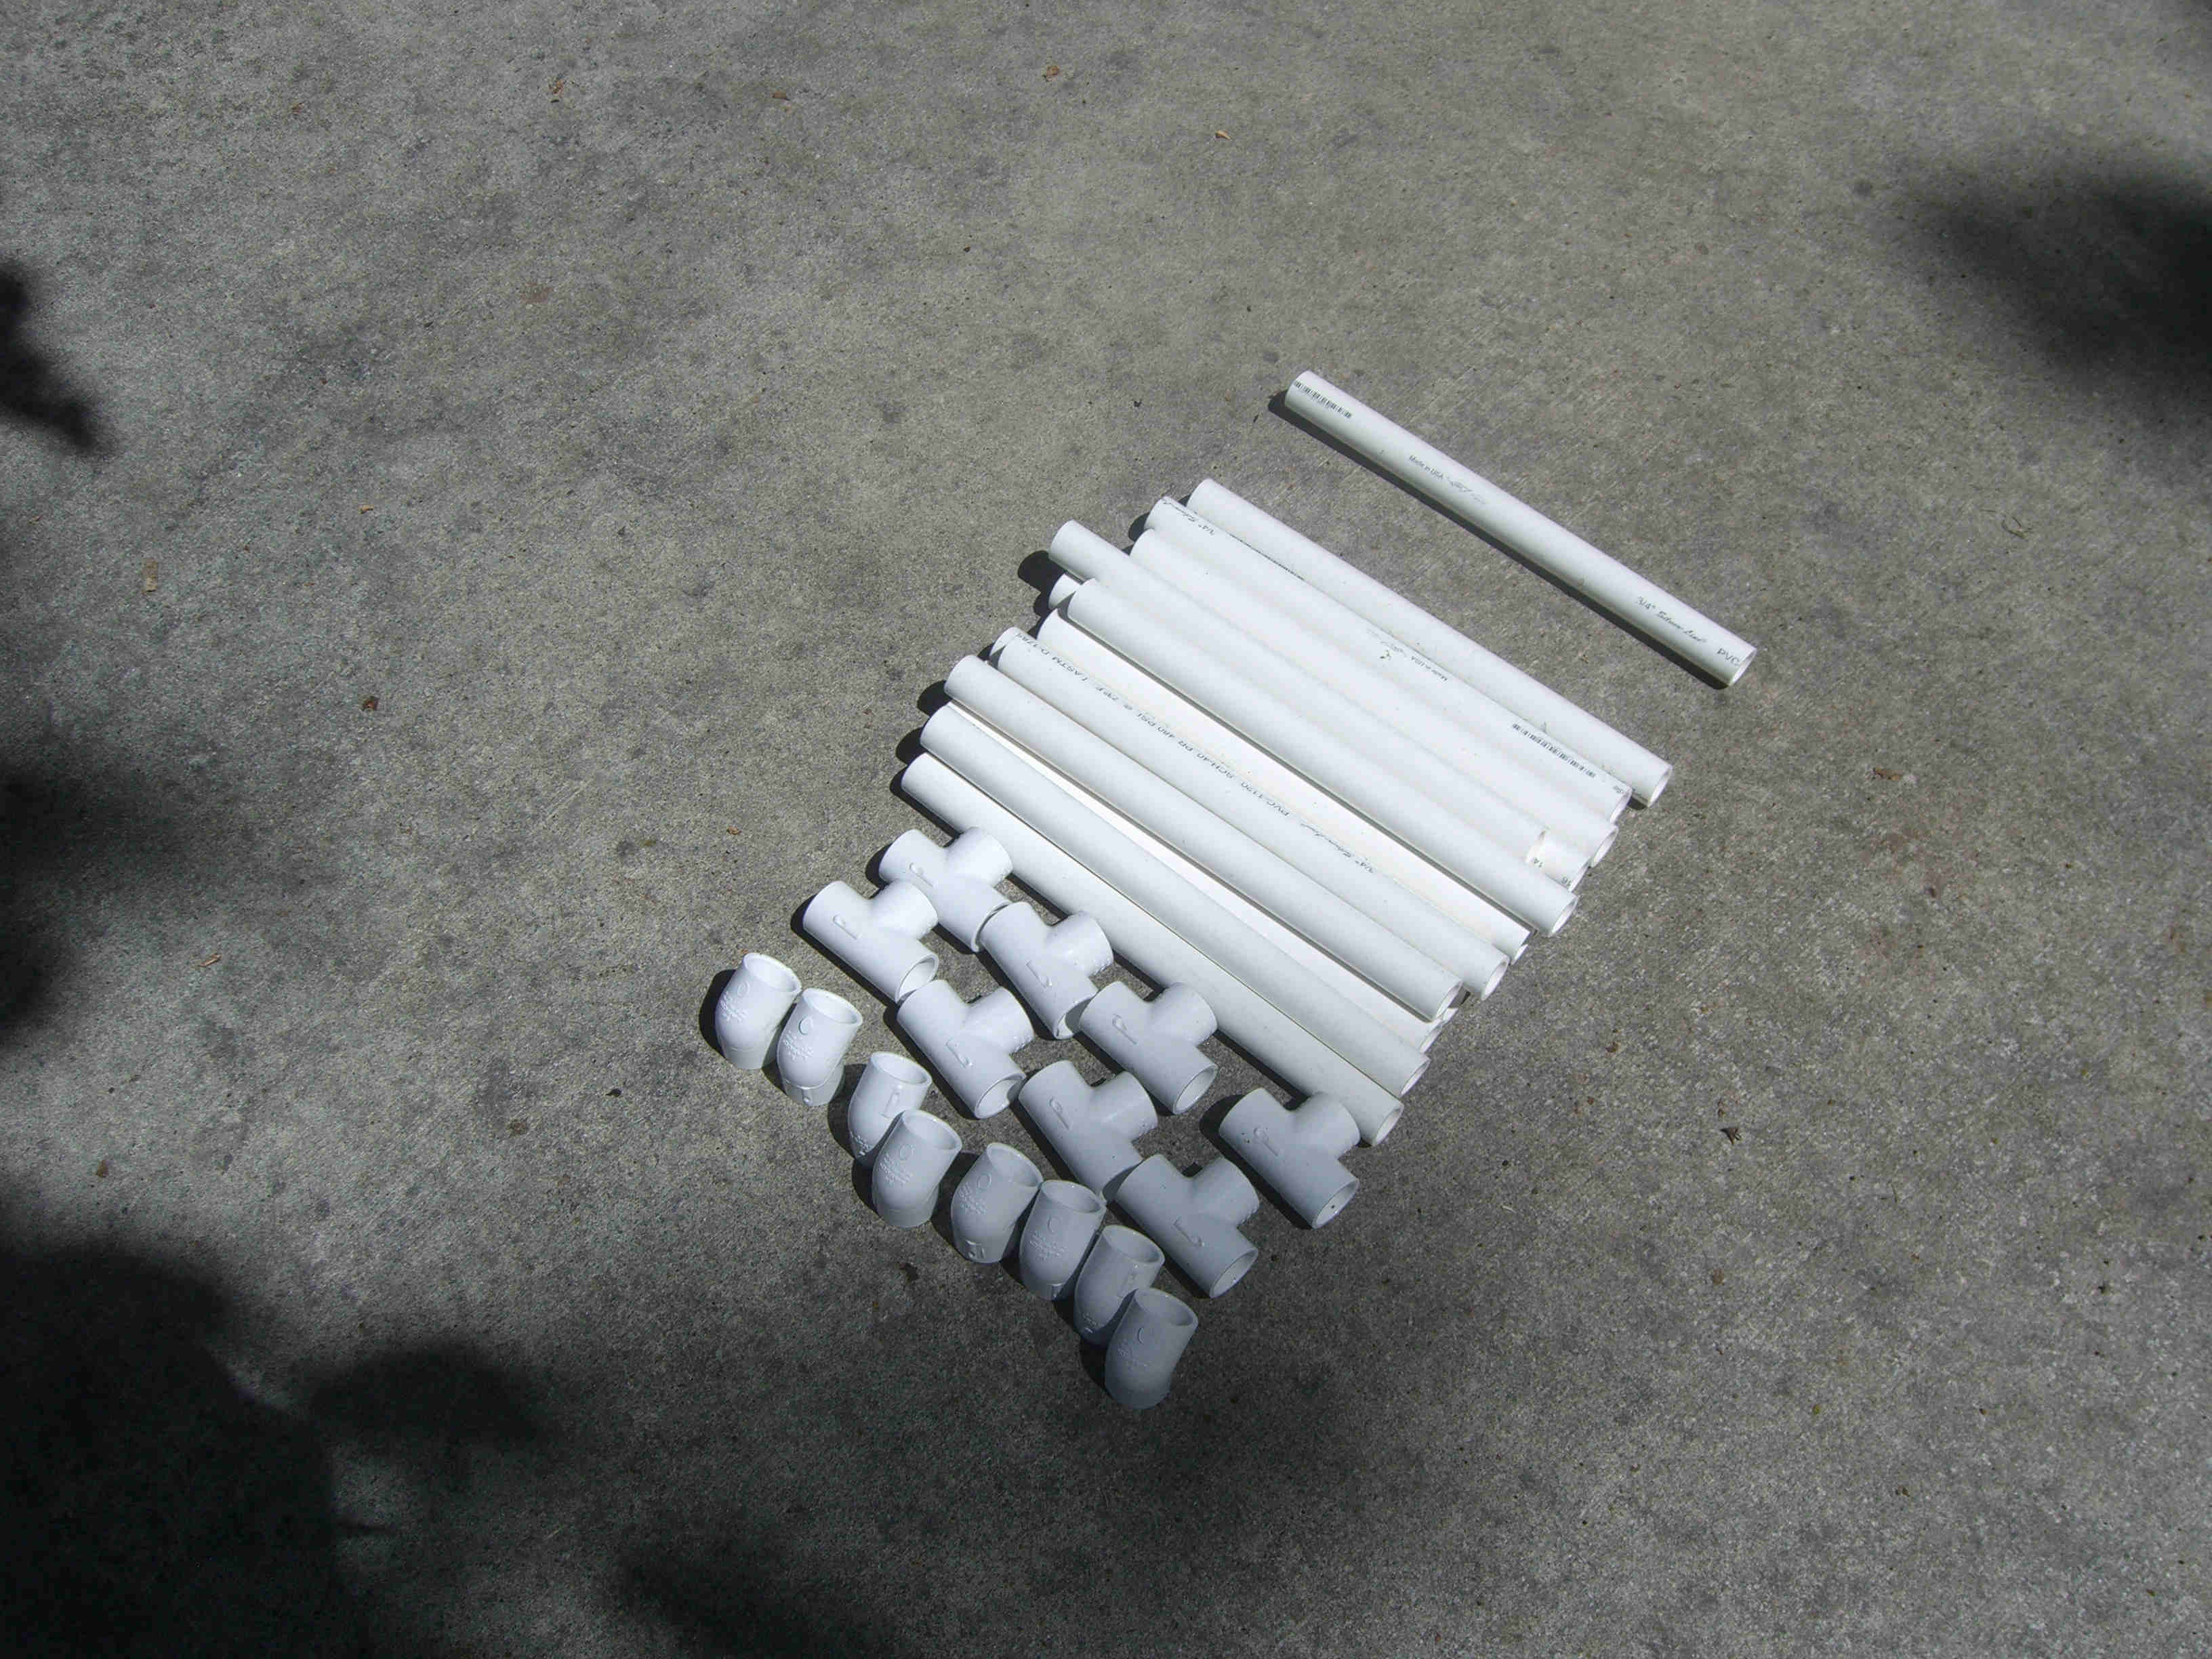
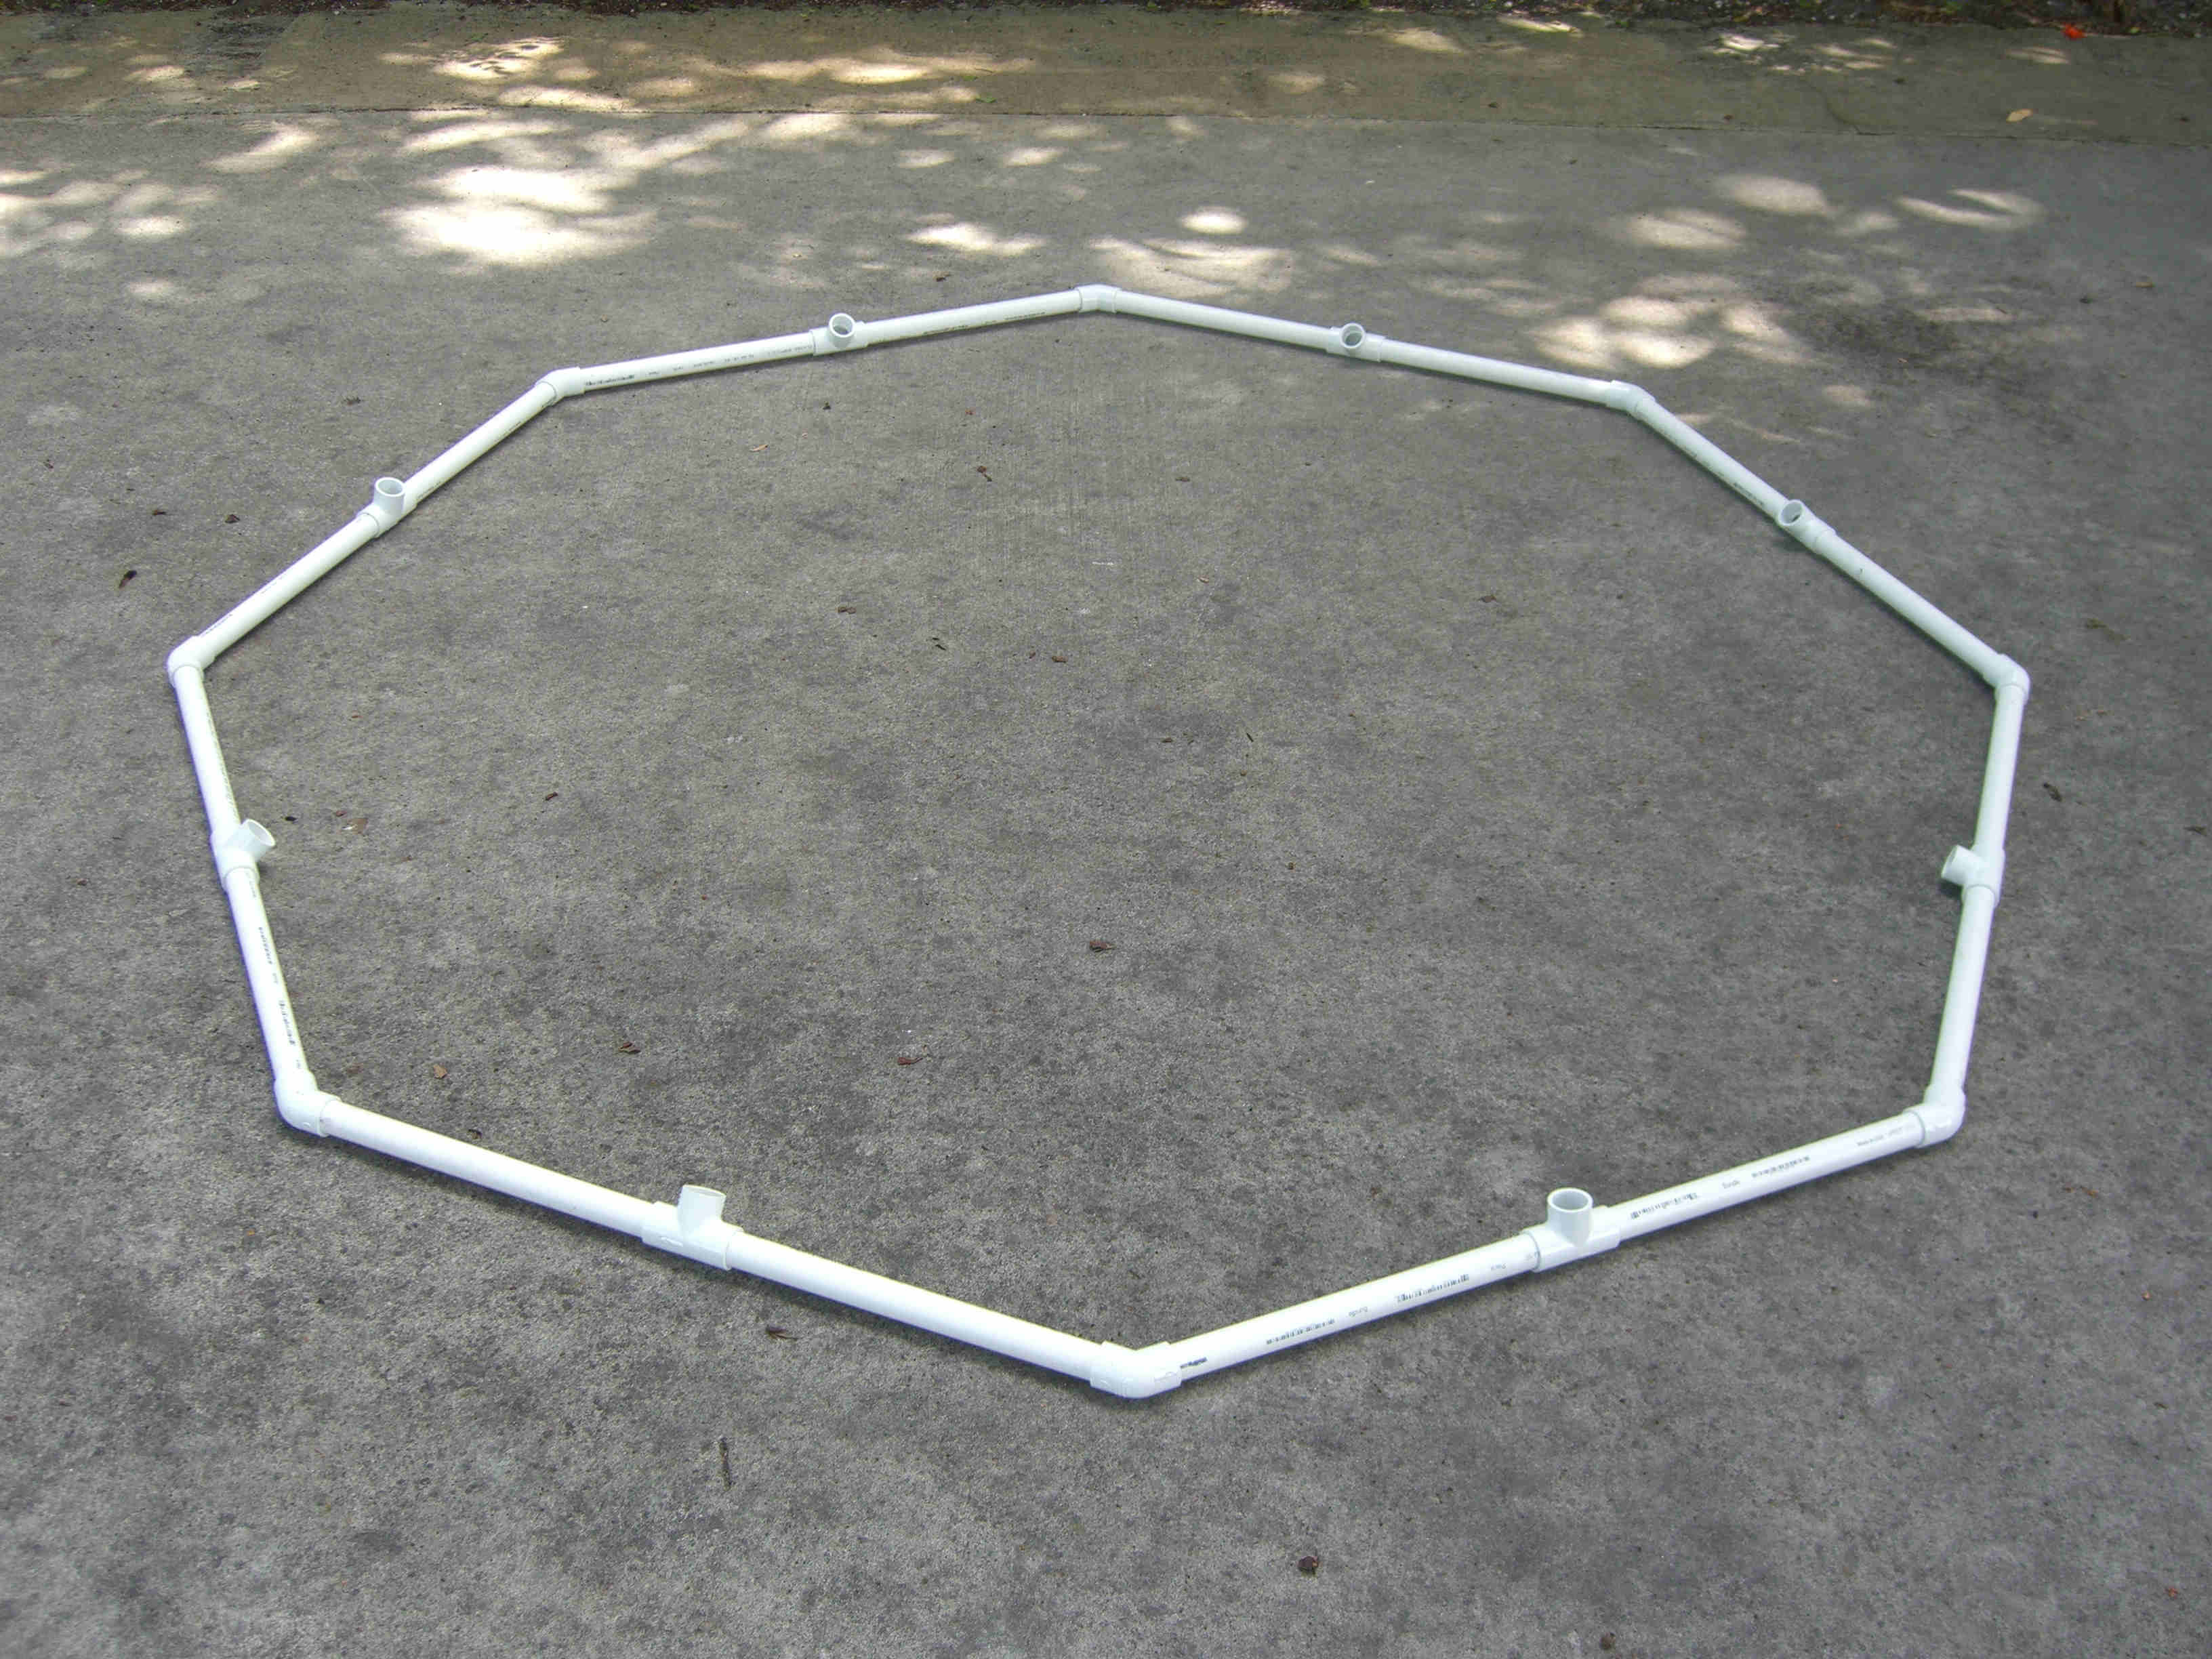
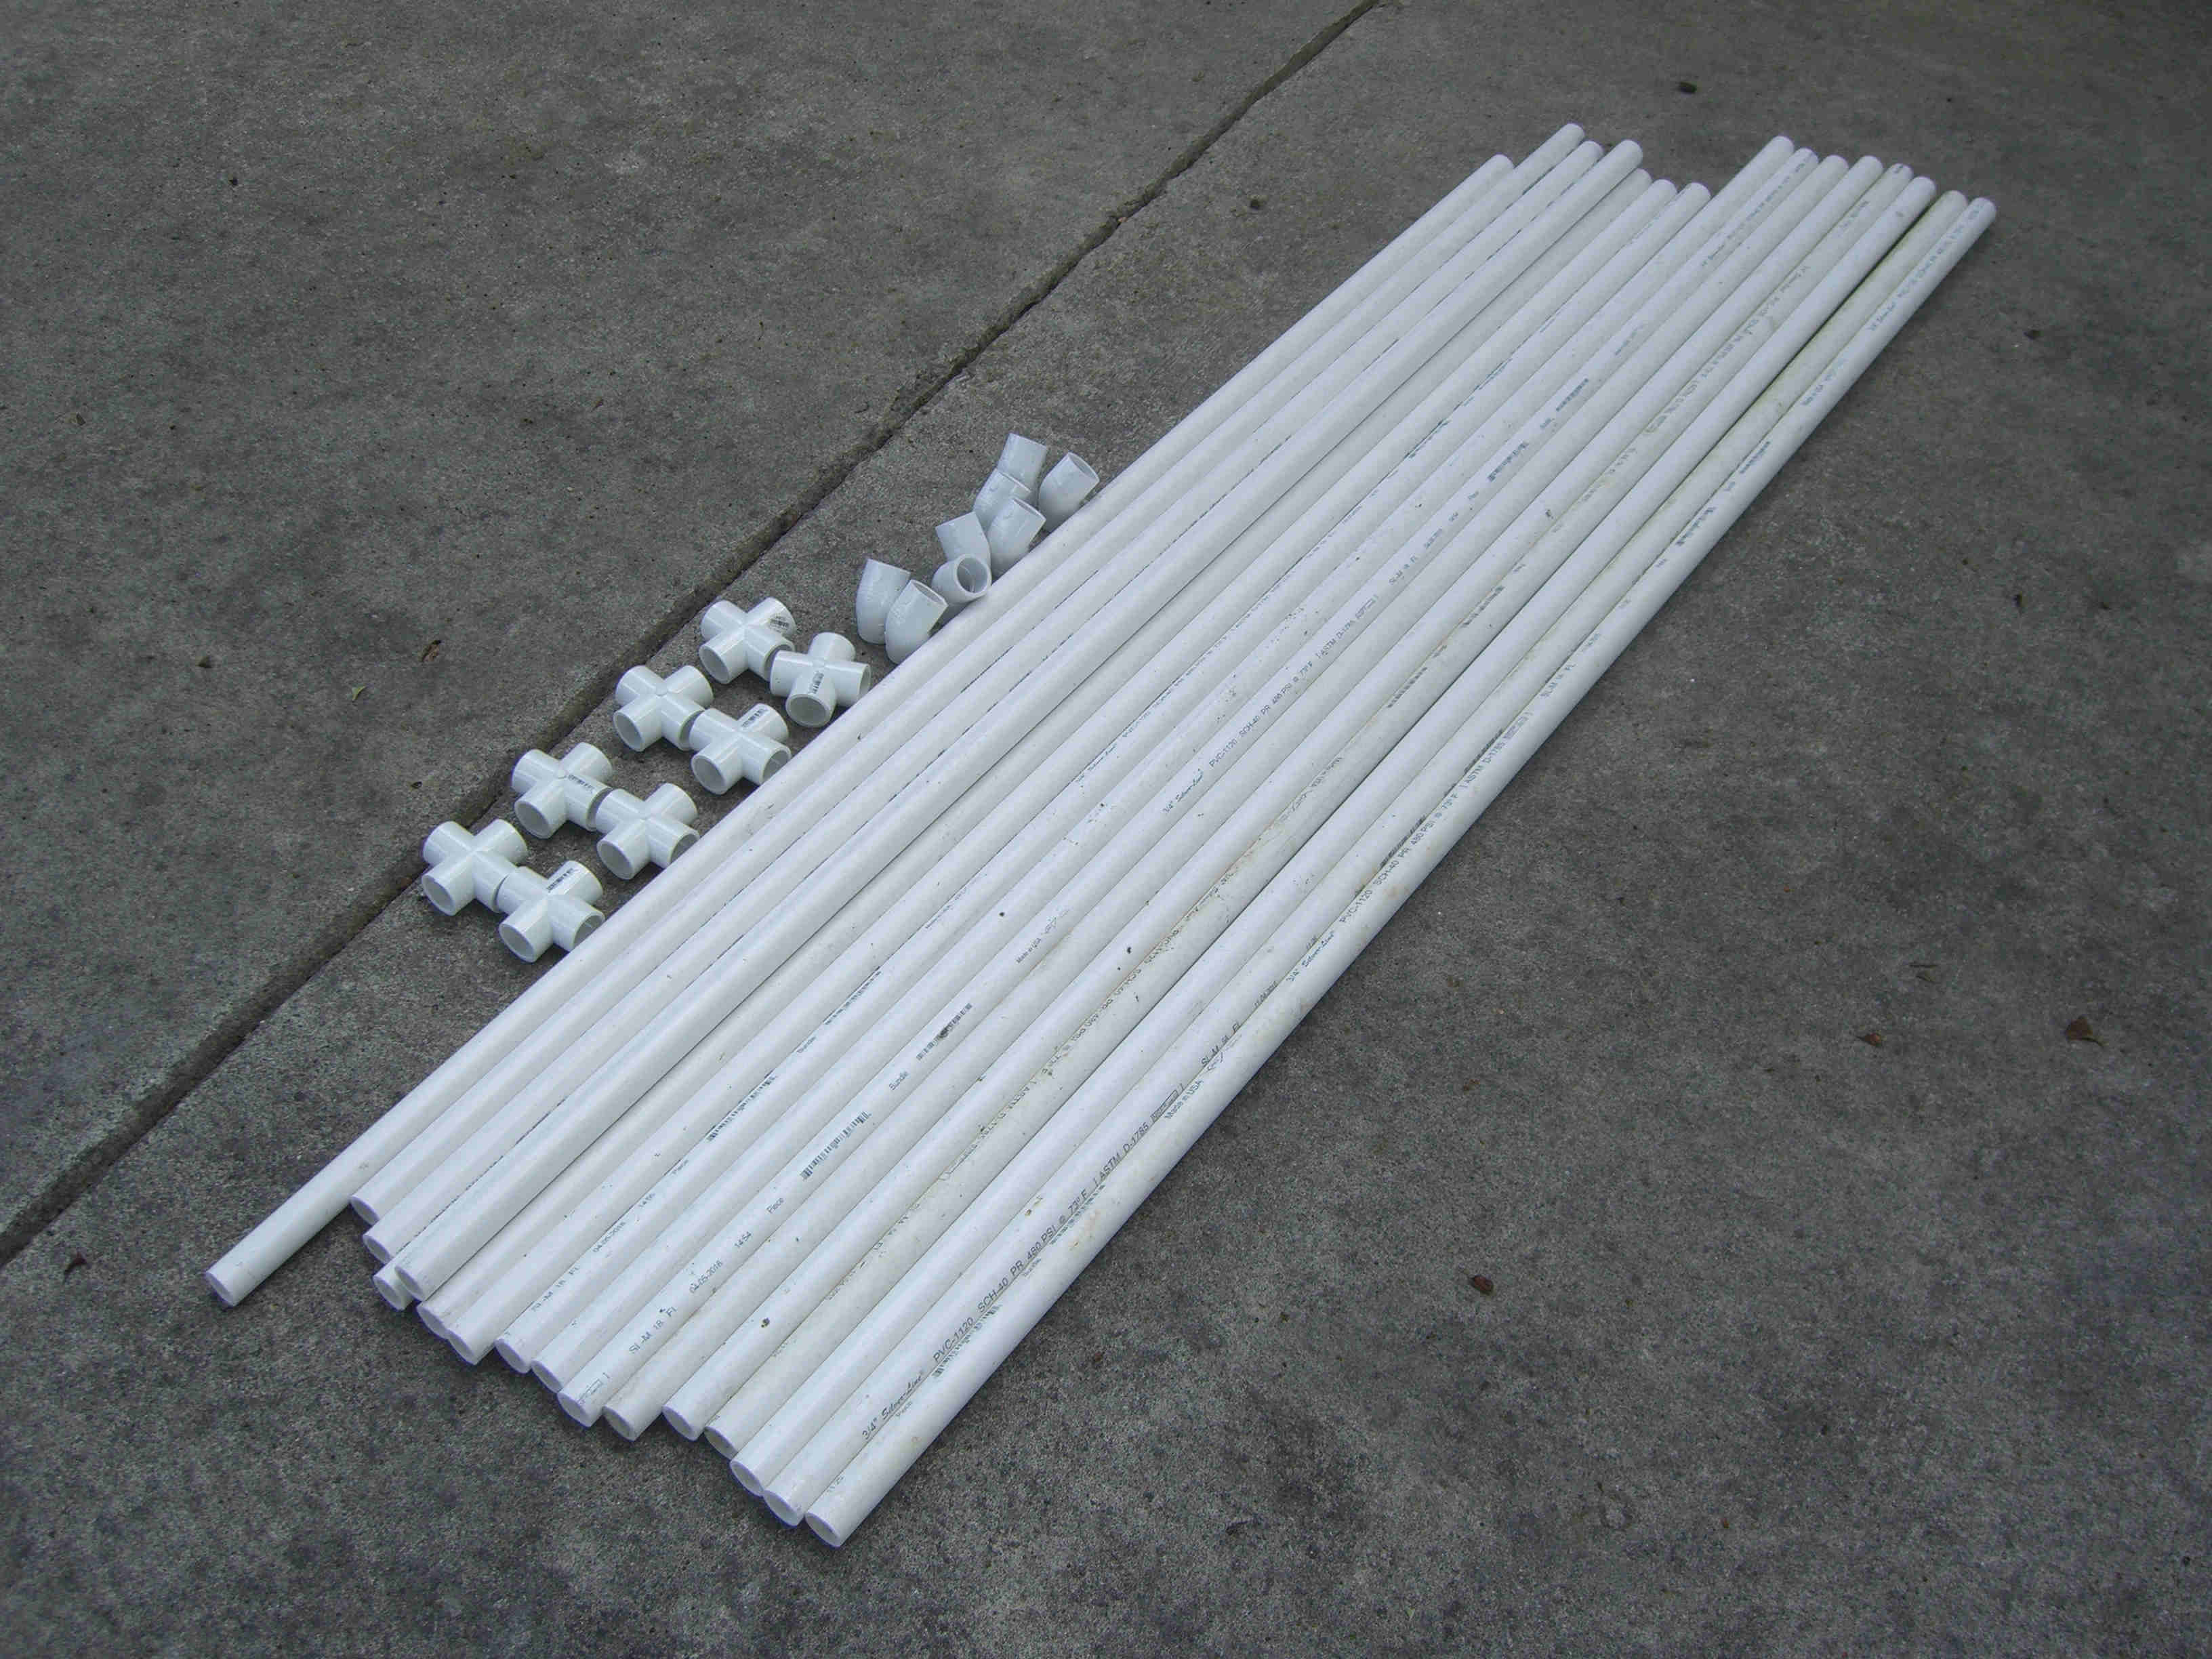
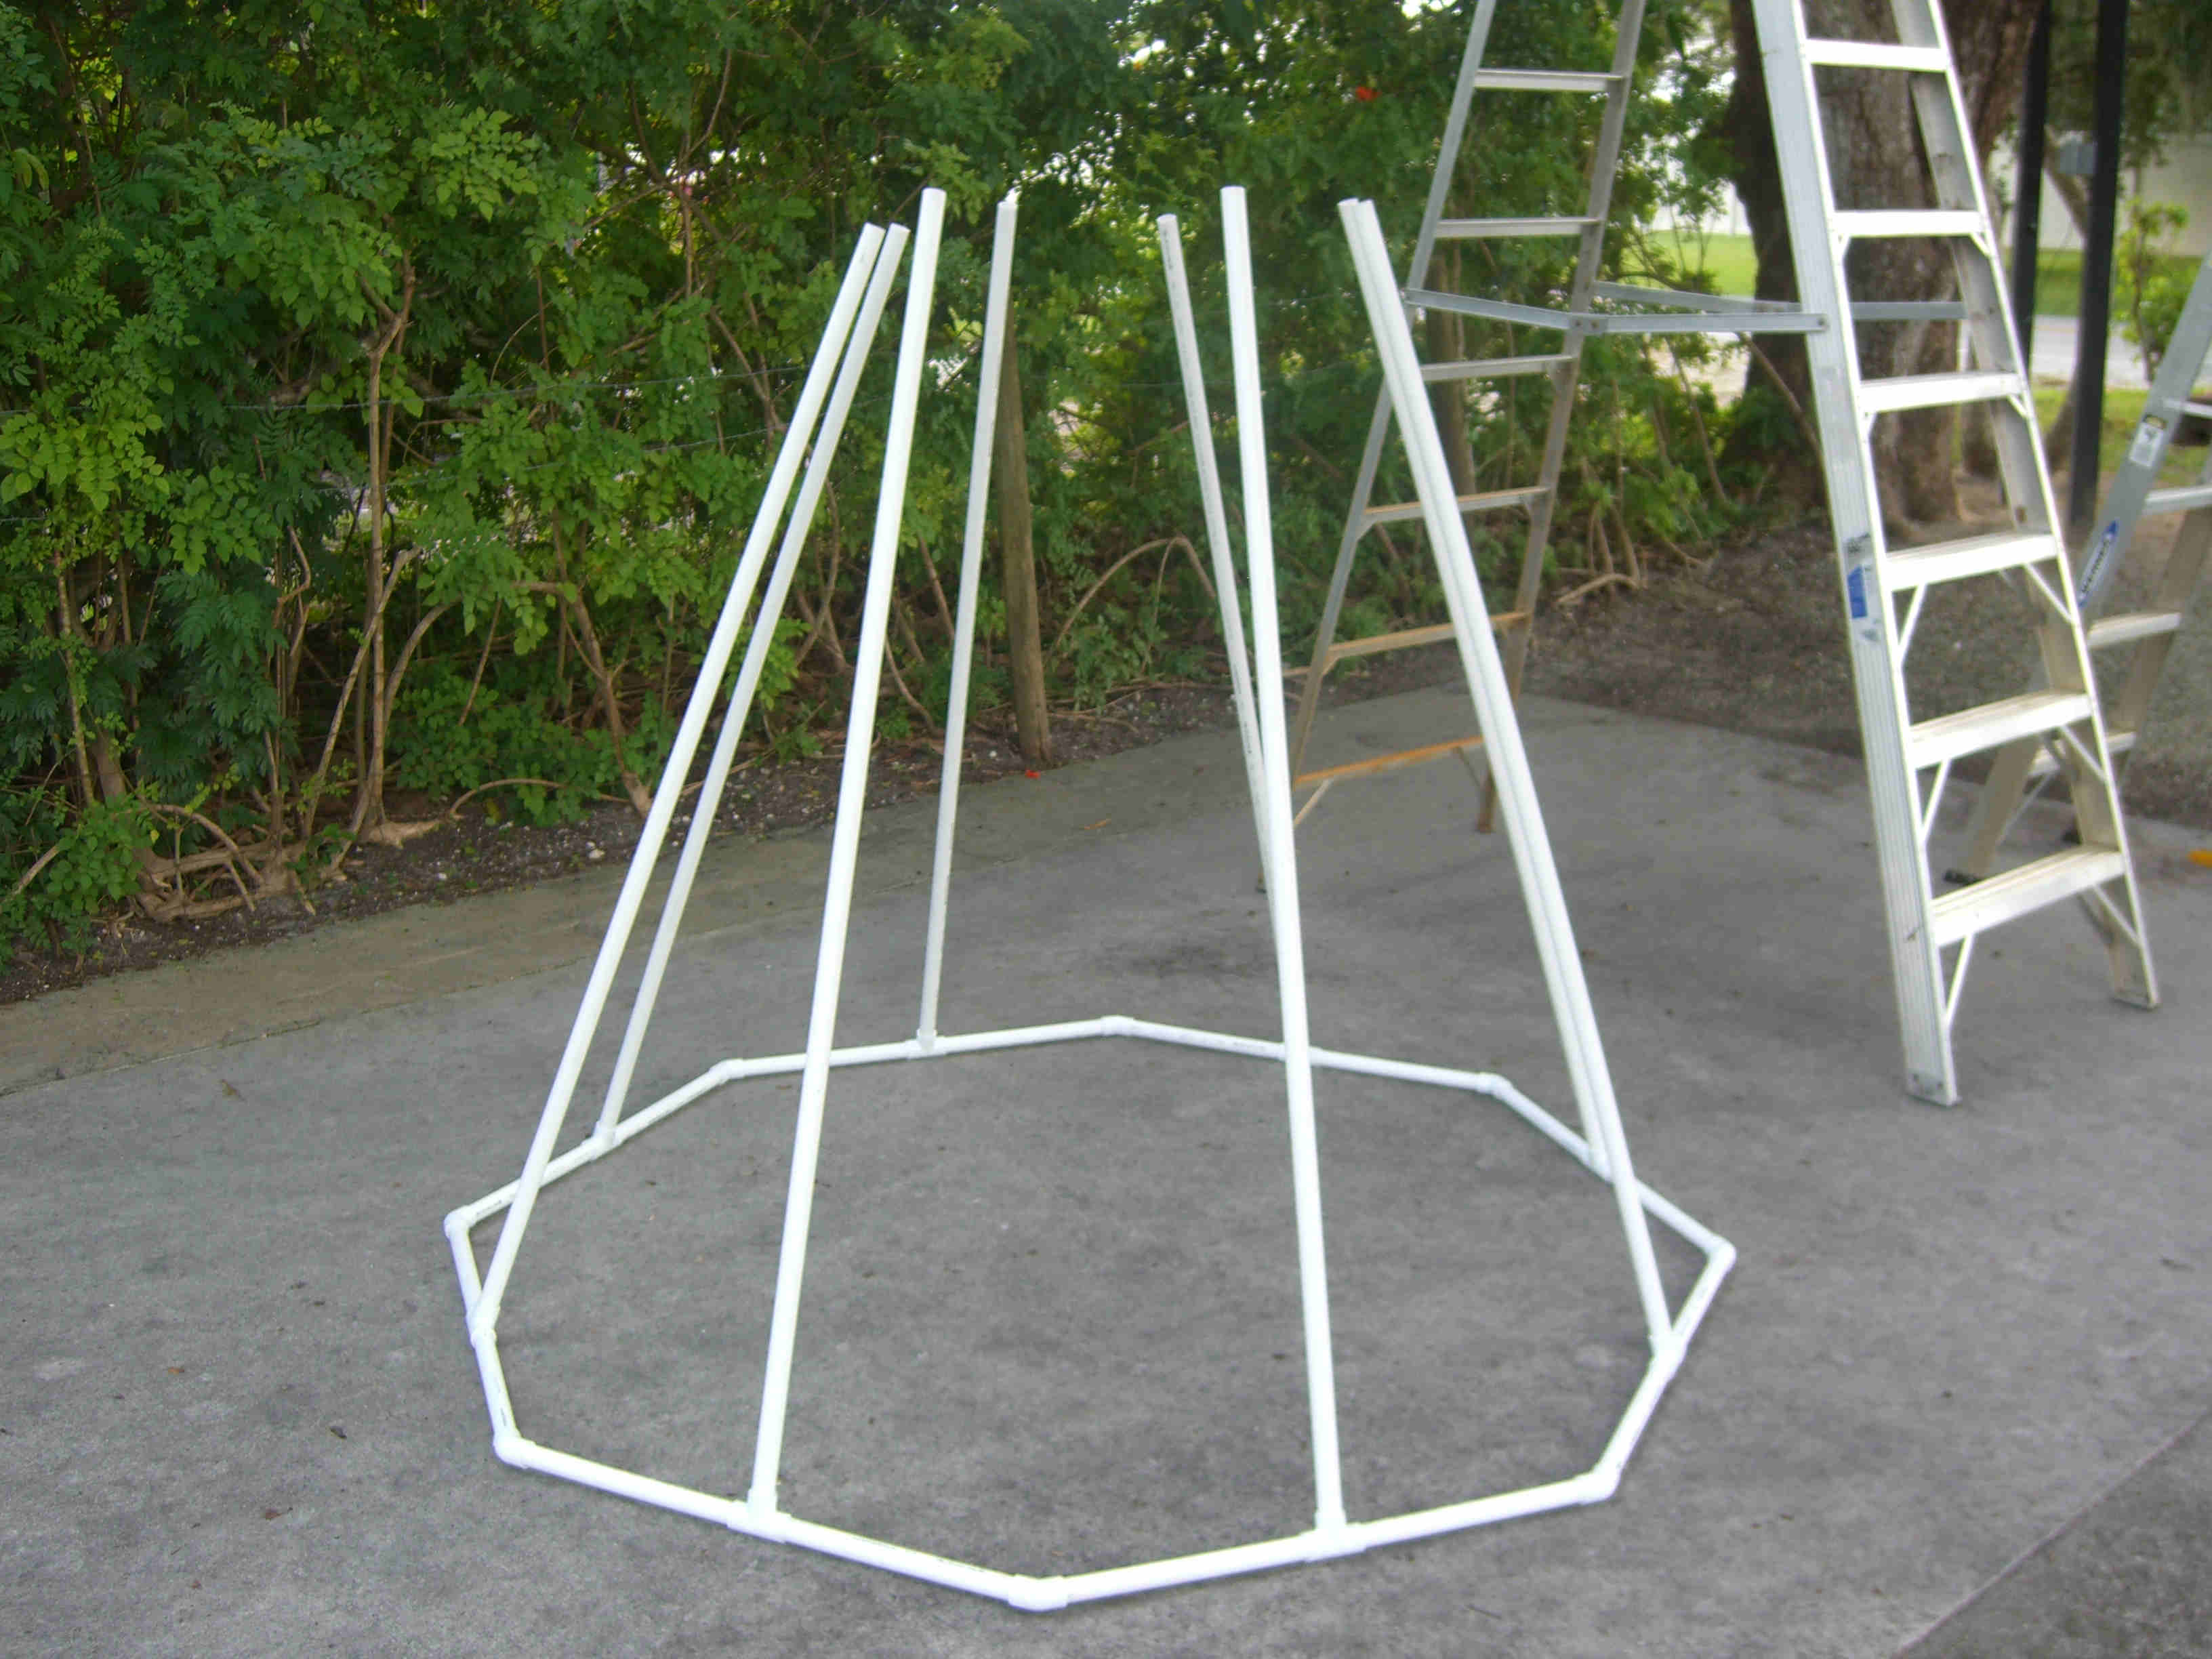
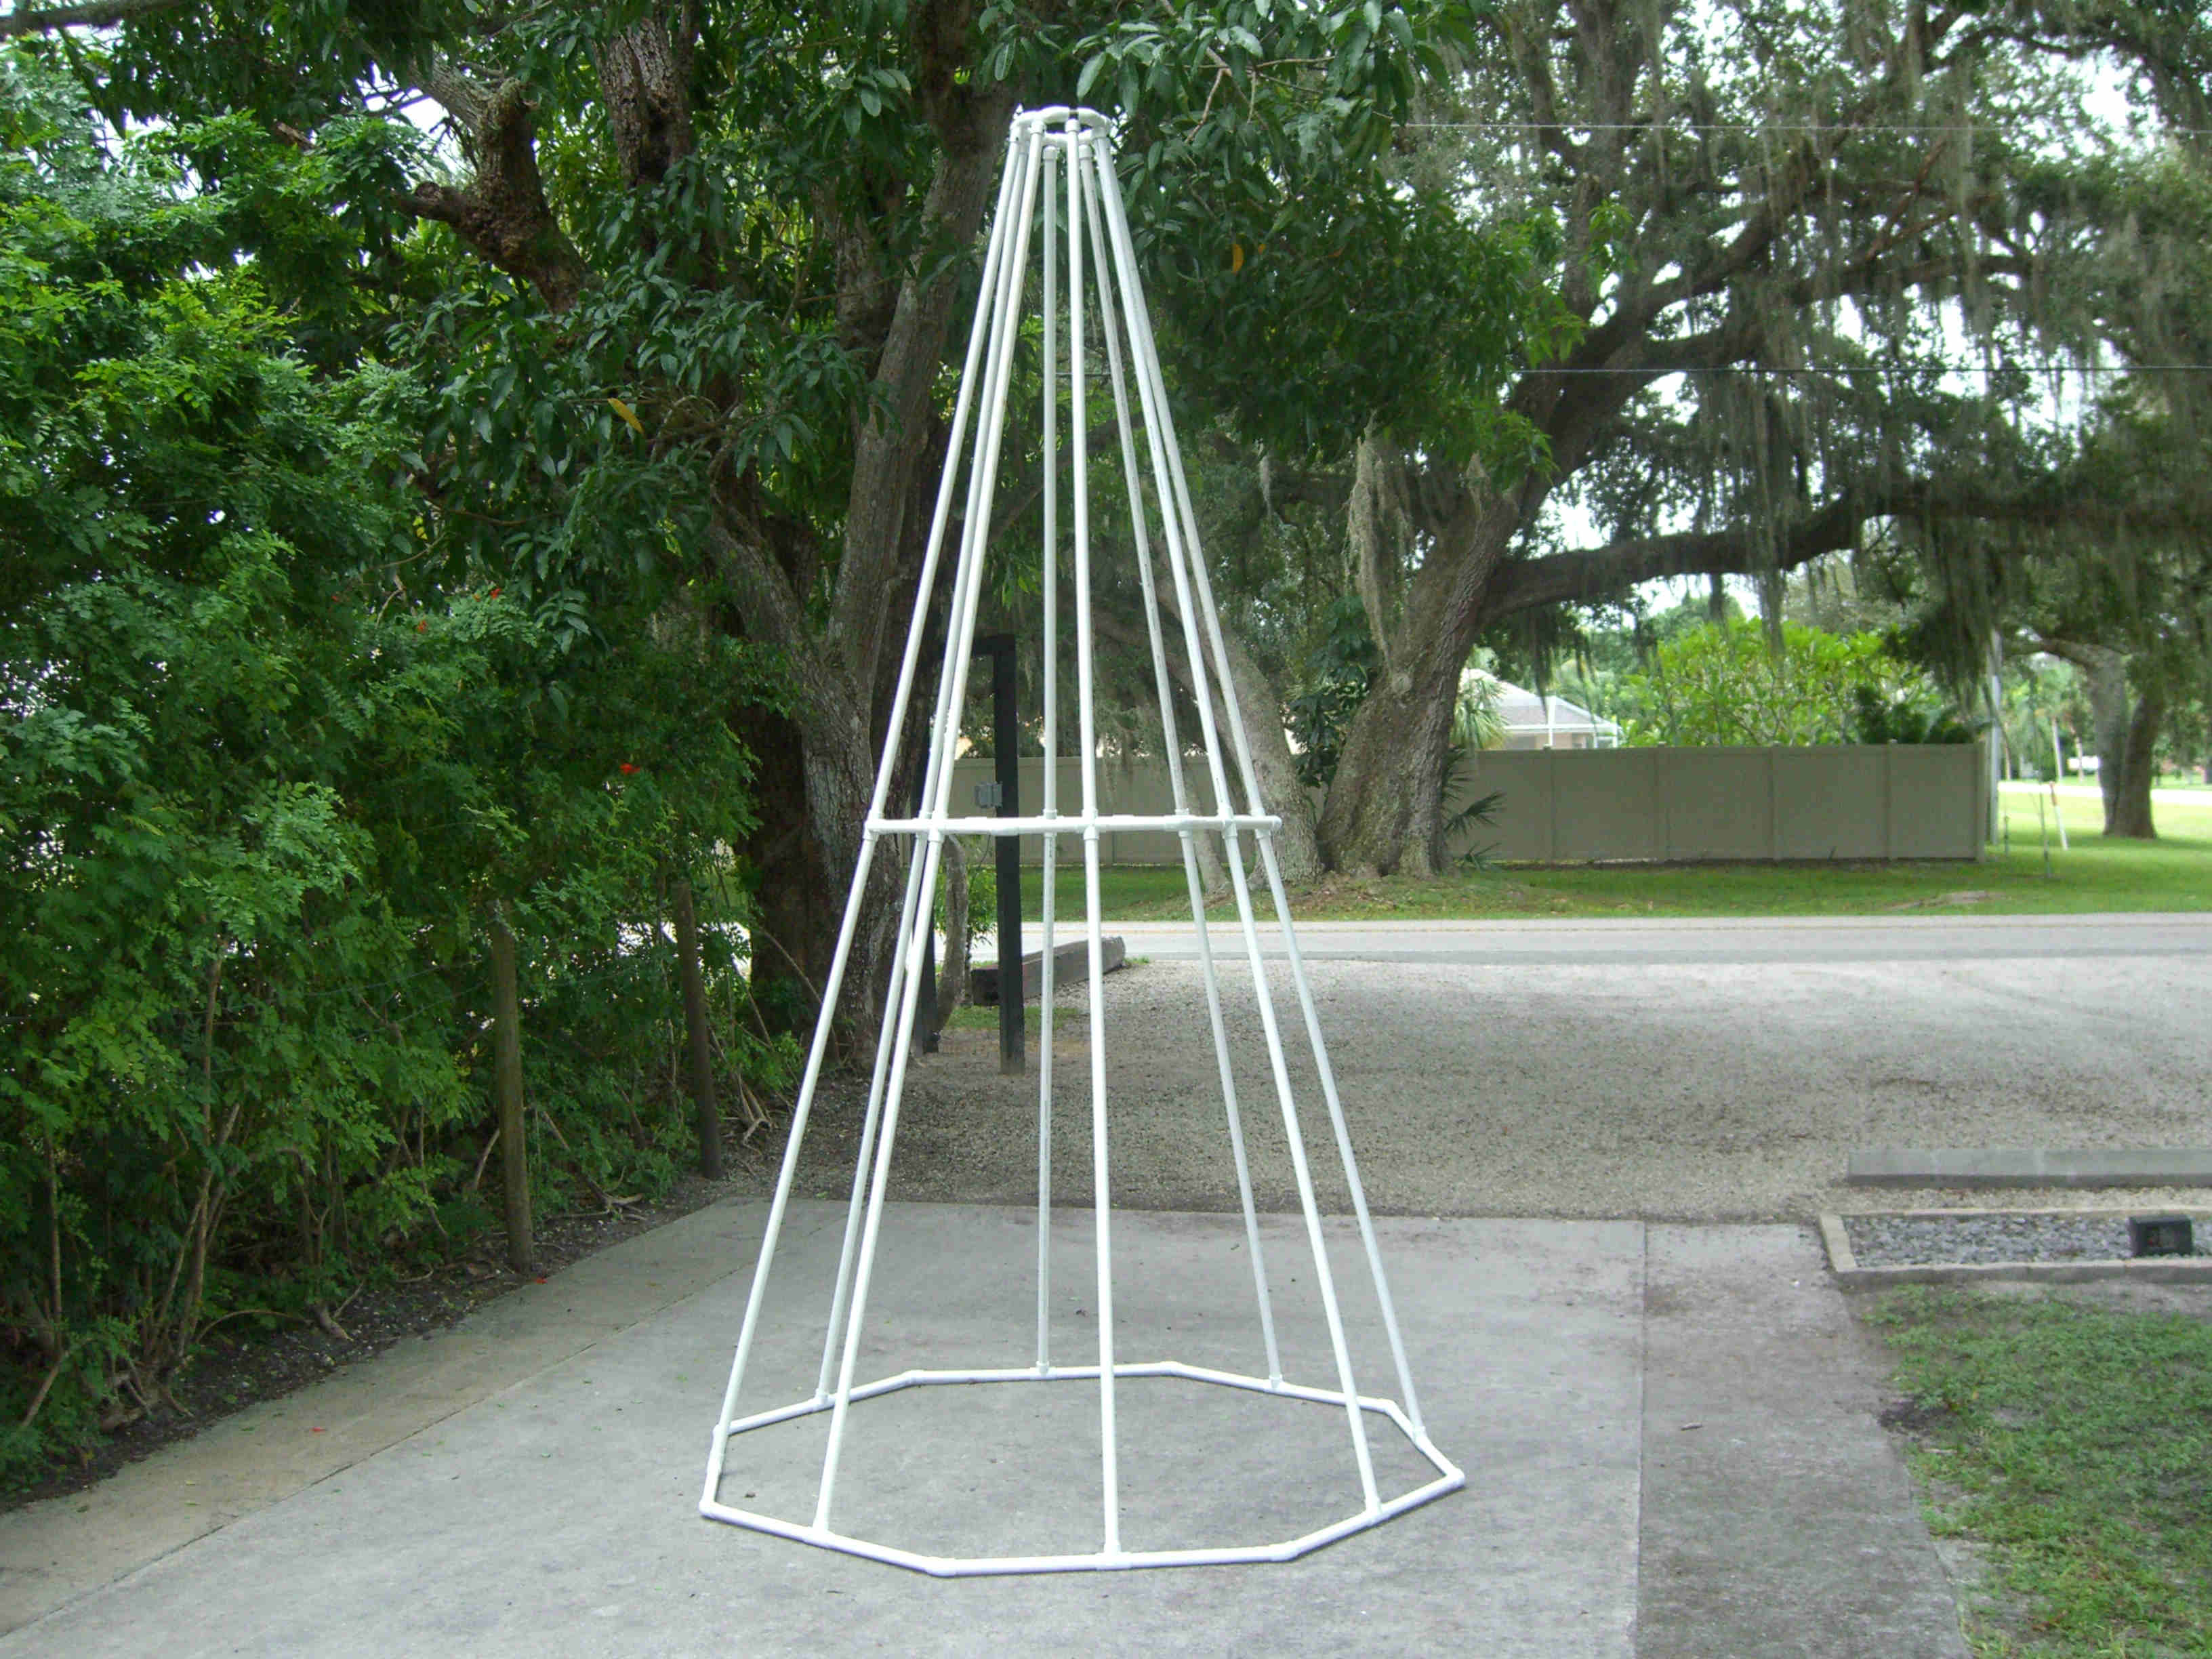
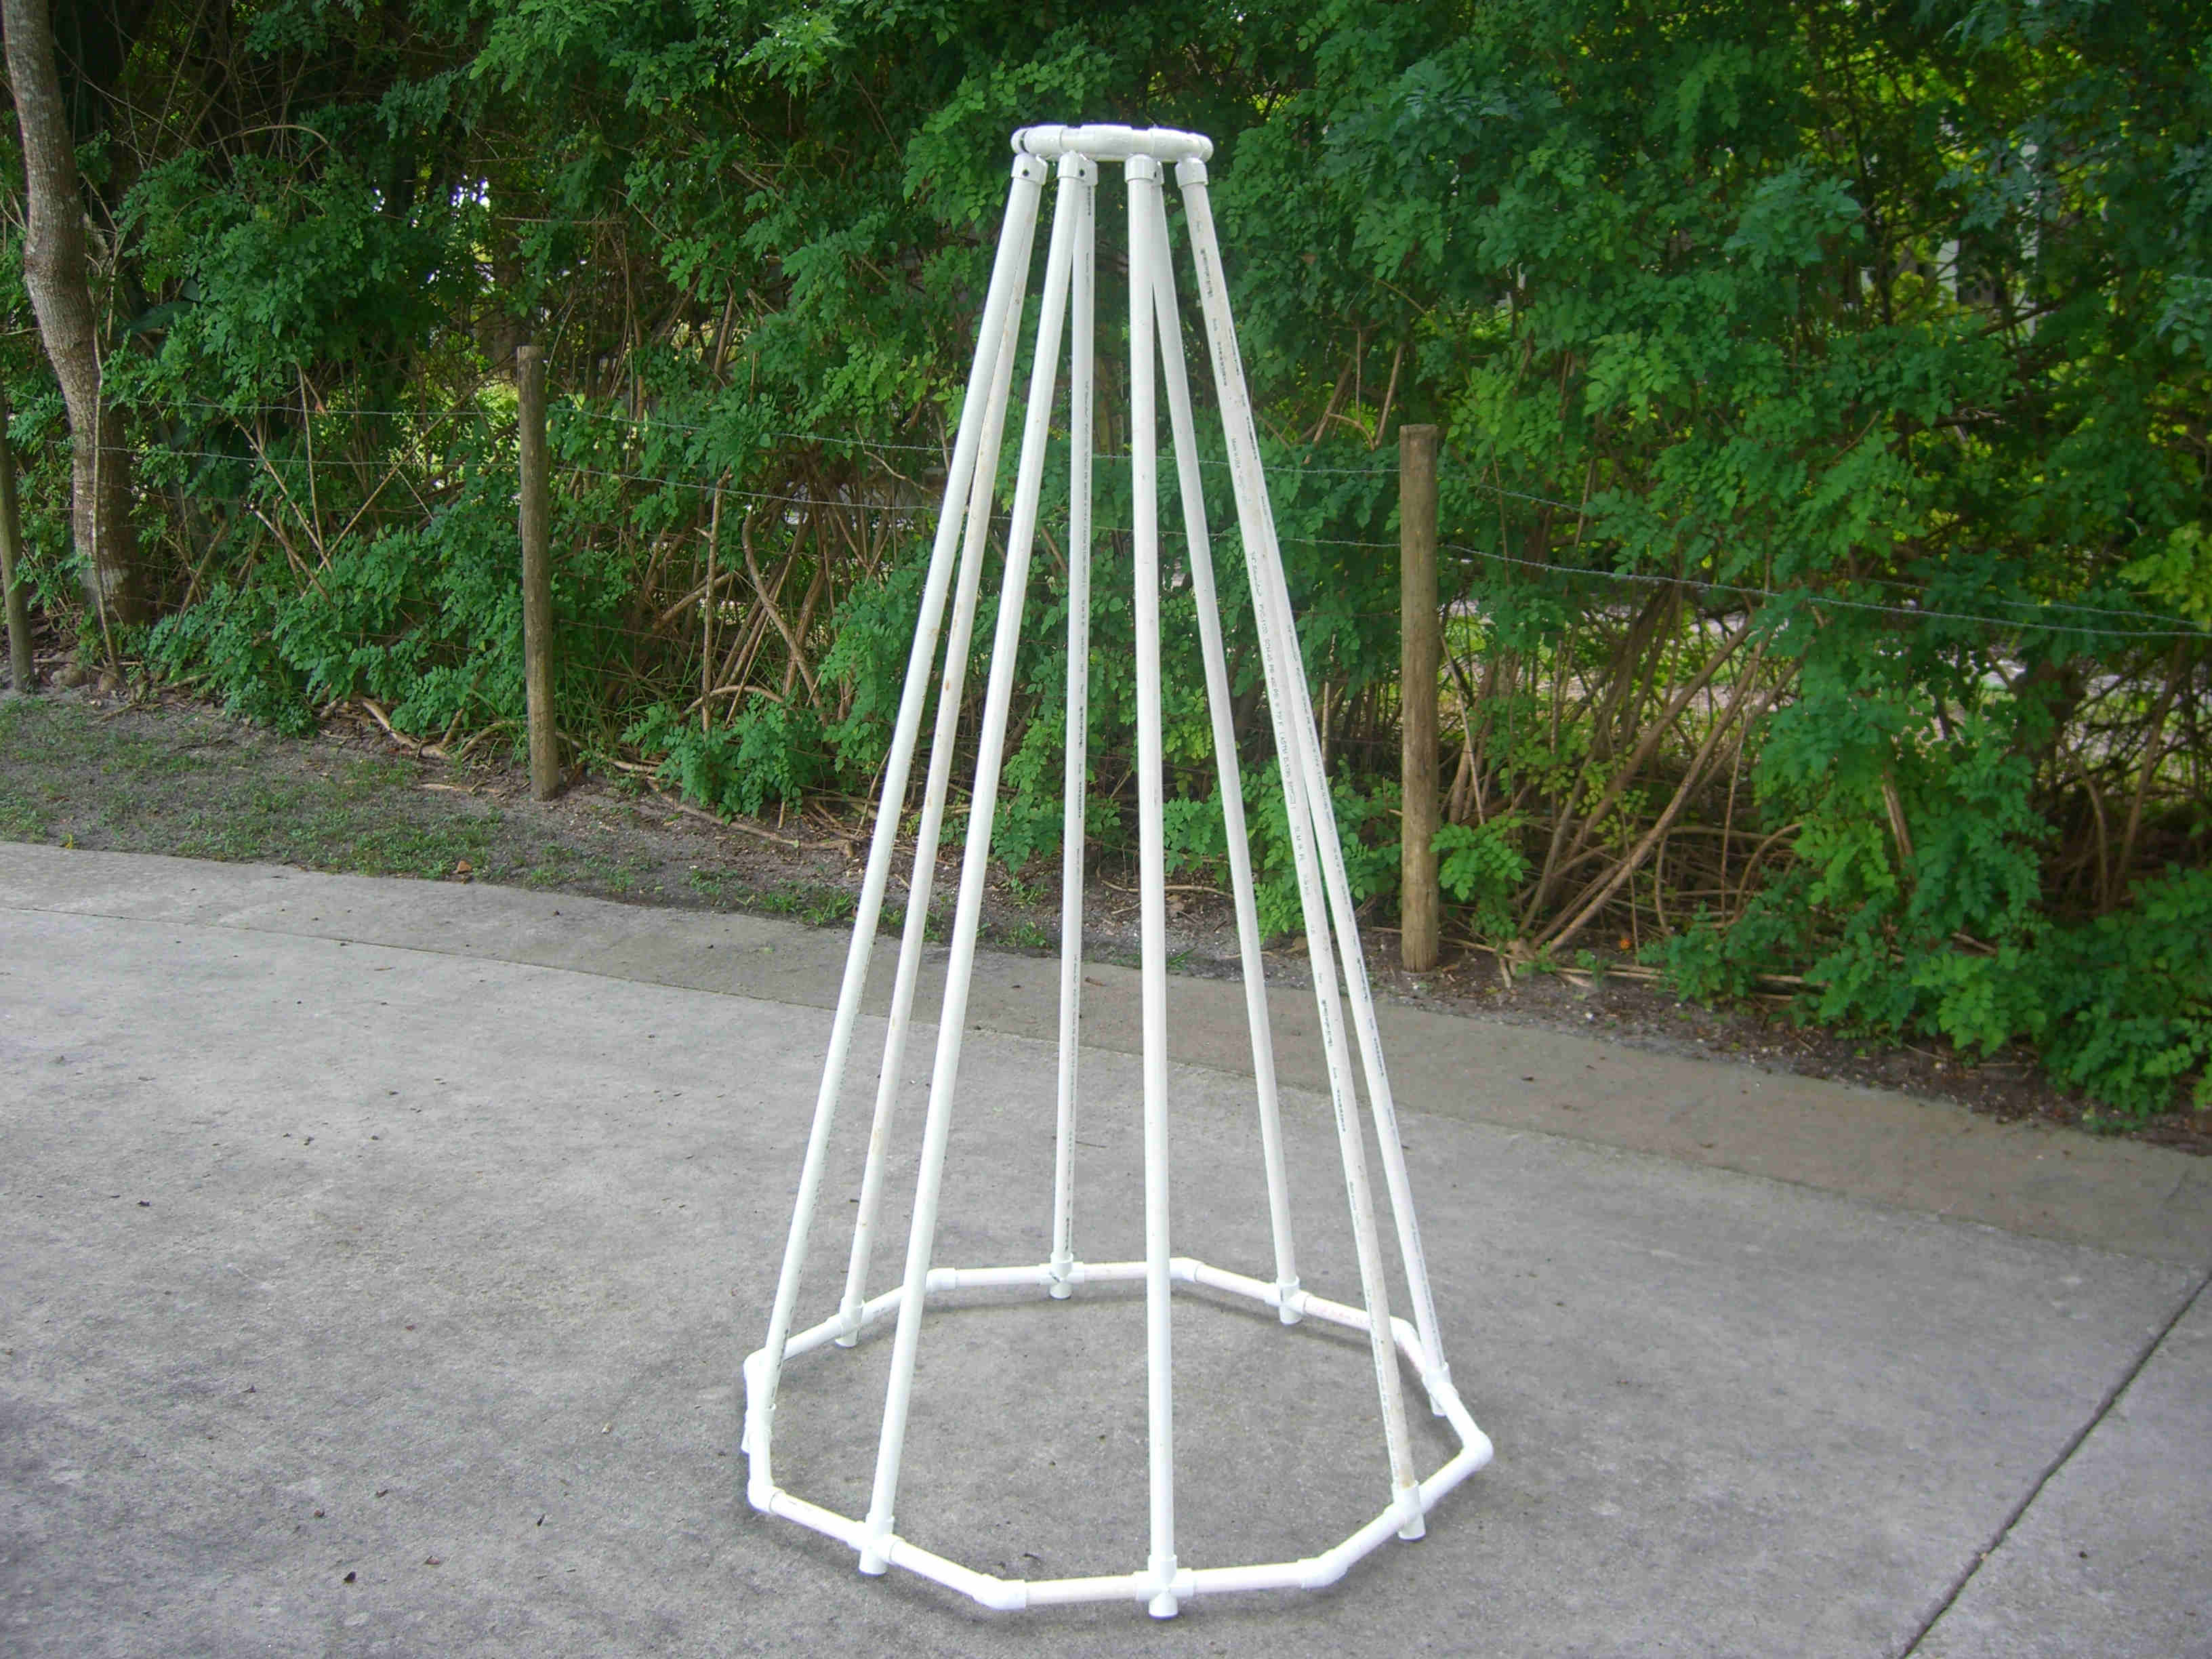
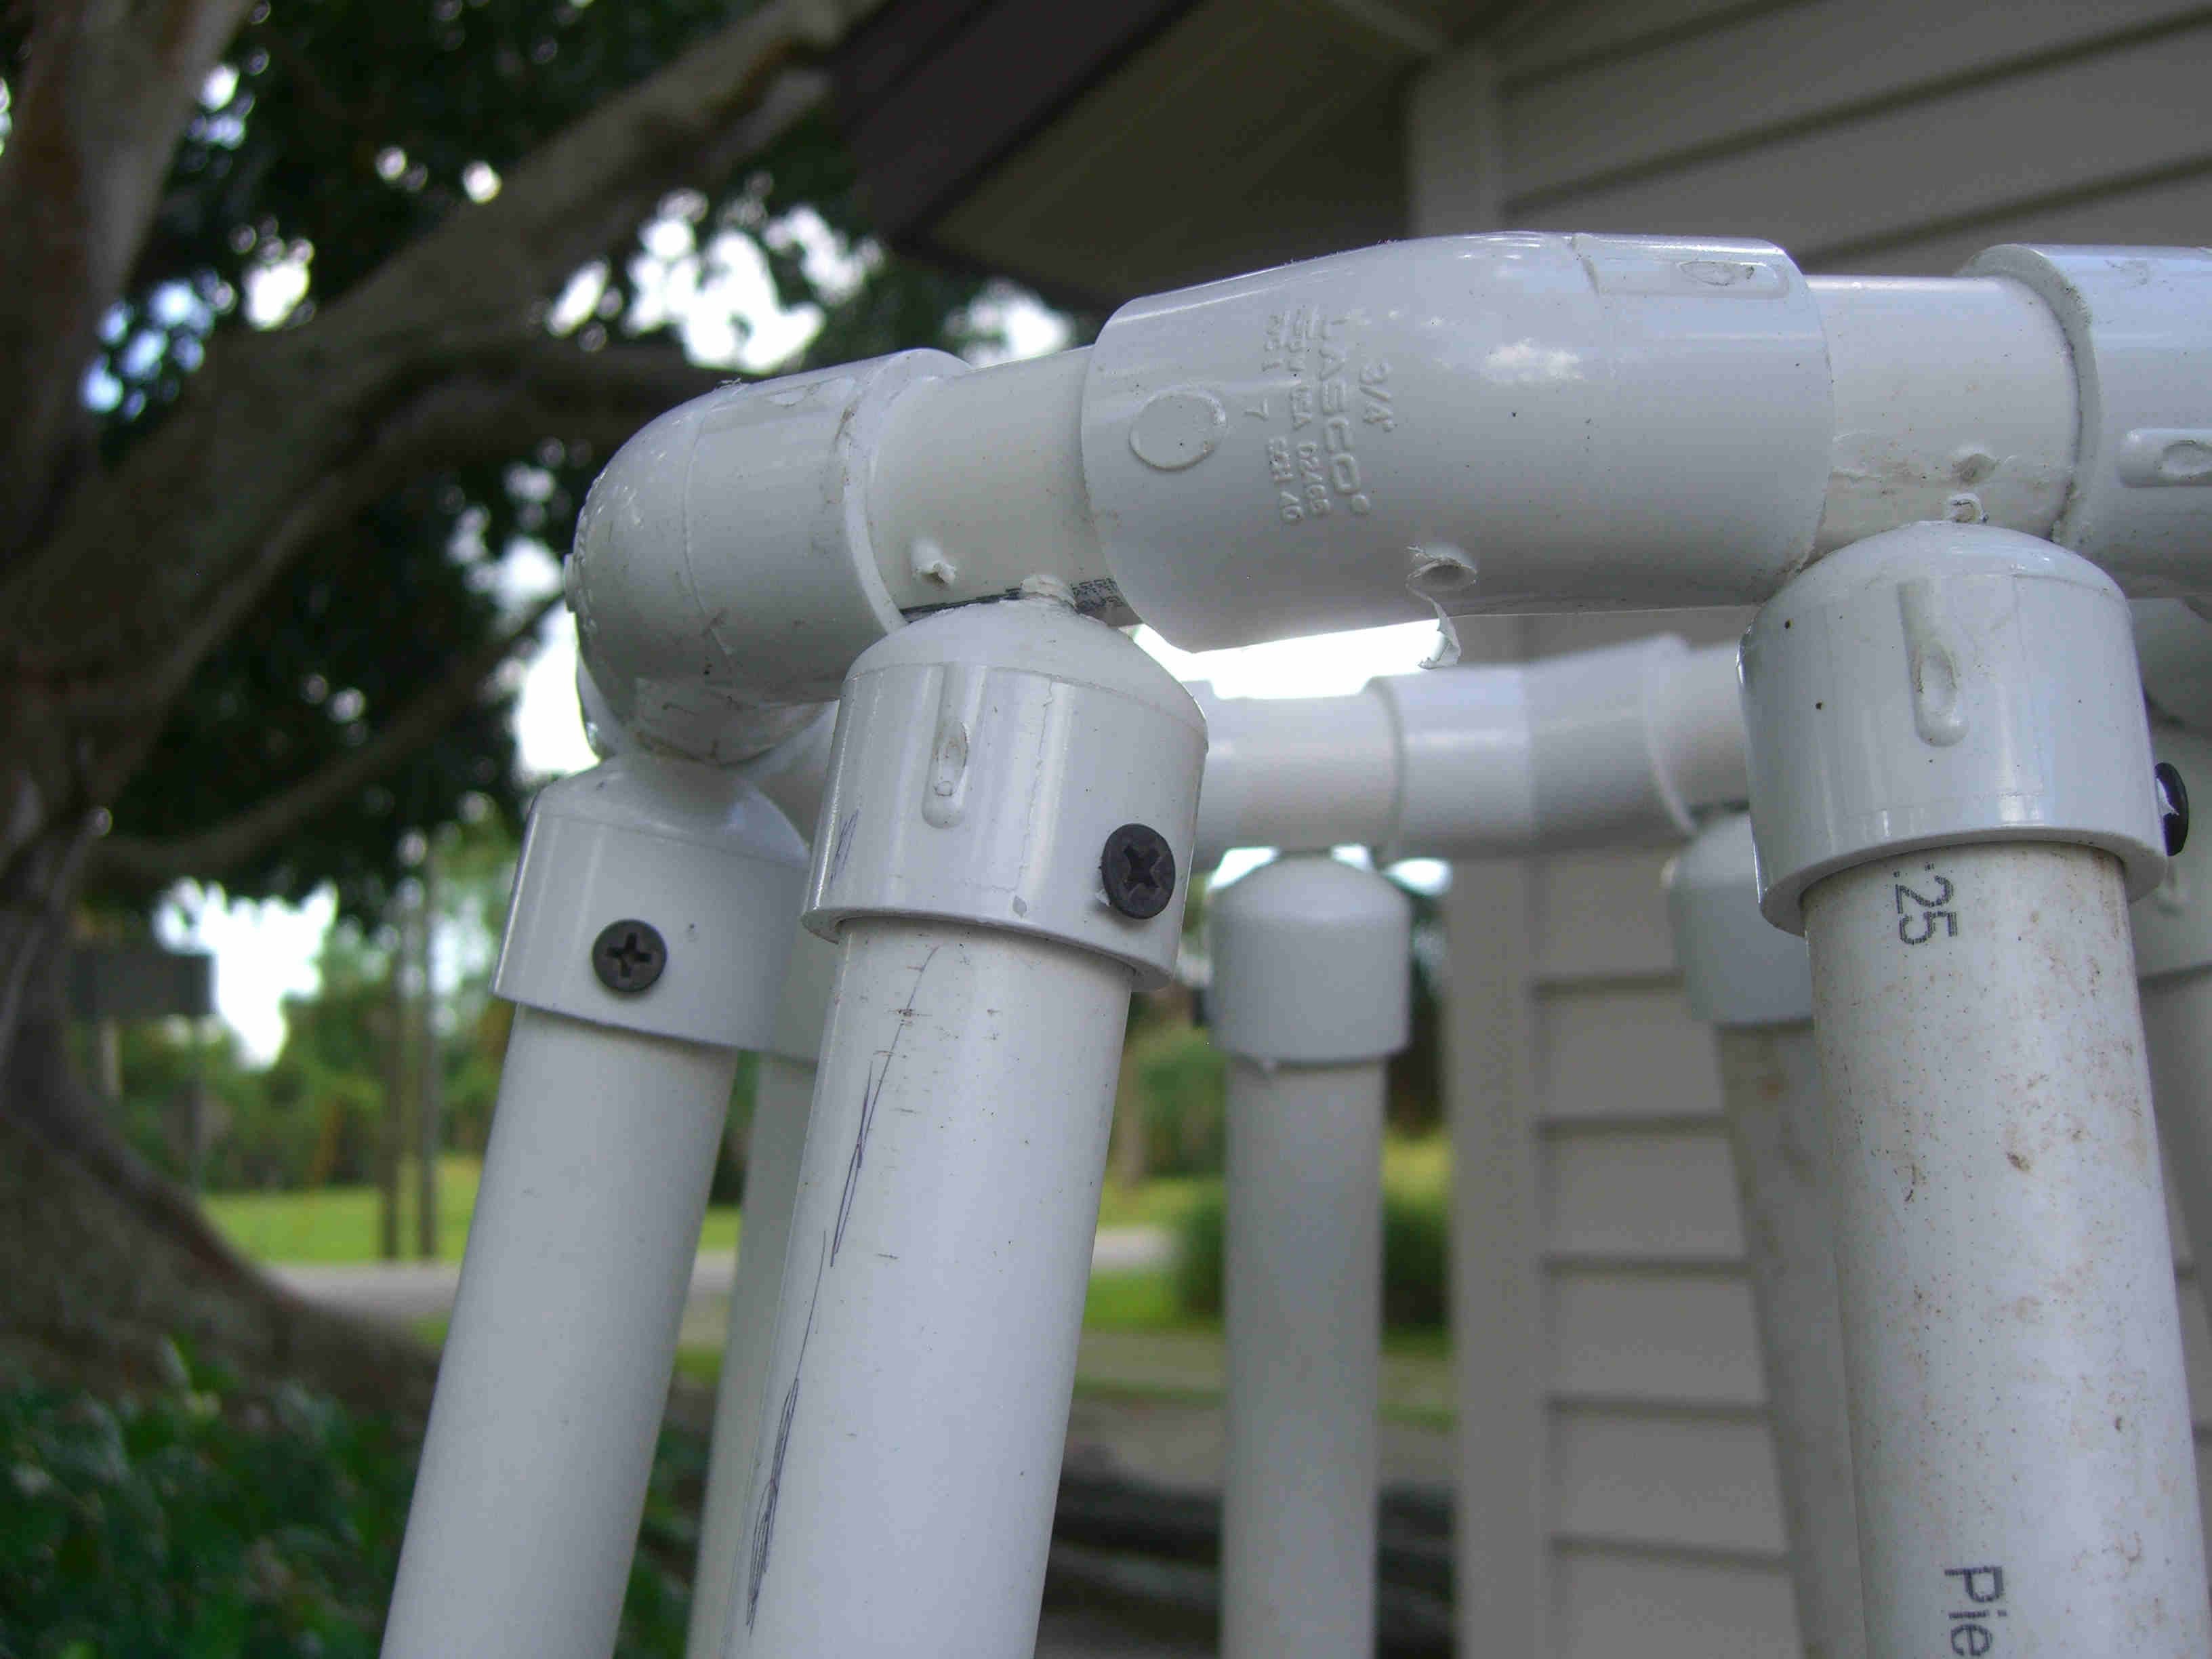
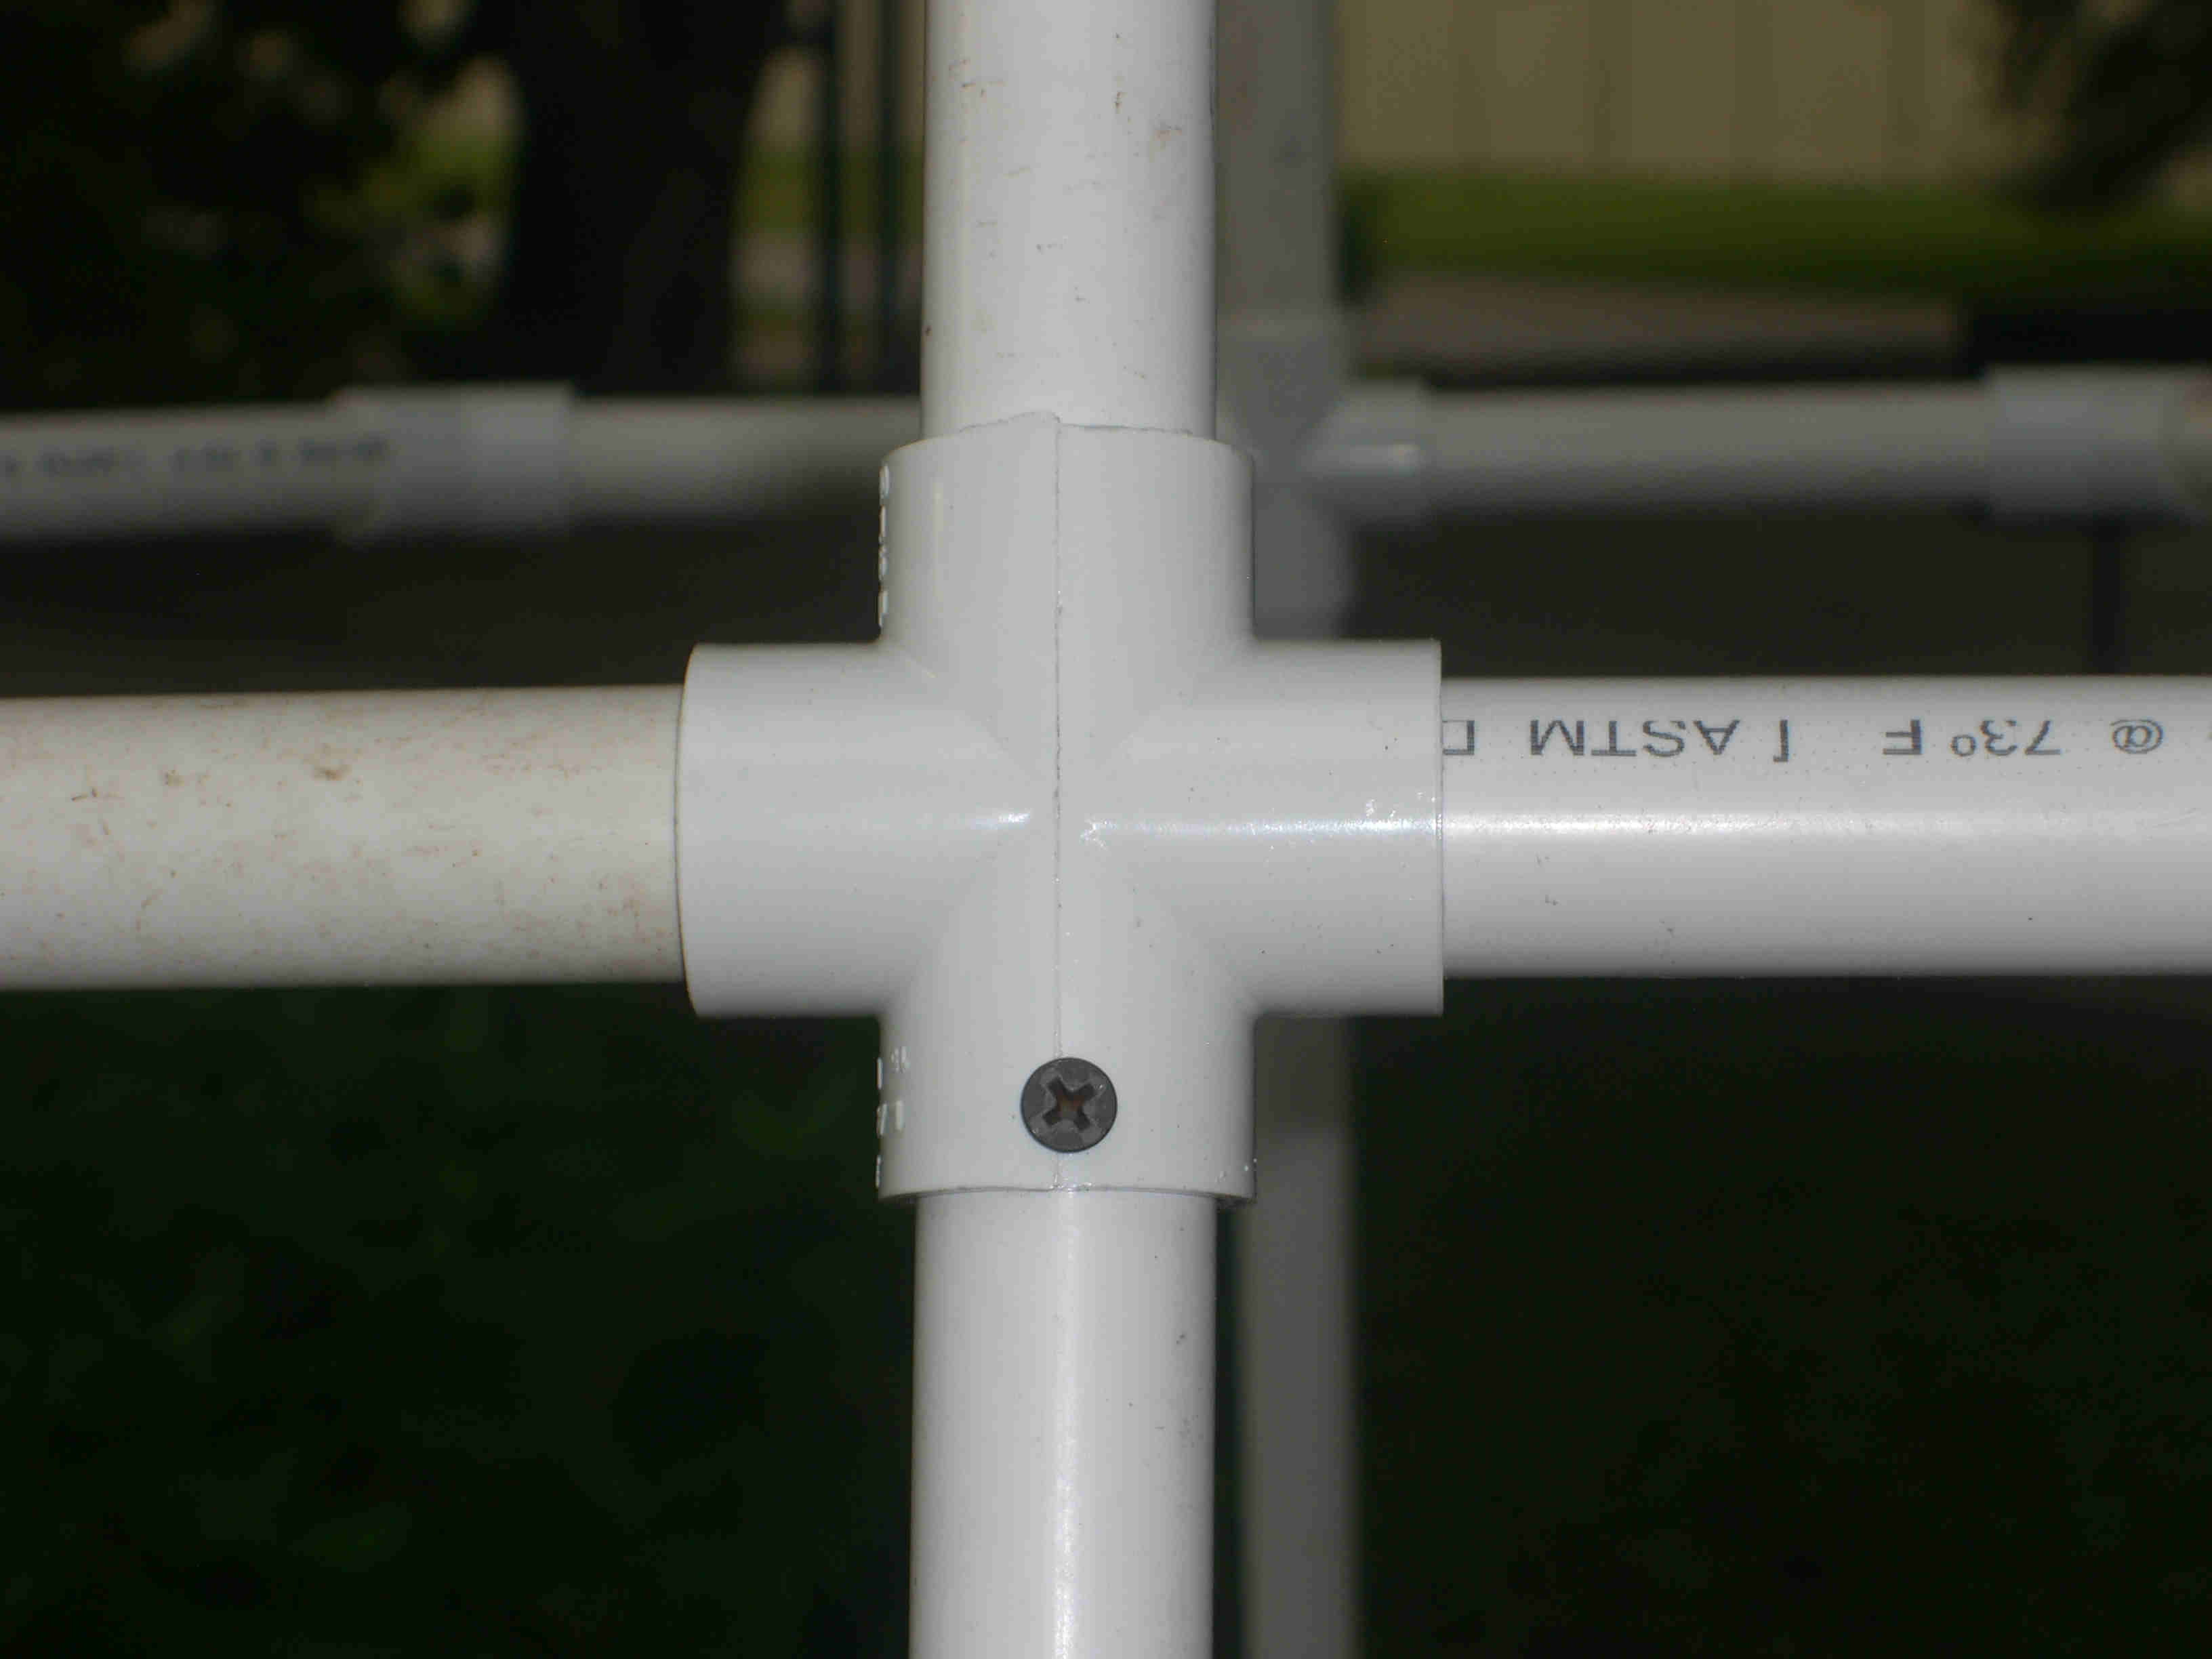
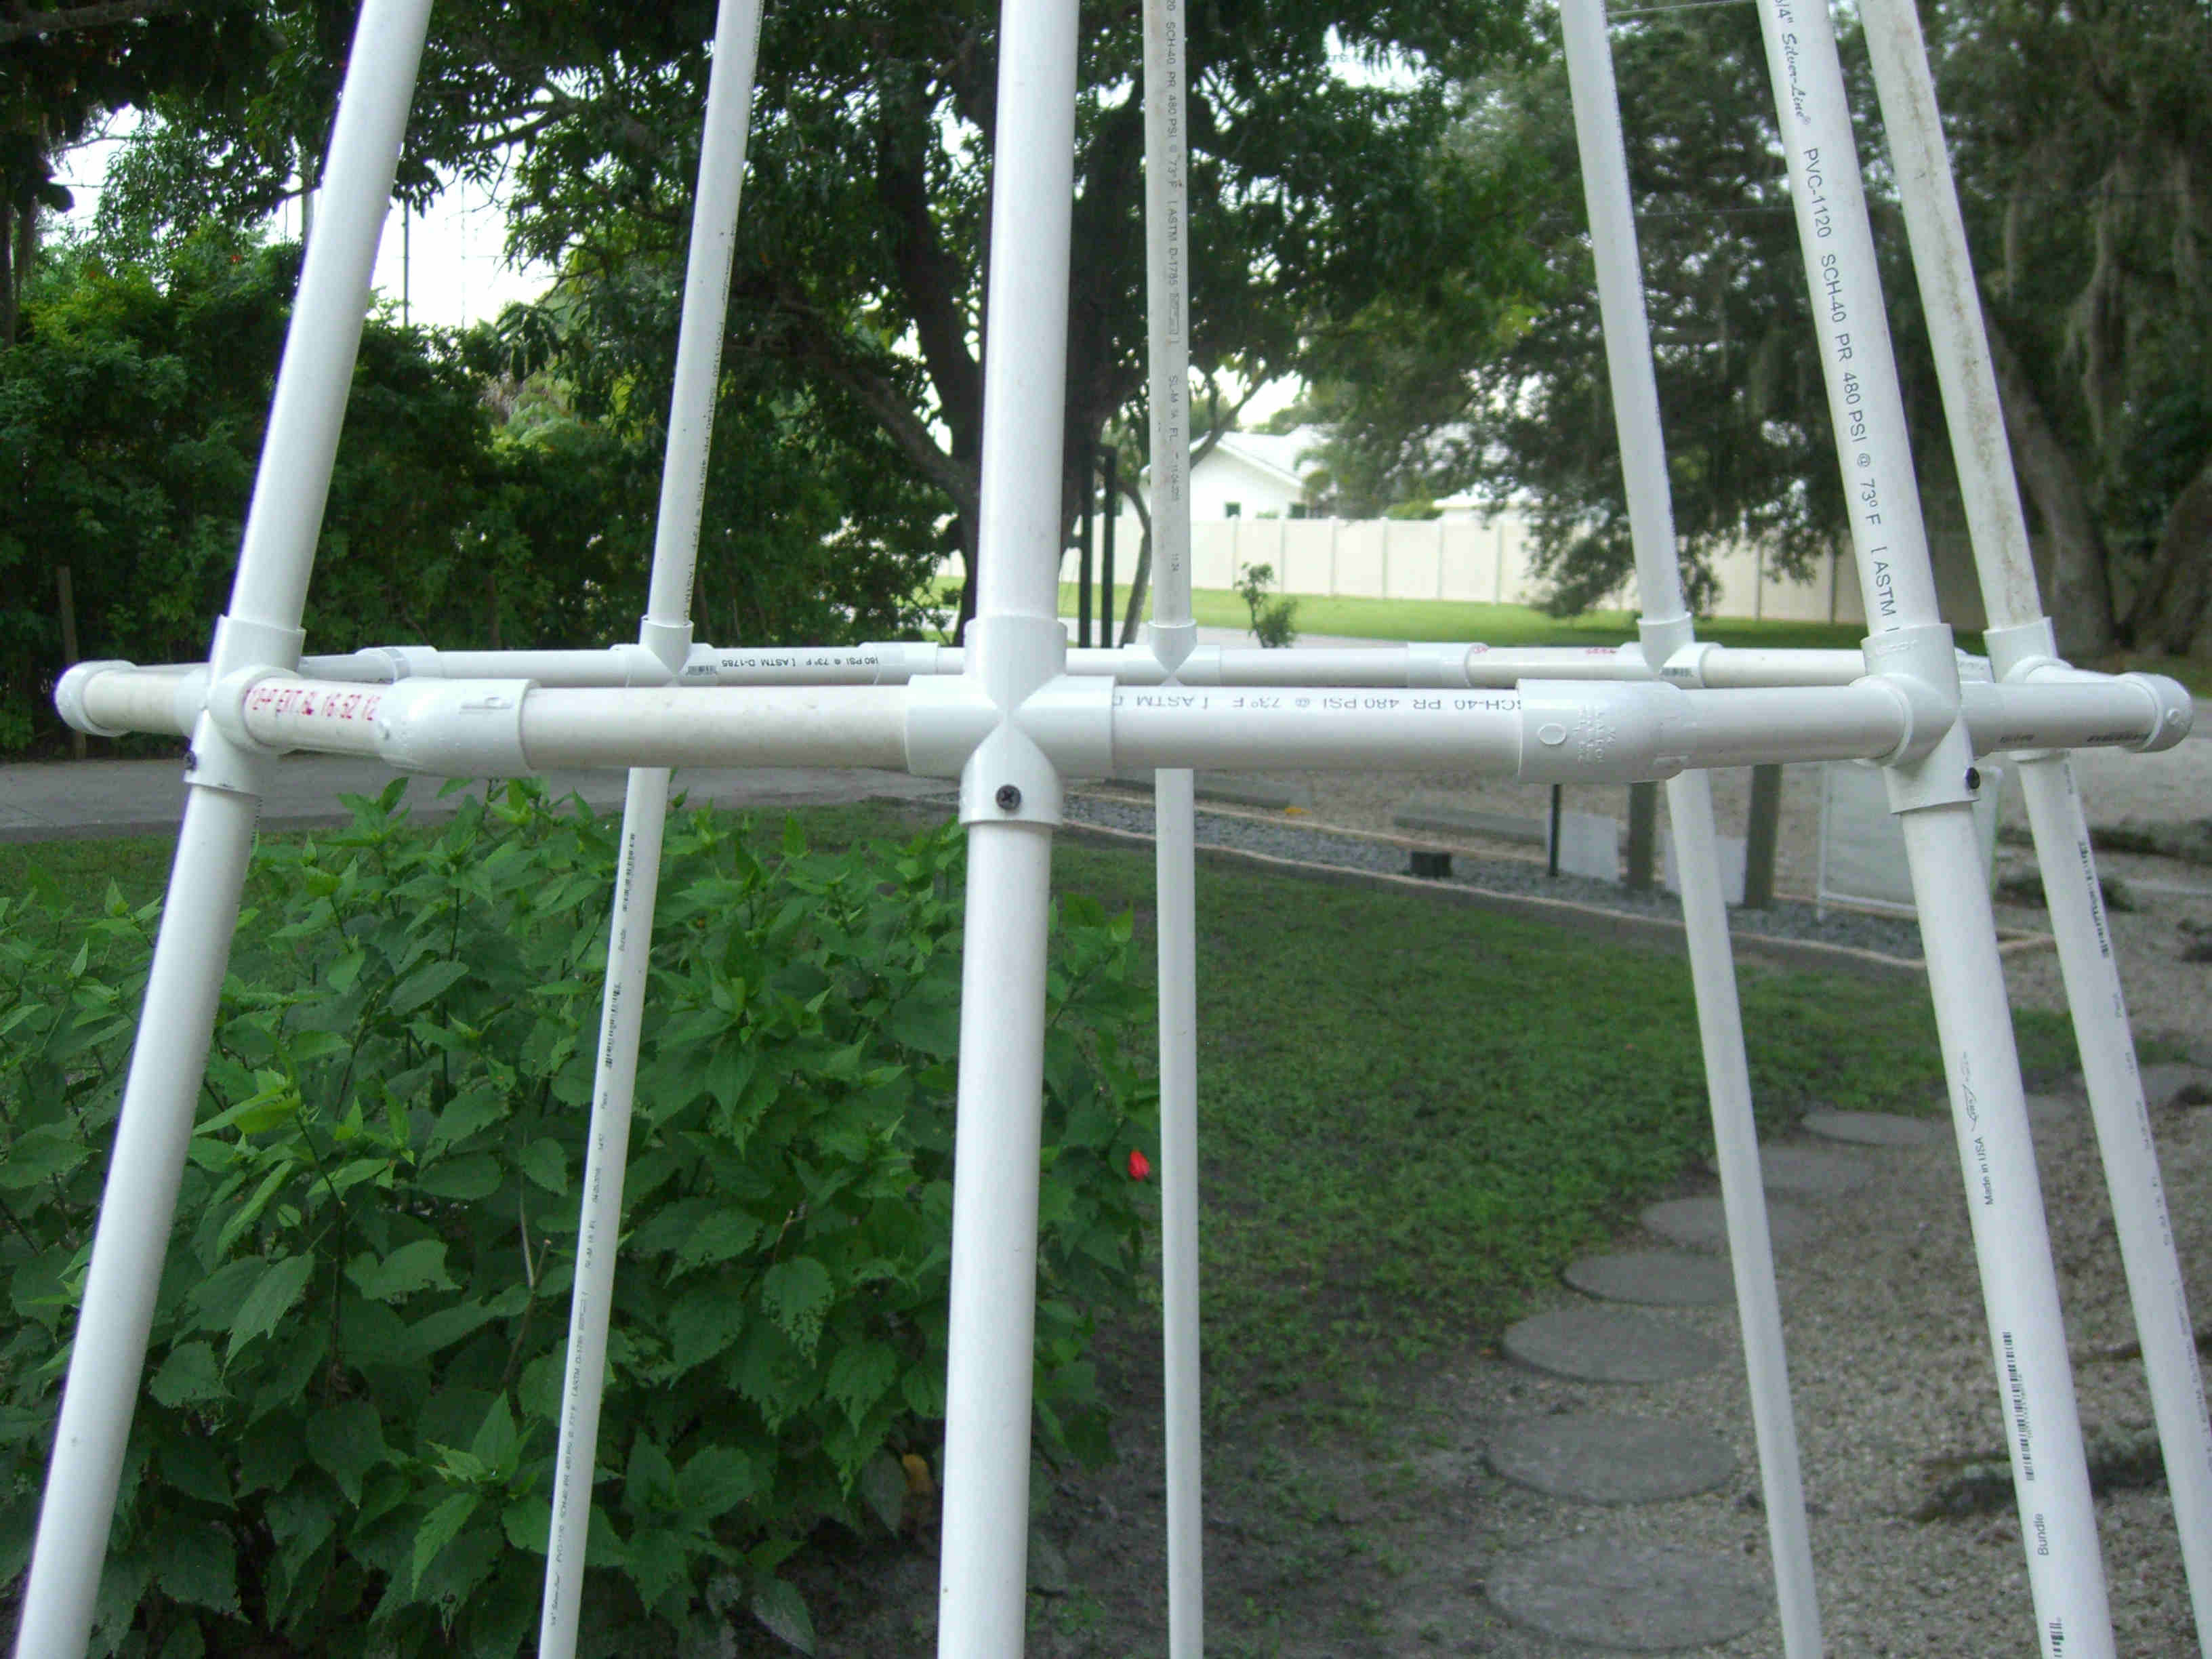
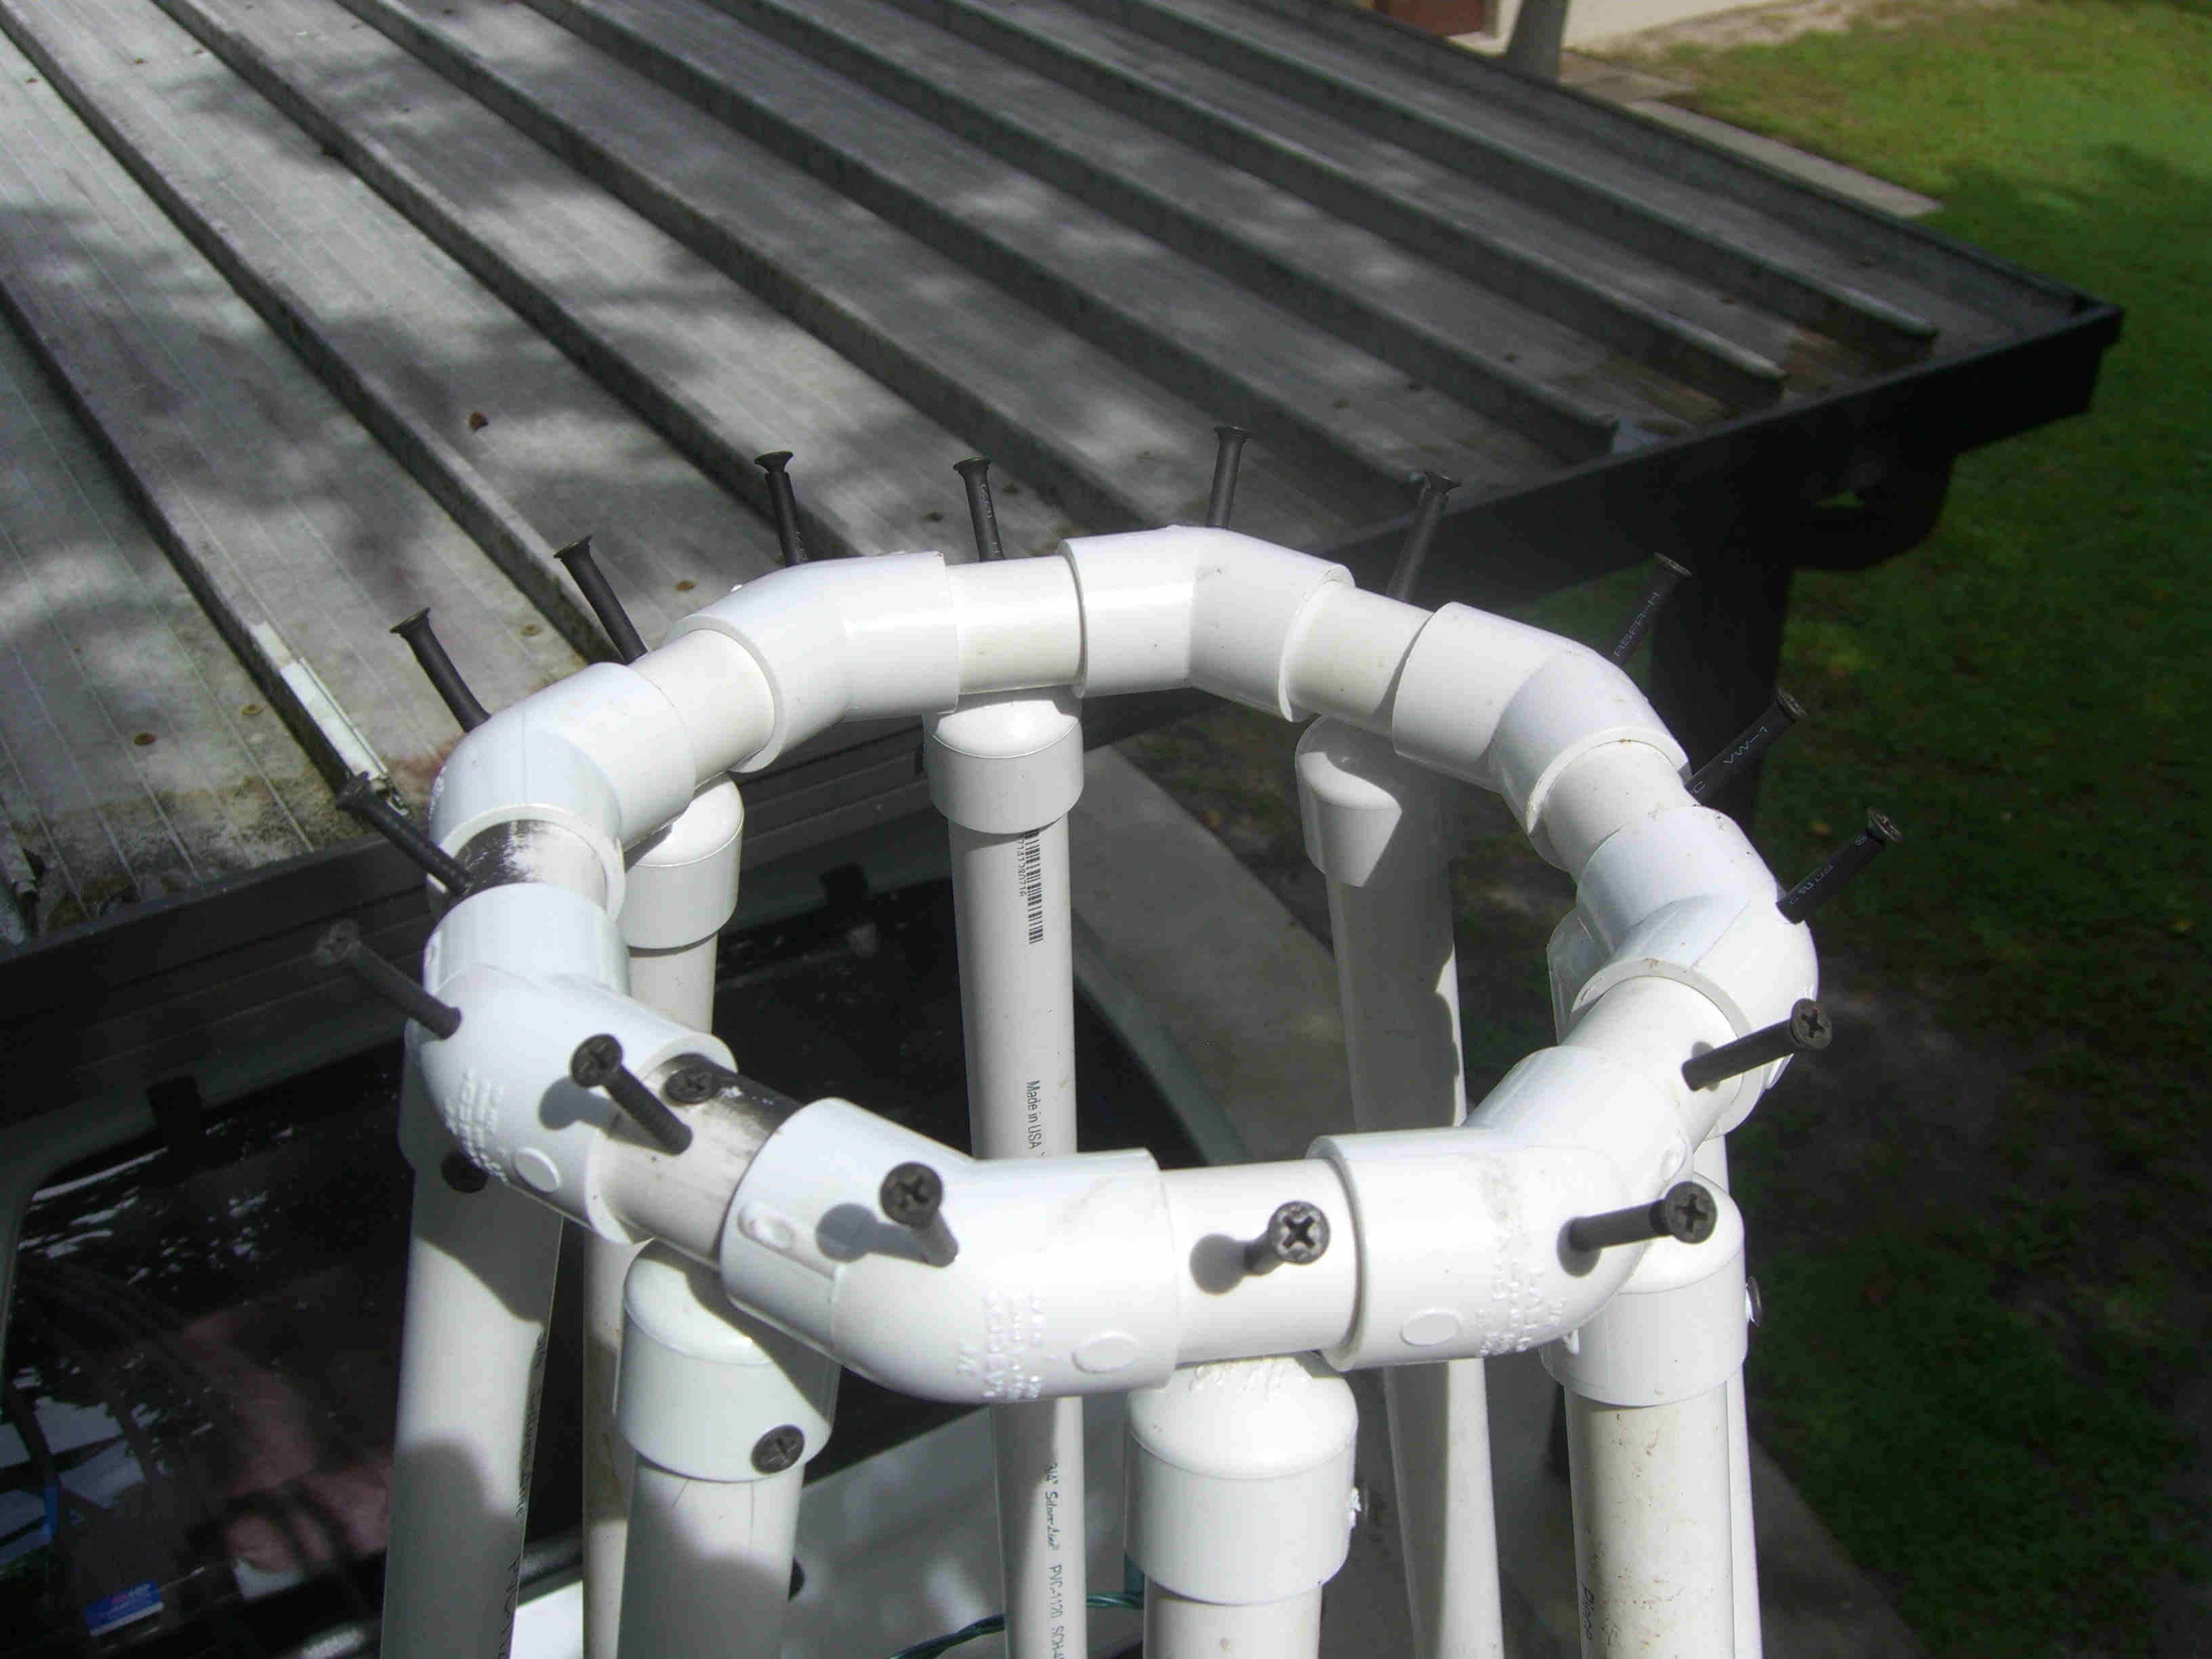
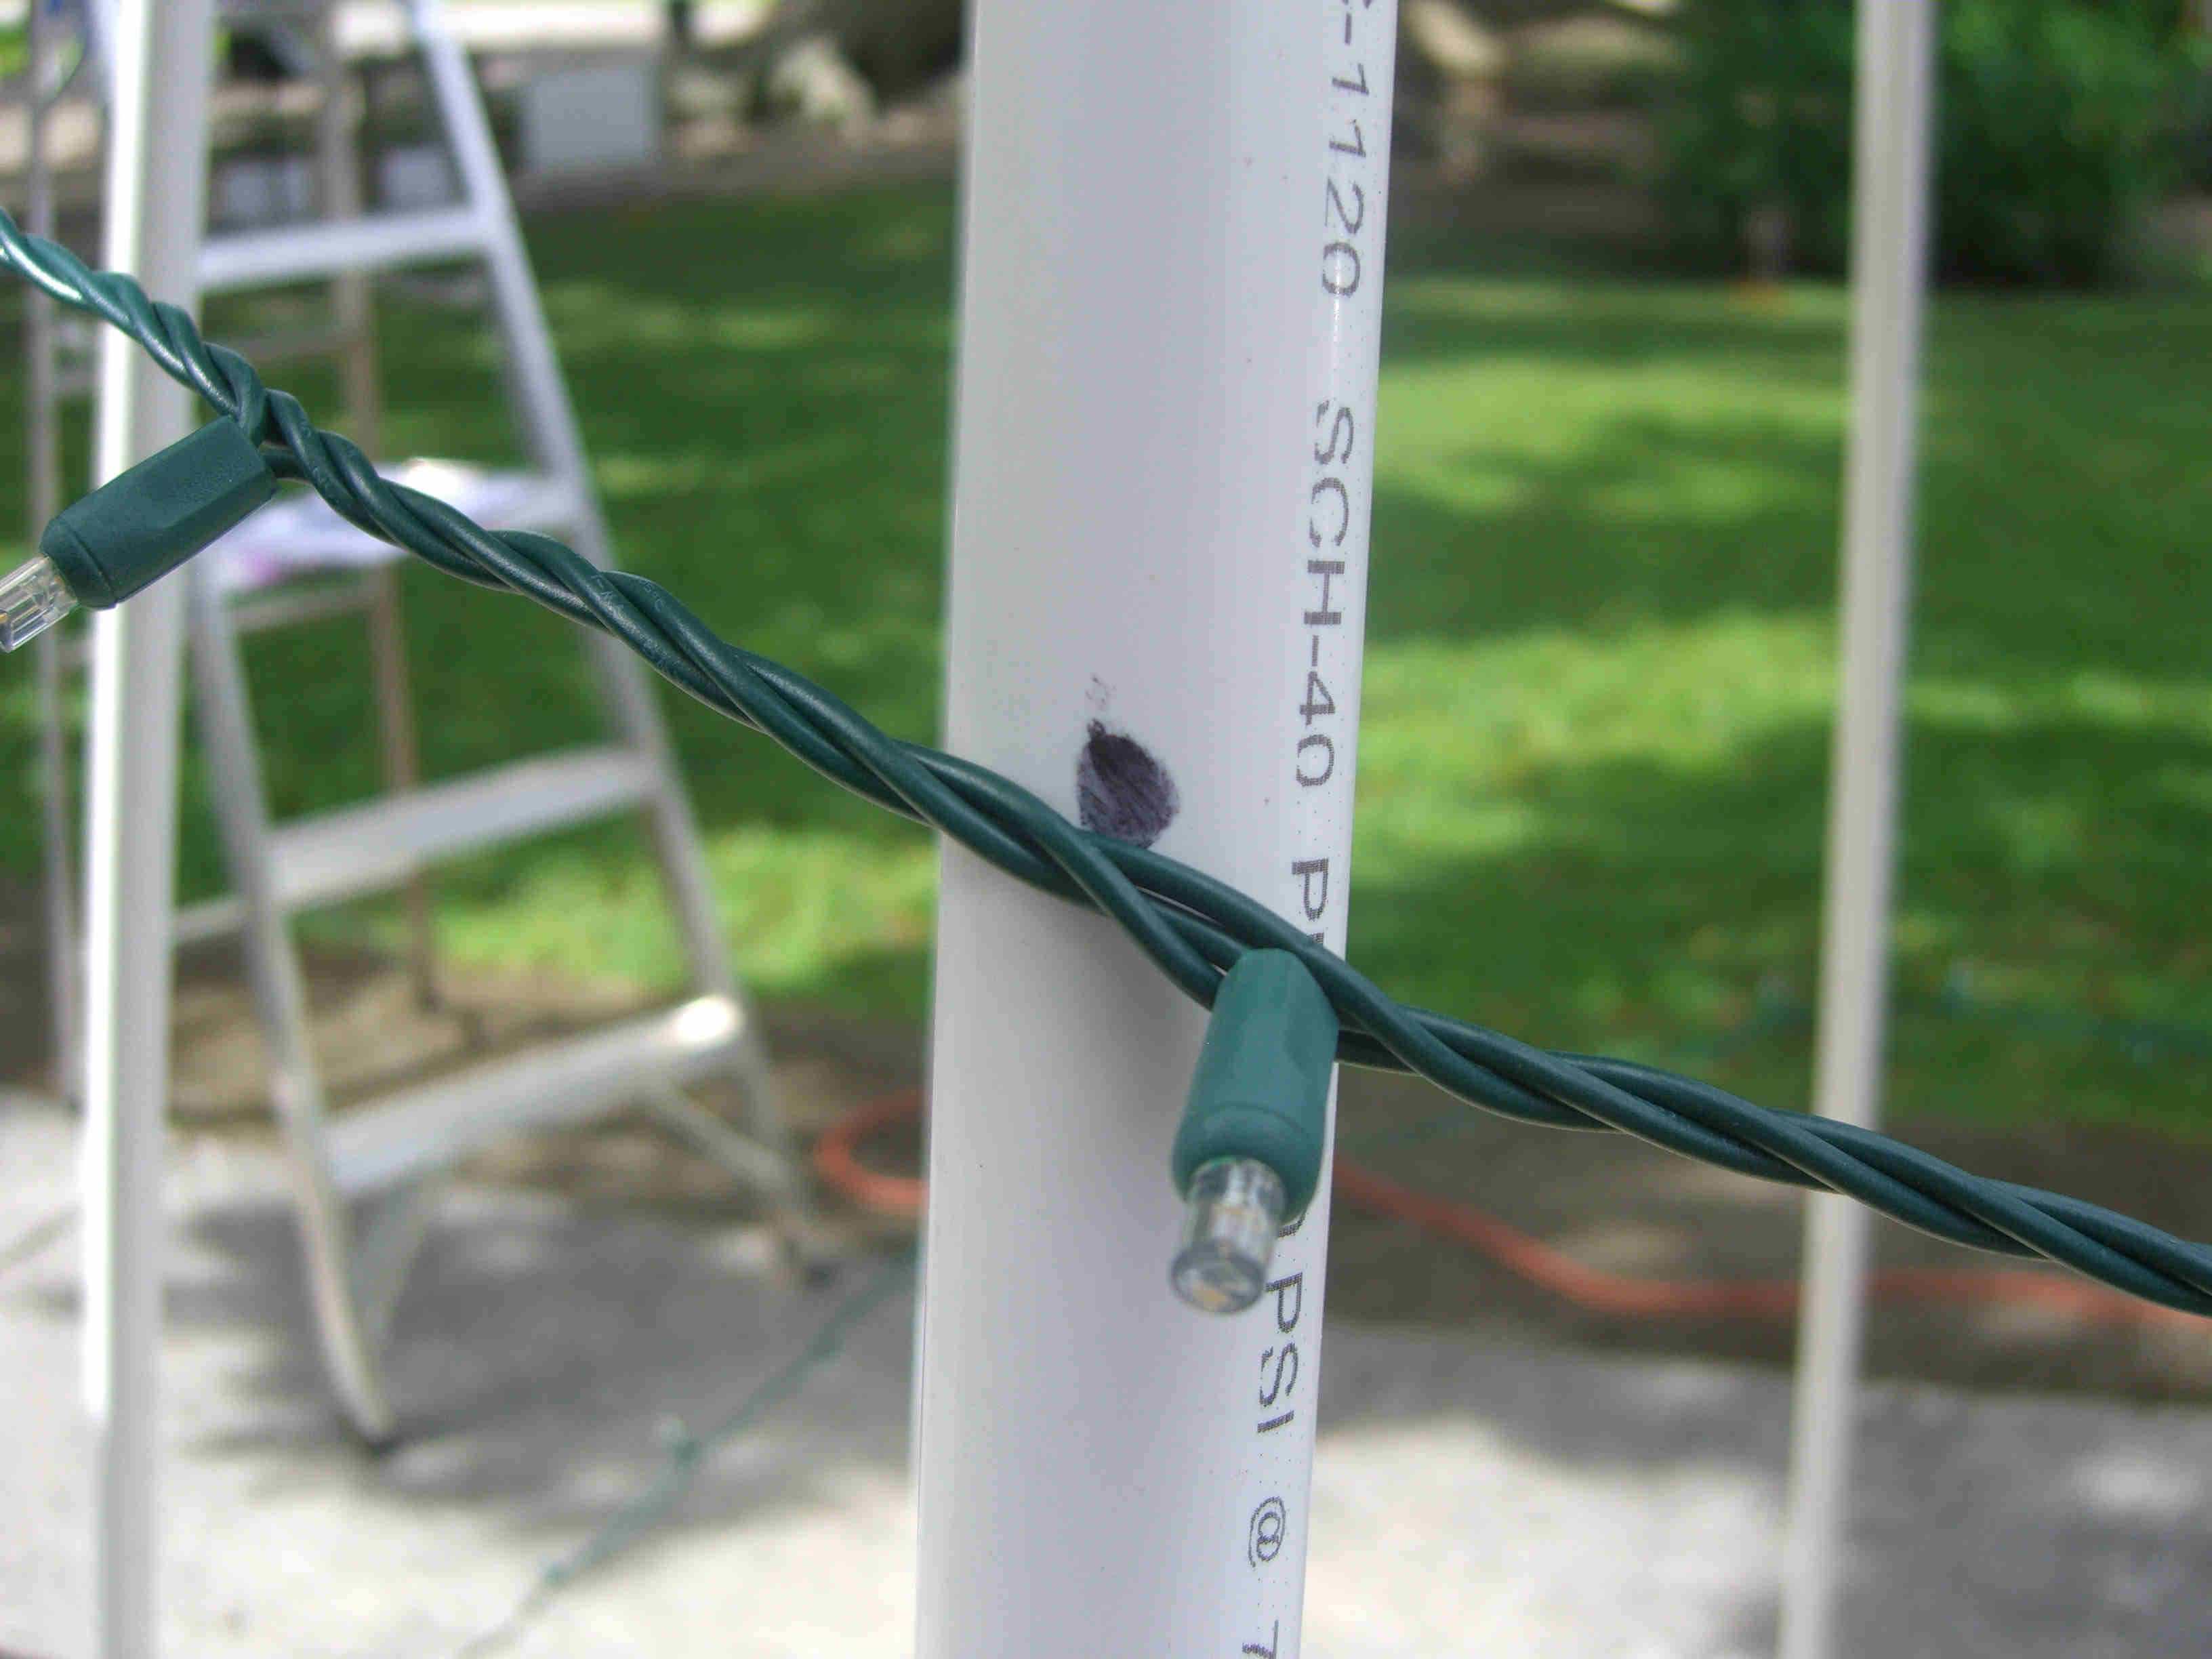
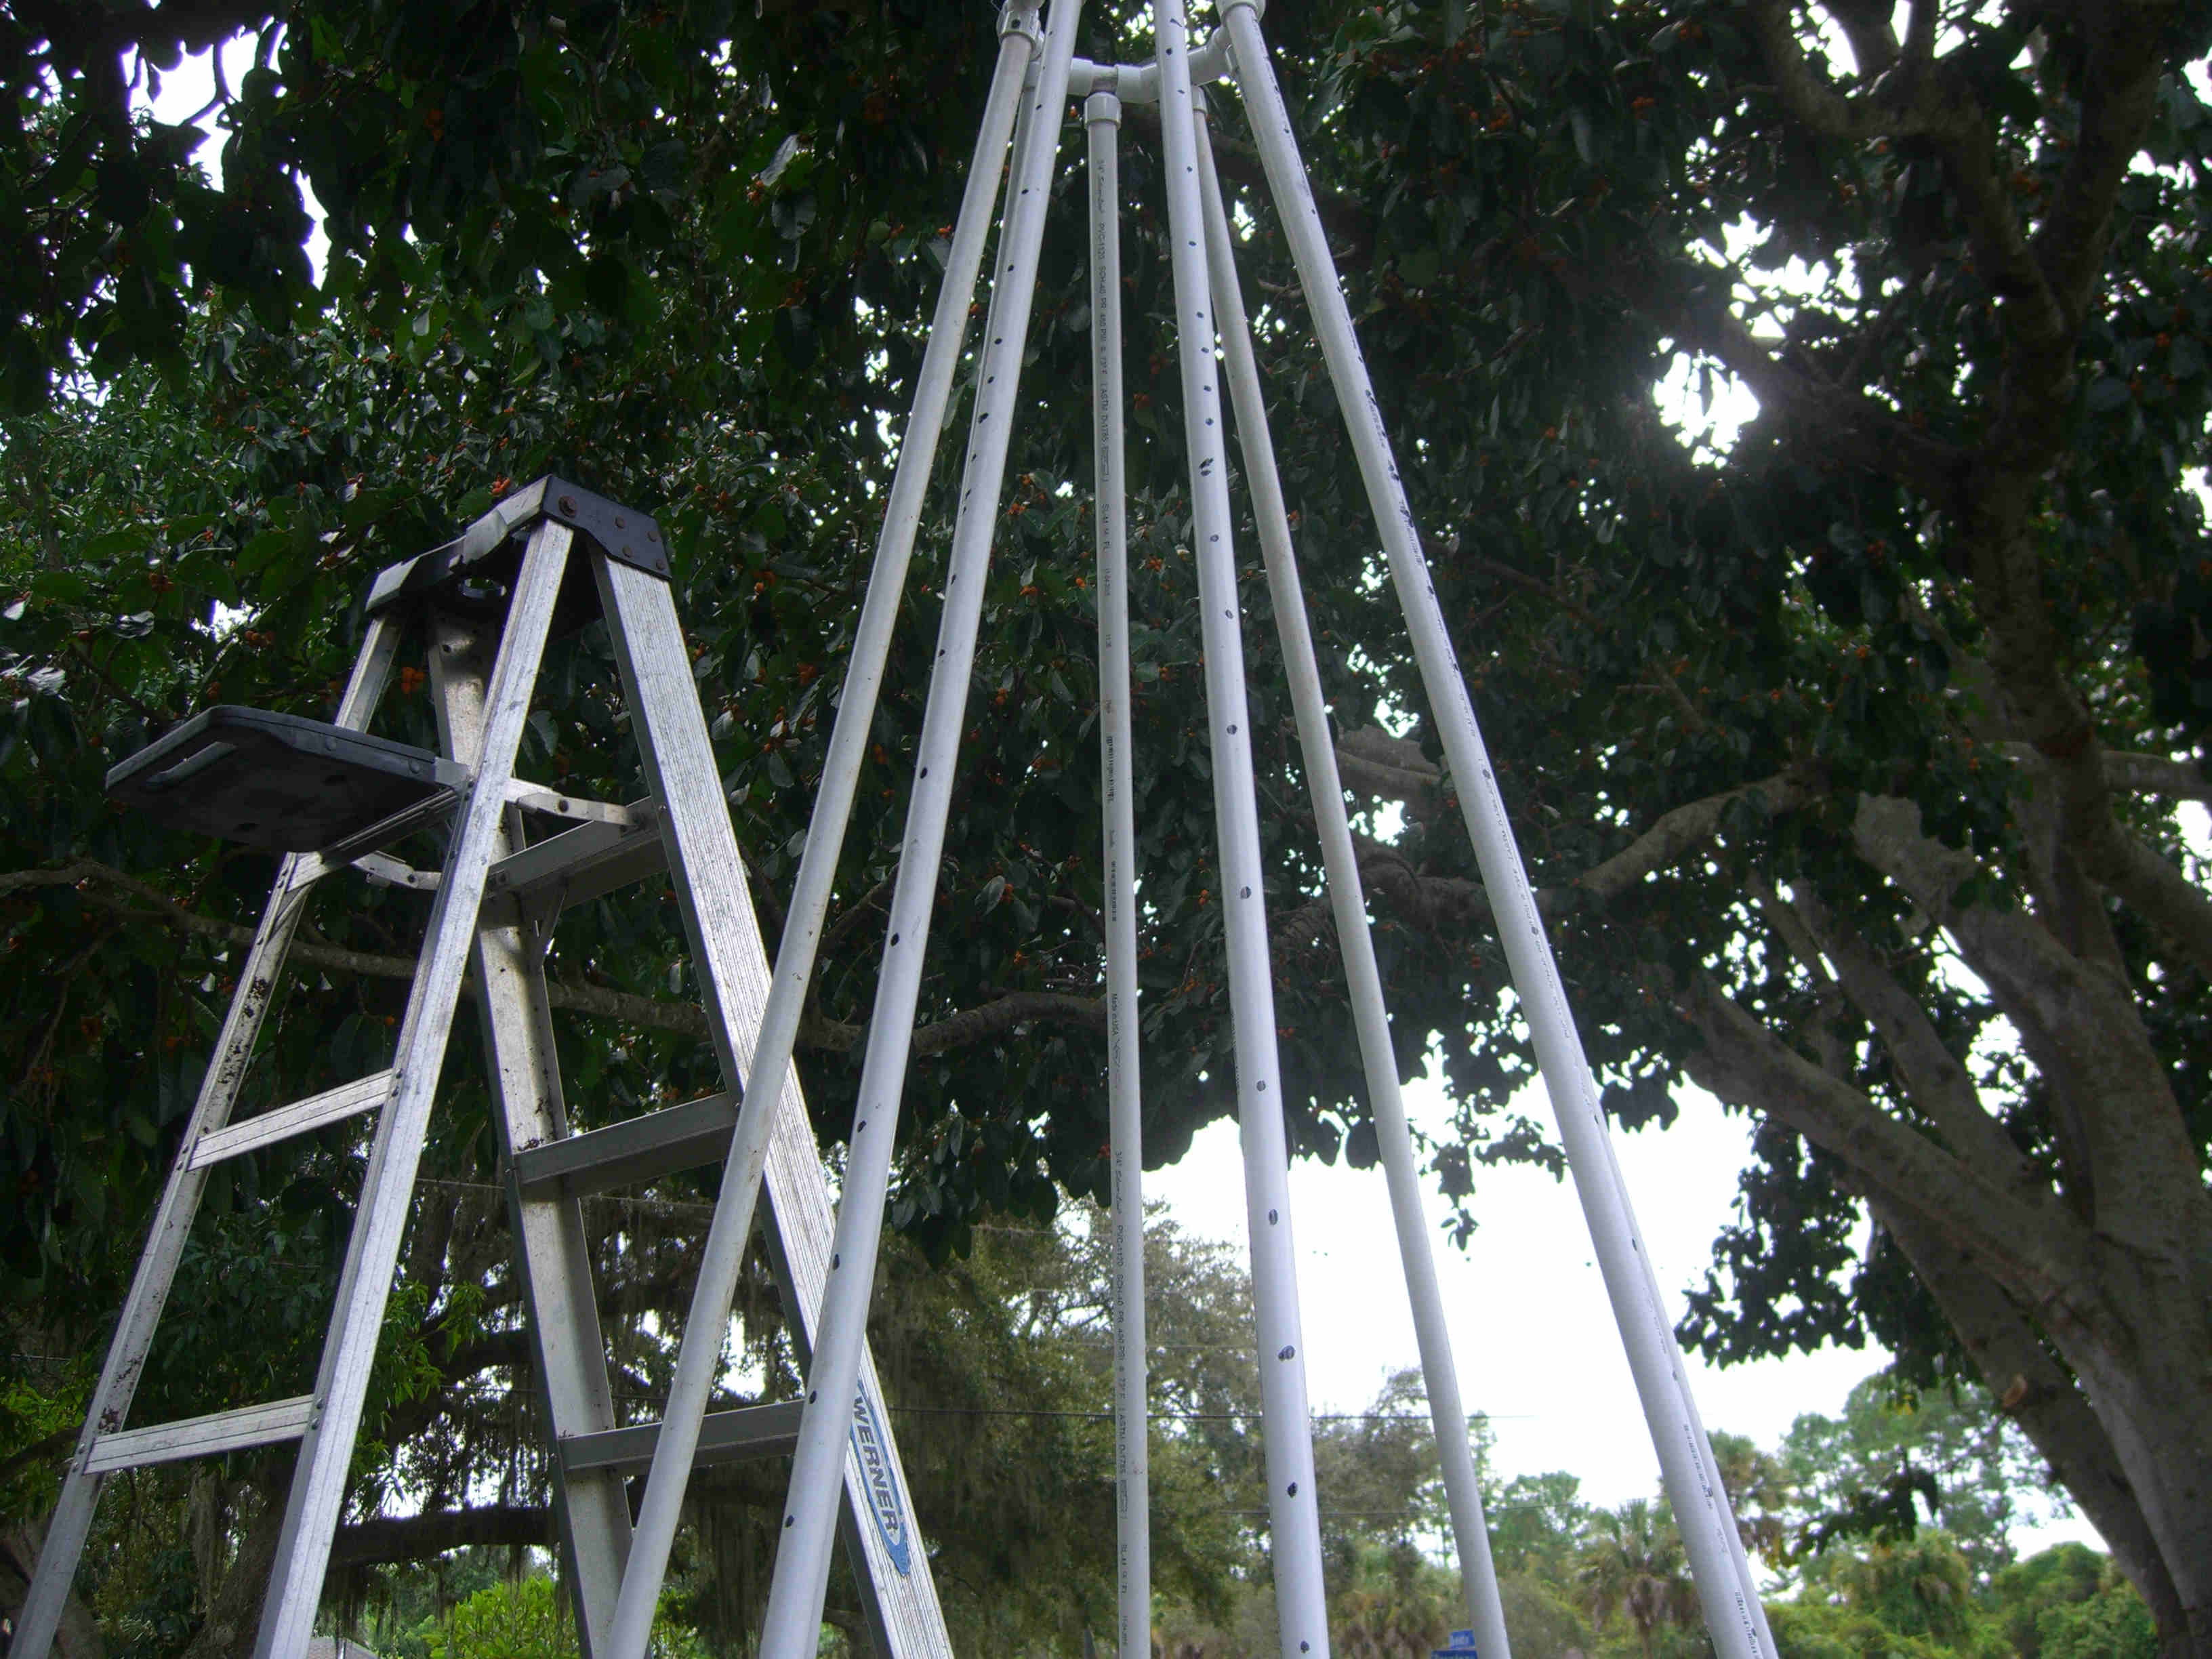
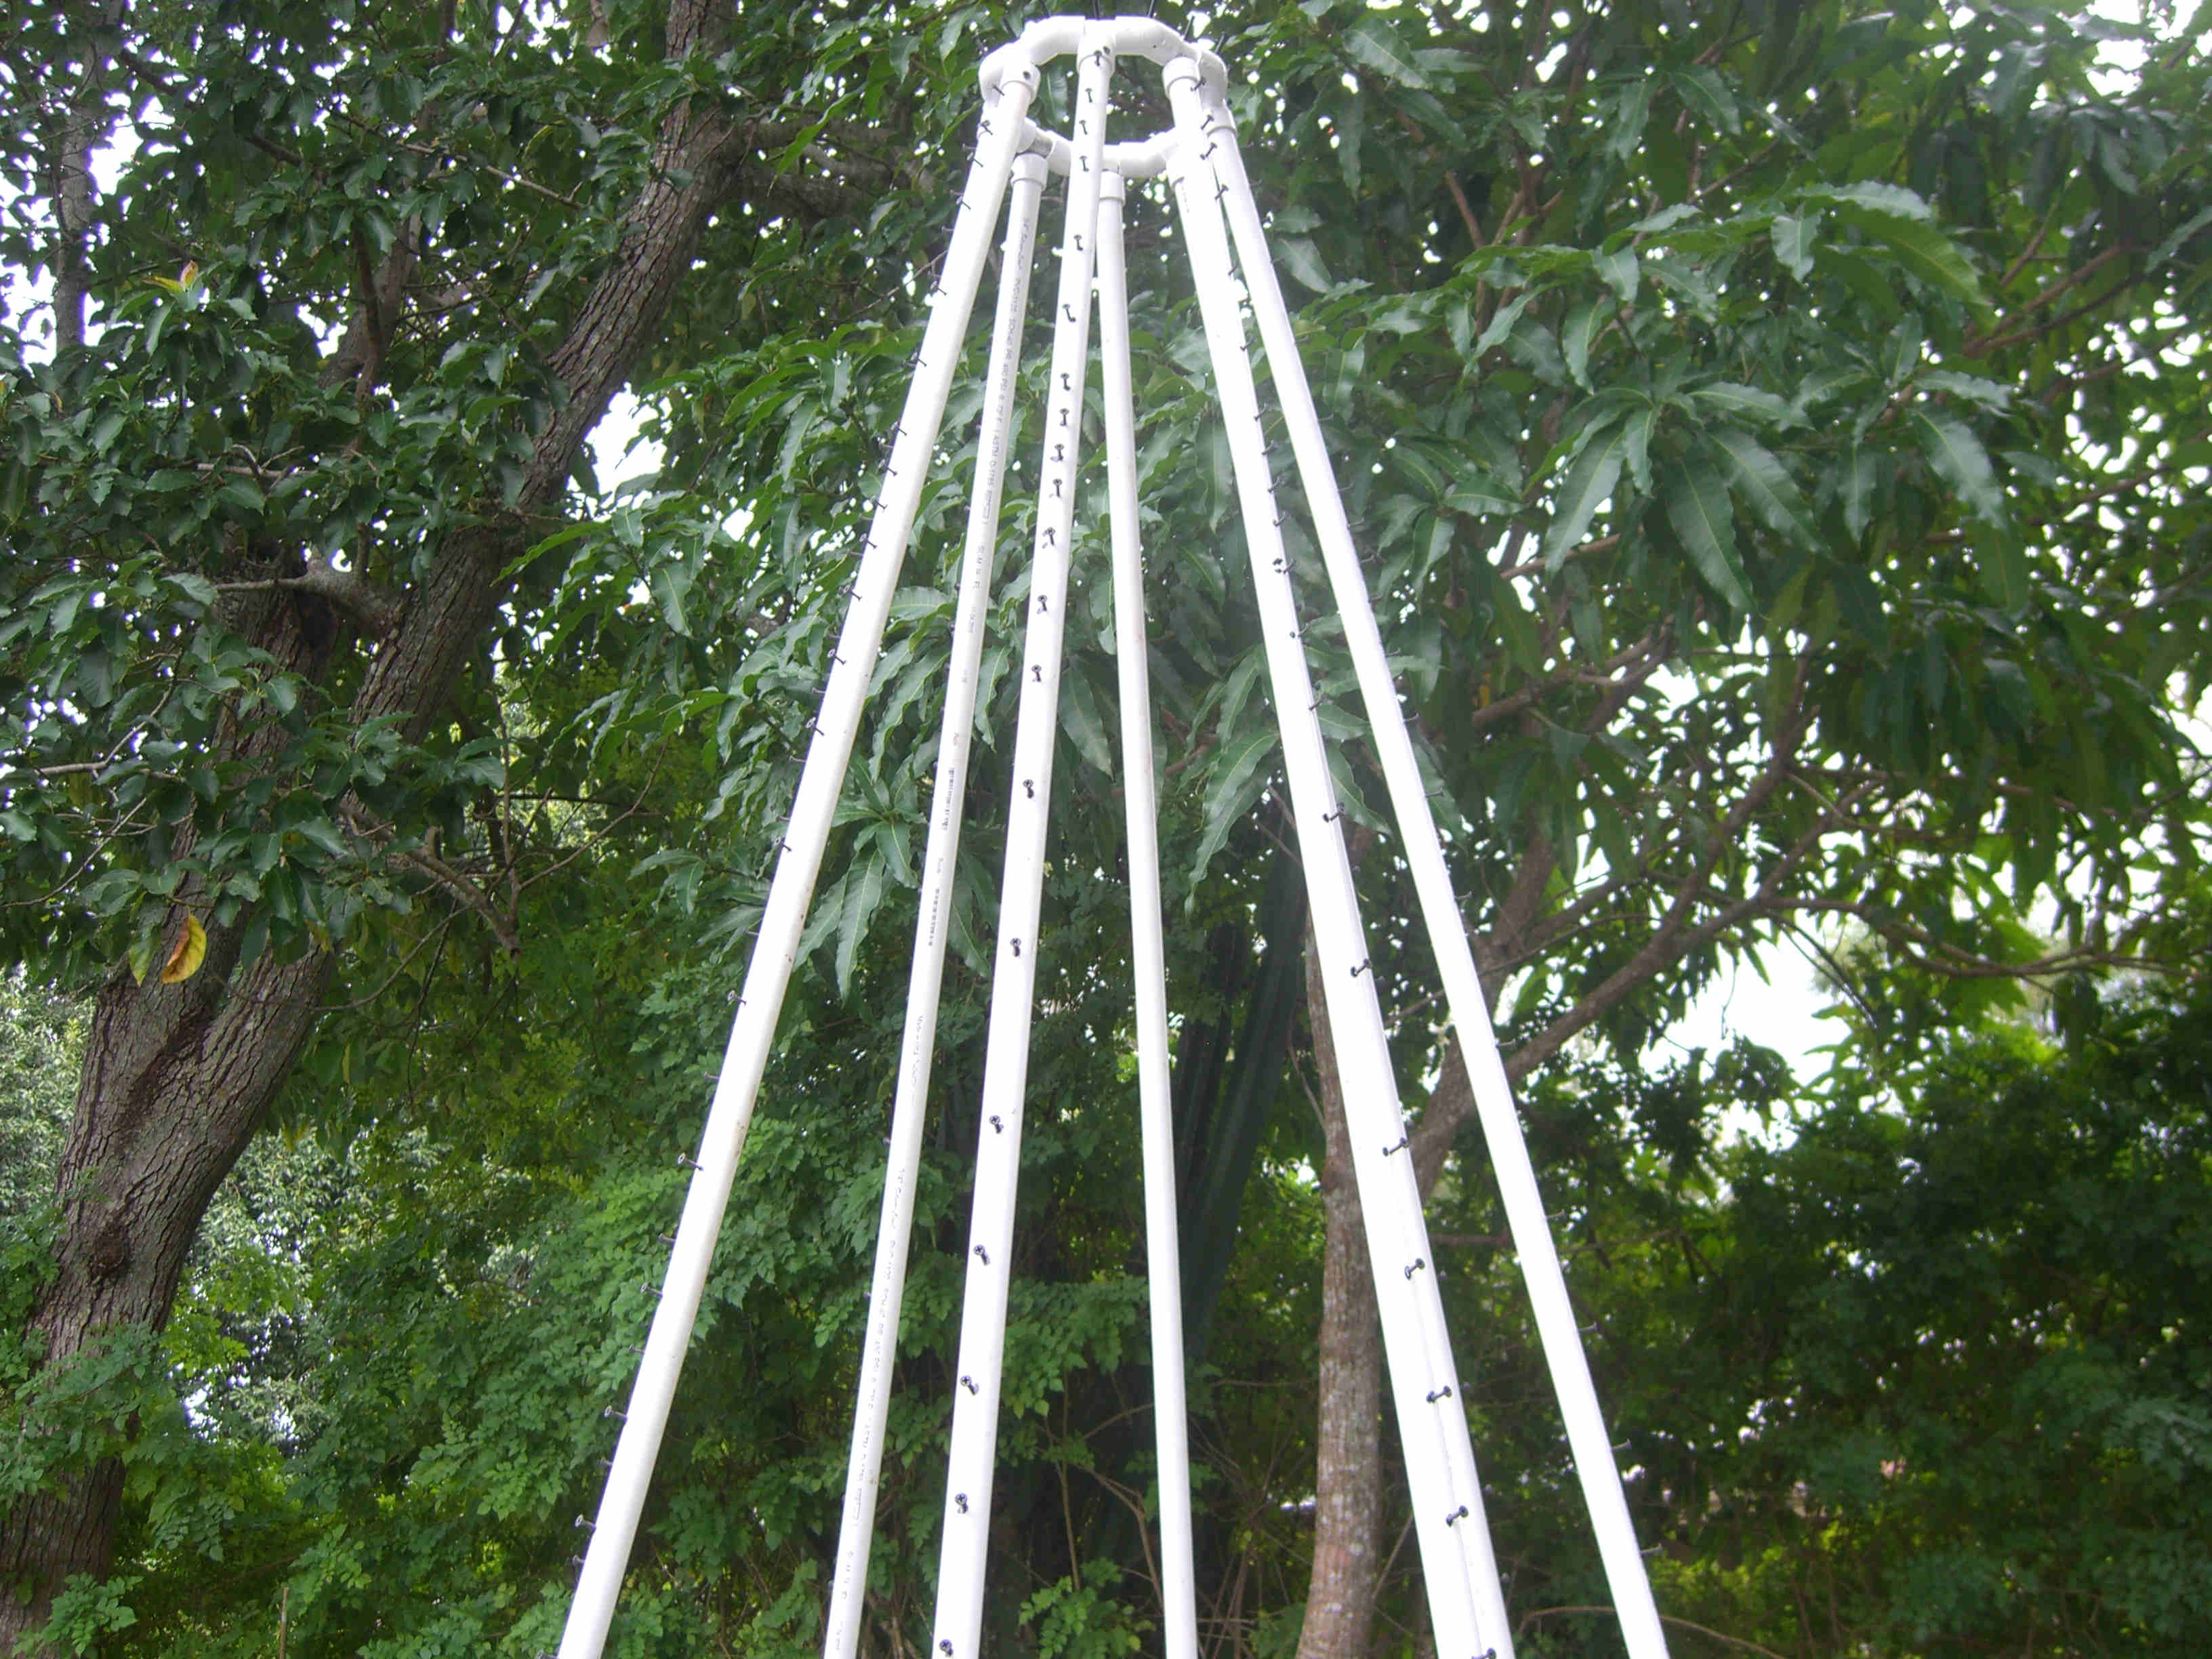
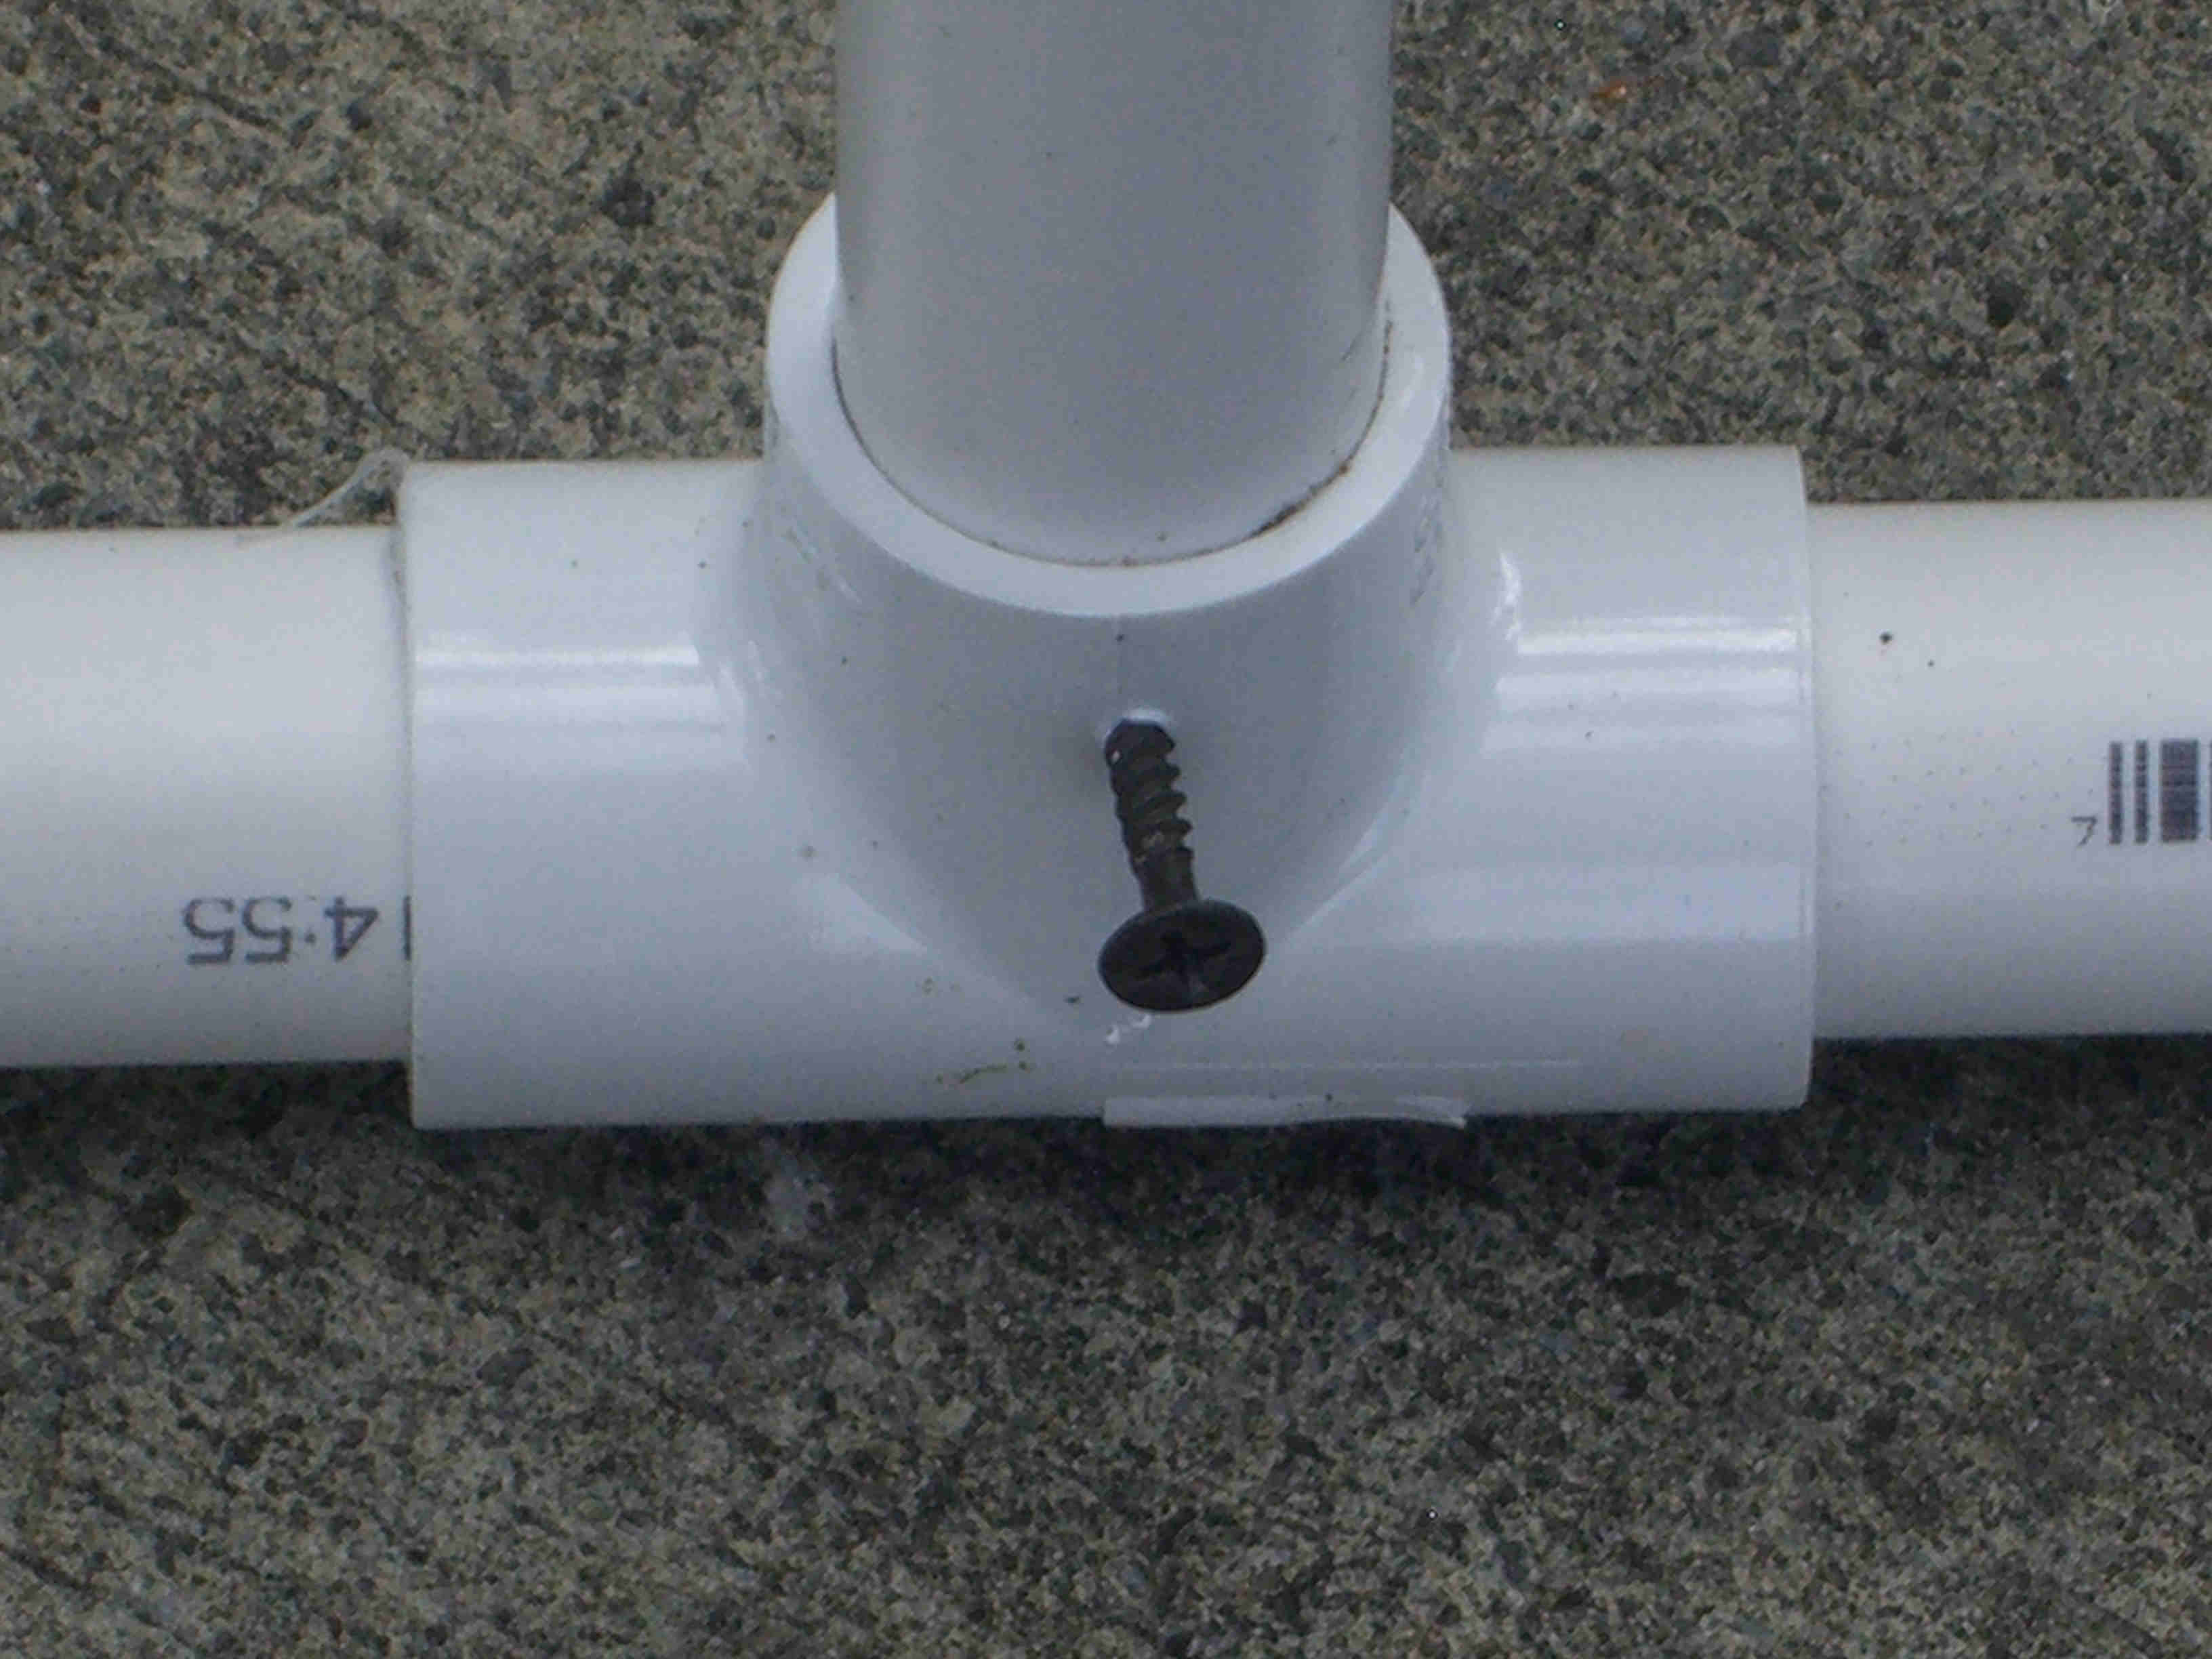
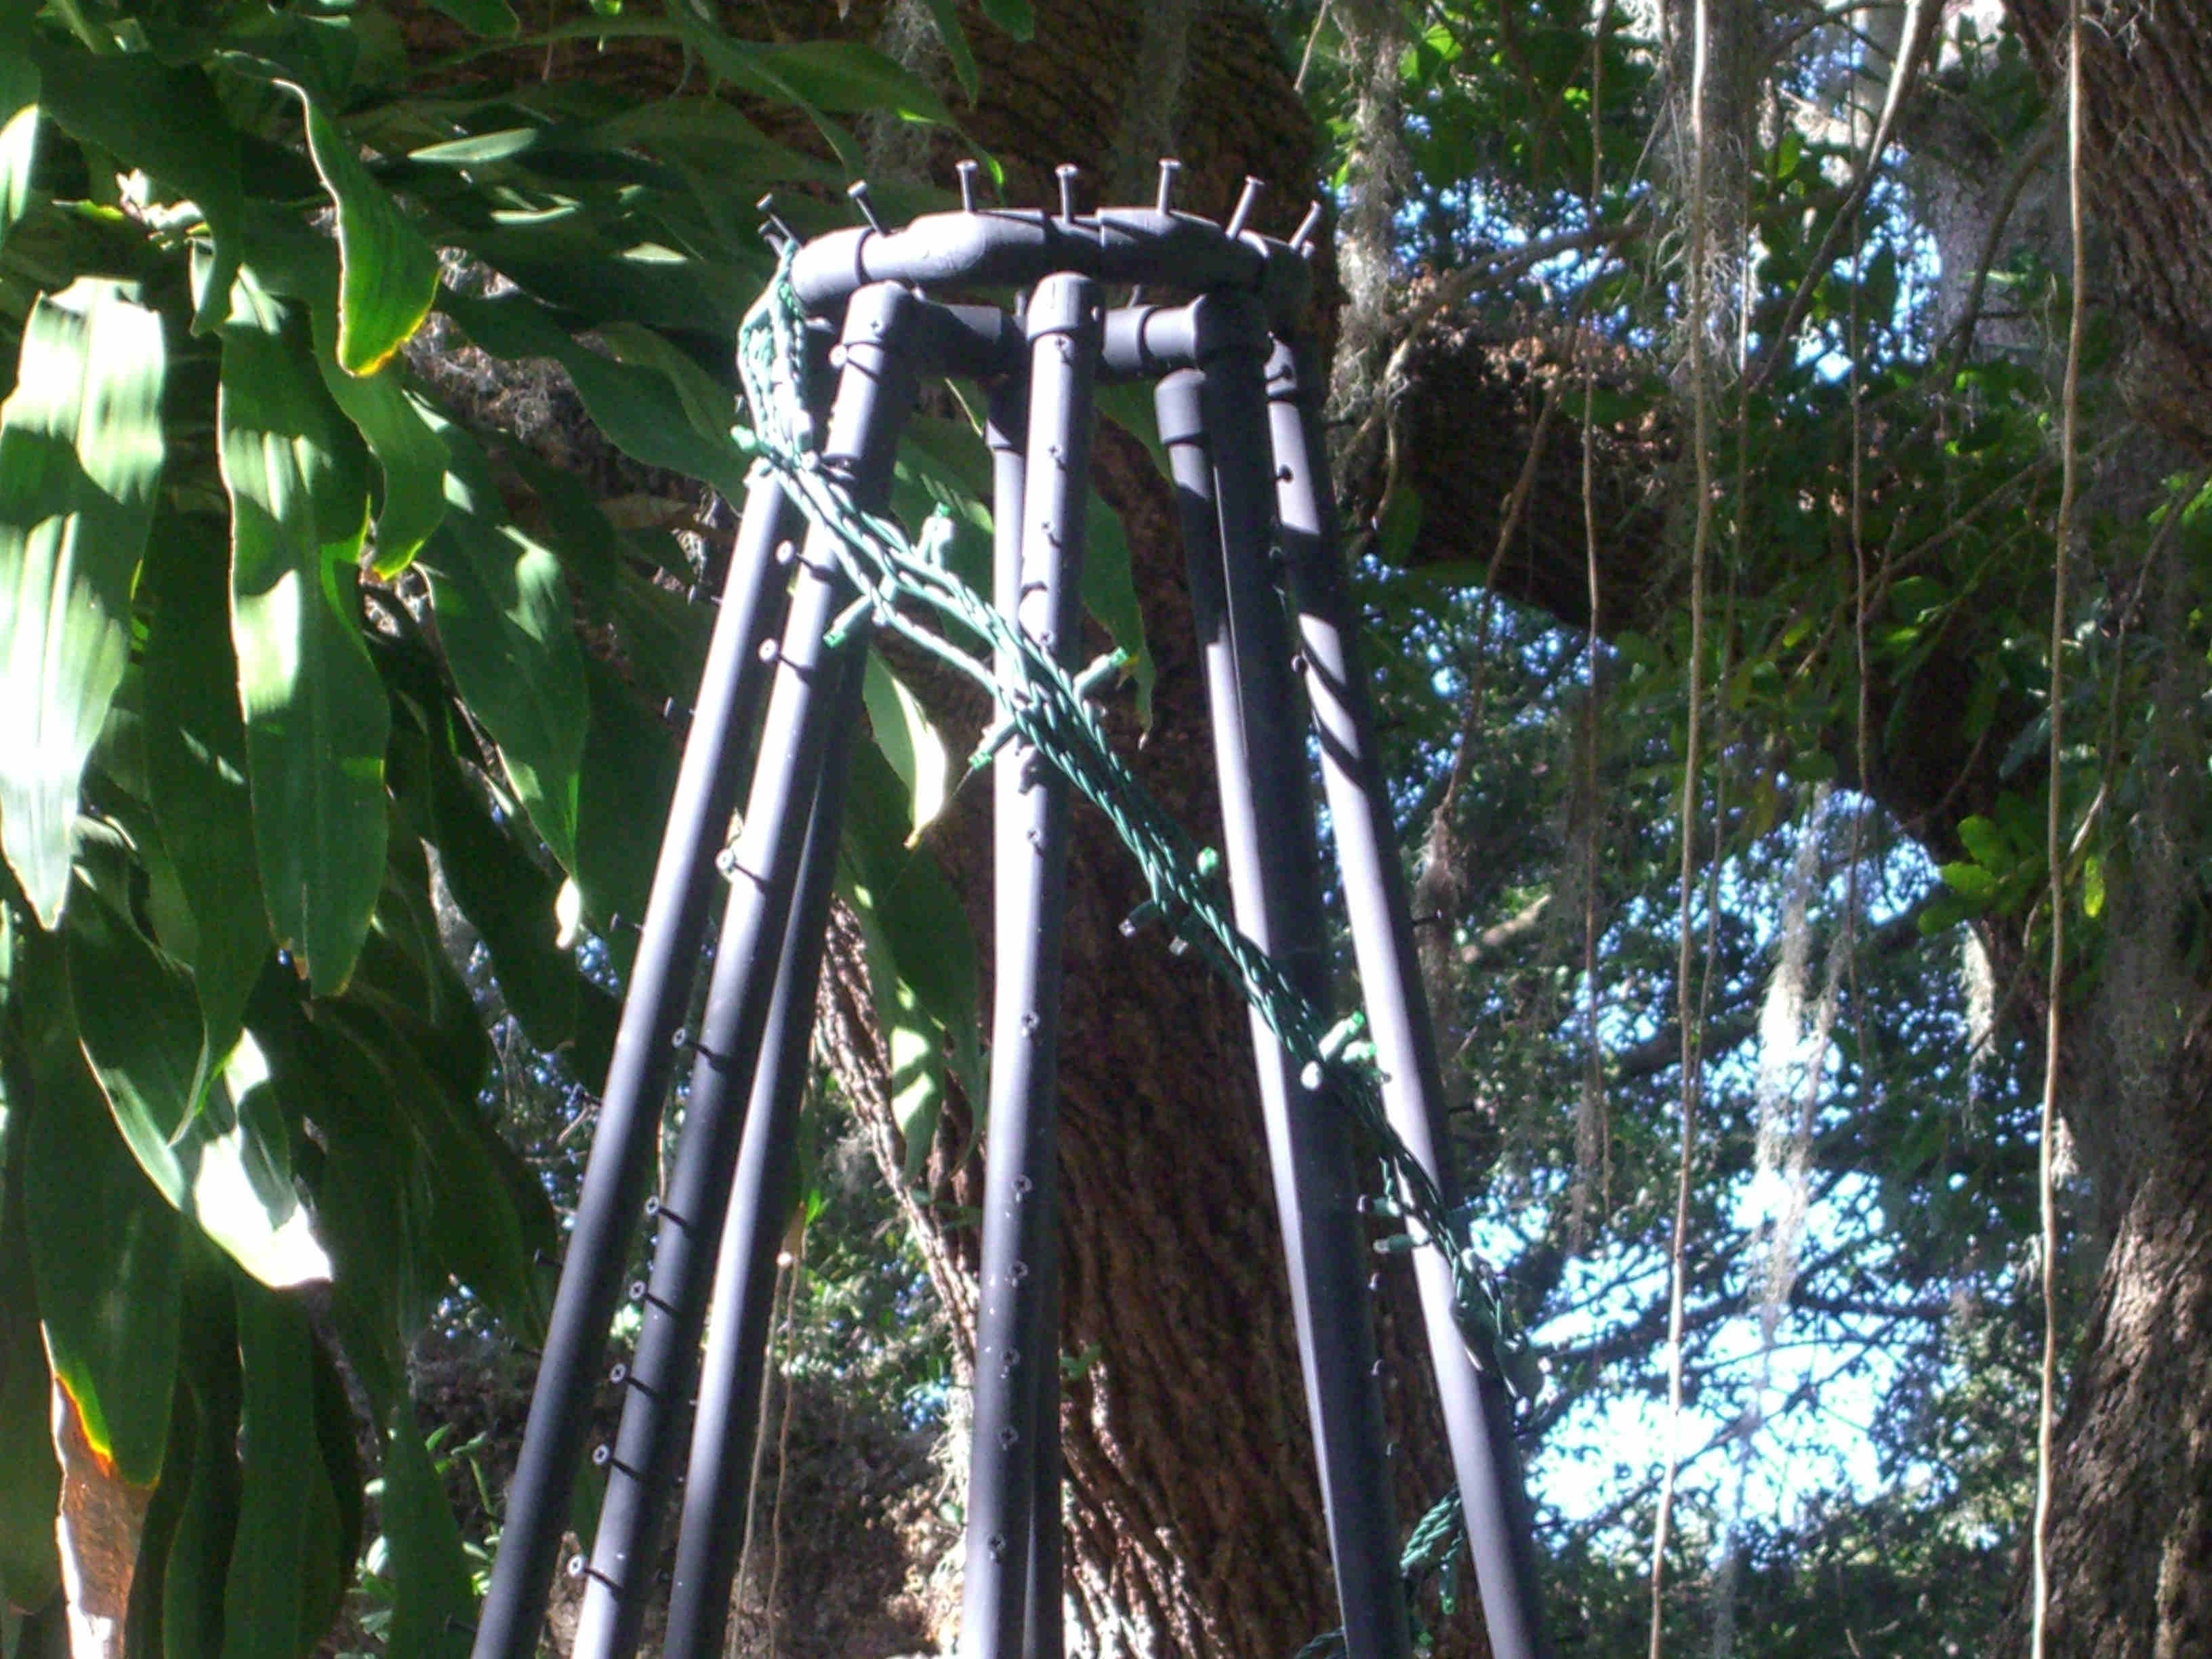
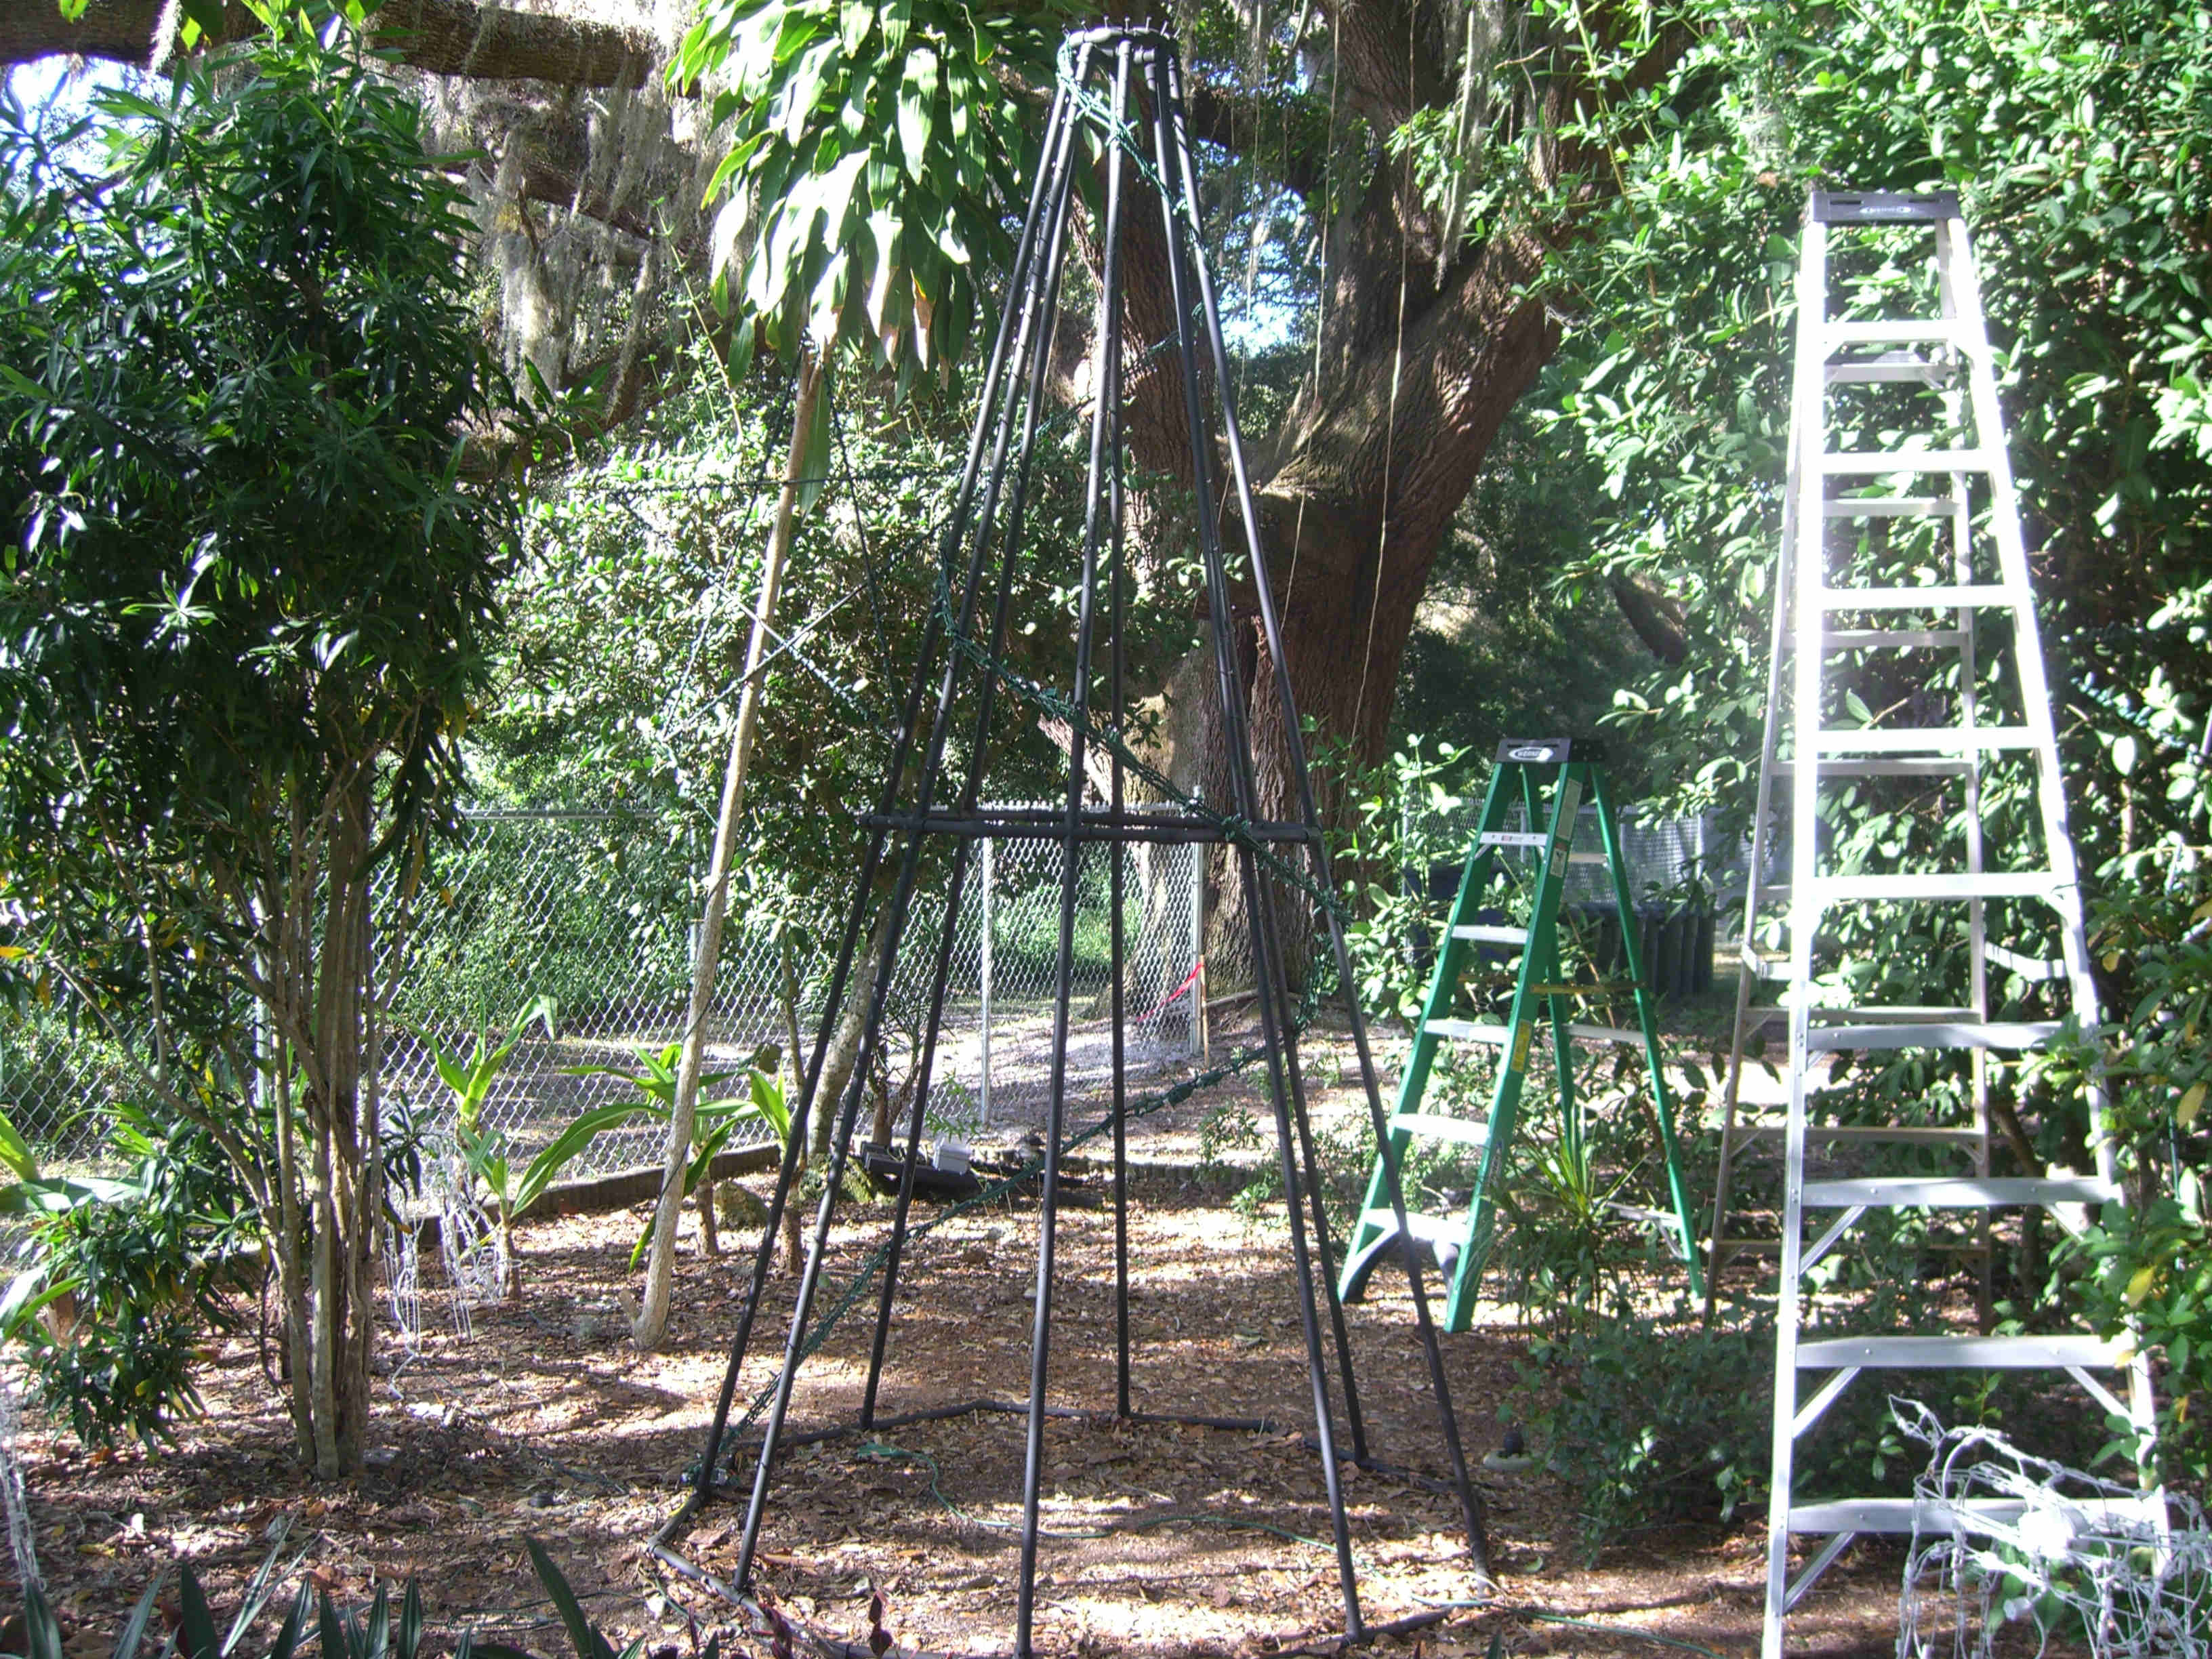
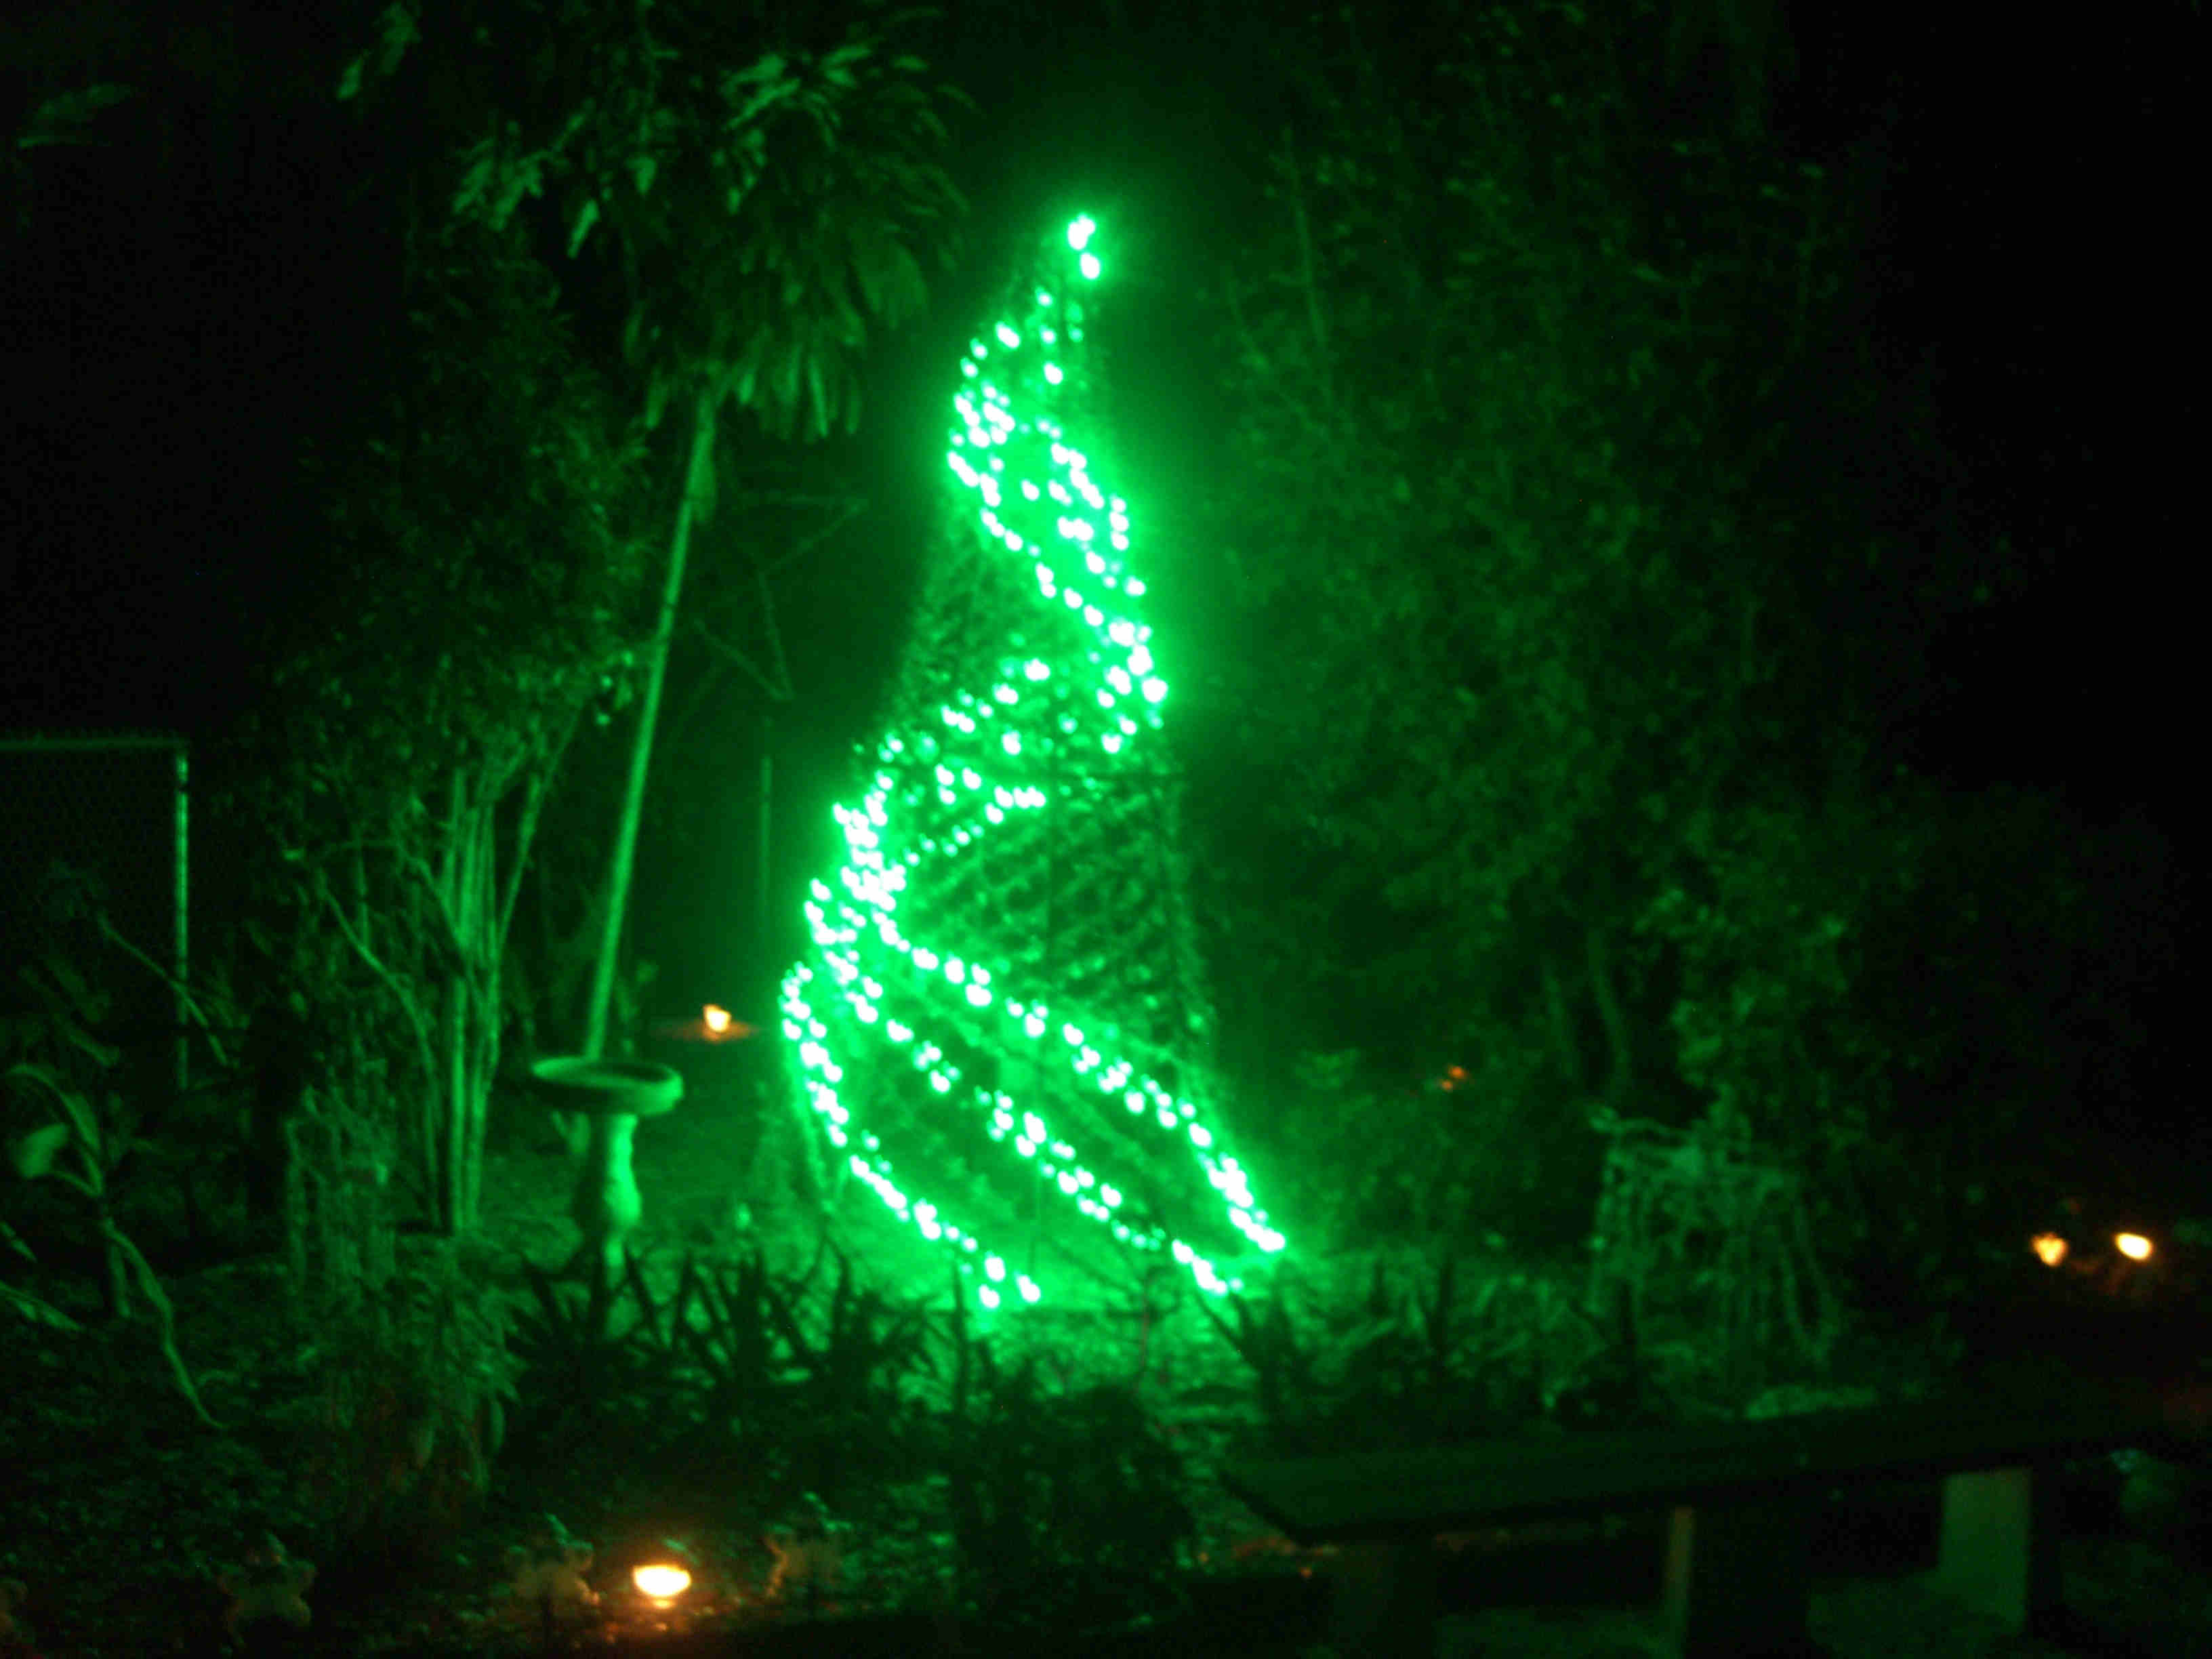
This new spiral tree is a mega spiral tree as it measures 10.5' tall and 70" in diameter at the base. This sprial tree just like the others will have four colors two colors per strand. It will require two controllers and will have 32 channels. I Used 24 - 3/4" 45s, 8 - 3/4" Tees, 8 - 3/4" caps, 8 - 3/4" crosses, 8 - 2.5" schedule 40 PVC pipe, 16 - 6.5" schedule 40 PVC pipe, 16 - 13" schedule 40 PVC pipe, 8 - 60.125" schedule 40 PVC pipe(4 Pieces of 10' cut in half.), 8 - 65" schedule 40 PVC pipe, 1 can medium PVC glue, 7mm heat shrink tube, 32 - 1.625" fine thread dry wall screws, box - 1" fine thread dry wall screws, 7 cans of flat black spray paint, and lights. The top was made with 8 3/4" 45s glued together using 8 2.5" pieces of pipe. Screw caps into pipe between the 45s using 1" drywall screws. Glue Ts to 13" pieces of pipe. Do not glue to the 45's. Place pipe together to form the hexagon shape using the 45's. Glue 60.125" uprights to tees put cross on end with 65" pipe on top and 6.5" pipe to each side of cross. Place a 45 to end of 6.5" pipe to finish off the middle brace. Place top pipe into caps. This can be tricky and might try doing in a different order depending on if you have help or not. Once everything is in place tap to set all pipe to make sure it is all tight. If it all looks ok, pull the top half of the tree back off in one piece. Time to glue and screw it all in place. Using a small drill bit drill a small hole on side of cap and screw 1" screws through cap and into upright pipe. This will hold top together. One piece at a time tap apart the cross and 45 gluing each as you work around the base of the top of the tree. Glue upright pipe to cross as you go around. Make sure every fitting has been glued and put back the way it started. Using help or a couple boards and ladders (Which is what I did) put the top section back on the the base section. Glue all the 45's to pipe using same method as before. This should finish up all the pipe glued together with the exception of the bottom uprights to the cross. Drill hole and using 1" screws connect the bottom uprights to the cross. This will now finish off the tree and if you need to take apart simply take screw out and tap top off the bottom section. Screw long dry wall screws into the top. Cut and heat shrink the heat shrink tube around screws to protect wire from rough edges of the screws. Lay out one strand of lights in the desired spiral shape. Mark where lights cross pipe then screw 1" (1.625" on the very bottom ring.) dry wall screws into pipe to give a guide for all the lishts to follow. Paint using flat black spray paint. String wires around. Wire to controller and light. My measurements for the 10.5' mega tree were top, (Then from bottom of cap on top measure down.) 0.50", 2.5", 4", 6", 9.75", 13", 16", 17.5", 19", 20.5", 22.5", 25", 27.5", 31.5", 36.5", 42", 46", 49", 52", 55.5", 60.5", 65", 67.5", 71.5", 78", 84", 88.5", 93.5", 98", 106", 115.5", and bottom.
Click on a picture to enlarge it.
Website Design Mysorefigtree@comcast.net Website Homepage Mysore Fig Tree |