Over The Top Christmas Lights 2015 Behind the Scenes - Letter Box 
|
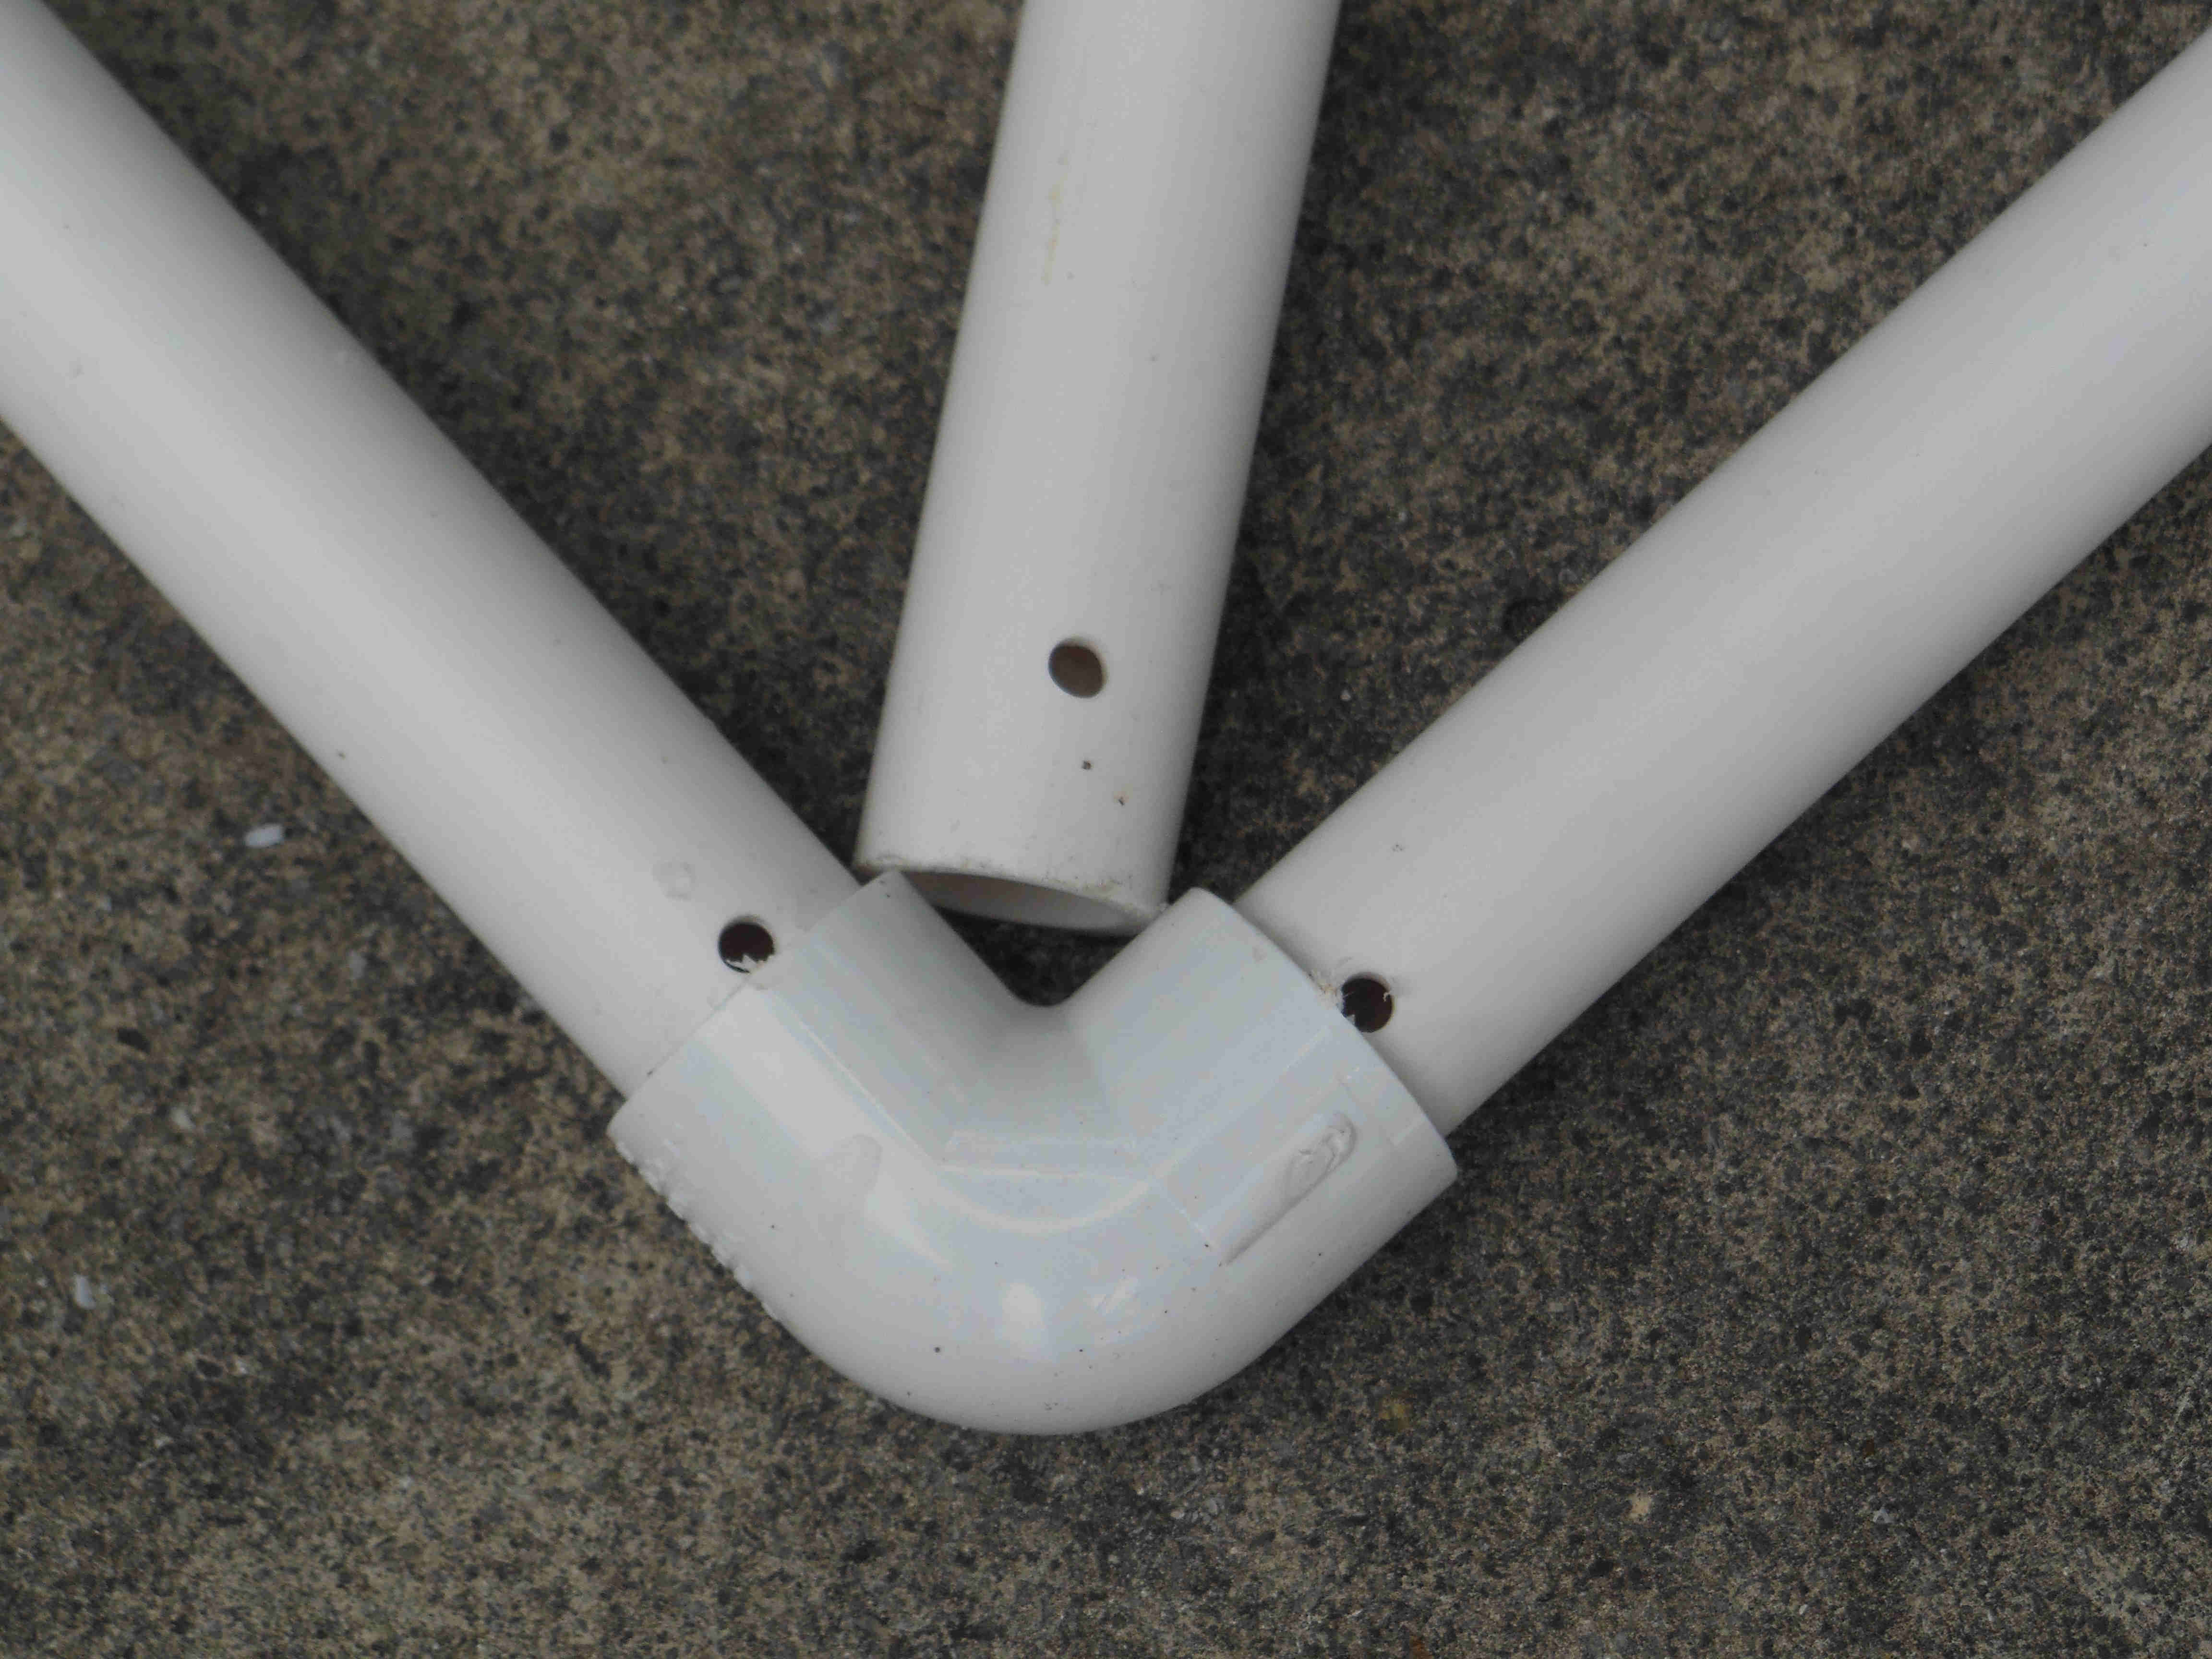
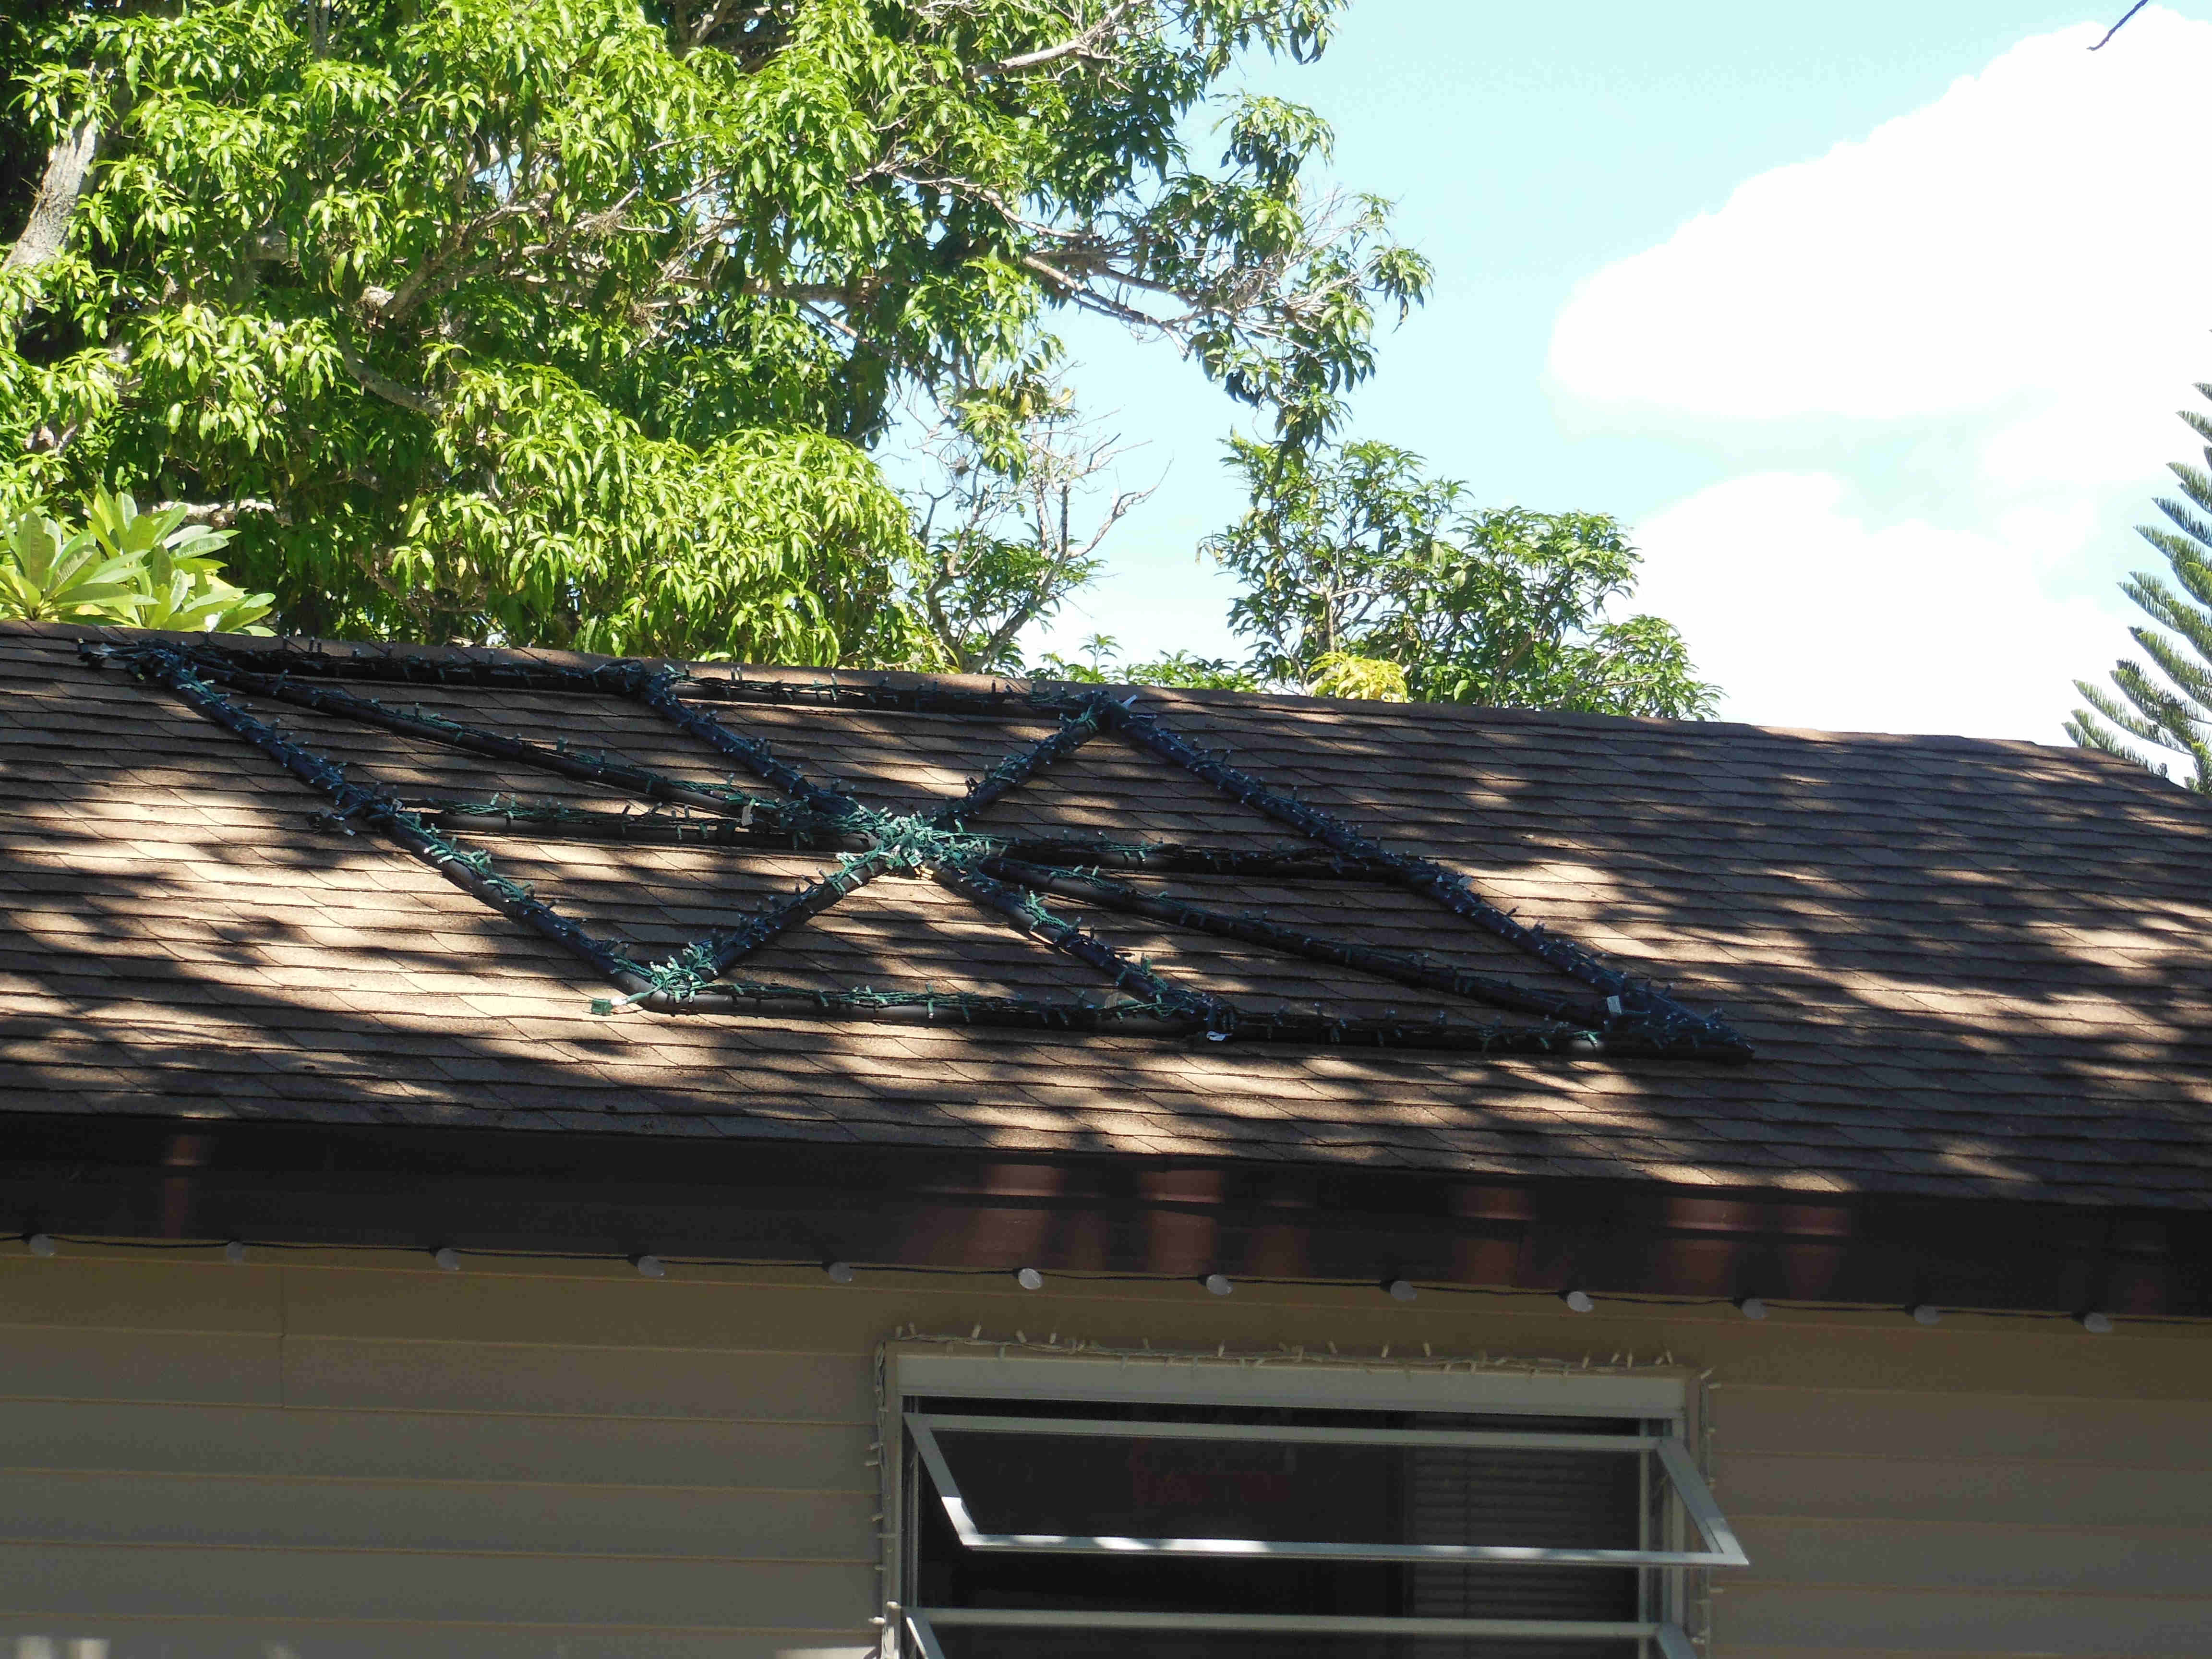
Items used 4 - 3/4" Tees, 4 - 3/4" 90 degree elbows, 1 - 3/4" Cross, 4 - 59.5" 3/4" schedule 40 pipe, 6 - 36" 3/4" schedule 40 pipe, 6 - 48" 3/4" schedule 40 pipe, PVC cement, 8" zip ties, 4 - cans flat black spray paint, and lights. Cut all pipe and get items together and ready. NOTE: Do not glue anything until you have put together to make sure it all fits. Once checked then take apart and glue but make to keep flat when you glue the parts together. Form the box using the 4' pieces for the vertical and the 3' pieces for the horizontal. This will make a box about 8' by 6'. Using a cross on the inside and 2 - 3' and 2 - 4' pieces, form the inside. This will make four smaller rectangles. Place four 59.5" pieces inside to form triangles (See picture). Drill a 3/16" hole in diagnal piece and one in each edge of the 90 degree corner. Using 8" zip ties connect the two pieces. Drill 3/16" holes in each center pipe as seen in picture. Then thread an 8" zip ties through holes. Cut ends off the zip ties. Paint with flat black spray paint. Zip tie lights to frame. I used a 50 count strand for each segment makeing 16 channels. Doing it this way you would be able to make all letters of the alphabet.
Click on a picture to enlarge it.
Website Design Mysorefigtree@comcast.net Website Homepage Mysore Fig Tree |