Over The Top Christmas Lights 2015 Behind the Scenes - Fence 
|
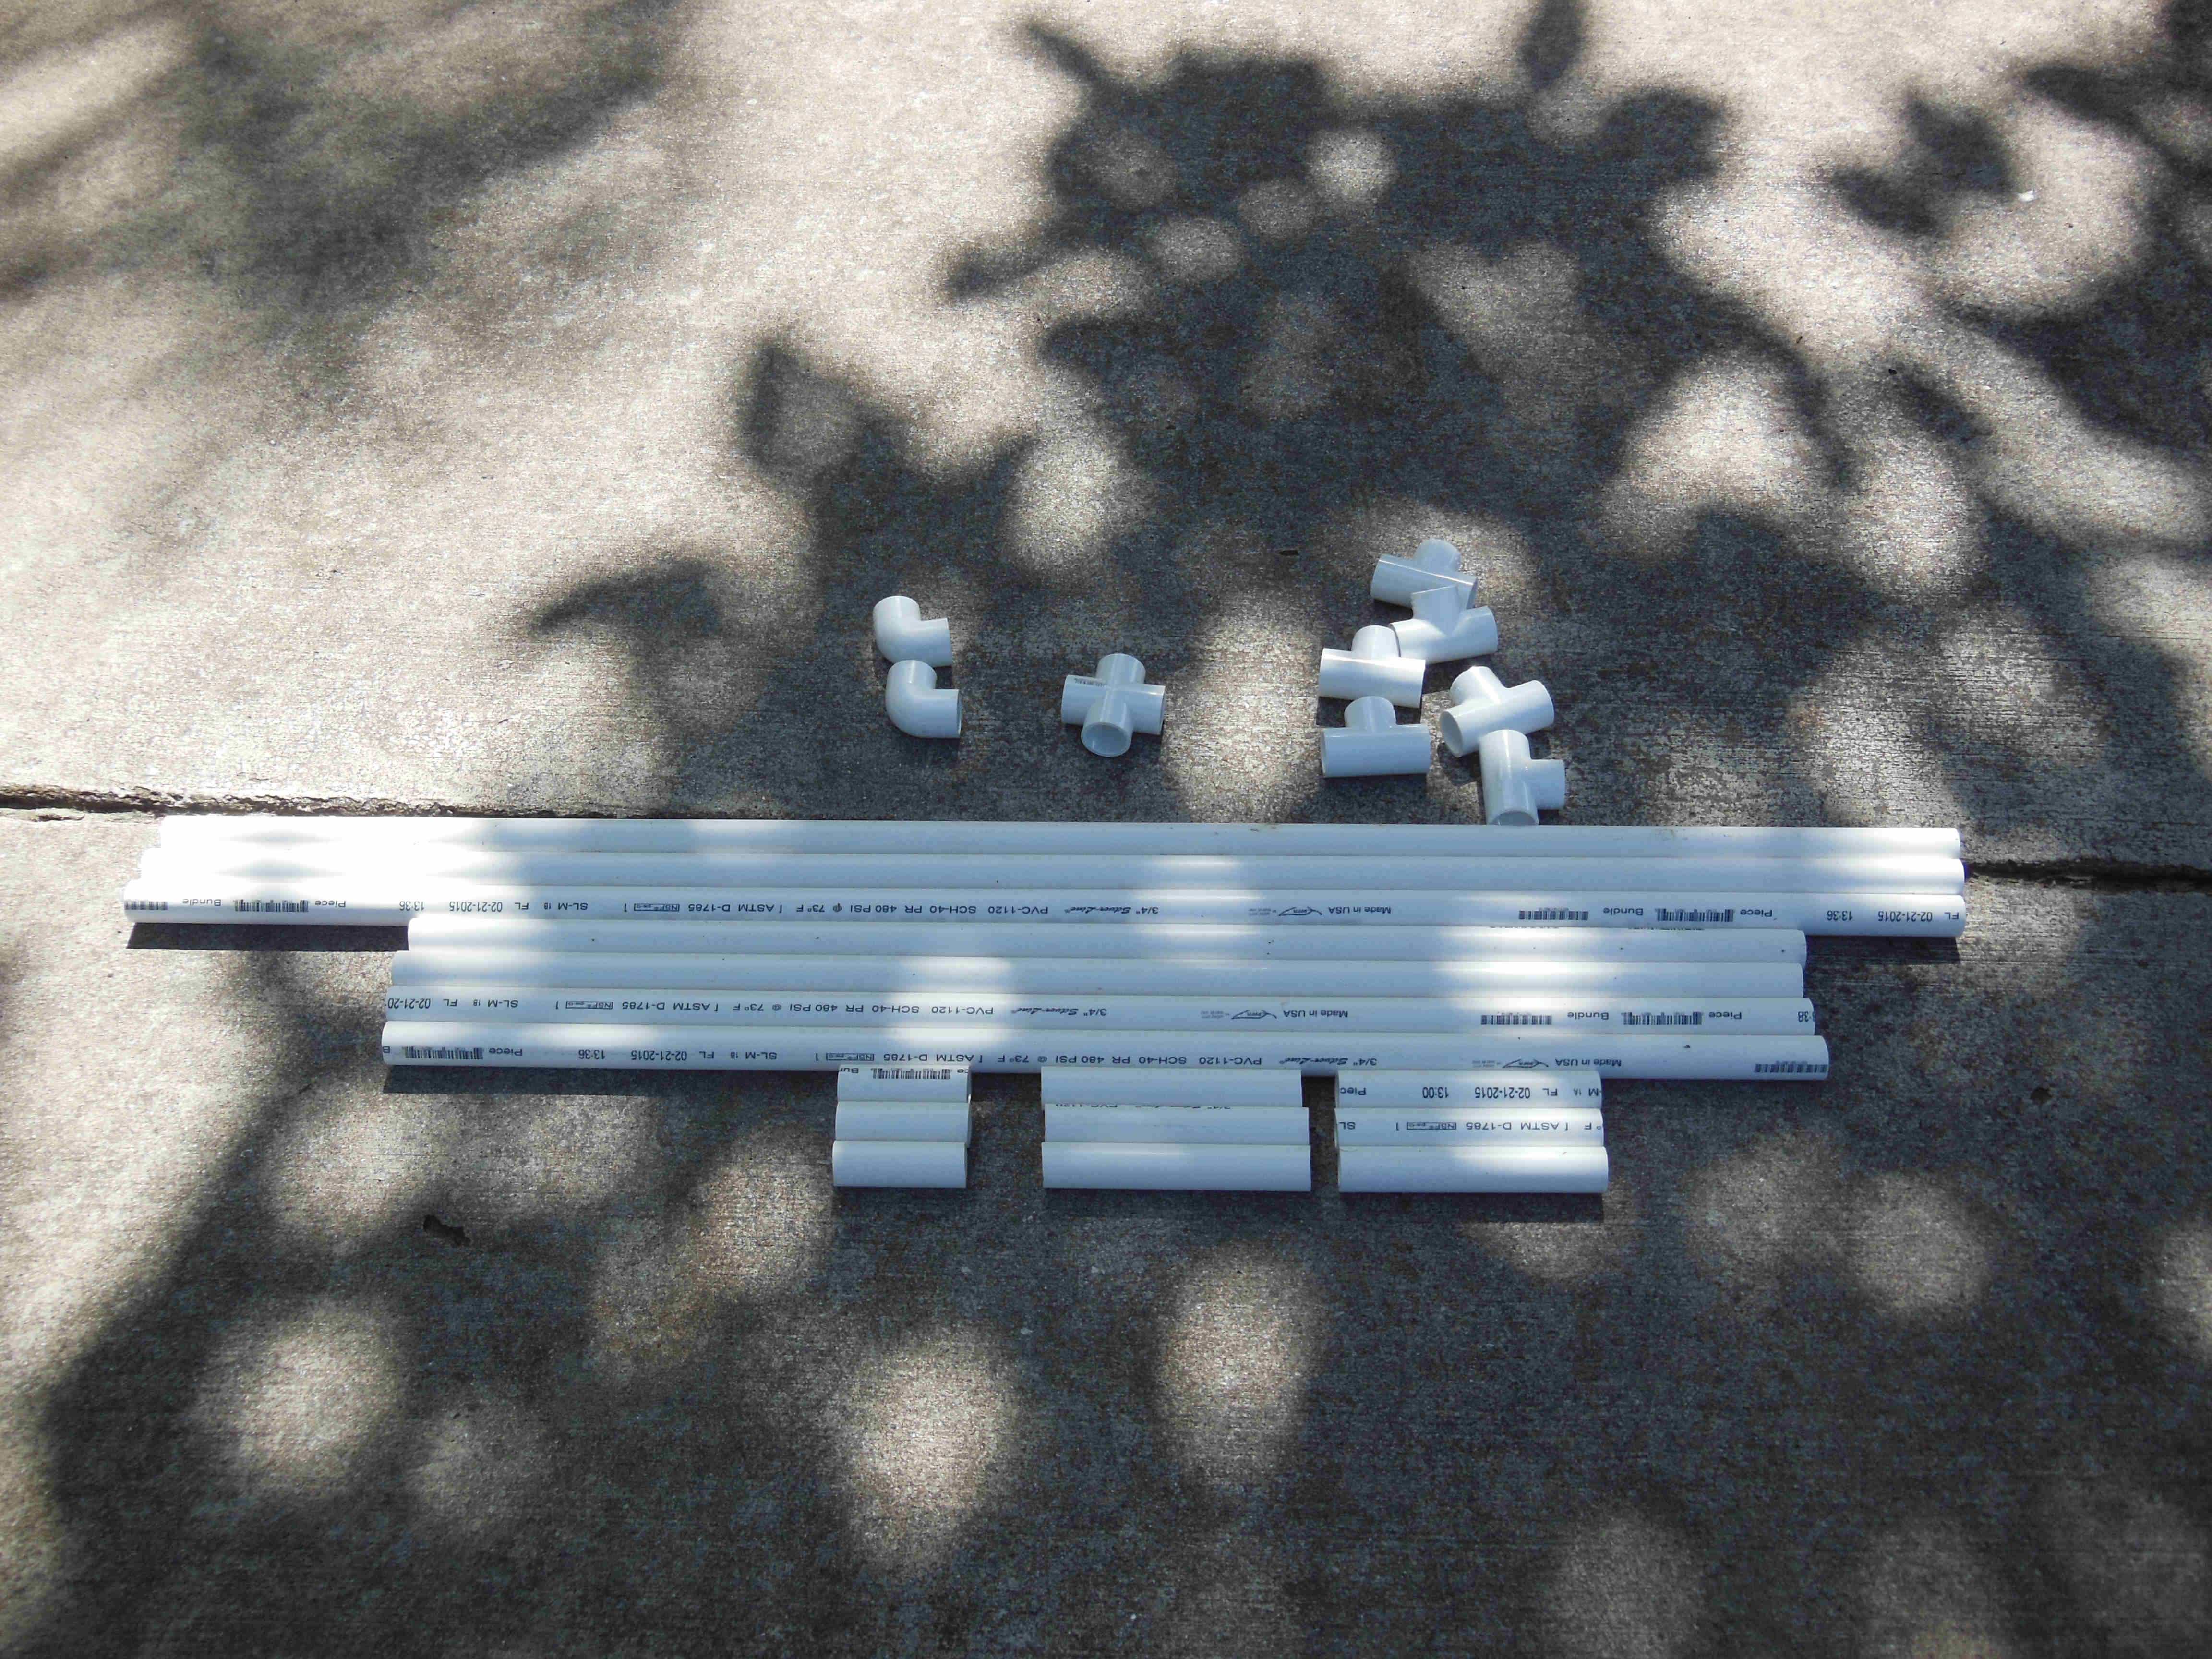
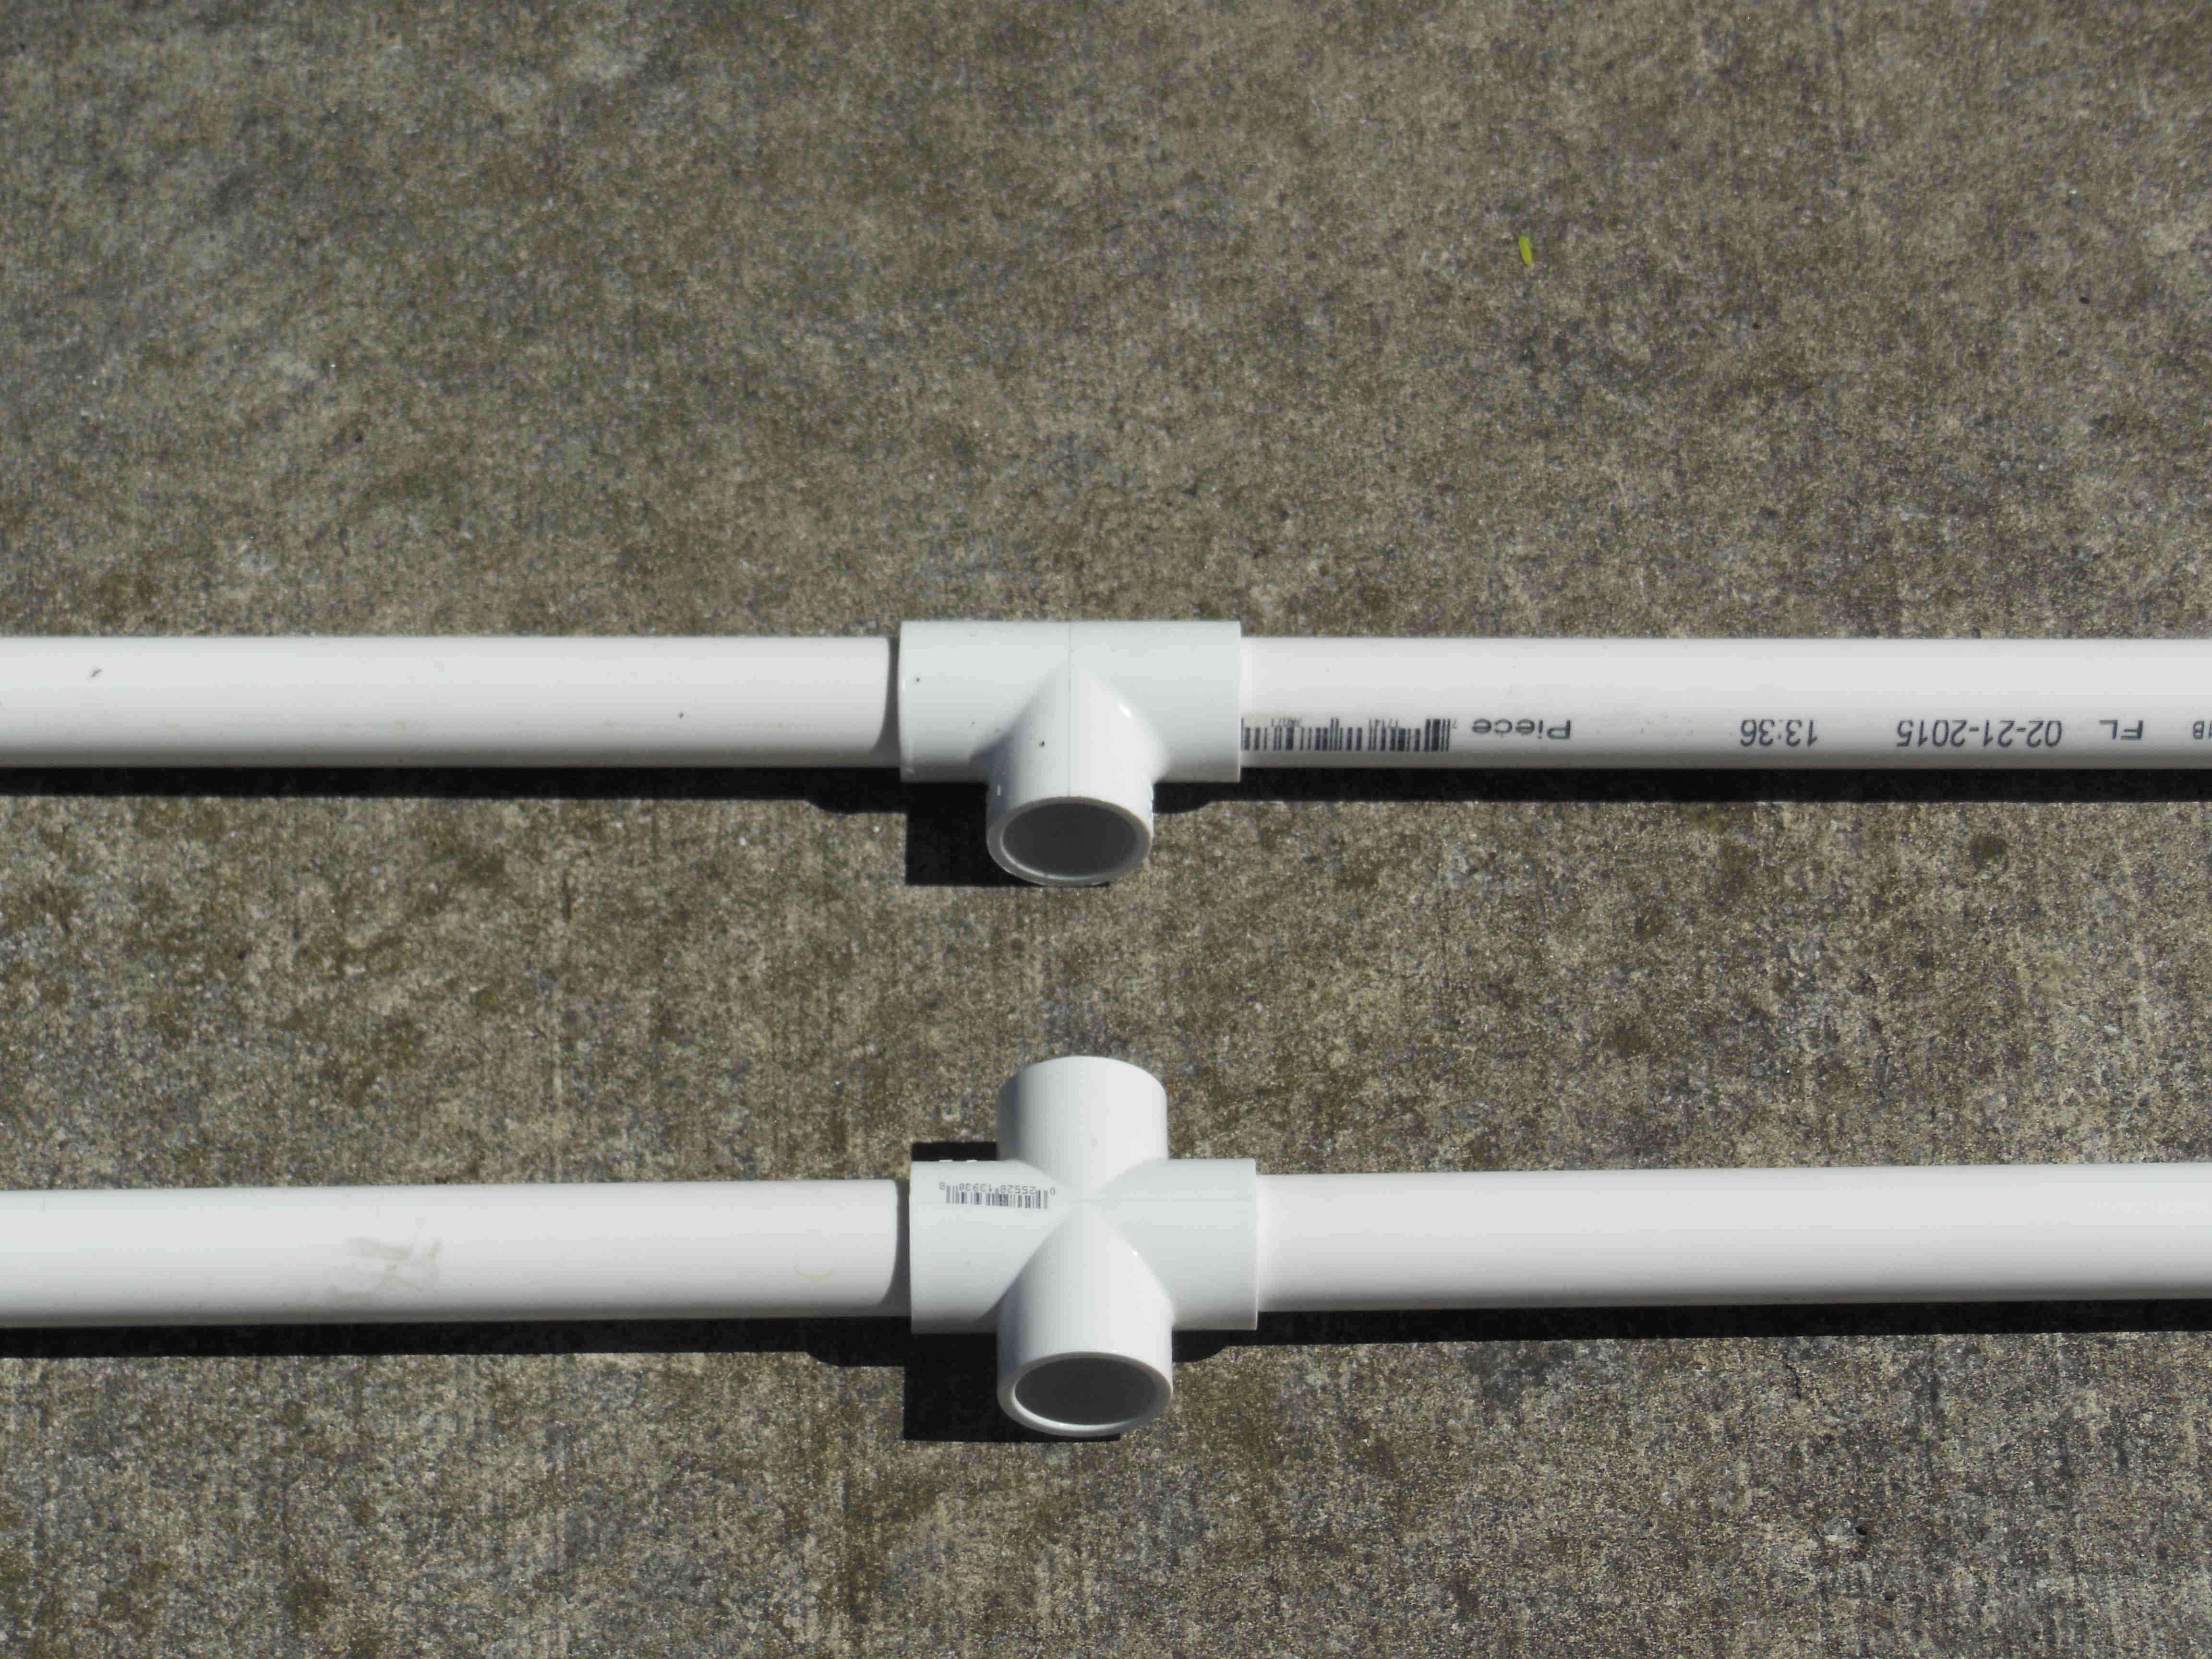
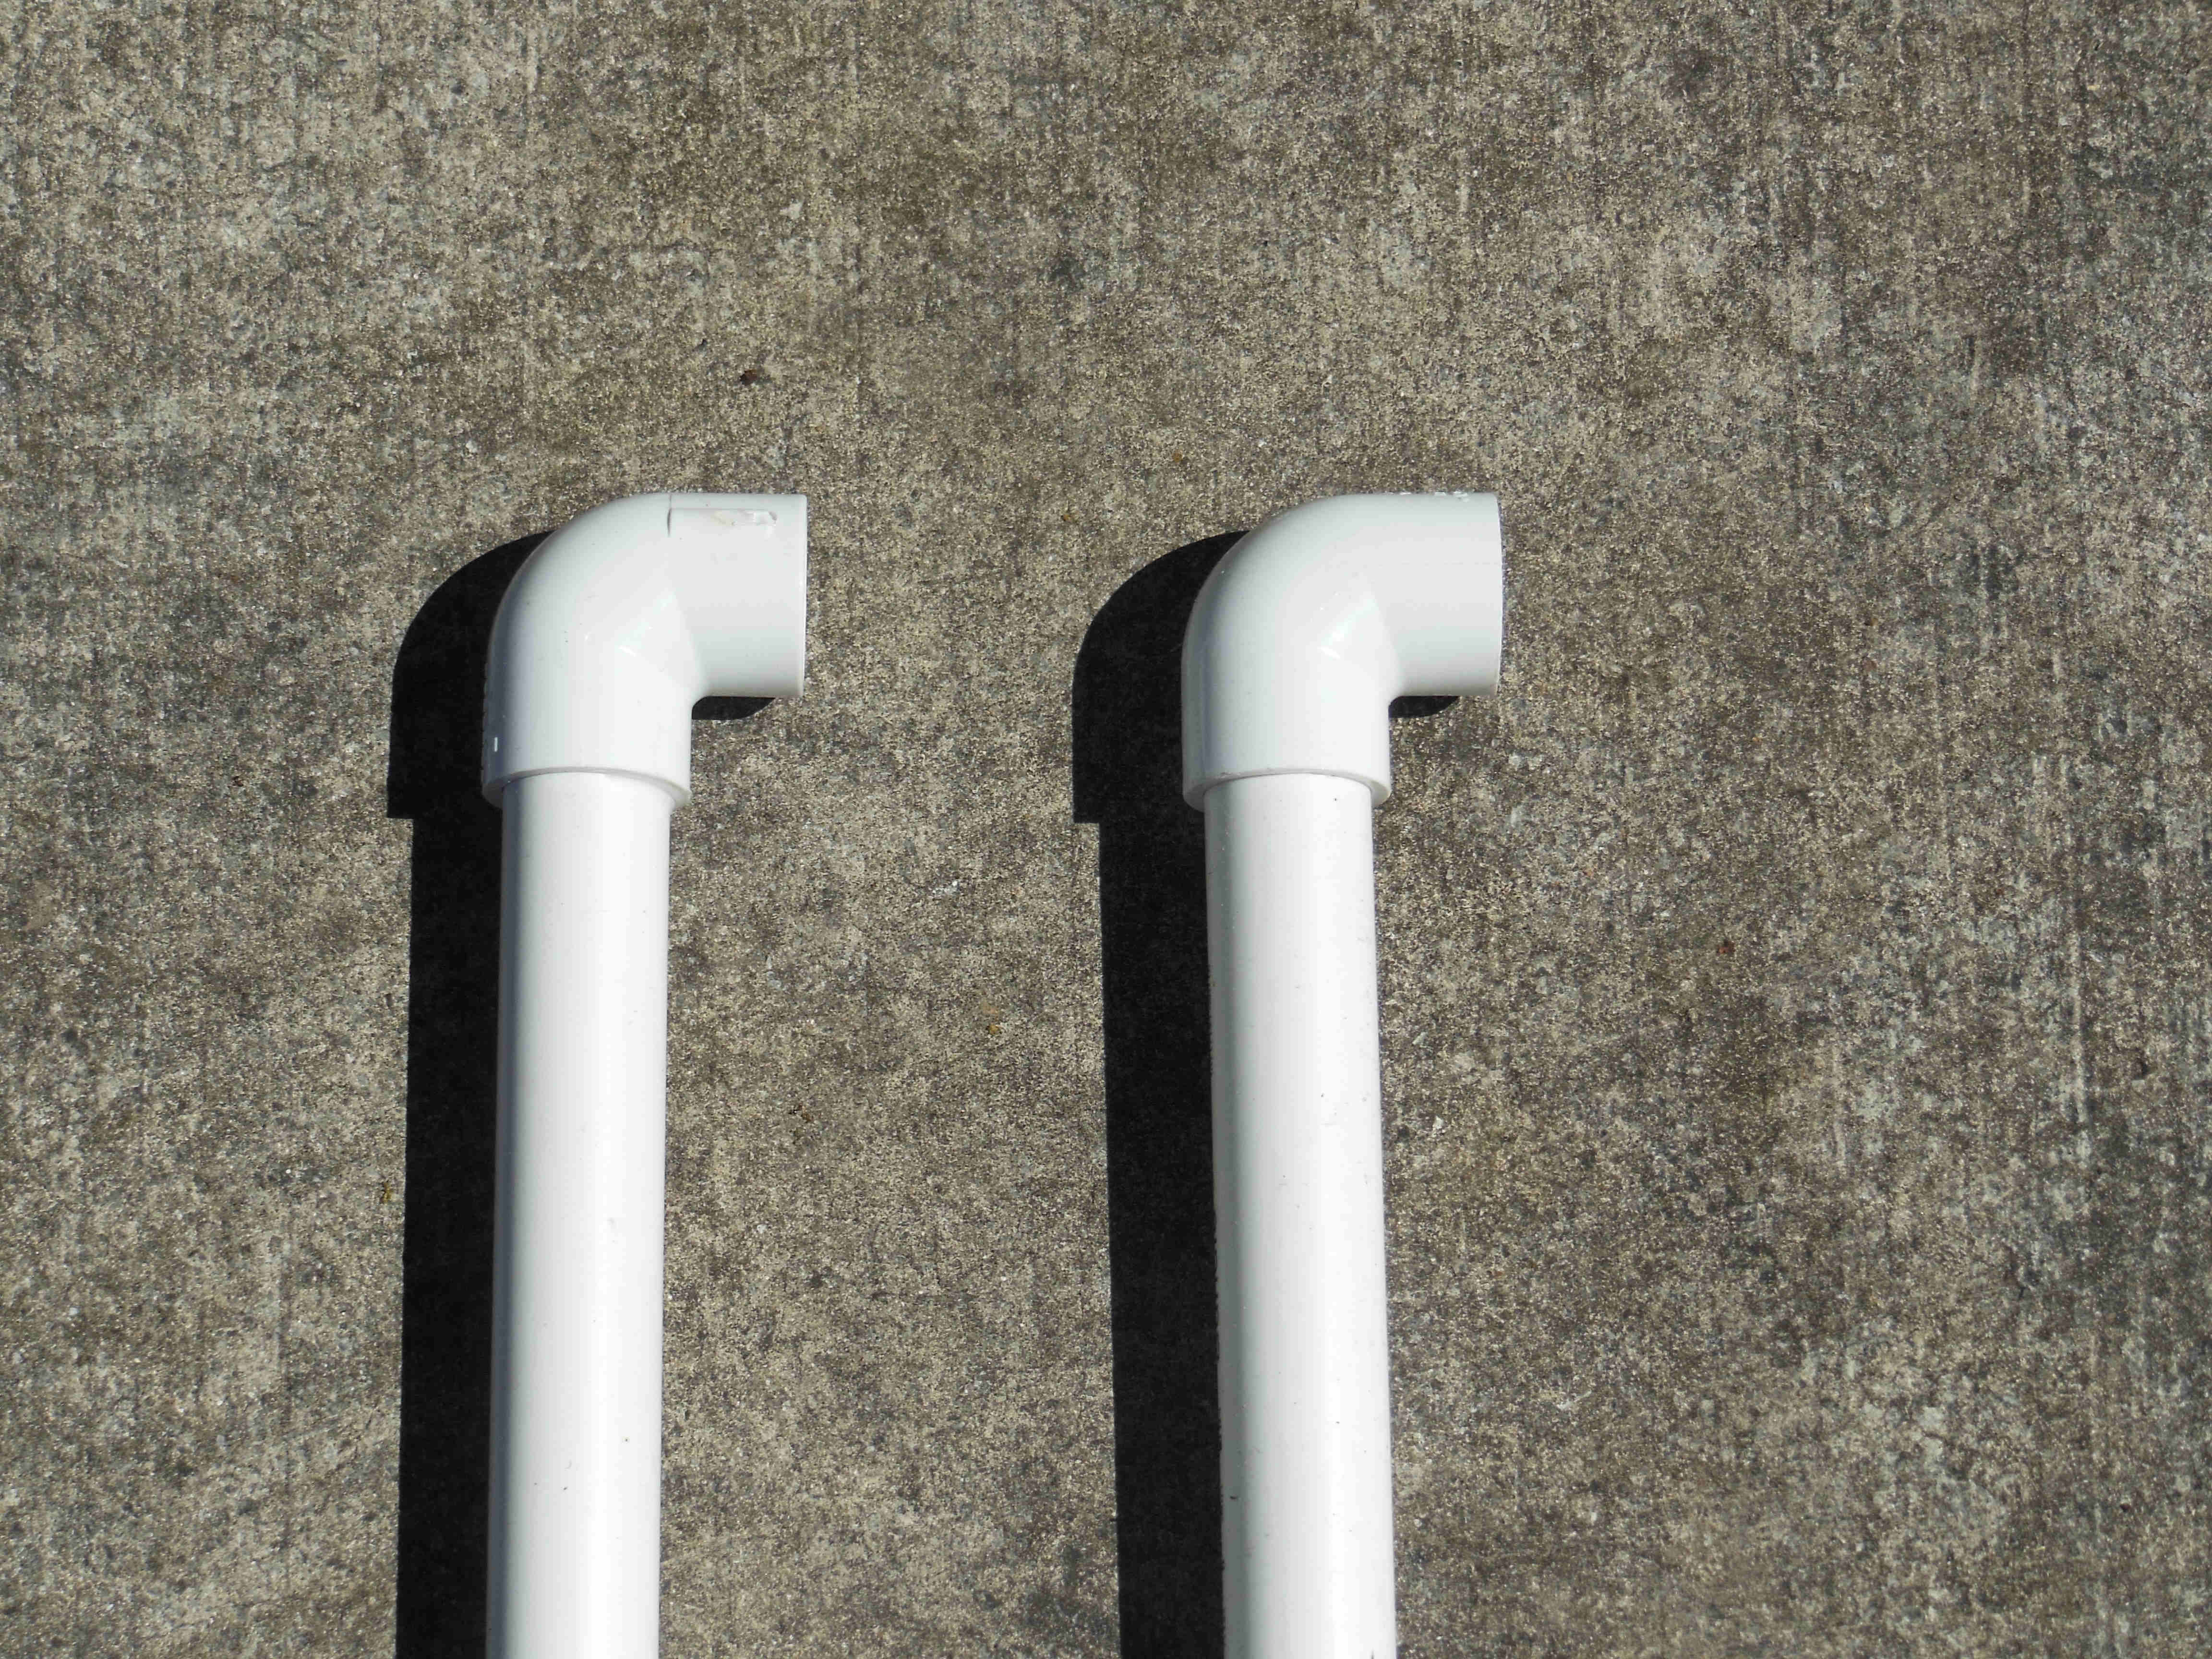
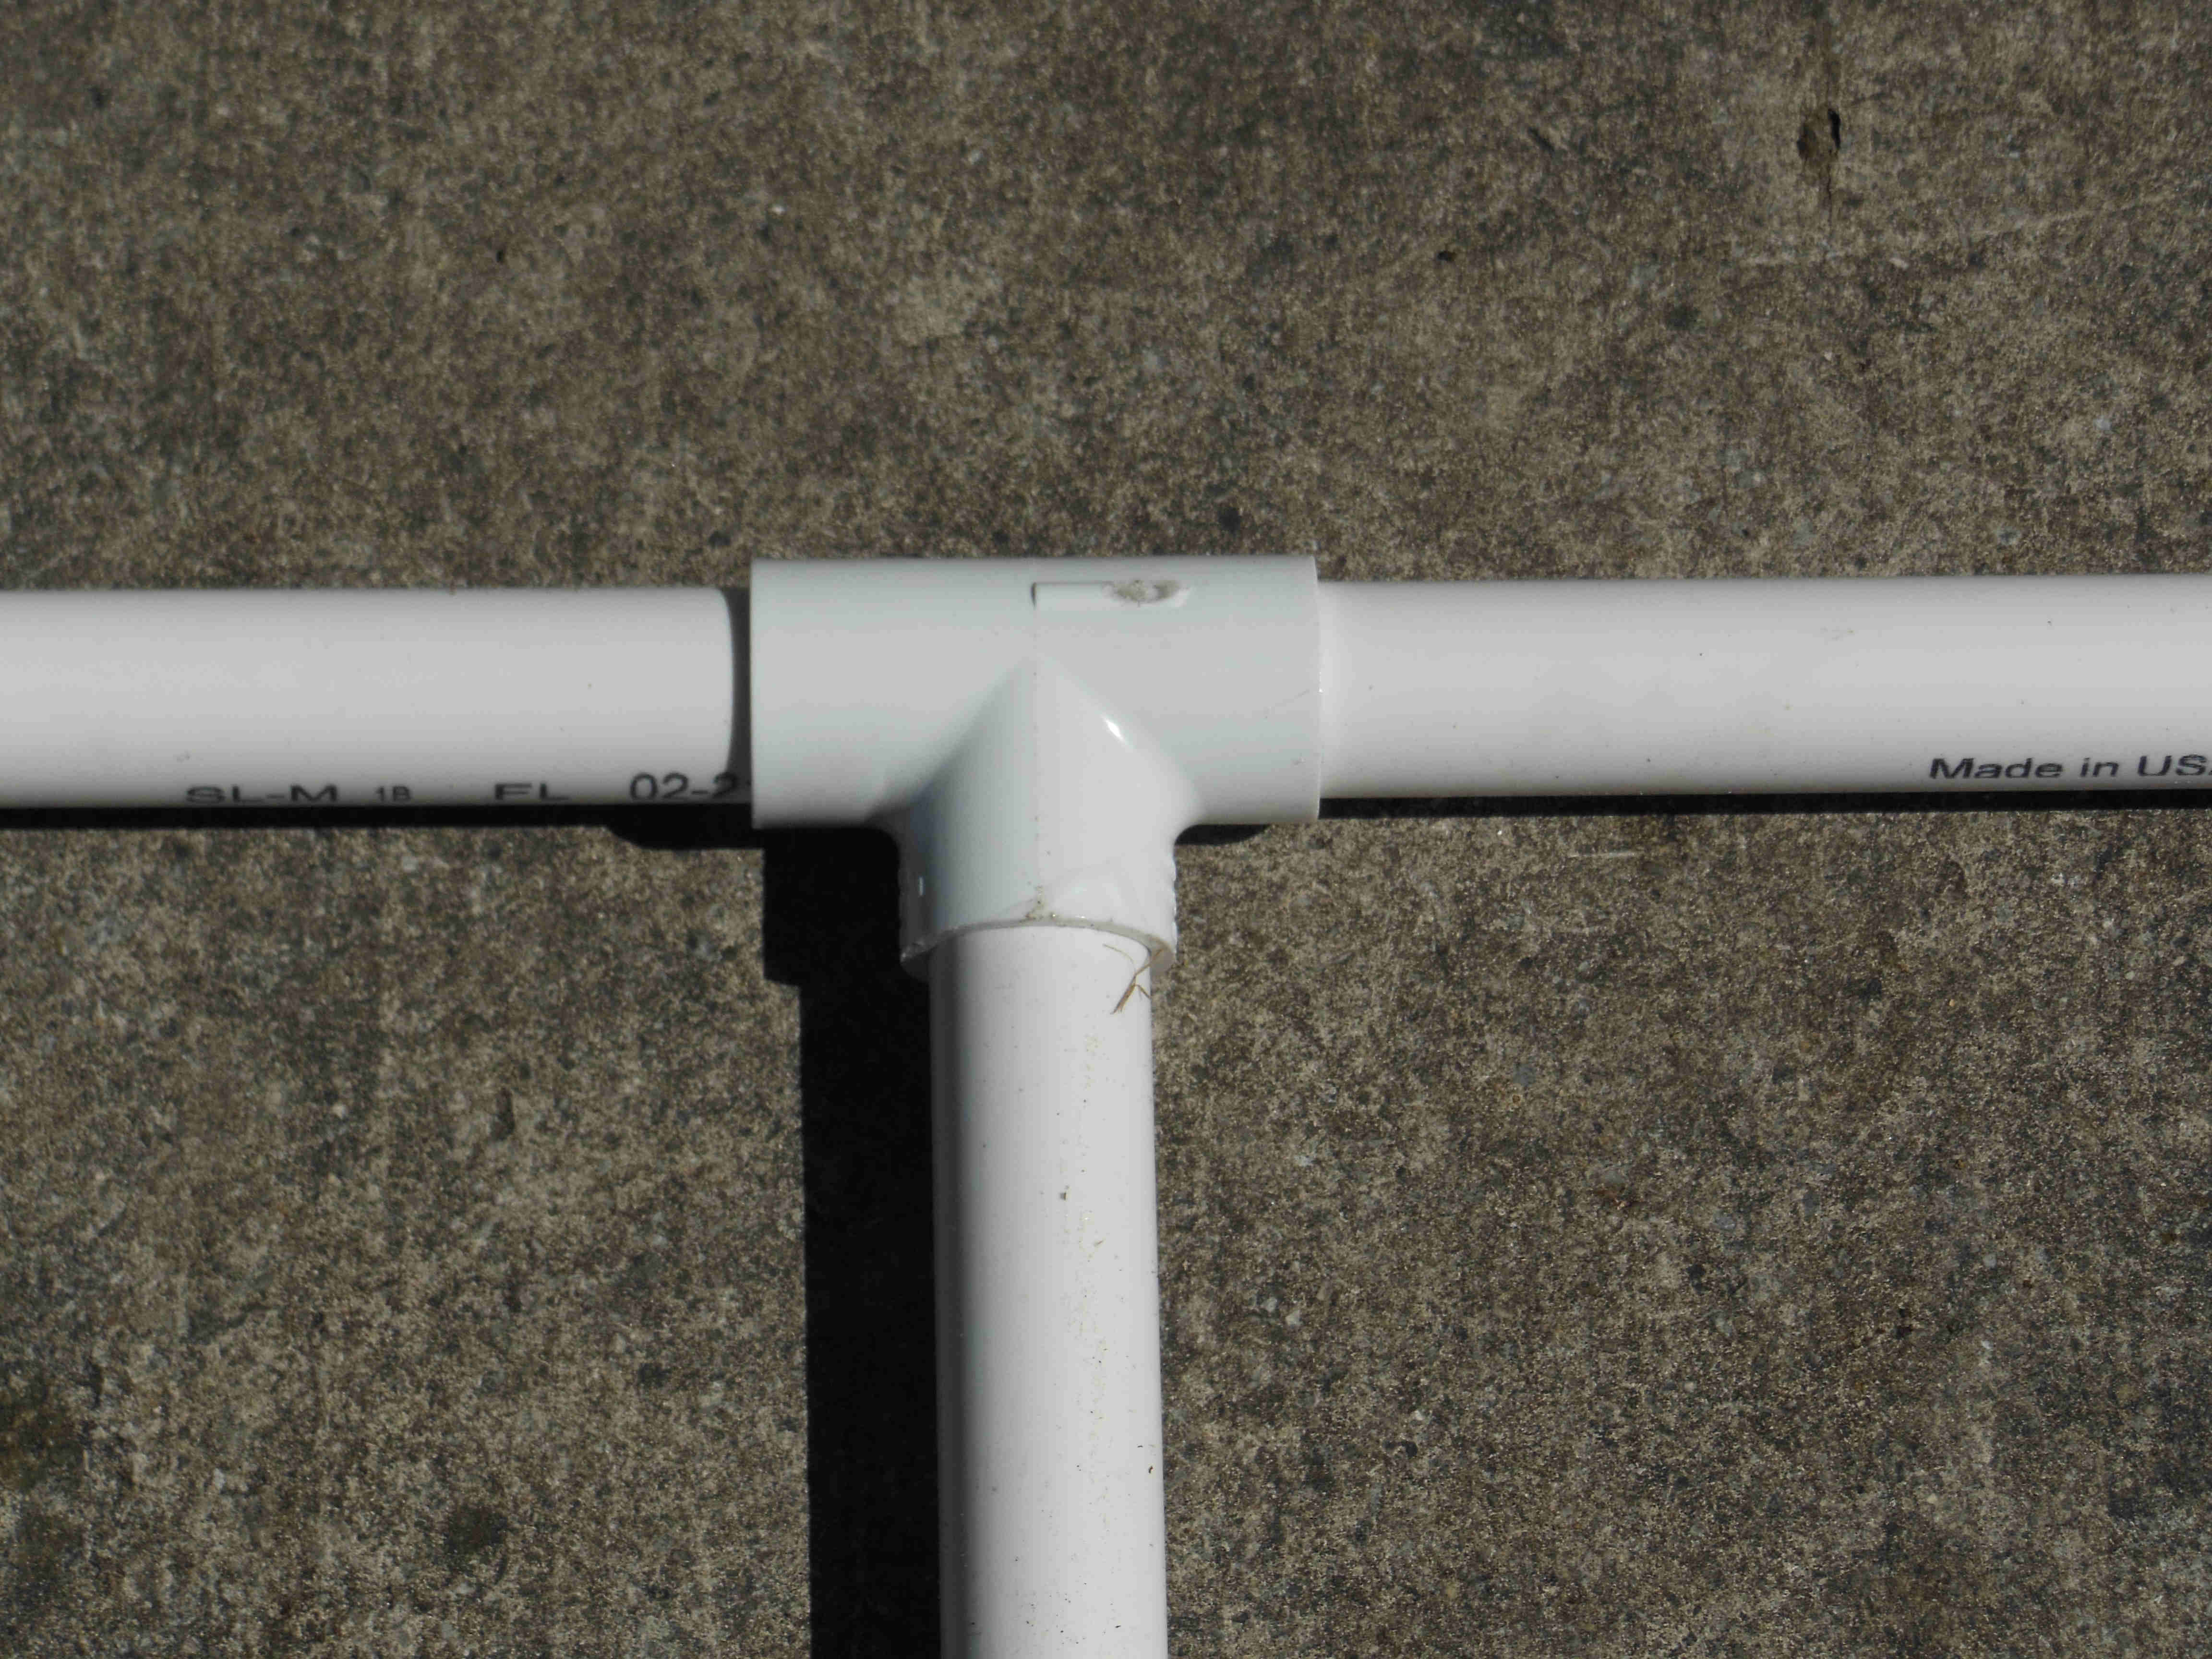
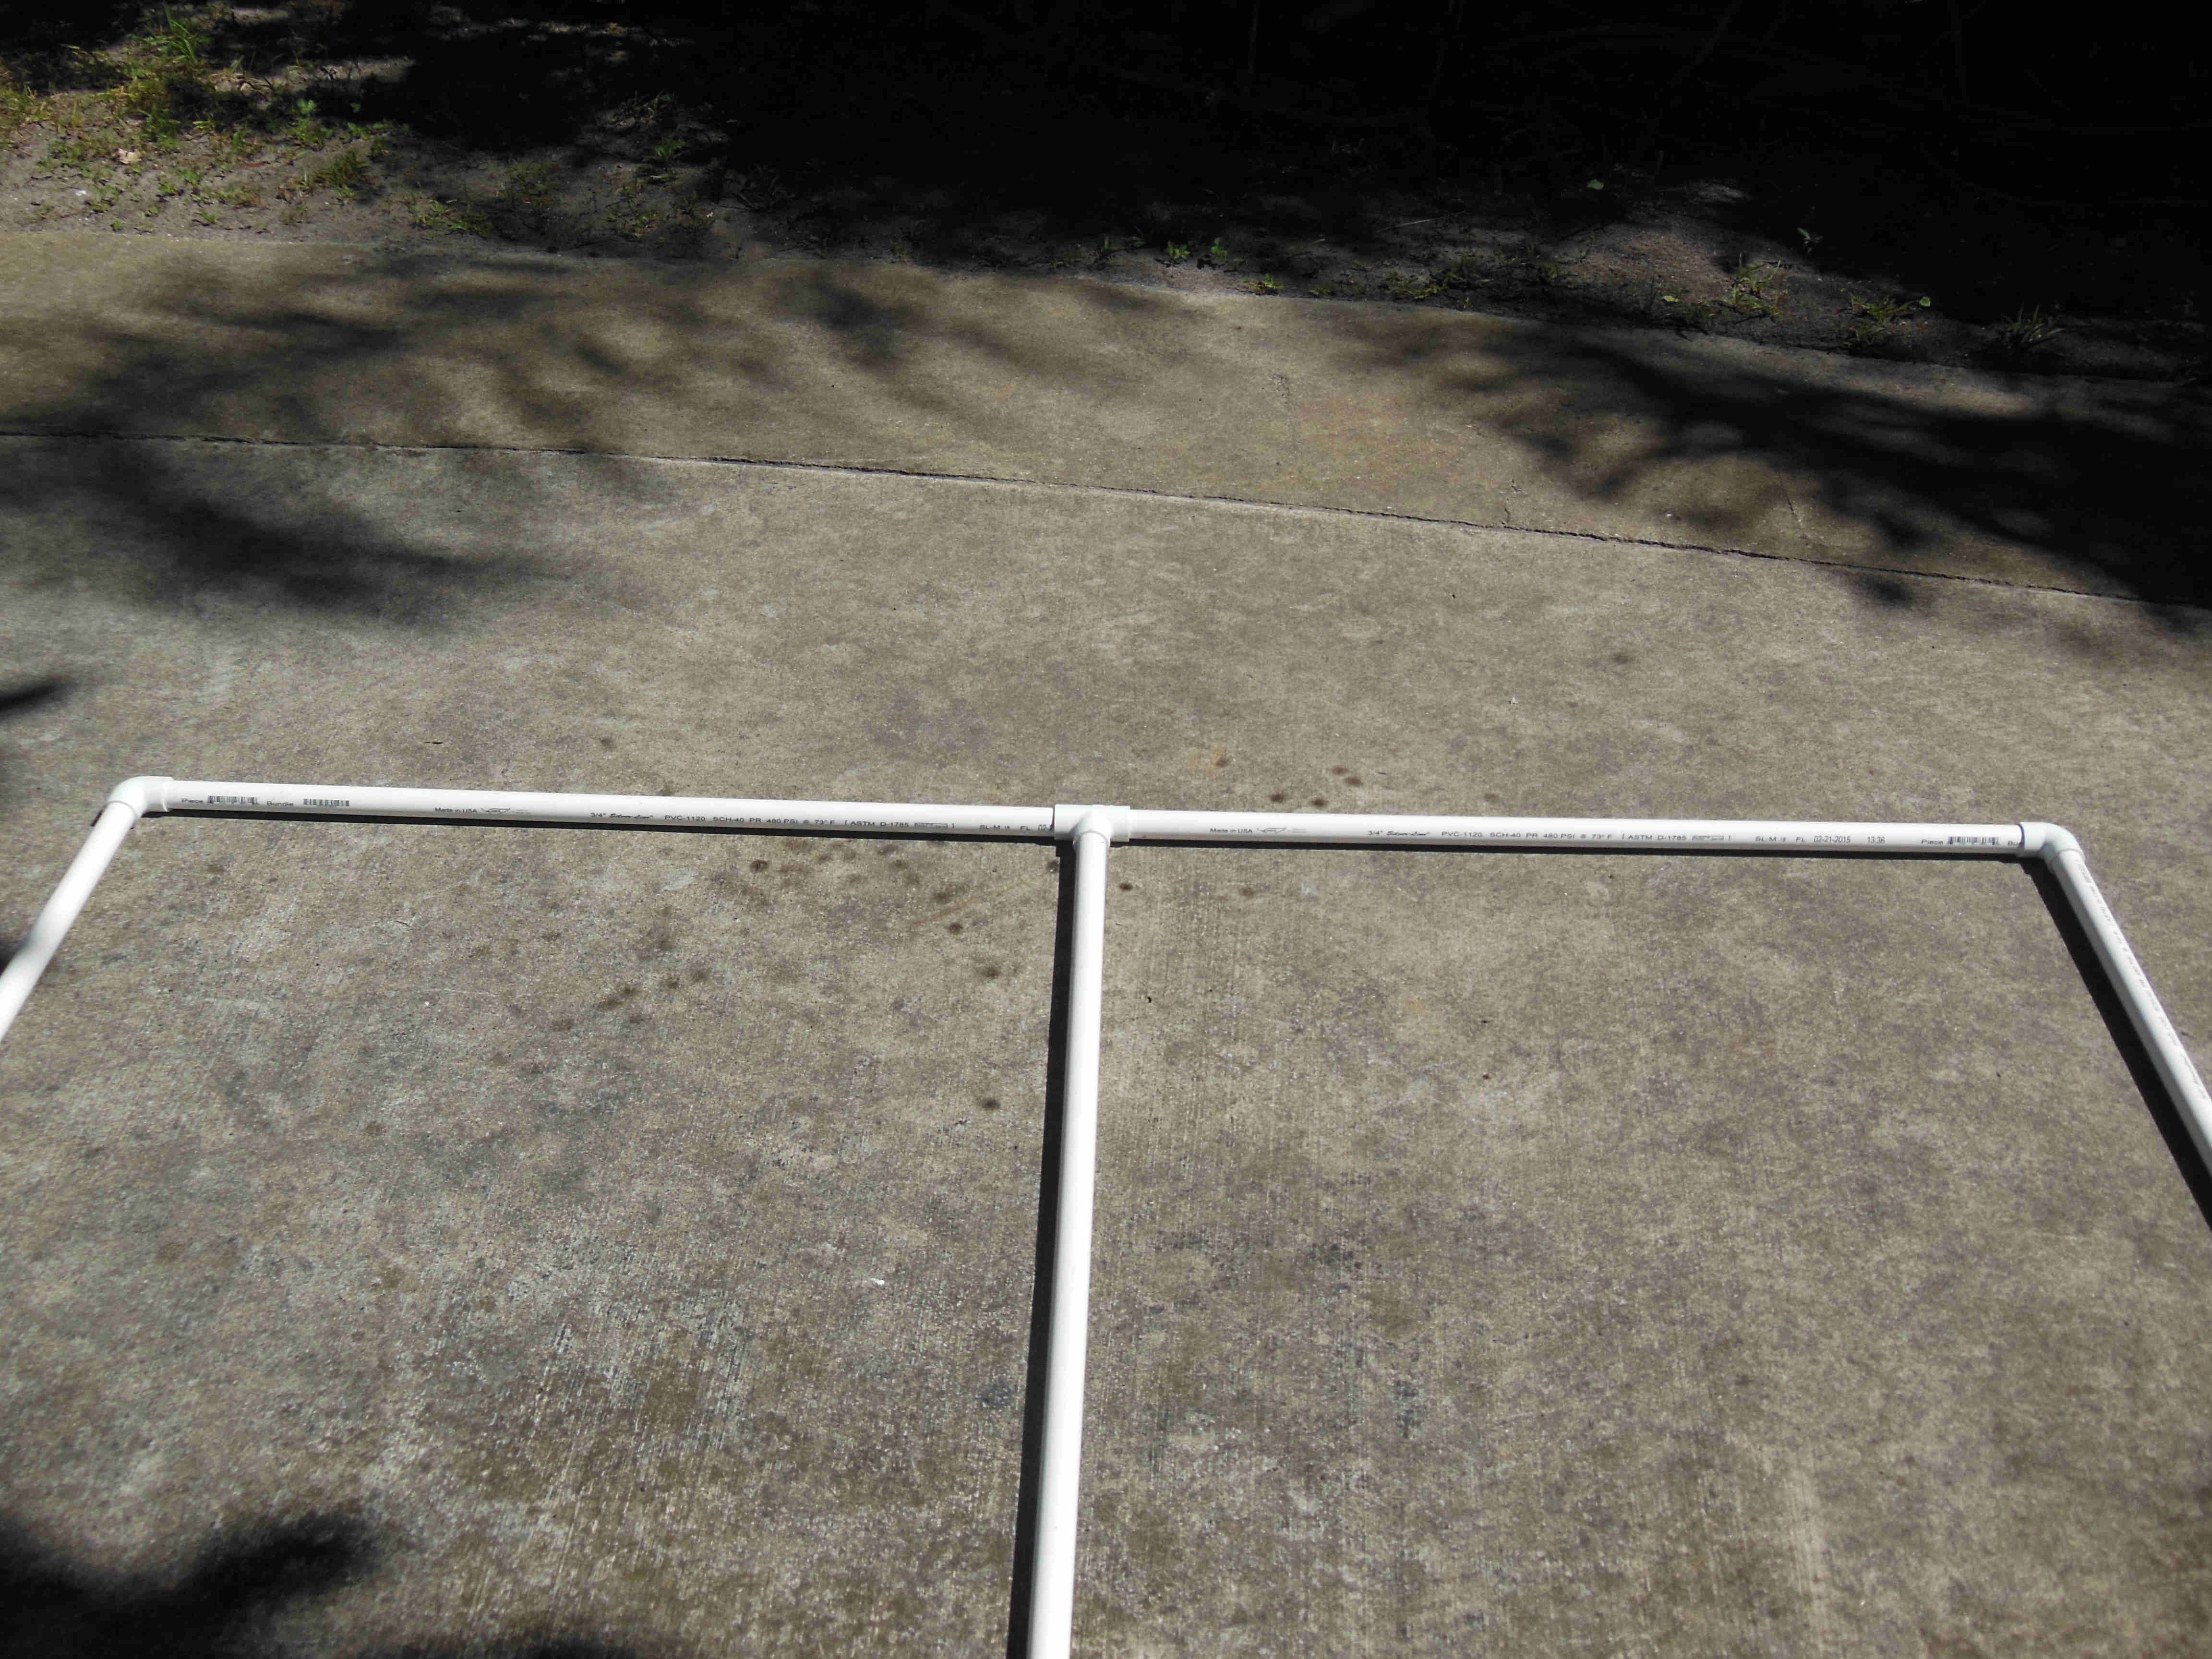
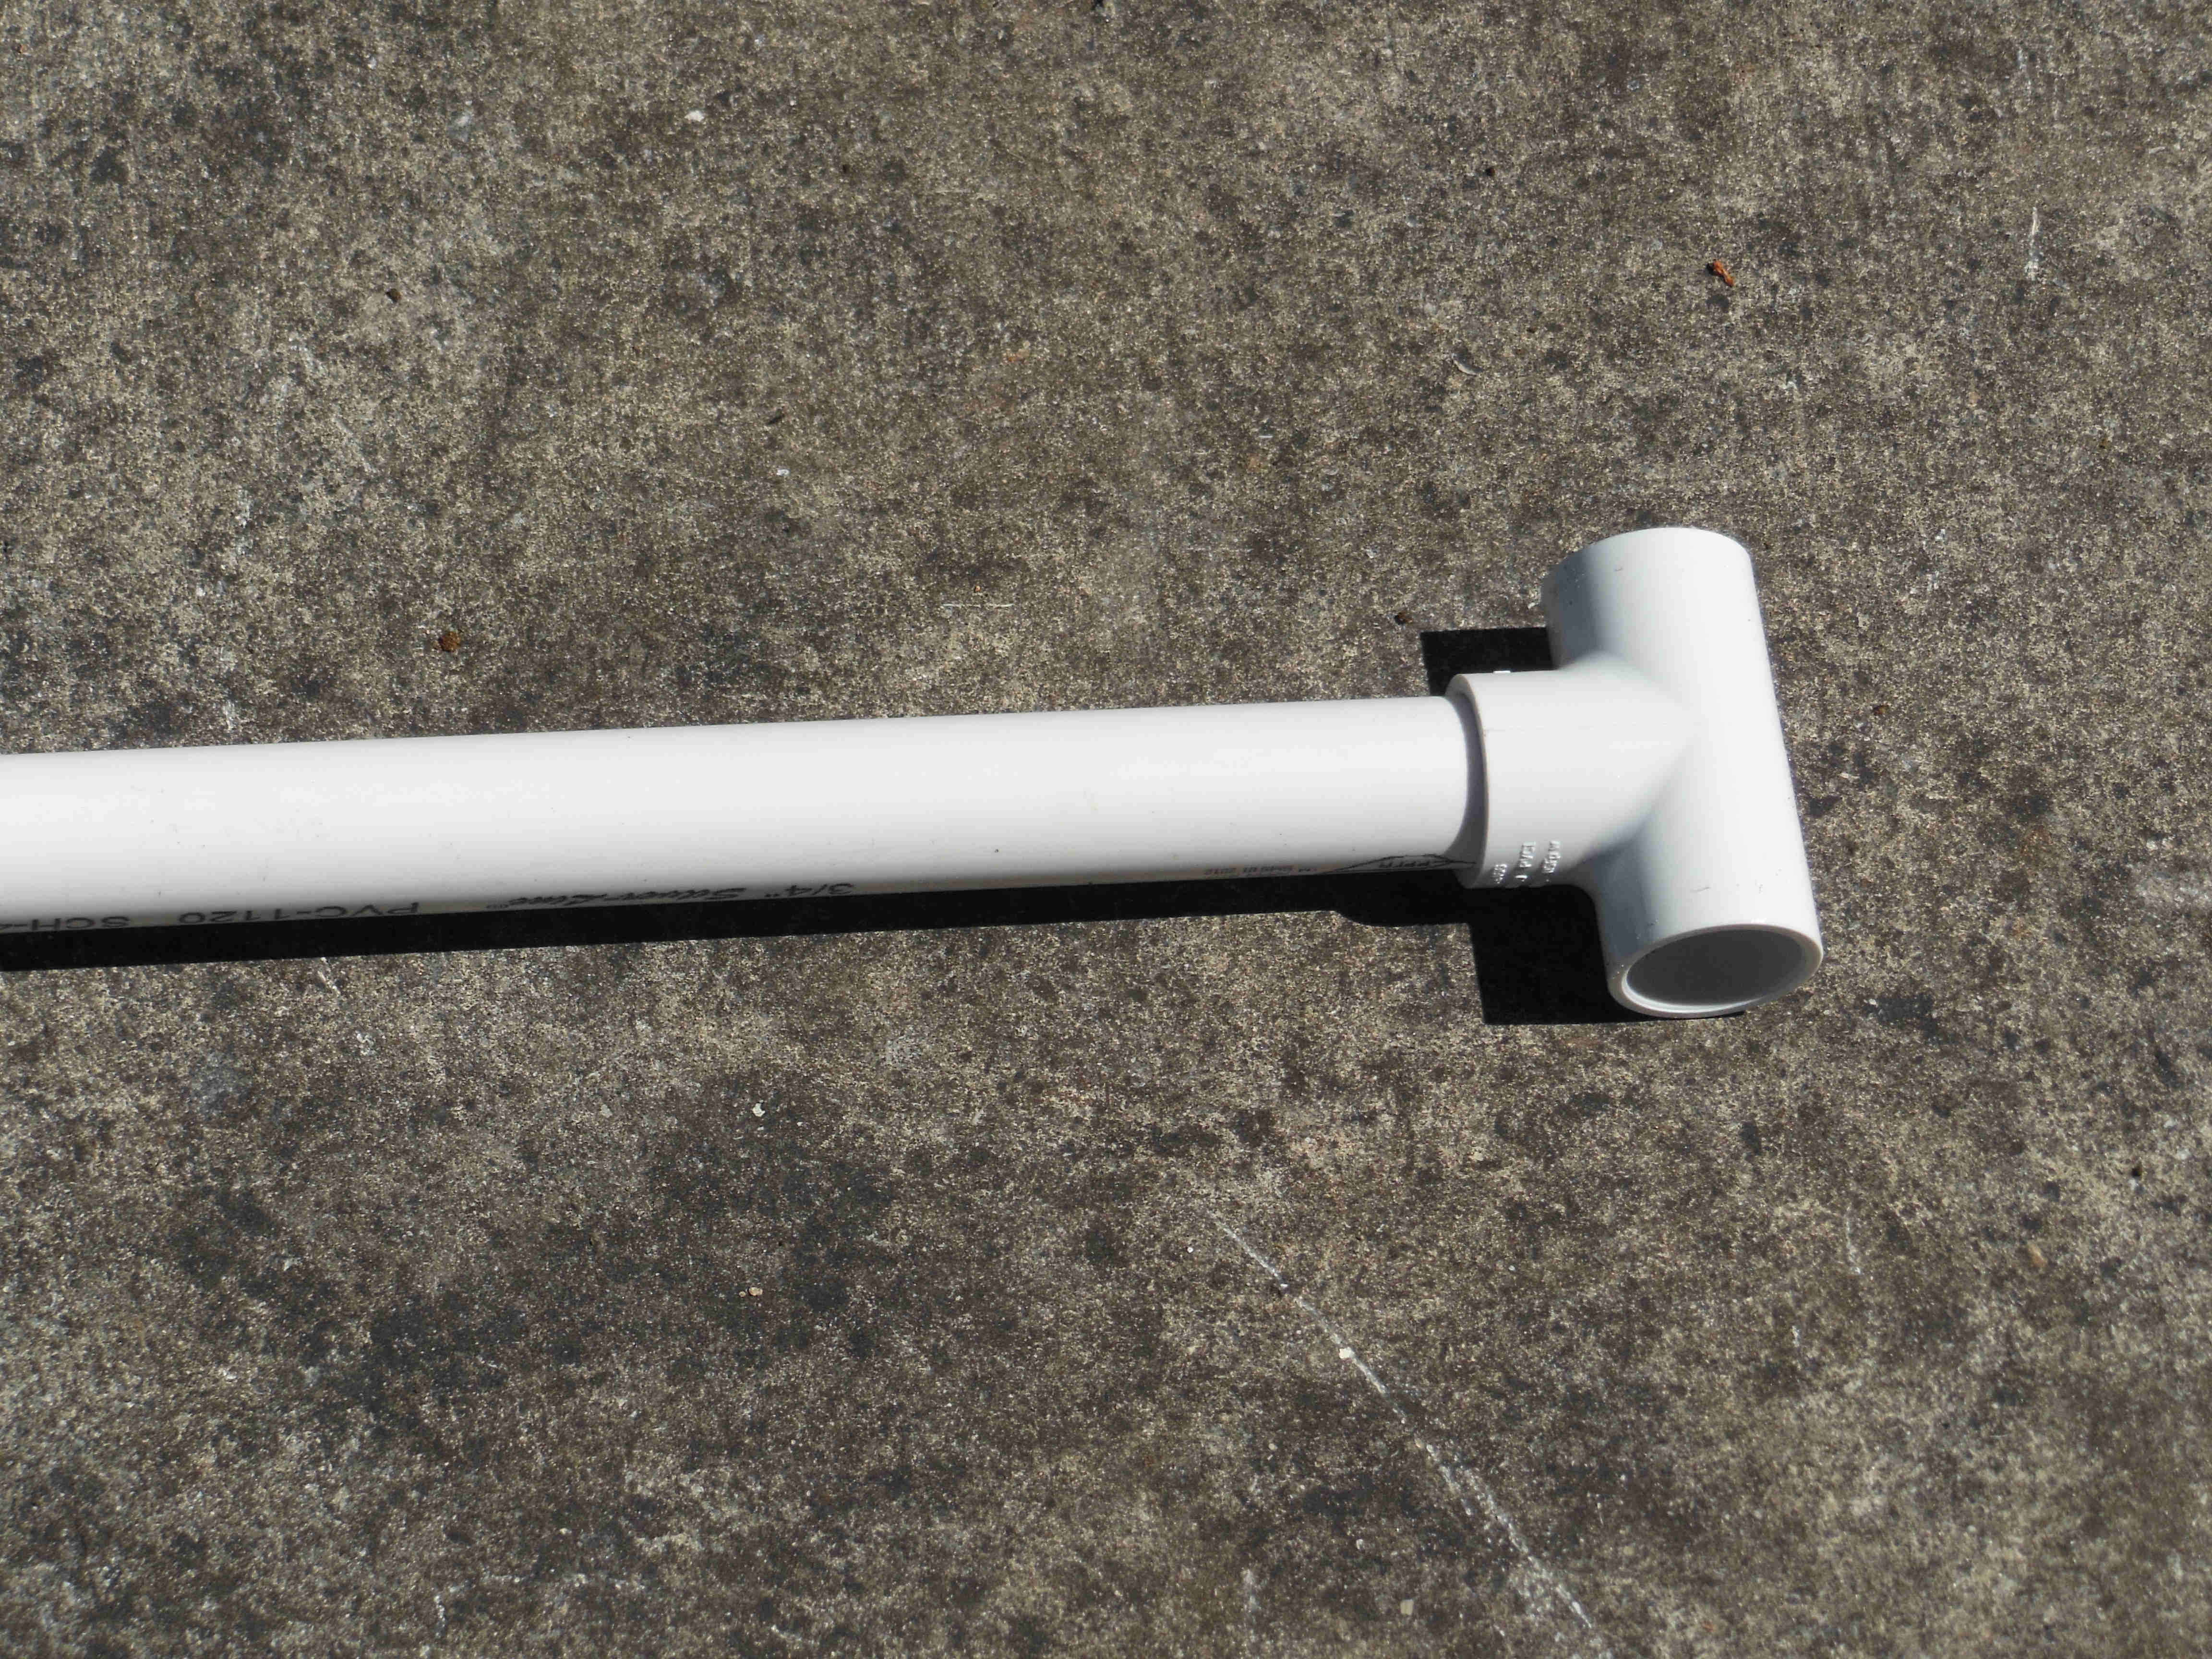
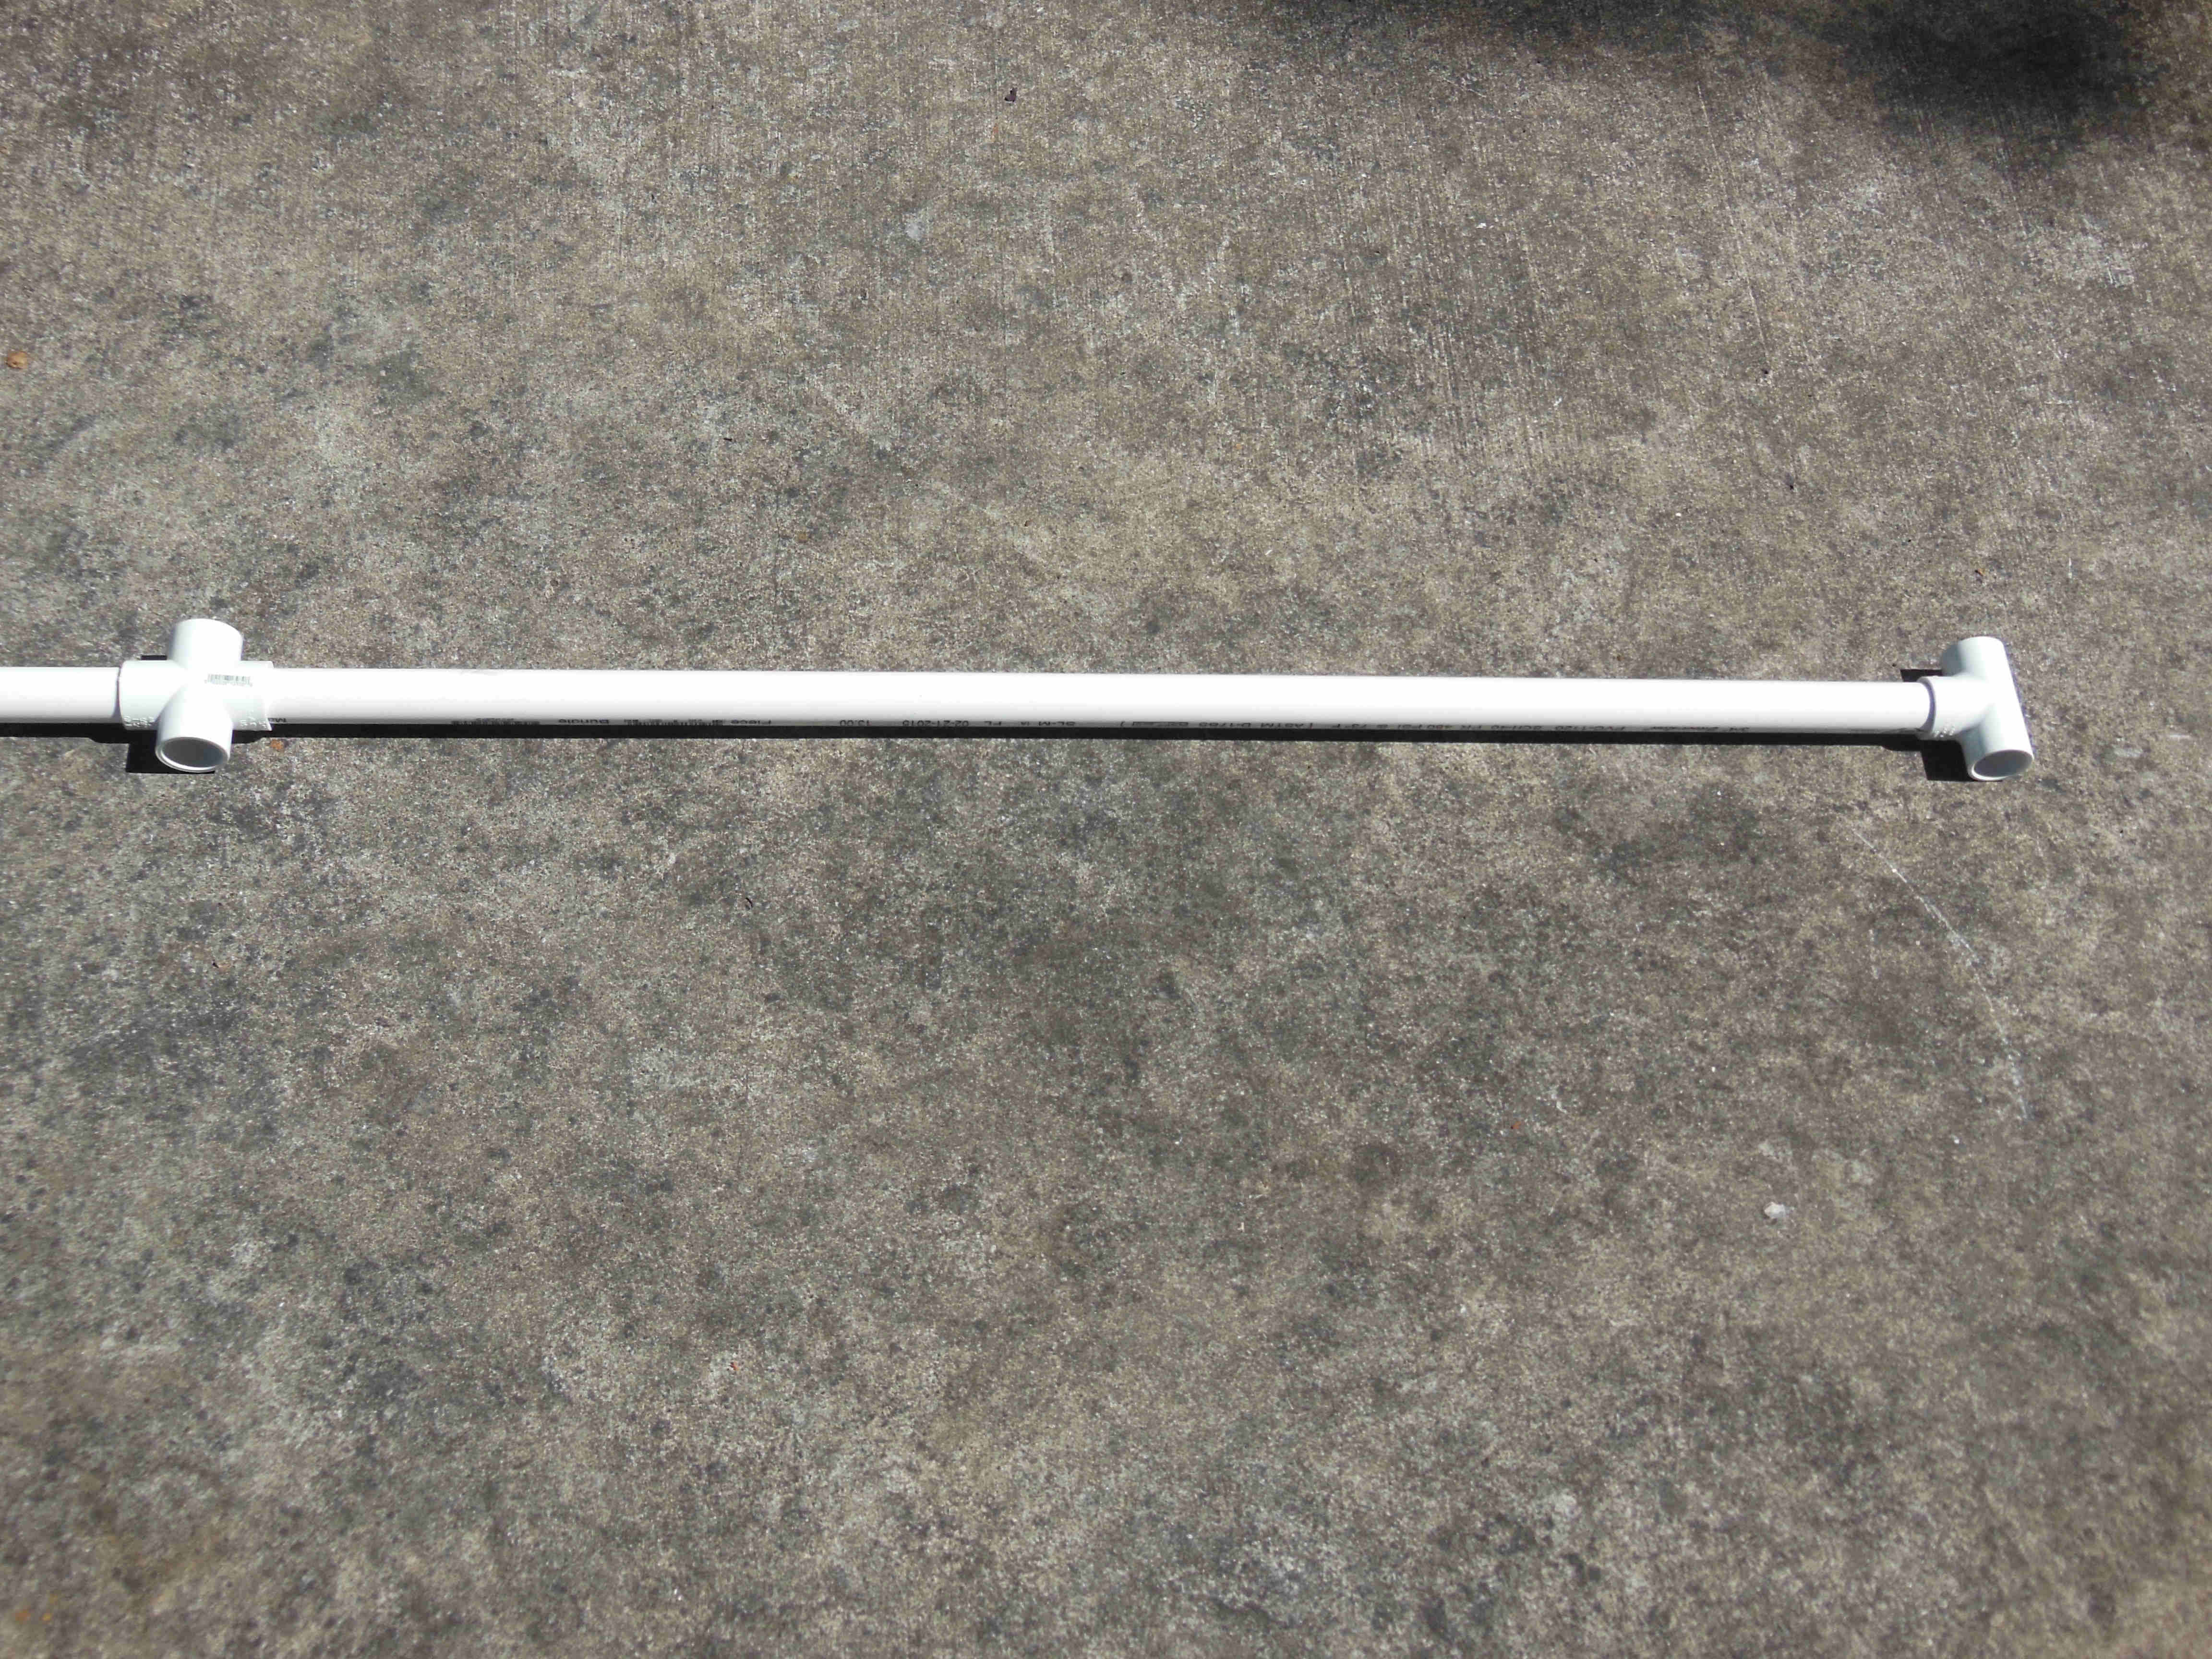
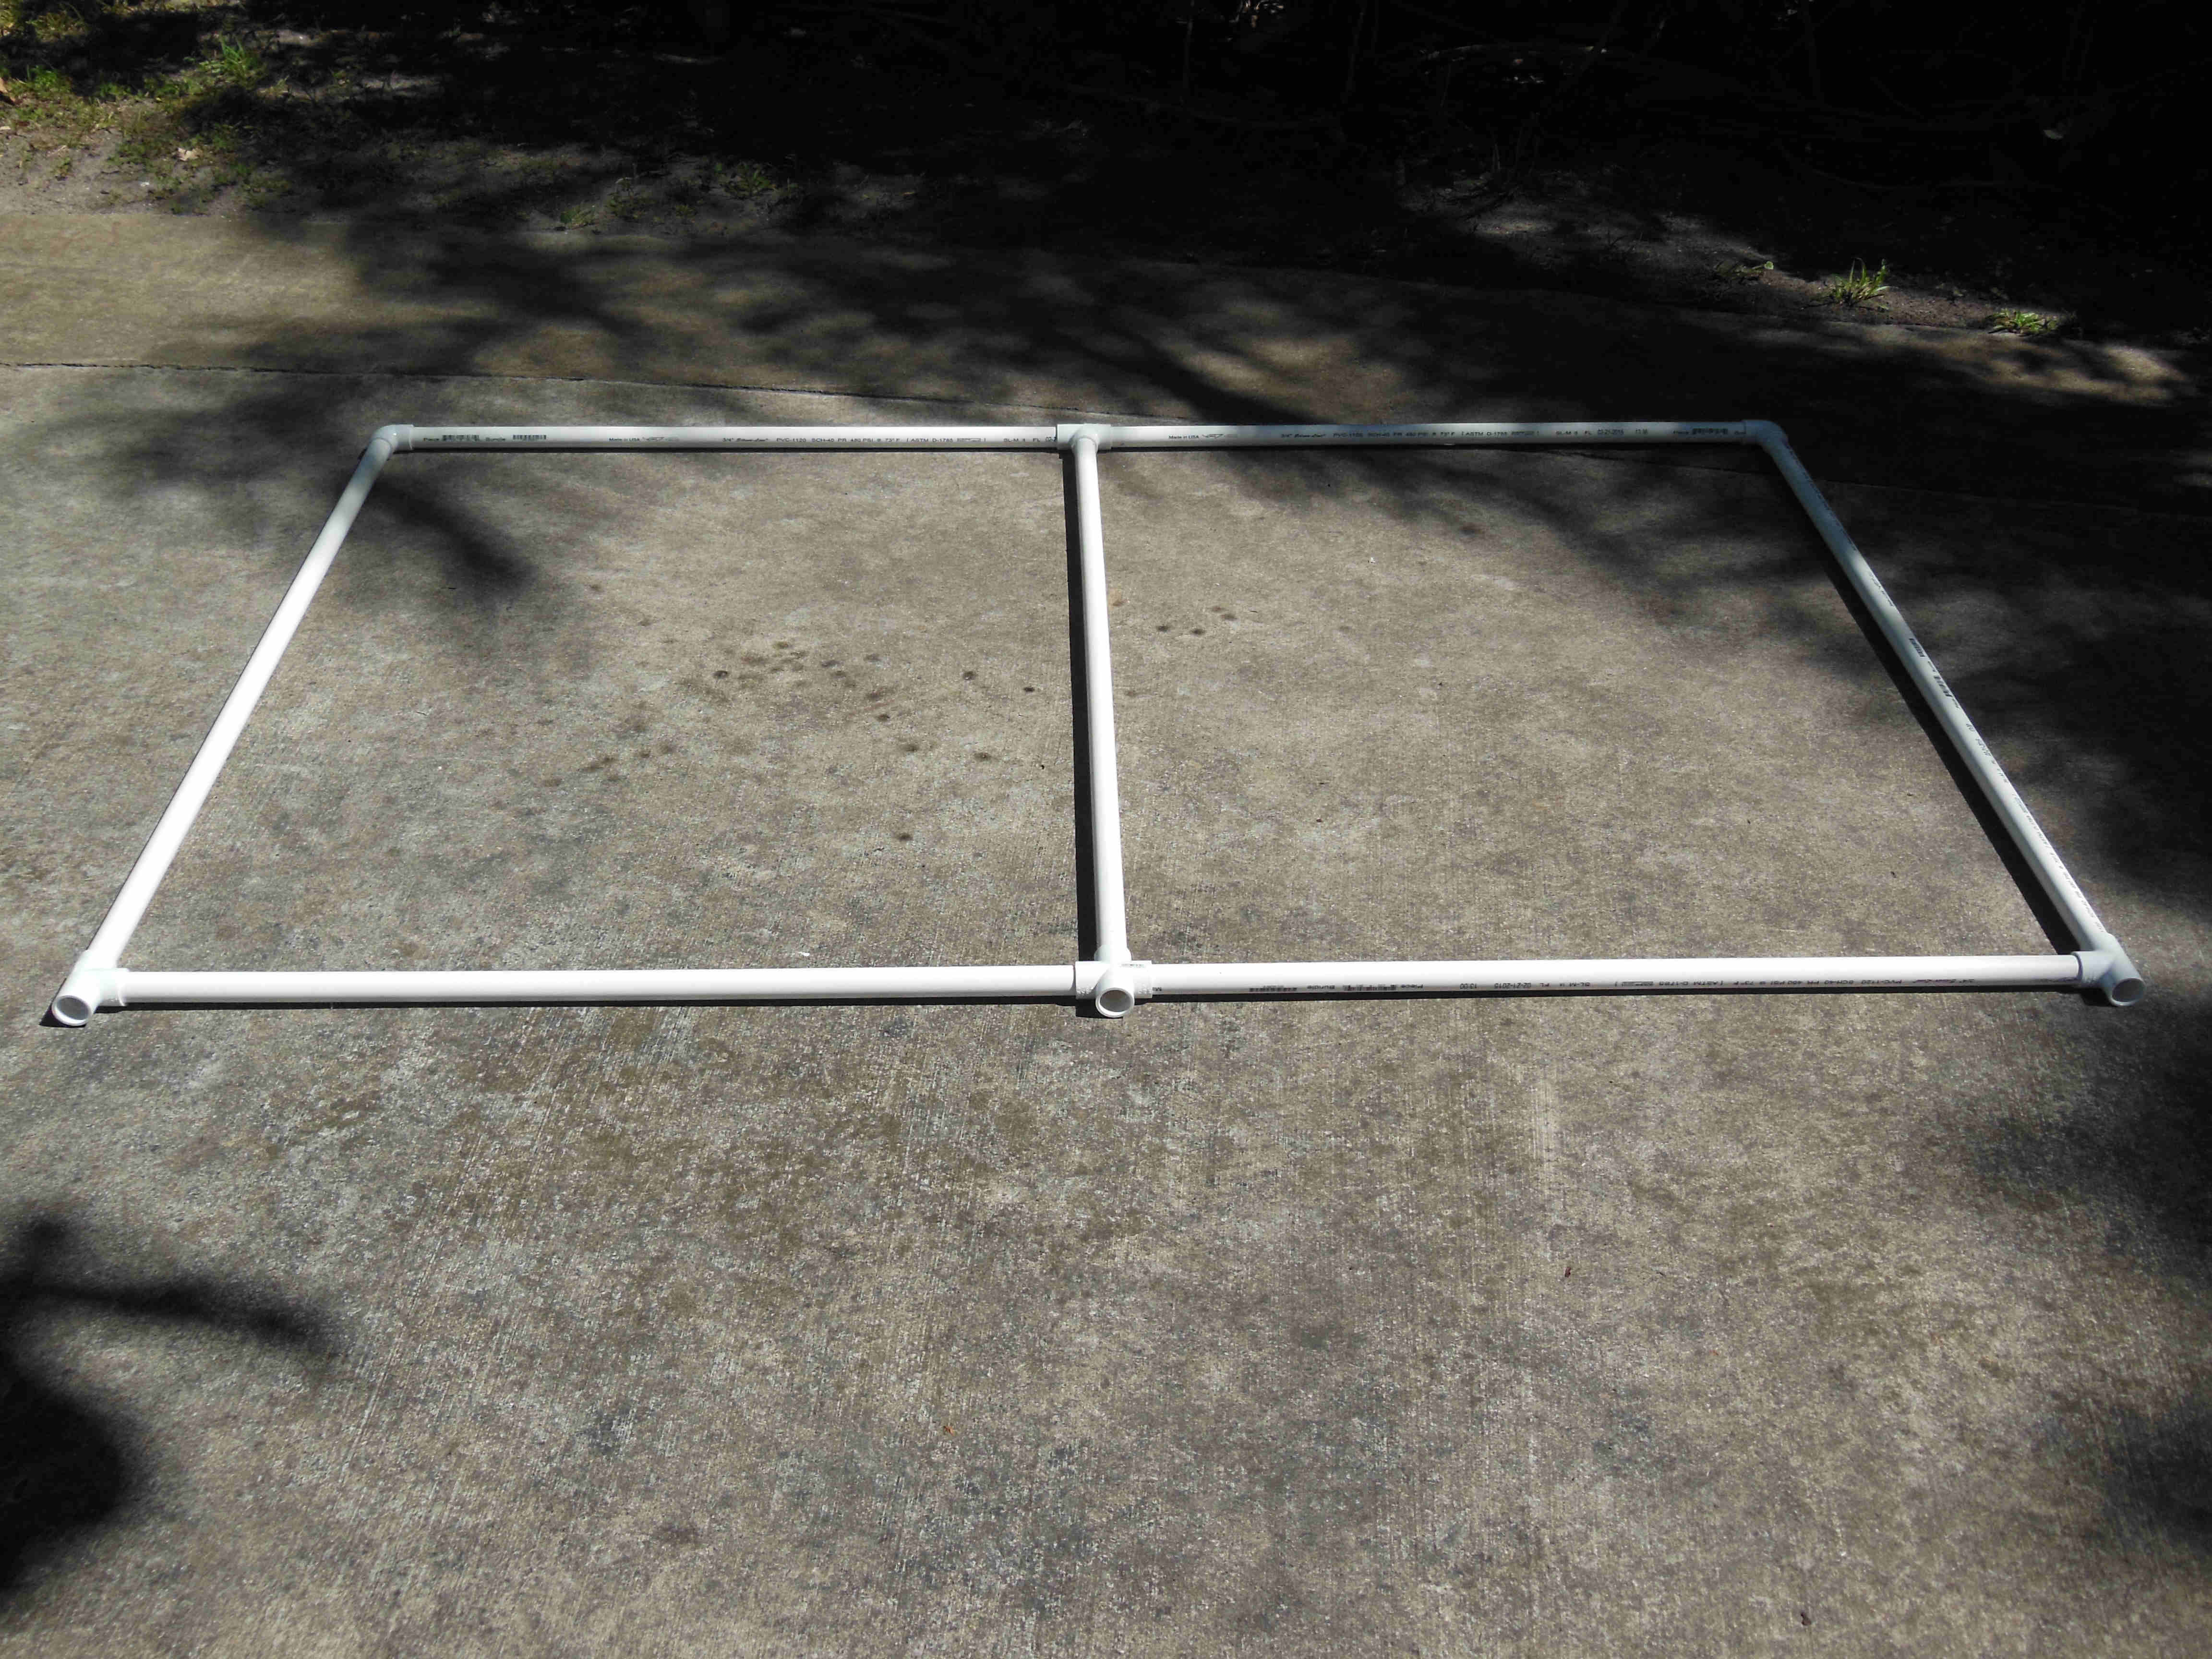
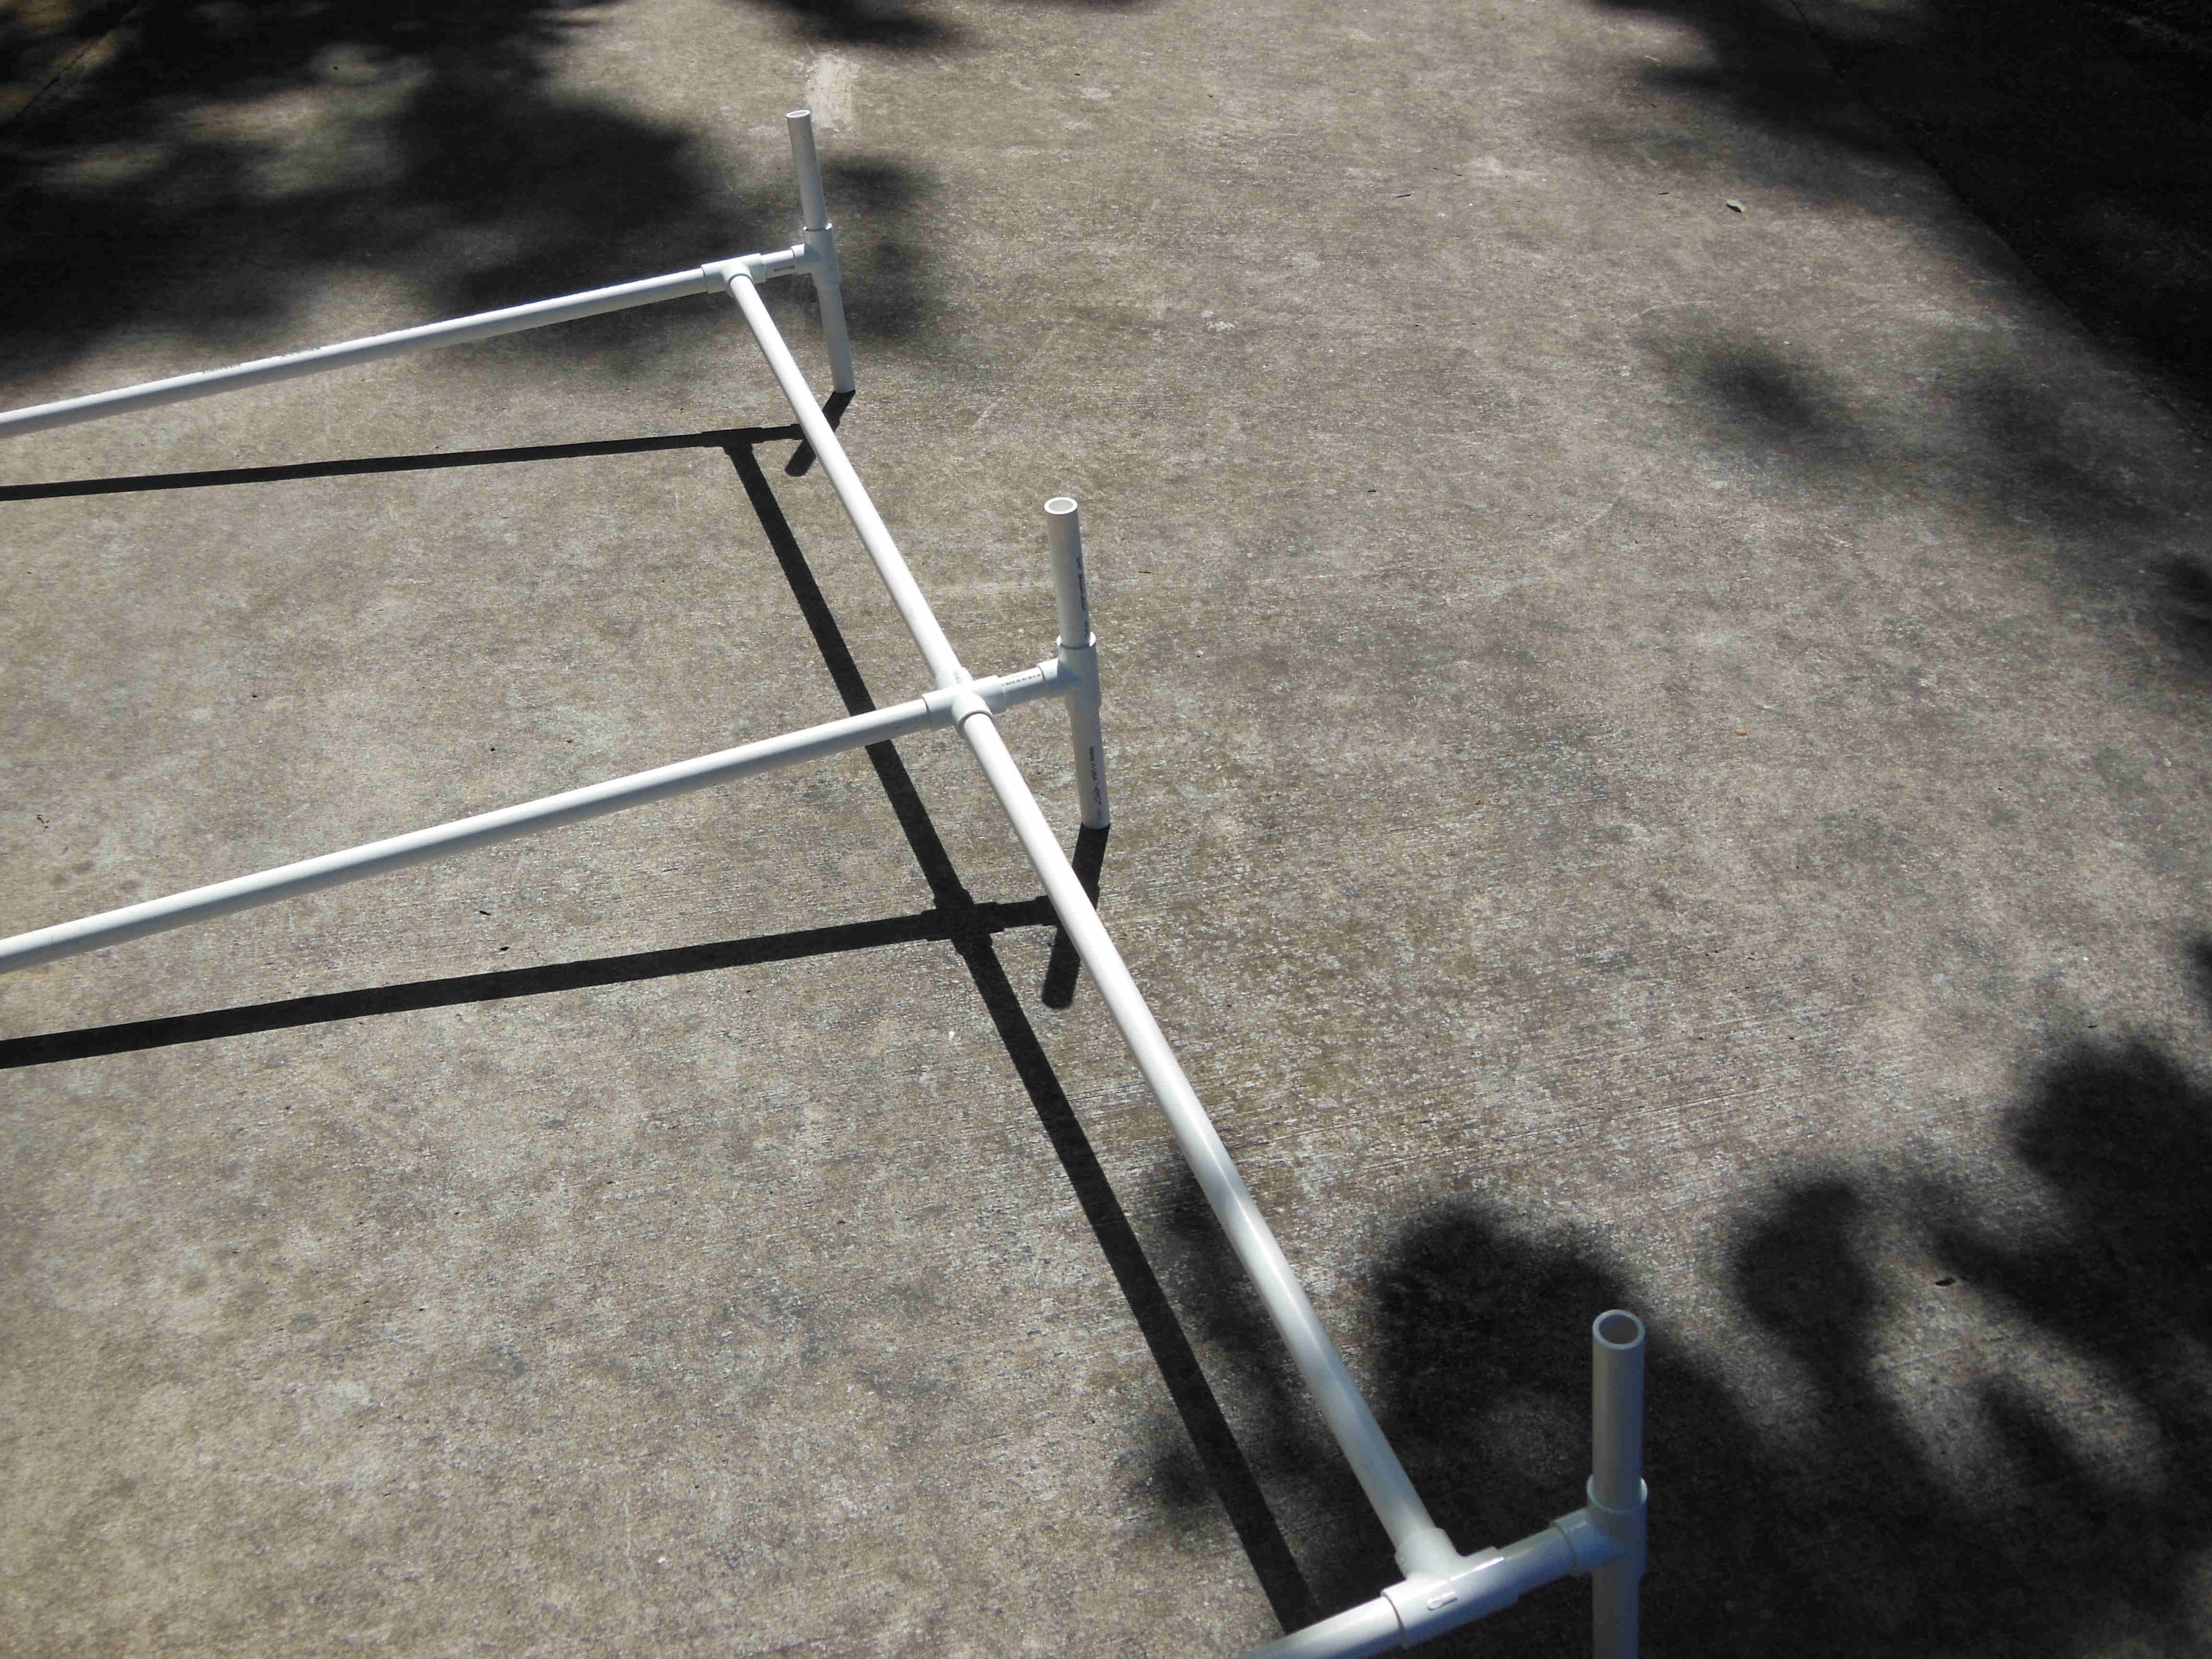
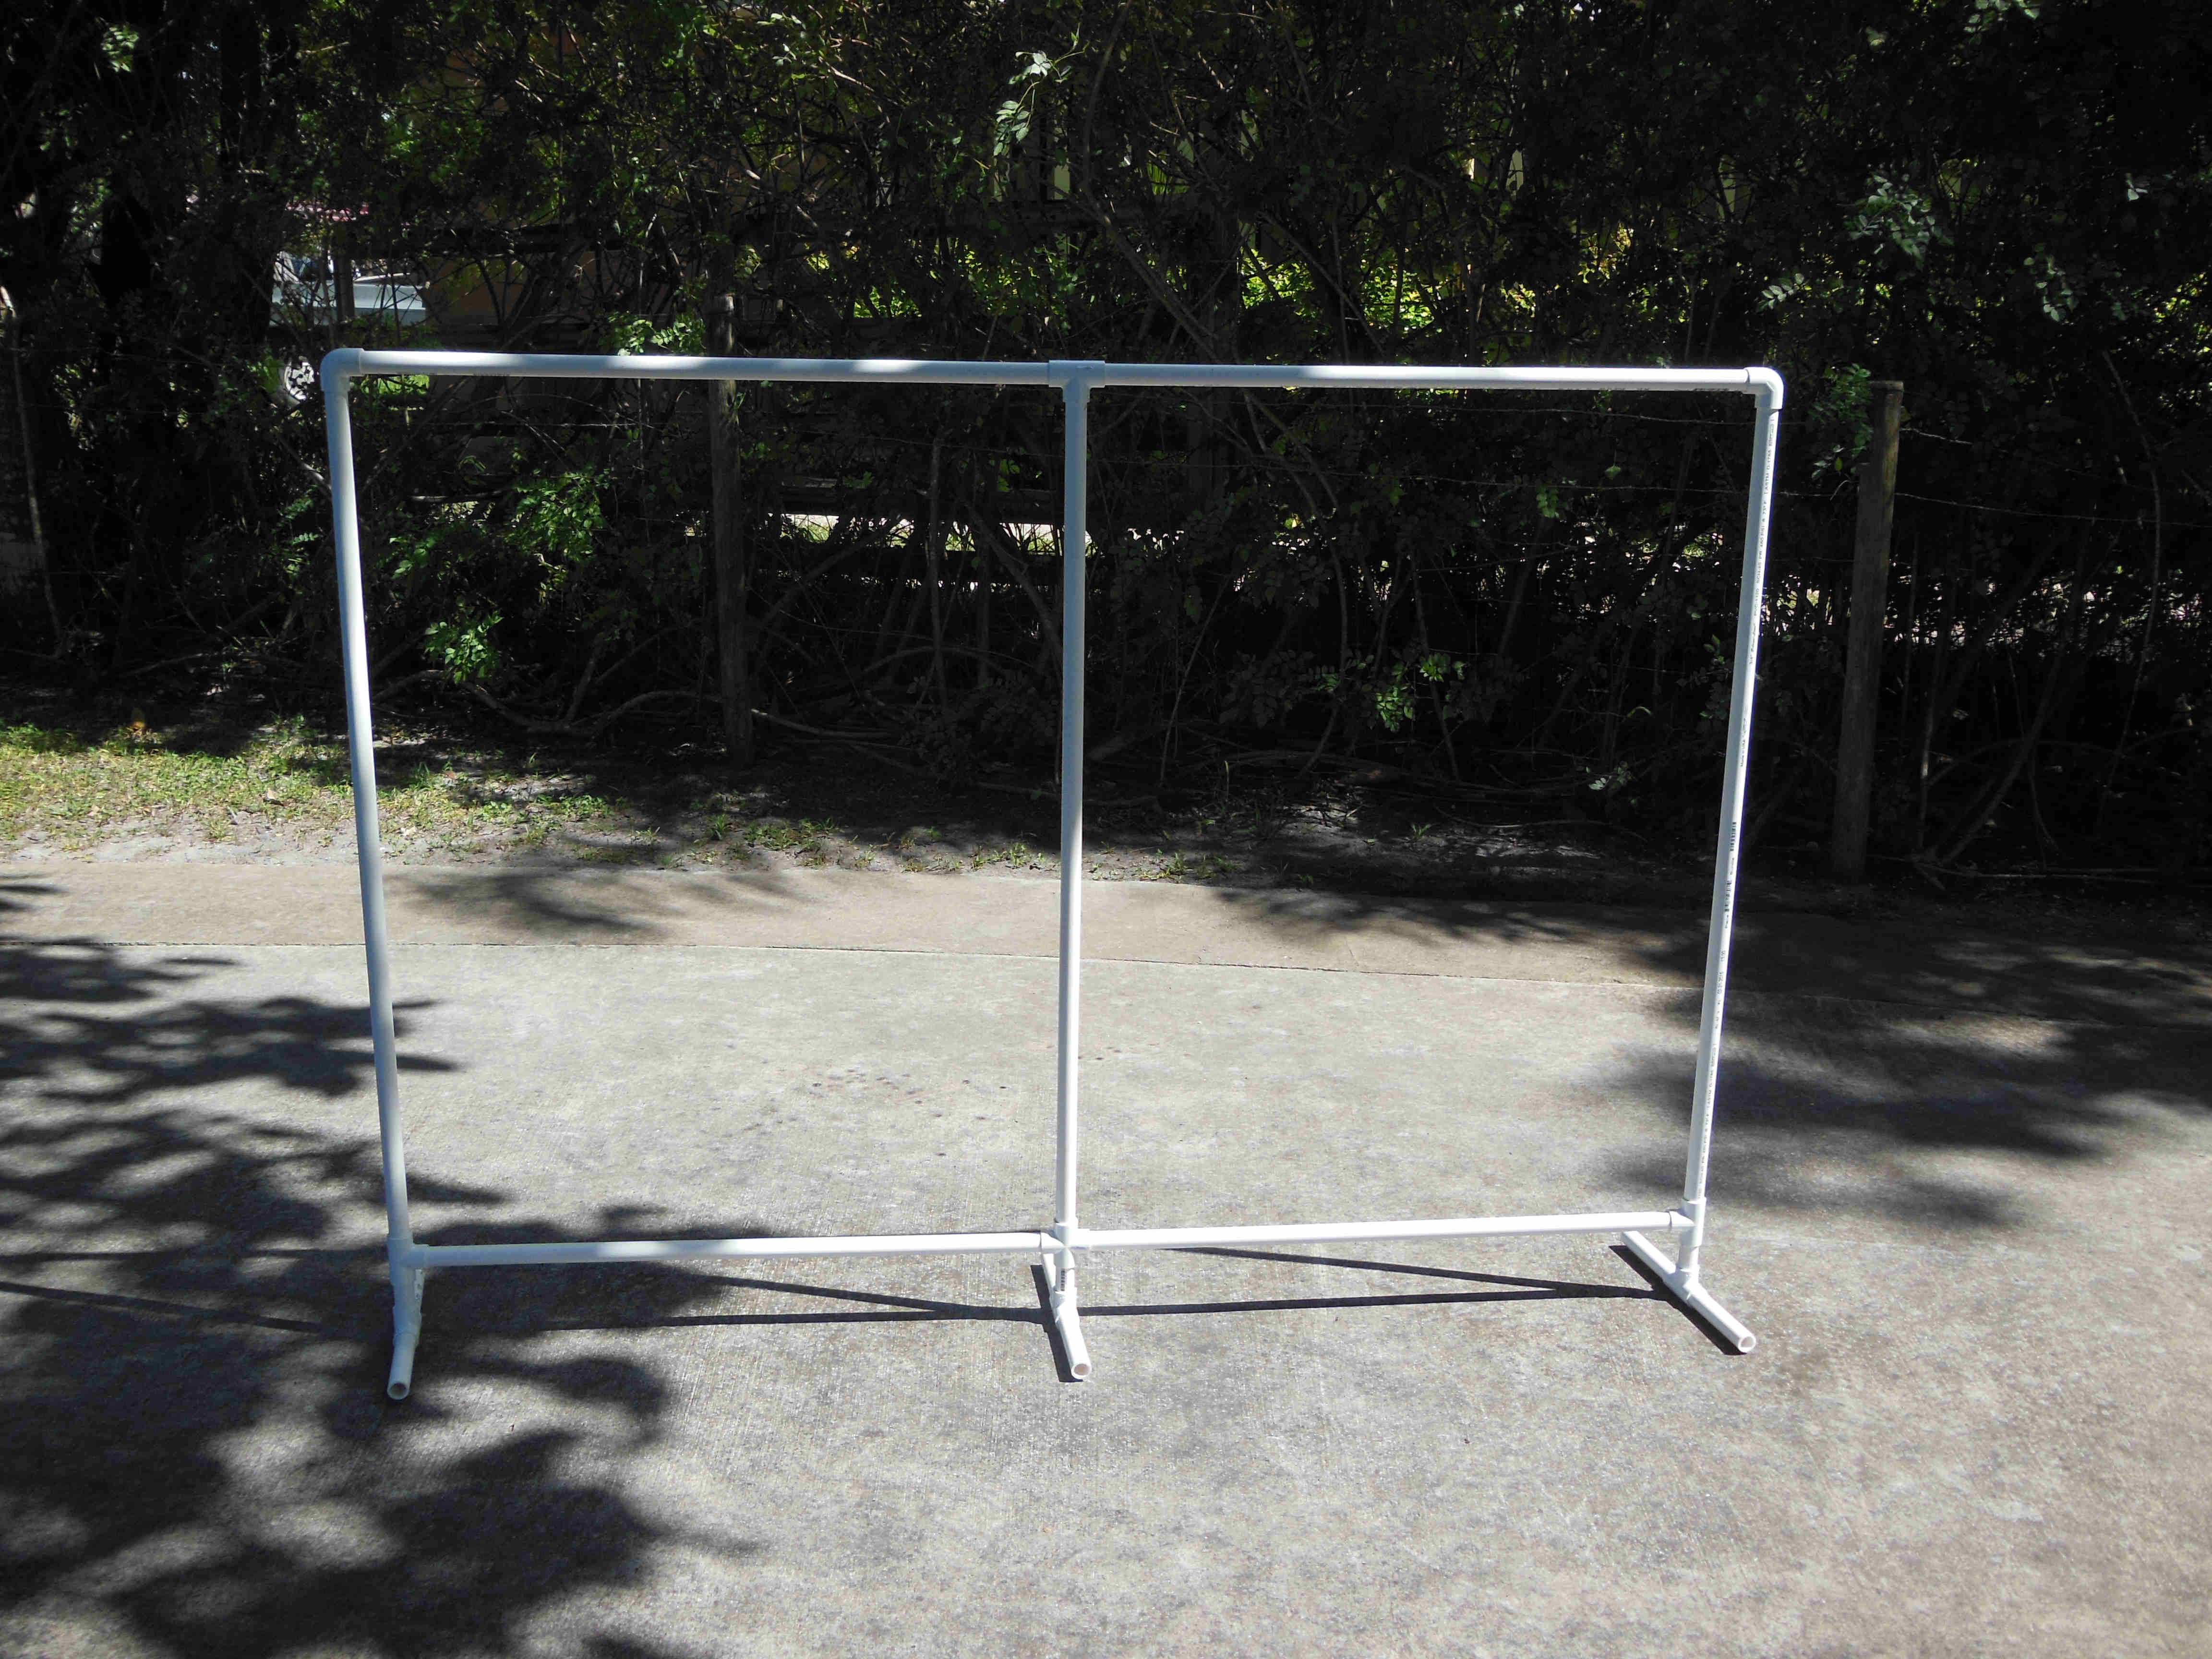
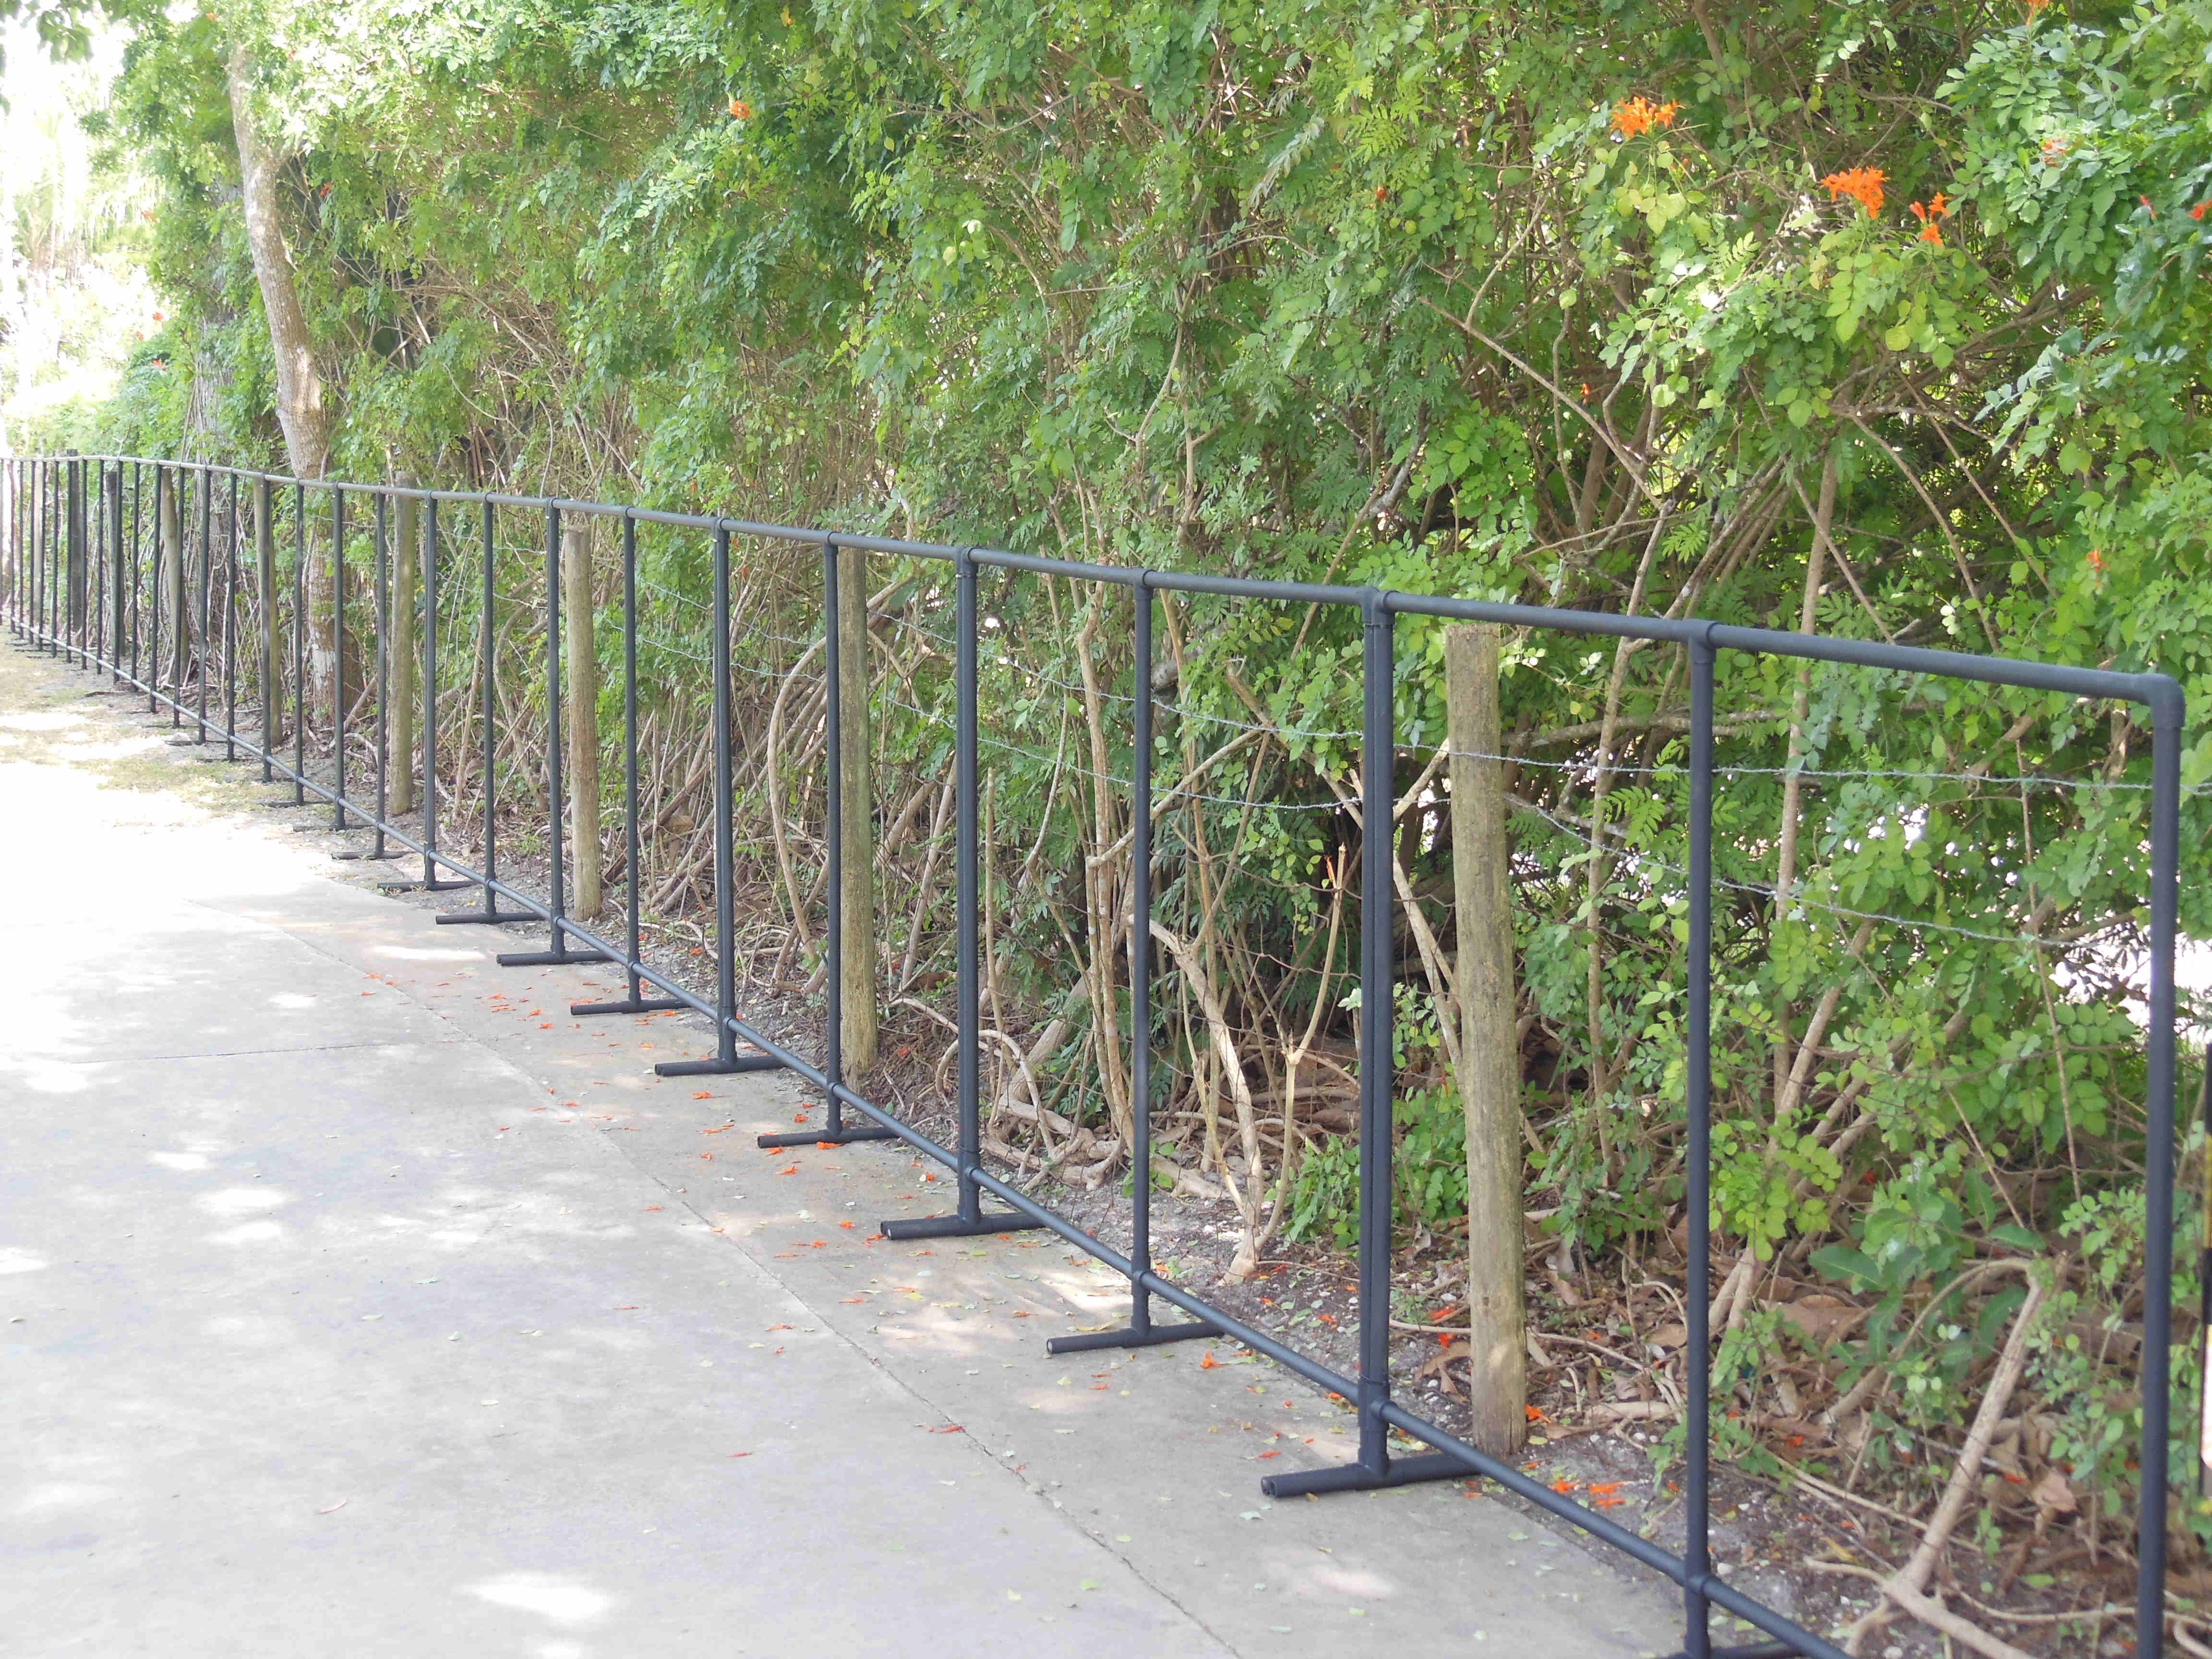
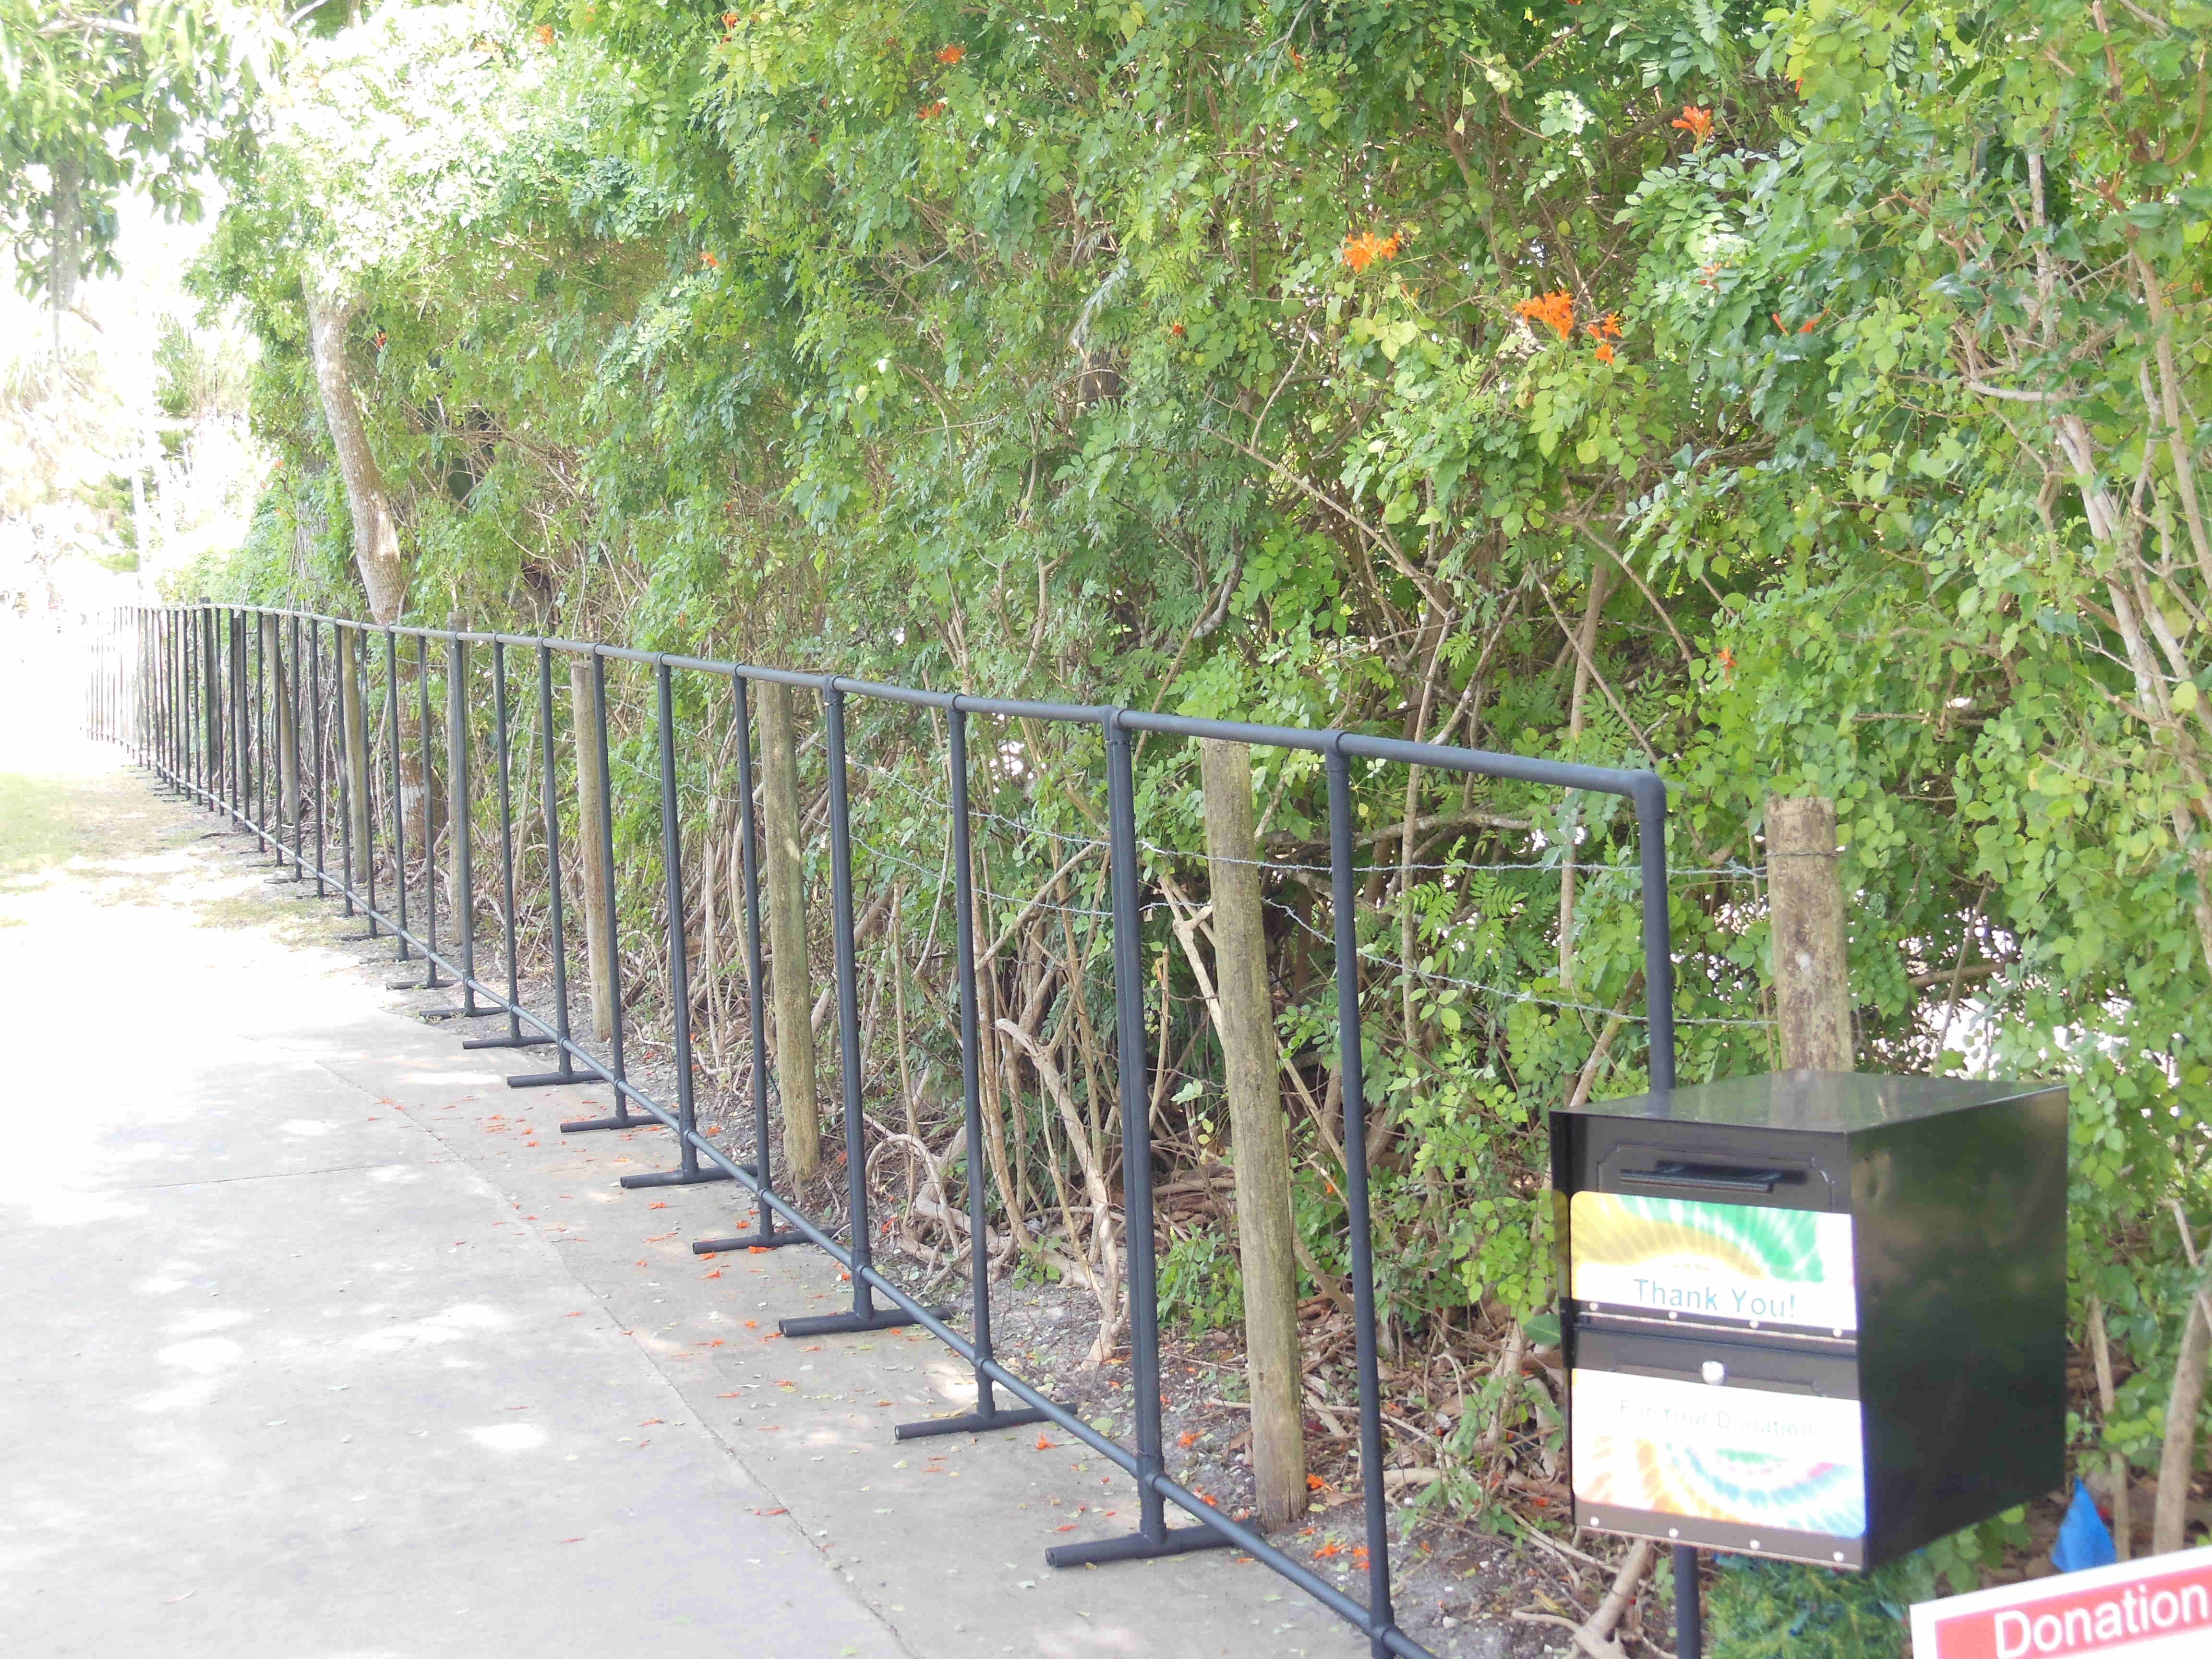
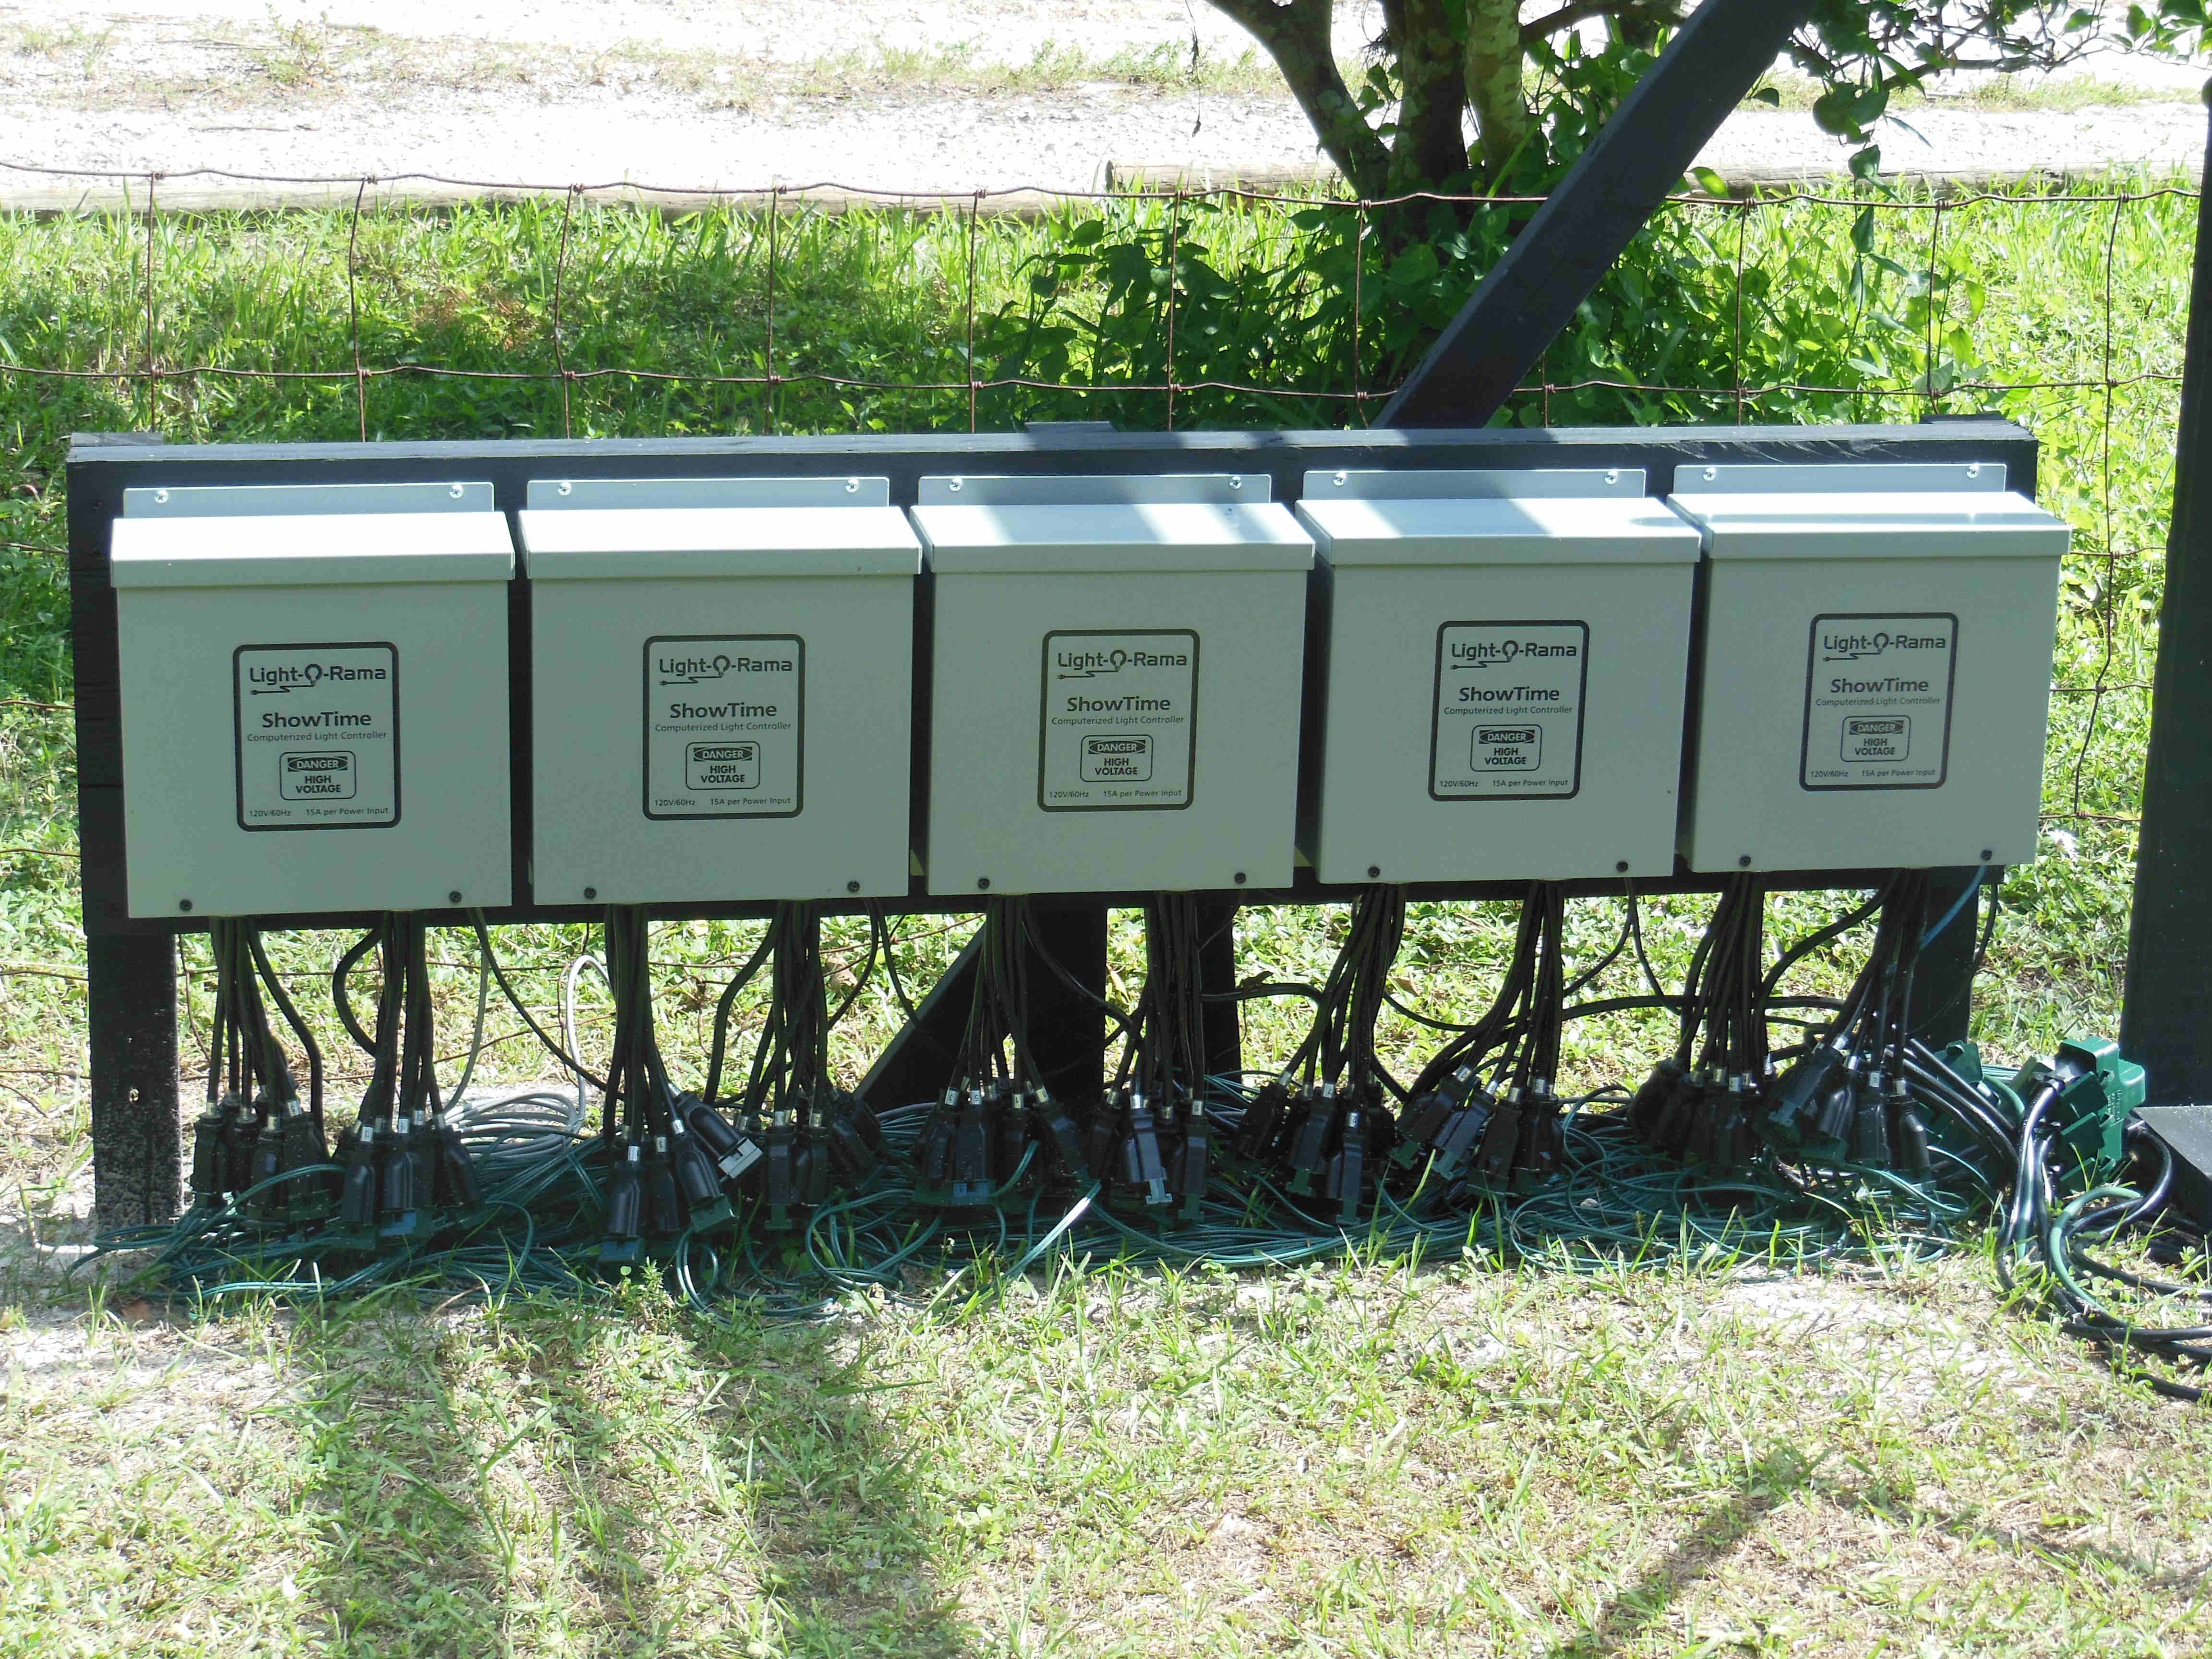
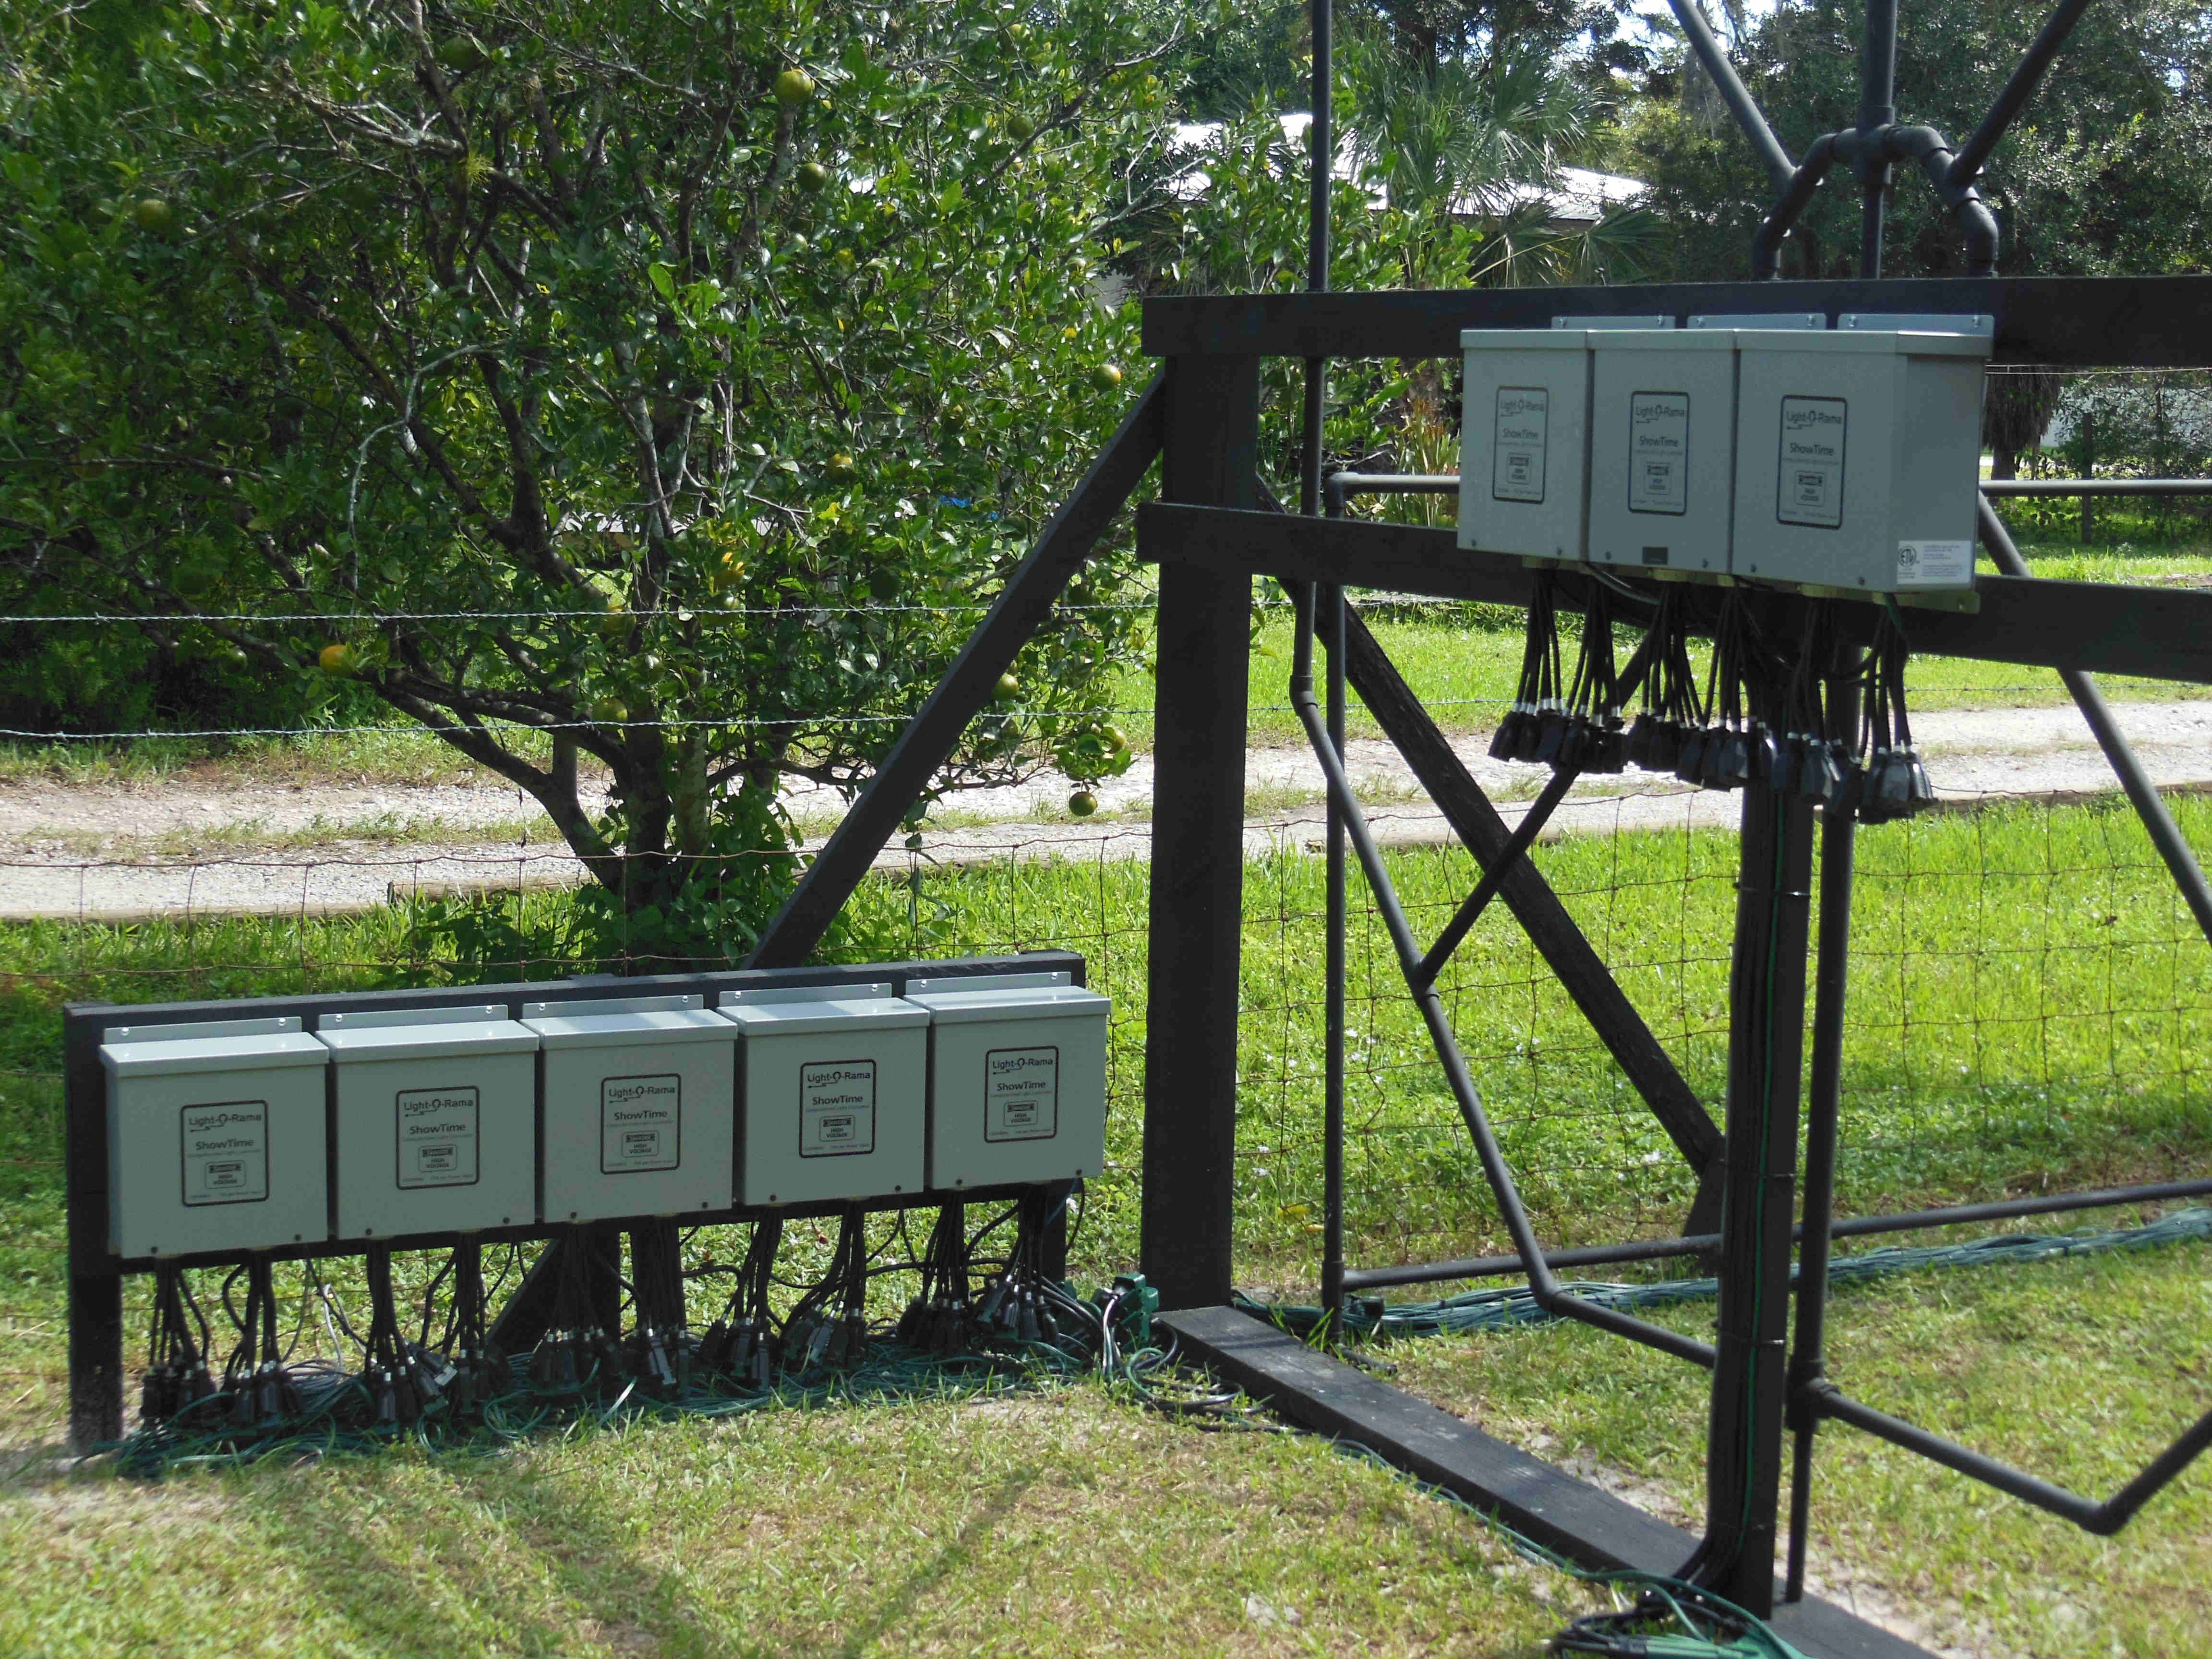
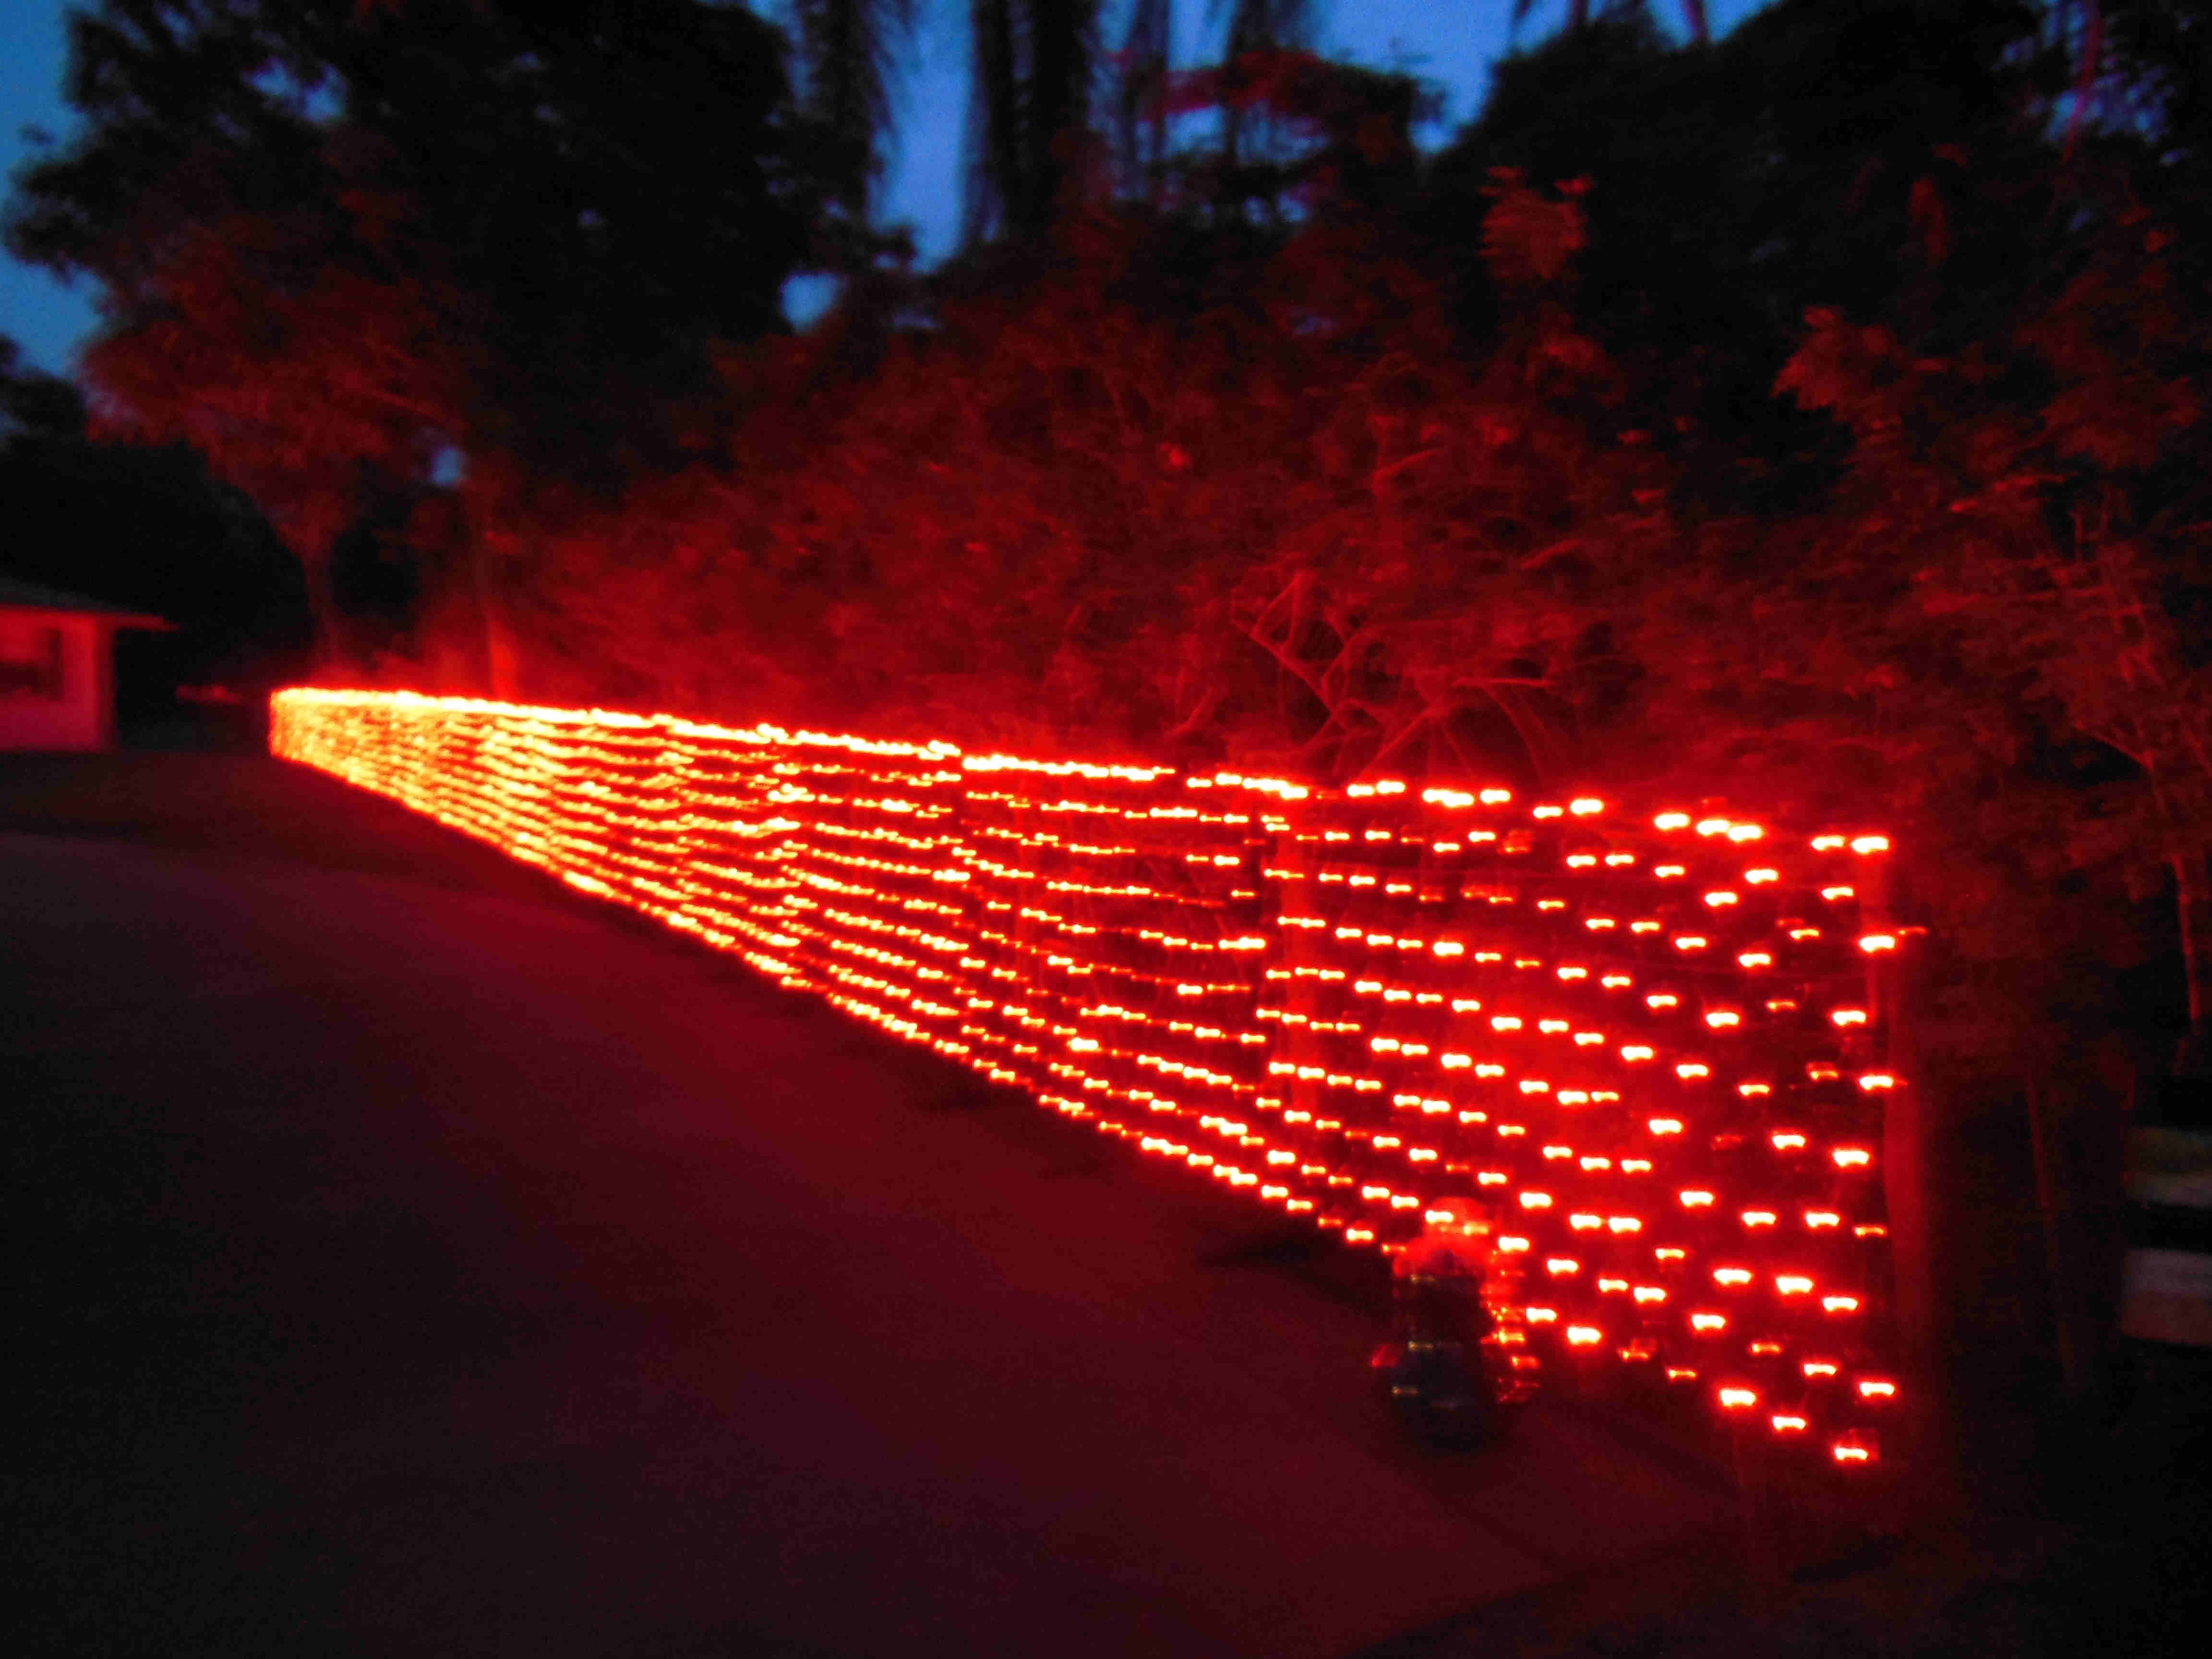
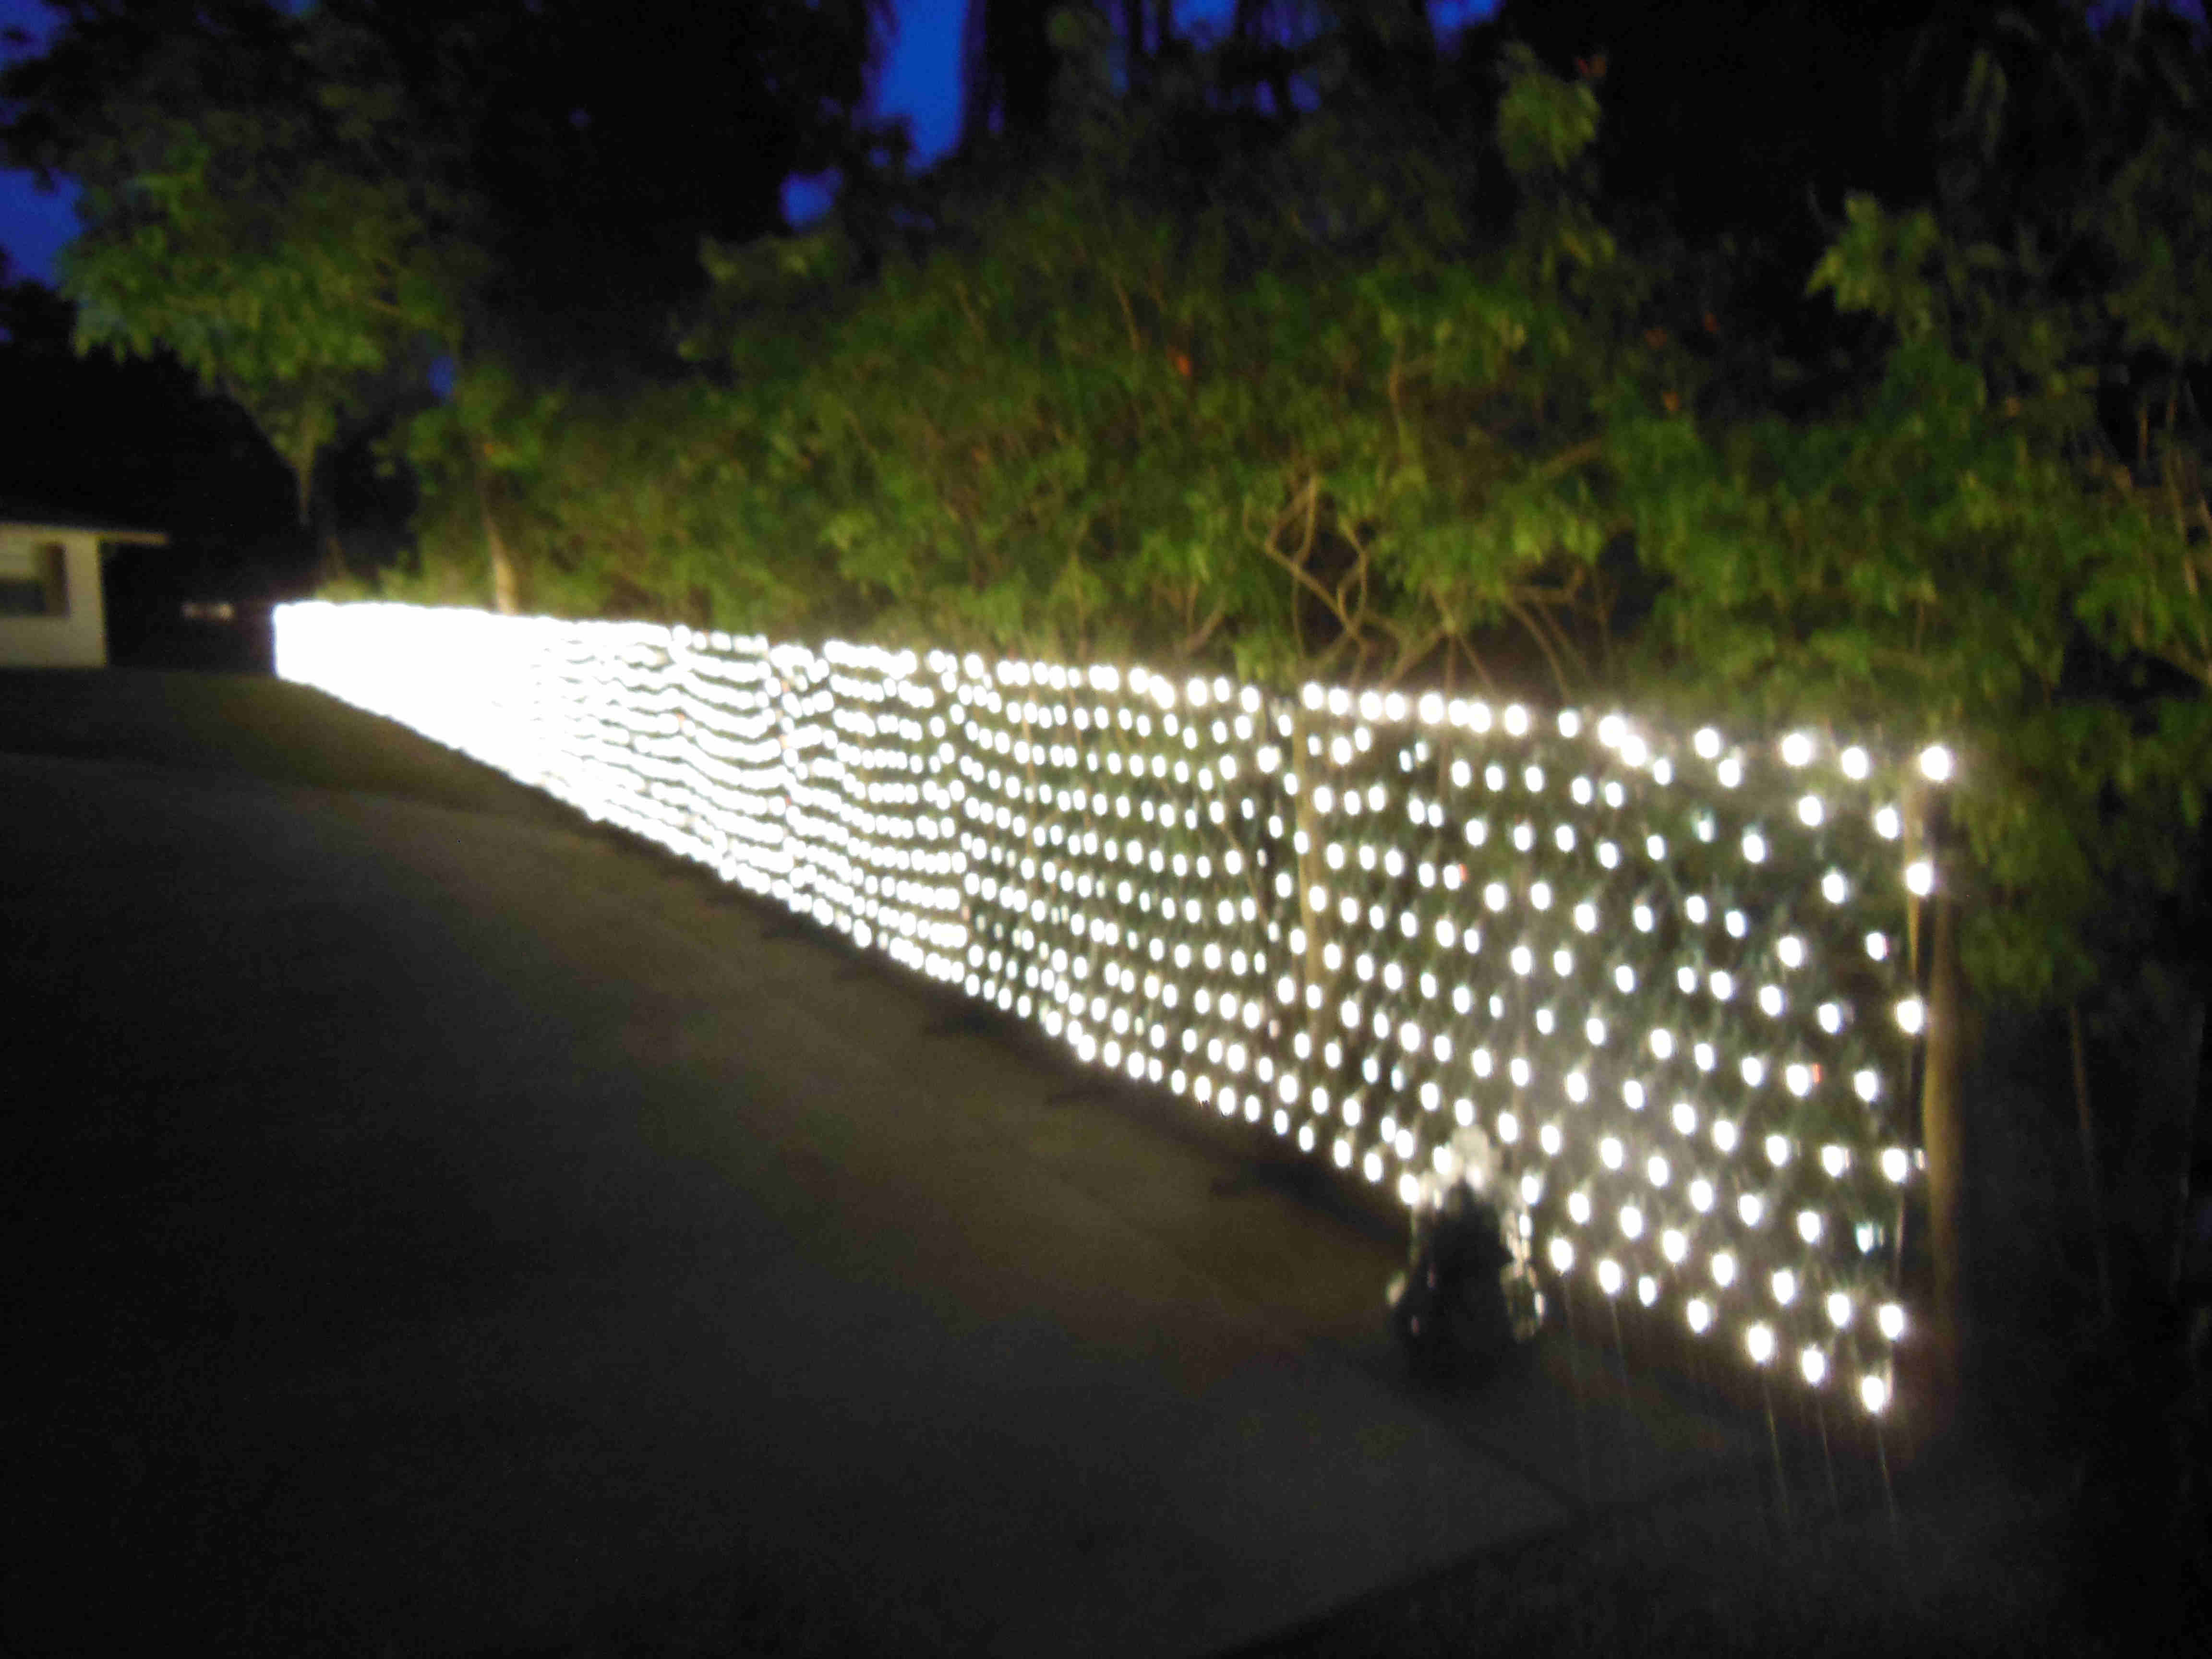
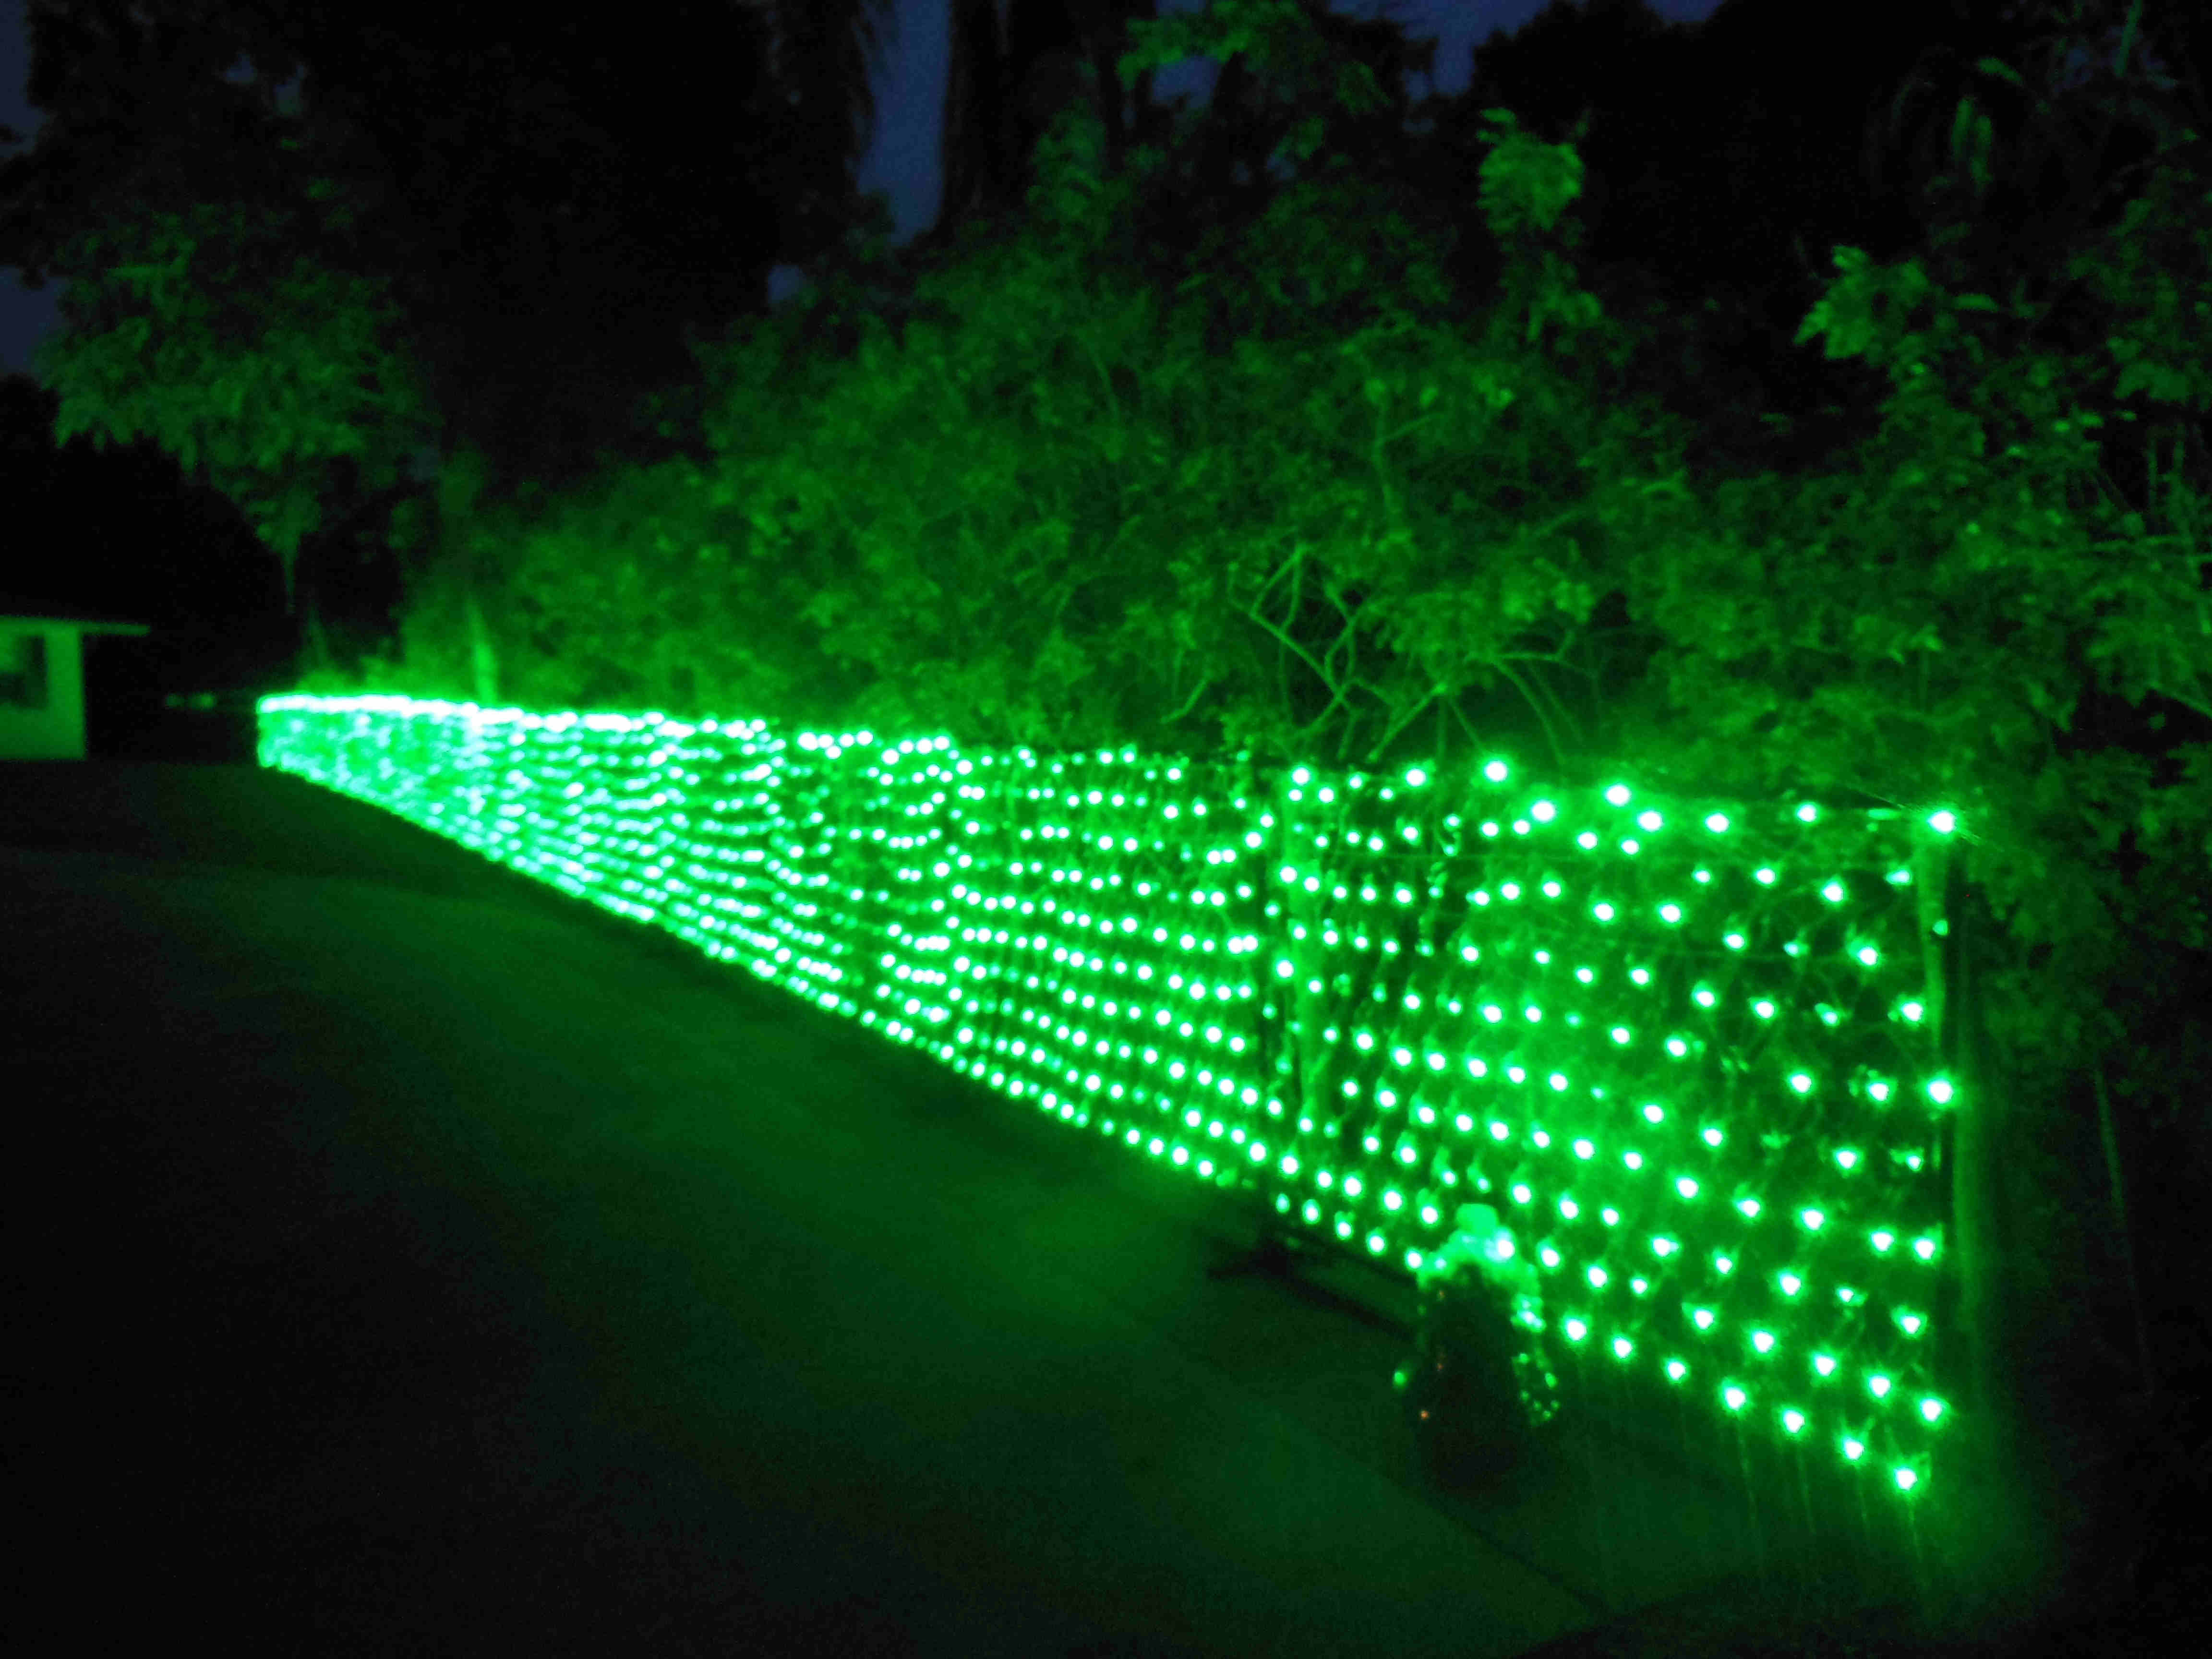
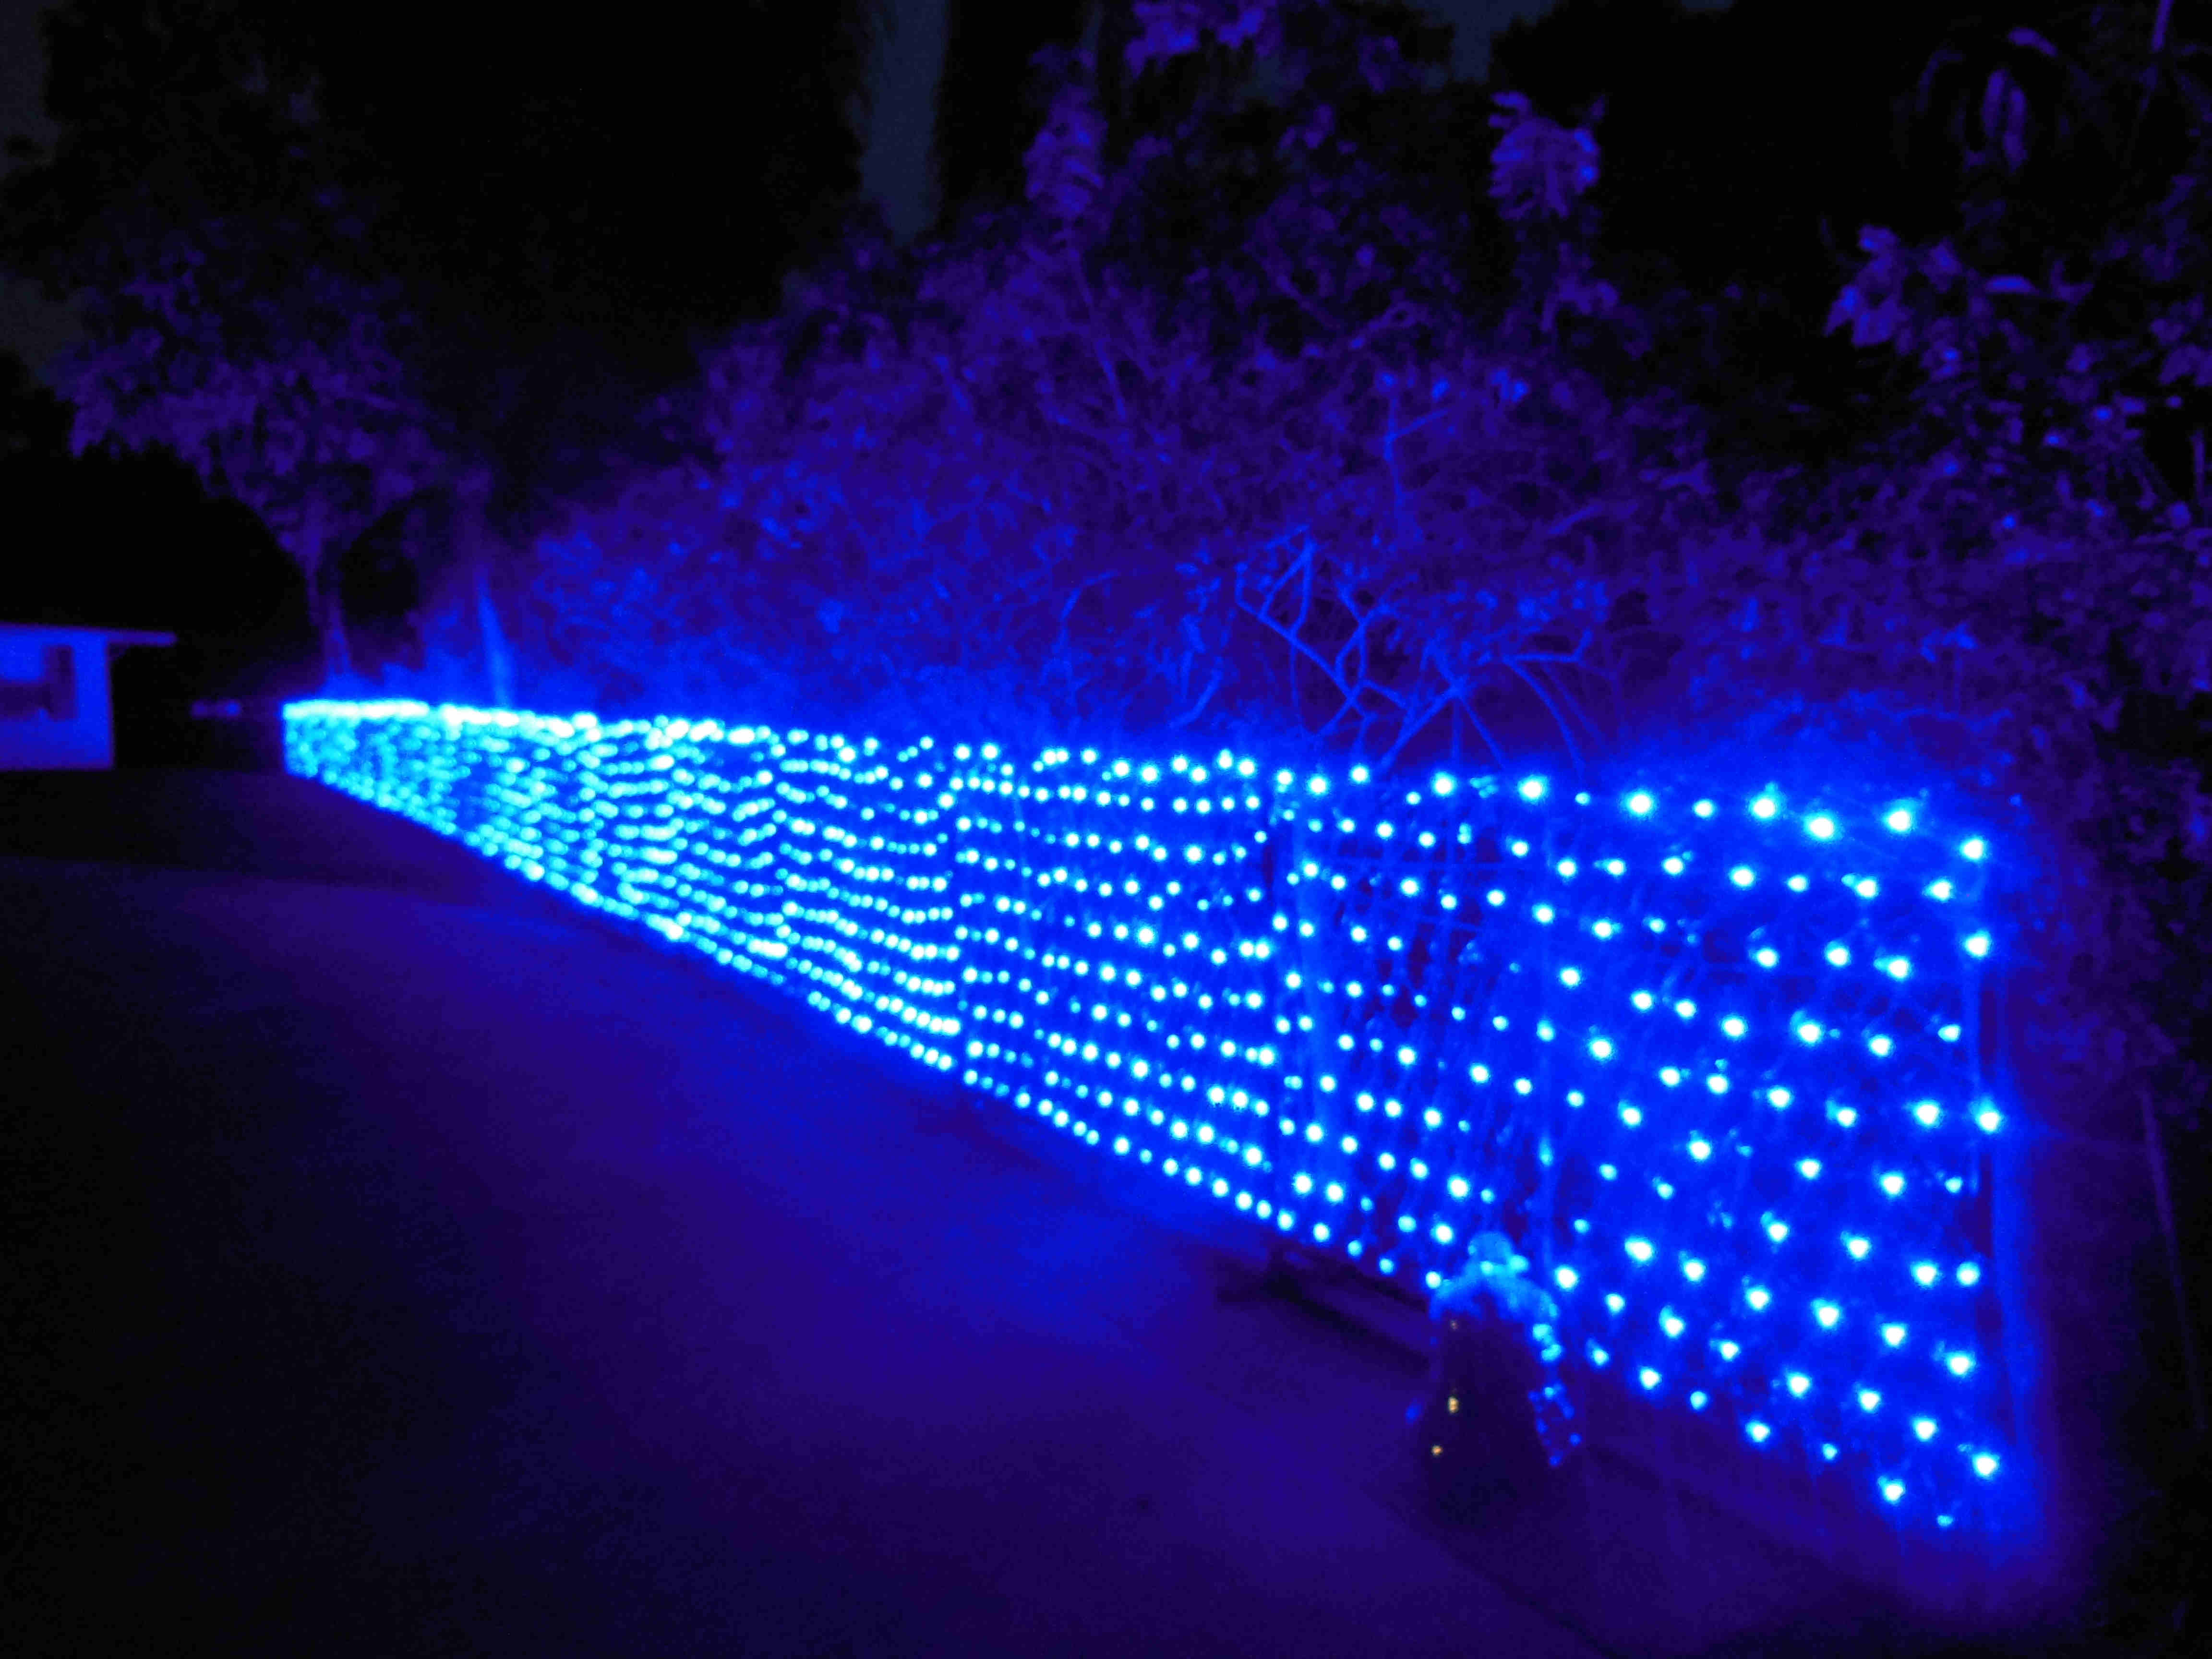
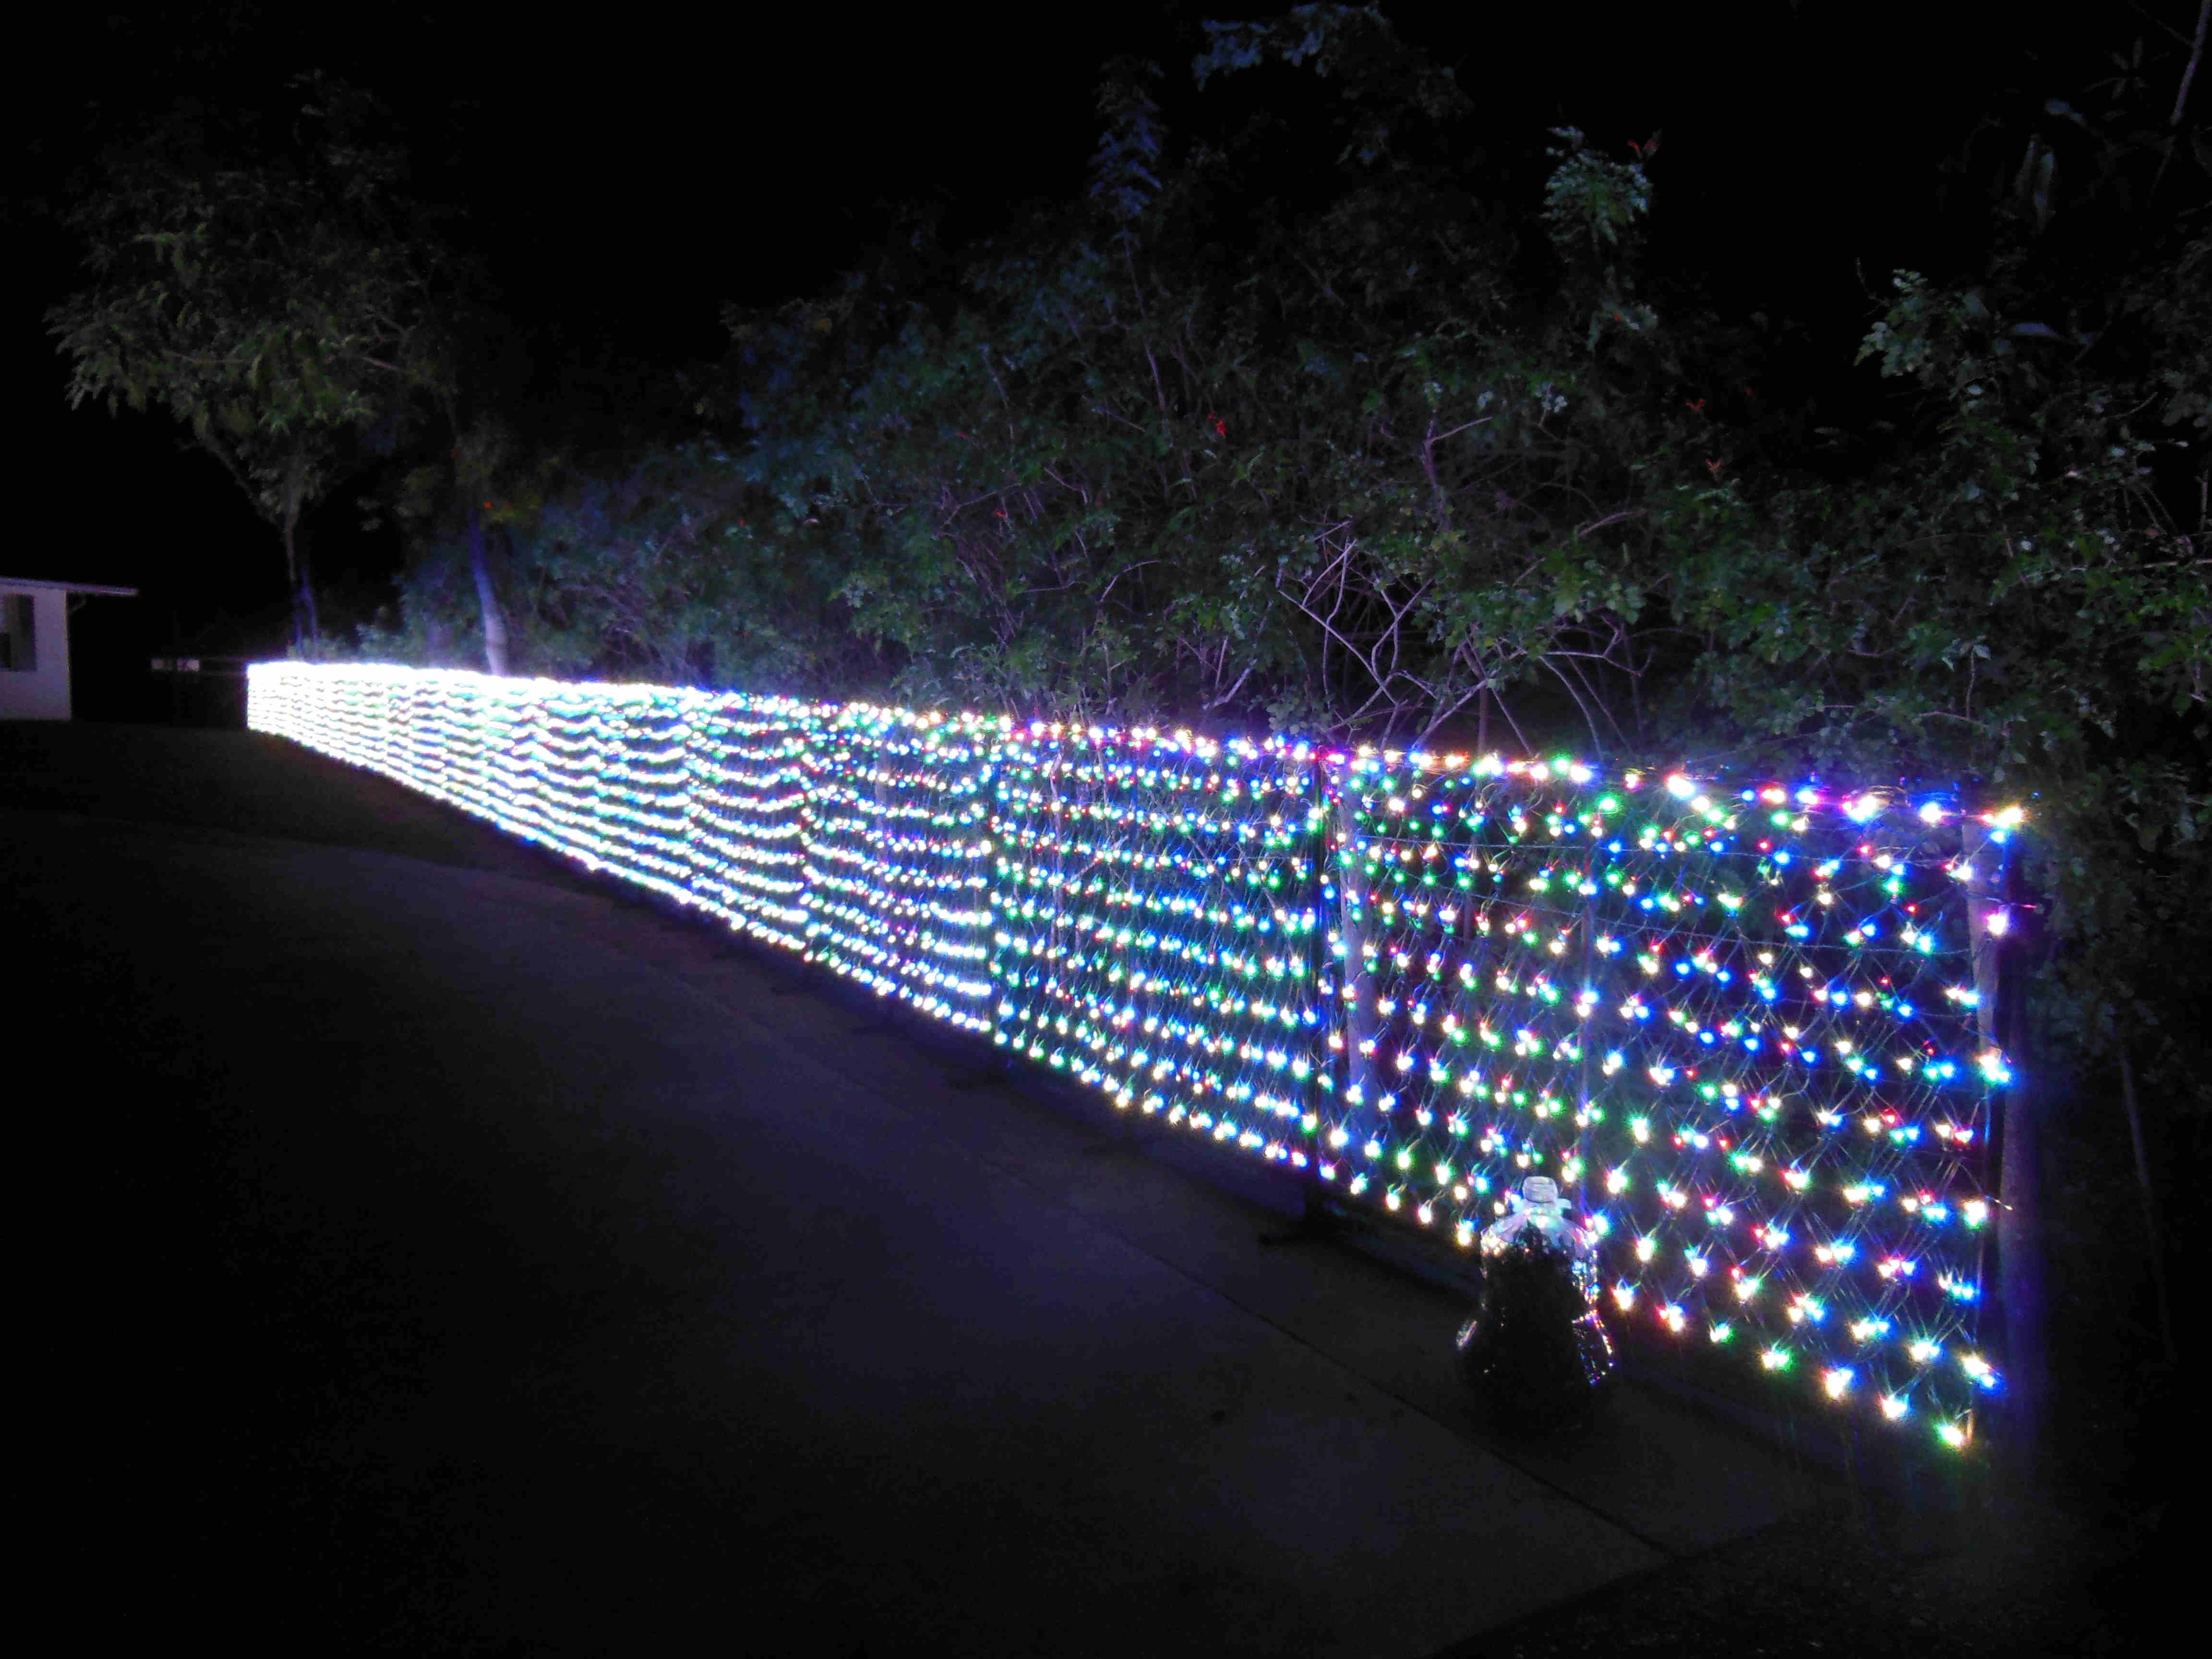
I used 3 - 45.5" 3/4" schedule 40 pipe, 4 - 34" 3/4" schedule 40 pipe, 6 - 6" 3/4" schedule 40 pipe, 3 - 3" 3/4" schedule 40 pipe, 6 - 3/4" Tees, 2 - 90 degree elbows, PVC cement, 2 - cans flat black spray paint, assorted zip ties (to attach the lights), and lightsfor each panel of the fence. I used LED 150 count - 4' x 6' net lights in white, red, green, and blue. This will be a basic description of how each panel was built then each panel was zip tied together. This process would work for any sized fence. Mine was 20 panels for a total of 80 channels. I also zip tied C-7 lights across the bottom every 1' and placed 5mm mini lights across the top for an additional 5 channels. Cut all pipe and get items together and ready. If you plan right you will have very little waste. Make all panels at one time so know how many you want before you start. Glue two 34" pieces into a Tee and two 34" into a cross (see picture). Glue one elbow into two of the 45.5" pieces. Keep open end of Tee facing down. Keeping fittings flat glue the elbows into the other ends of the 34" that the Tees are connected to. Glue the third 45.5" piece to Tee in the middle. Glue Tees into the other end of 45.5" pieces again making sure everything is flat. Glue bottom section to them with the 34" pieces. This will then complete the box. Glue two 6" pieces and one 3" piece into each of the three Tees. This will make the 'feet' (see picture). NOTE:Do NOT glue 'feet' to the box. If you leave them unglued you can turn feet to store flat. Paint flat black and attach desired lights using zip ties. A 20 panel fence with 80 channels will take one mile of SPT cord.
Click on a picture to enlarge it.
Website Design Mysorefigtree@comcast.net Website Homepage Mysore Fig Tree |